
Spray Shelter and Spring Planters
Psssst… this post *might* contain affiliate links: see my disclosure here.
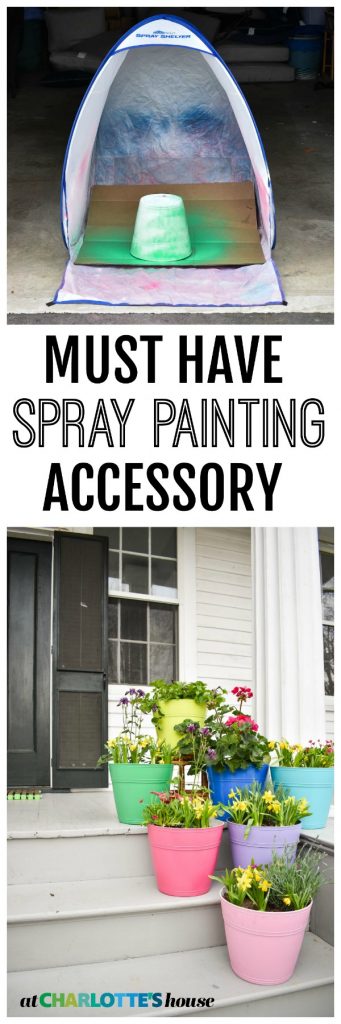
Favorite Spray Painting Accessory
Disclosure: This post is sponsored by my friends at HomeRight, but as you can see… my spray tent gets LOTS of use. I love it!
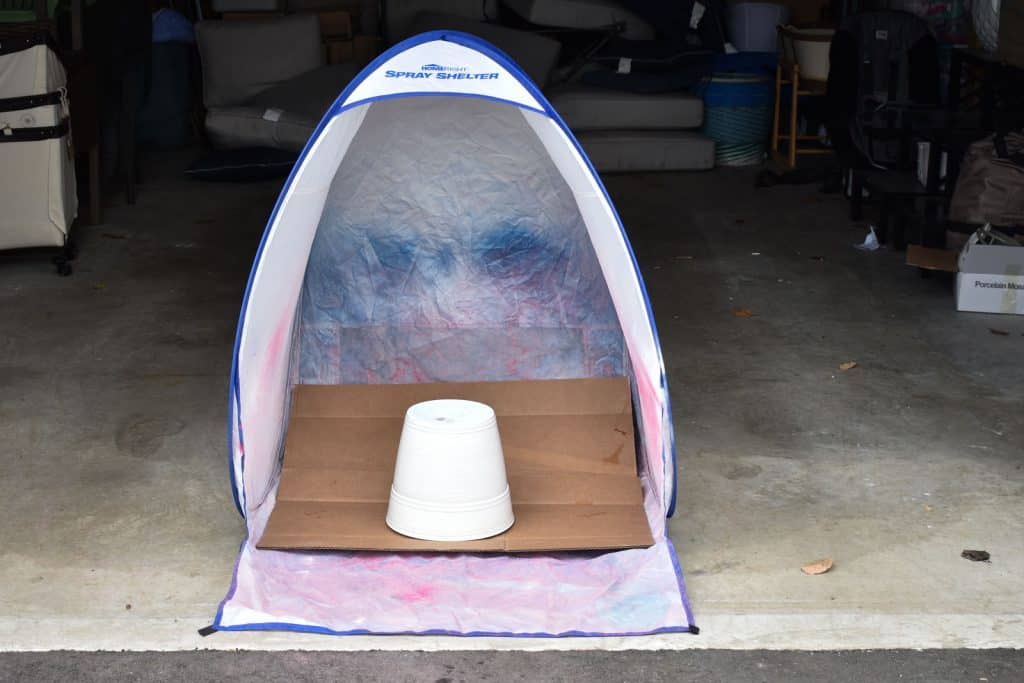
Last weekend, we had temperatures around fifty degrees which meant…. spray painting! Today I’m sharing one of my FAVORITE tools and a quick and easy spring project I made with it. May I present… the HomeRight Spray Shelter. Take a close look at mine and you’ll see layers upon layers of spray paint and here’s why: this is a necessity!
Shop my favorites!
It pops open with one hand and provides protection from the wind and elements to all of my smaller spray painting projects. (Pssst… there’s also a larger tent that I use for furniture (affiliate), but it’s slightly more complicated to put together so I don’t bother unless I have a much larger piece!)
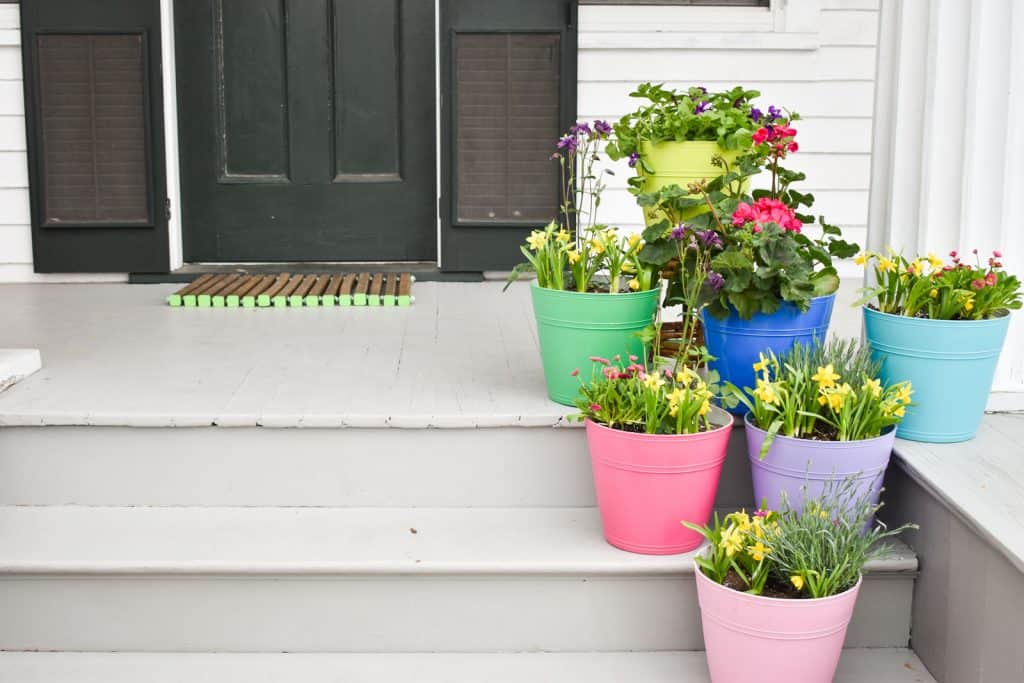
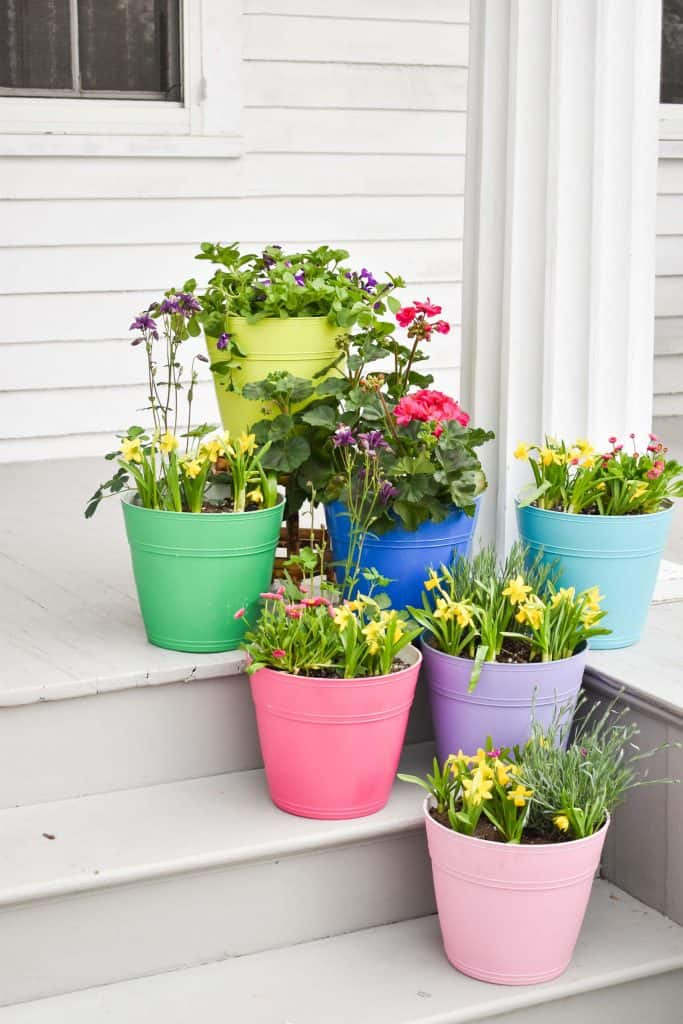
To complement our new colorful seating area, I was looking for ways to brighten the surrounding patio and yard. For $3.50 I grabbed all the colors necessary from the spray paint aisle and then I *splurged* for these $4 plastic planters. Make sure the containers are clean and free of dust/ grease and place them onto a piece of cardboard in the spray shelter. (The spray shelter has a floor, I just knew how much spray paint was coming, so I wanted to keep the tent from getting to messy from wet spray paint.
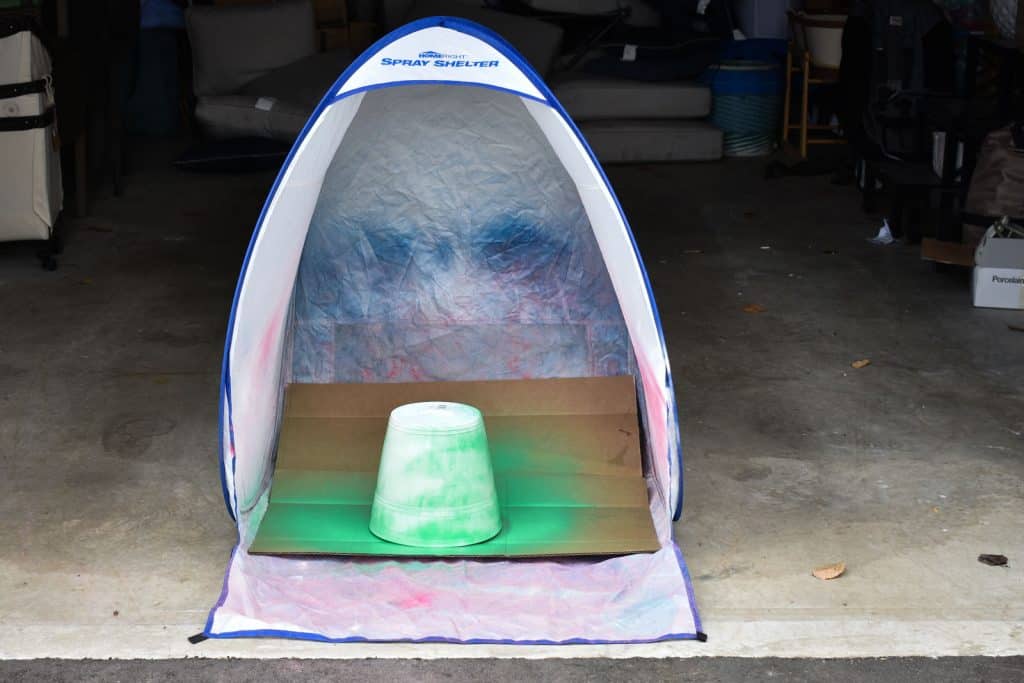
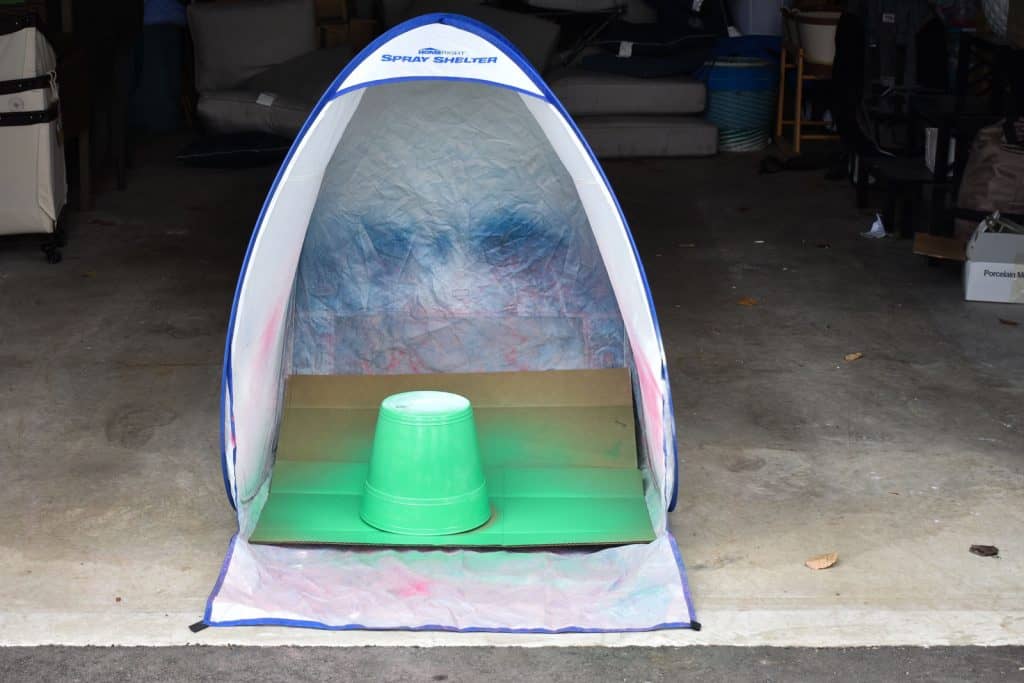
I use Rustoleum 2X and it coats super well. These pots only needed 2 coats because the spray shelter prevents any overspray, and I was able to shift them in and out really easily and keep them protected to dry in the garage. After the first coat, wait a few minutes per the directions on the label and go back for a second coat. Remember… always light and easy with spray paint; multiple light coats is FAR superior to less heavy coats.

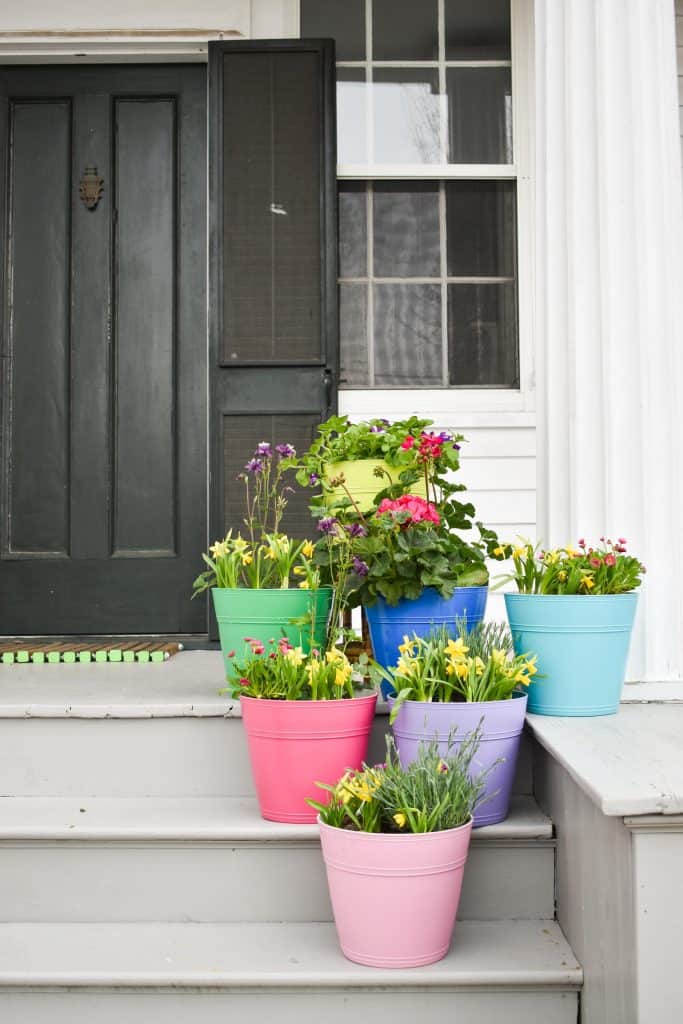
Drill a small hole in the bottom if your pots don’t have one already to prevent water collecting and drowning your plants. I have these pots scattered on our front steps in hopeful anticipation of some warmer temps!
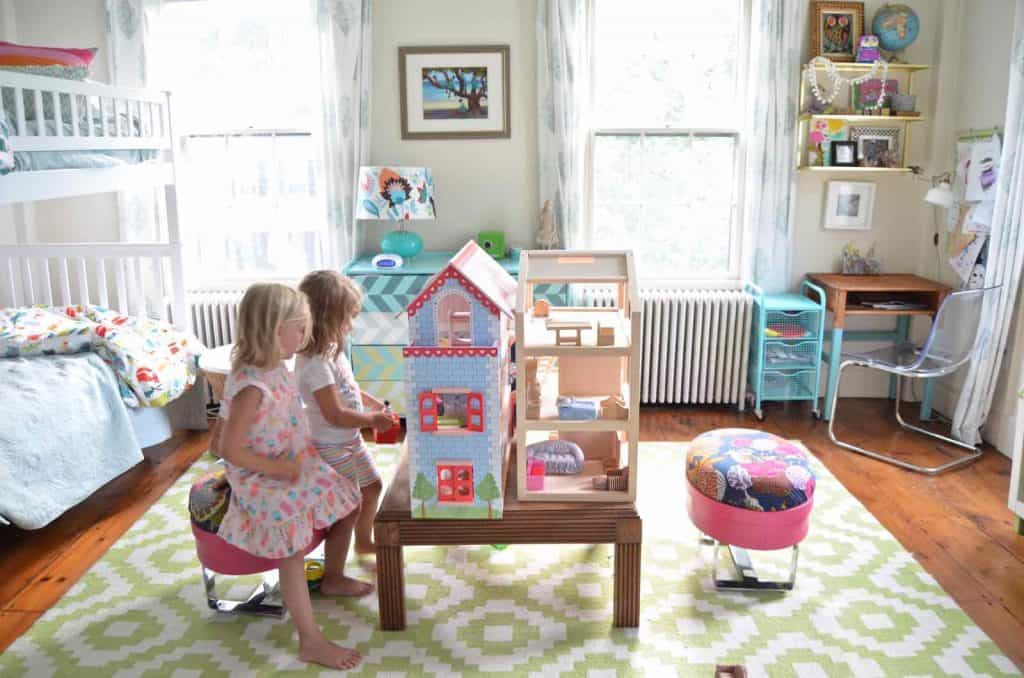
Here’s another project I did featuring the spray shelter. These little ottomans are up in the girls’ room, and they get used every day!’
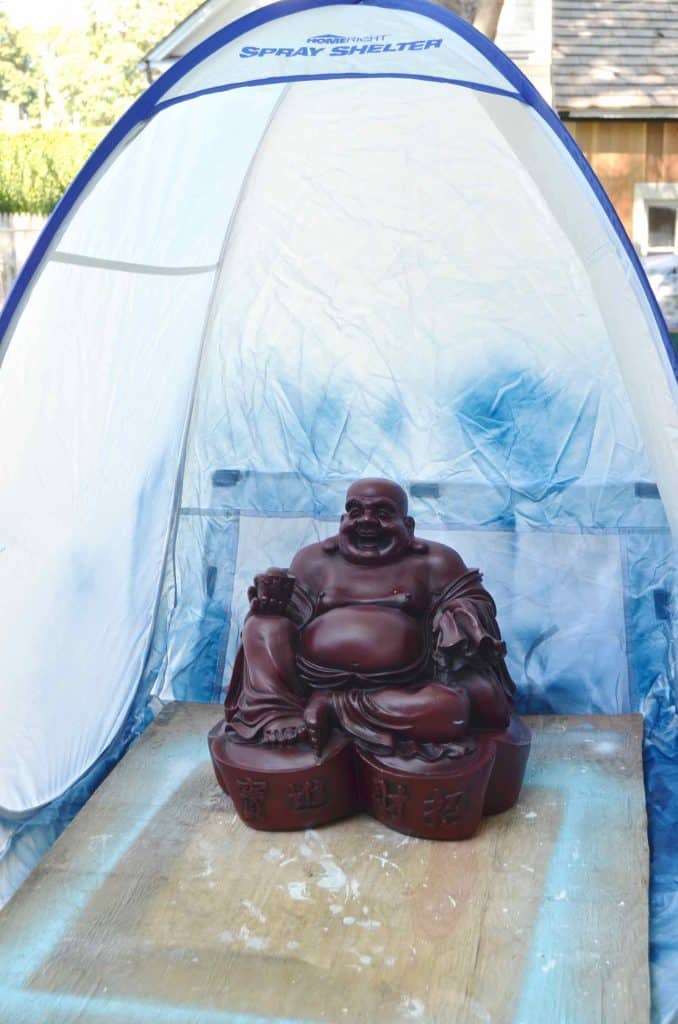
I don’t think I ever shared this guy on the blog… but he’s happily overseeing my shed. Thank you HomeRight spray tent for helping with him too!


You know I love a video… see how FAST and SIMPLE the spray shelter is to use.


Don’t Miss Out
Become An Insider!
Signup for exclusive tips, and tricks from Charlotte’s House!
Let’s chat!
I love comments from you, so feel free to leave your thoughts and ideas below! And don’t forget to follow me on Instagram for even more!