
Stenciled Wall Art
Psssst… this post *might* contain affiliate links: see my disclosure here.
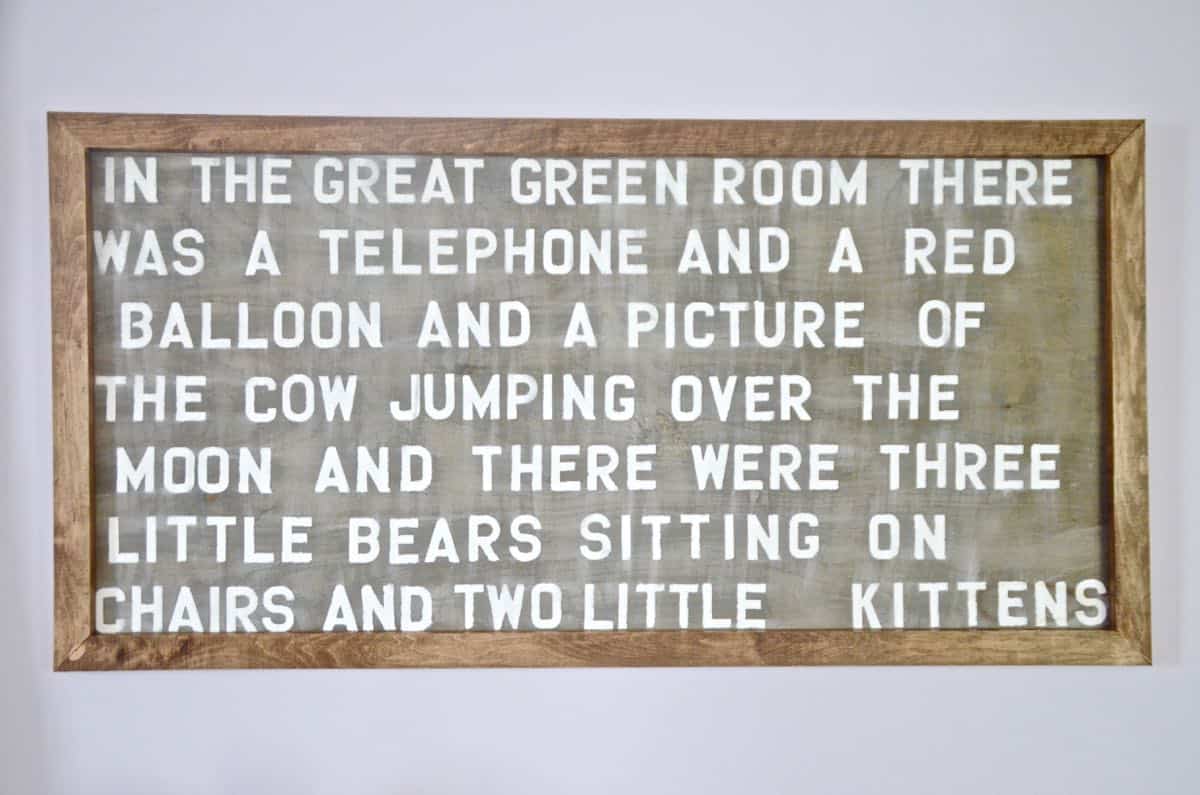
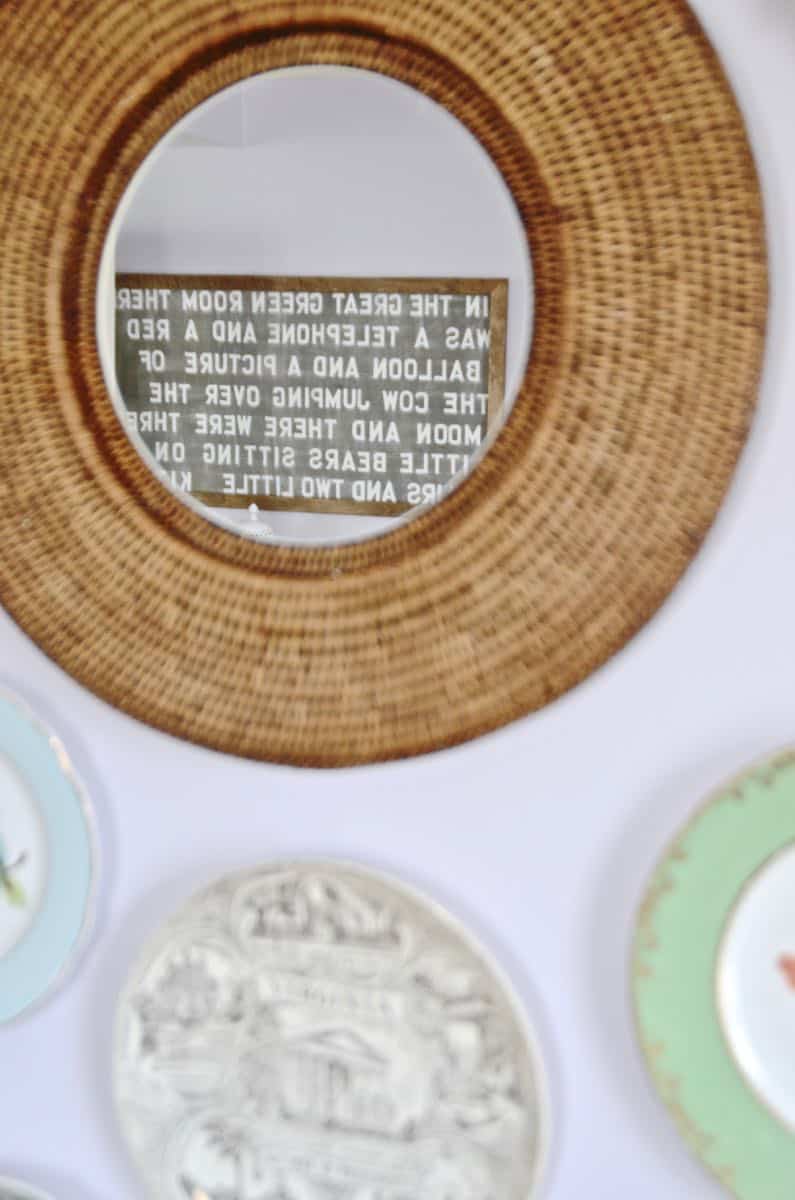
Stenciled Quote Art
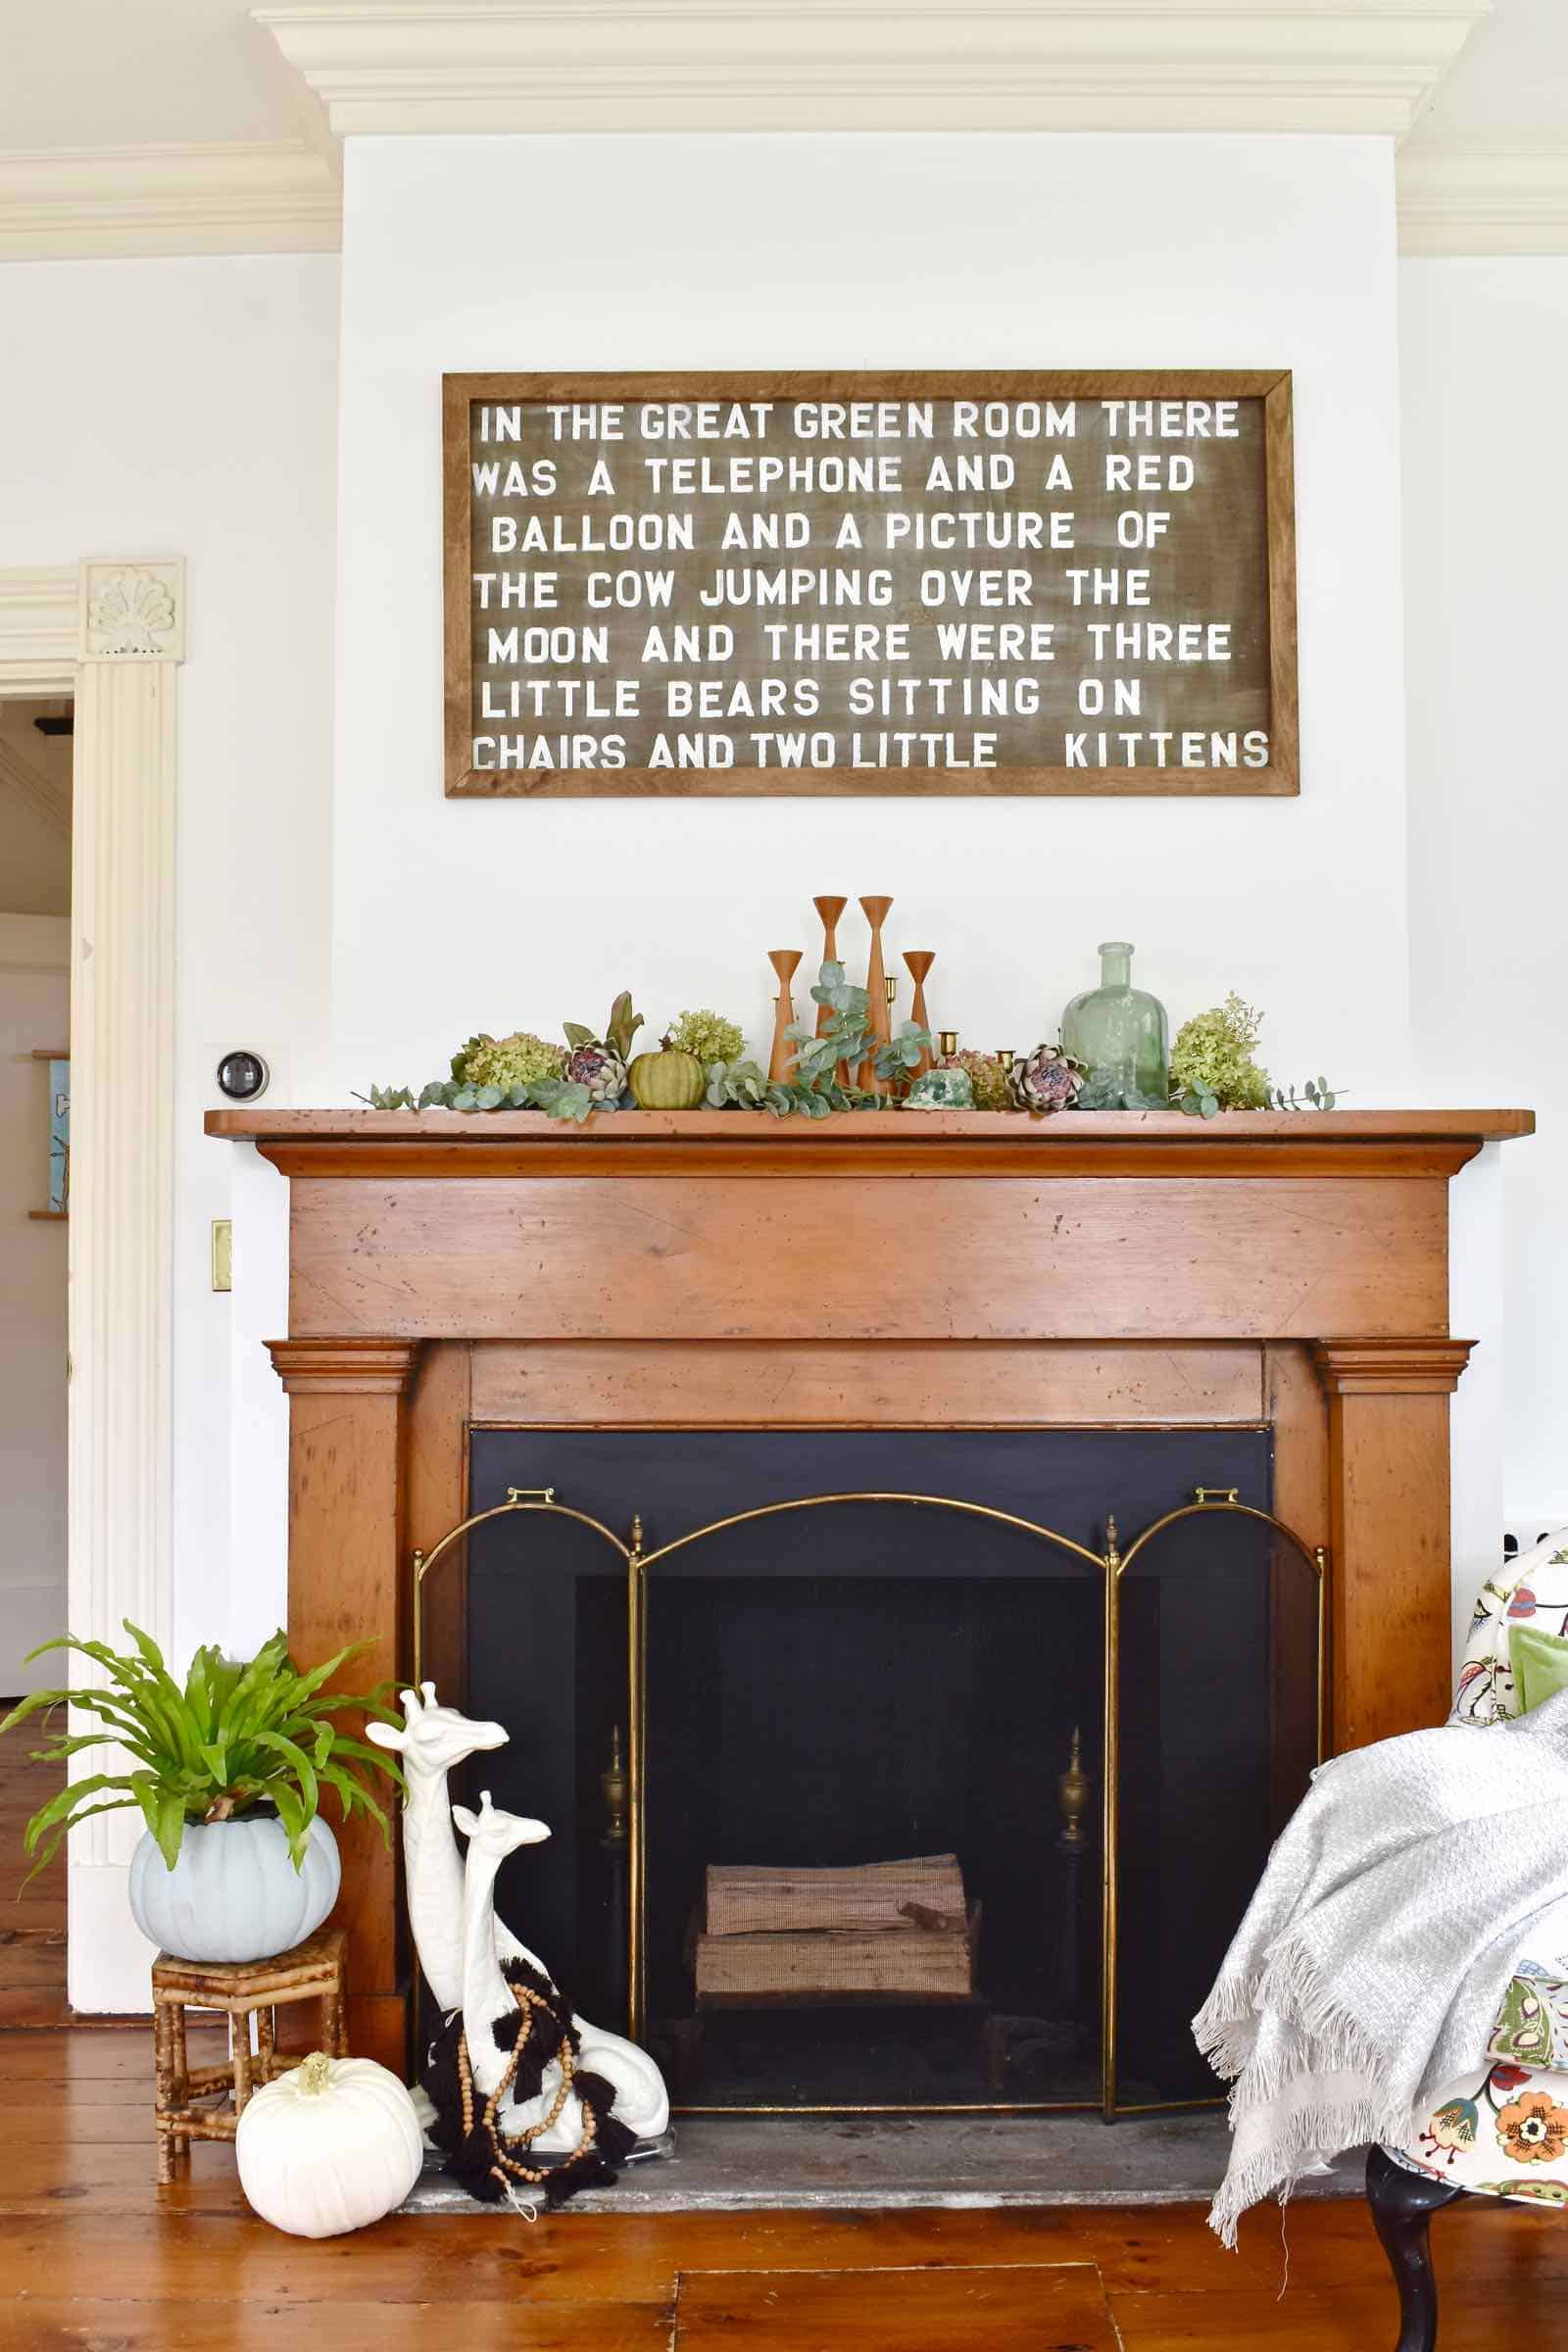
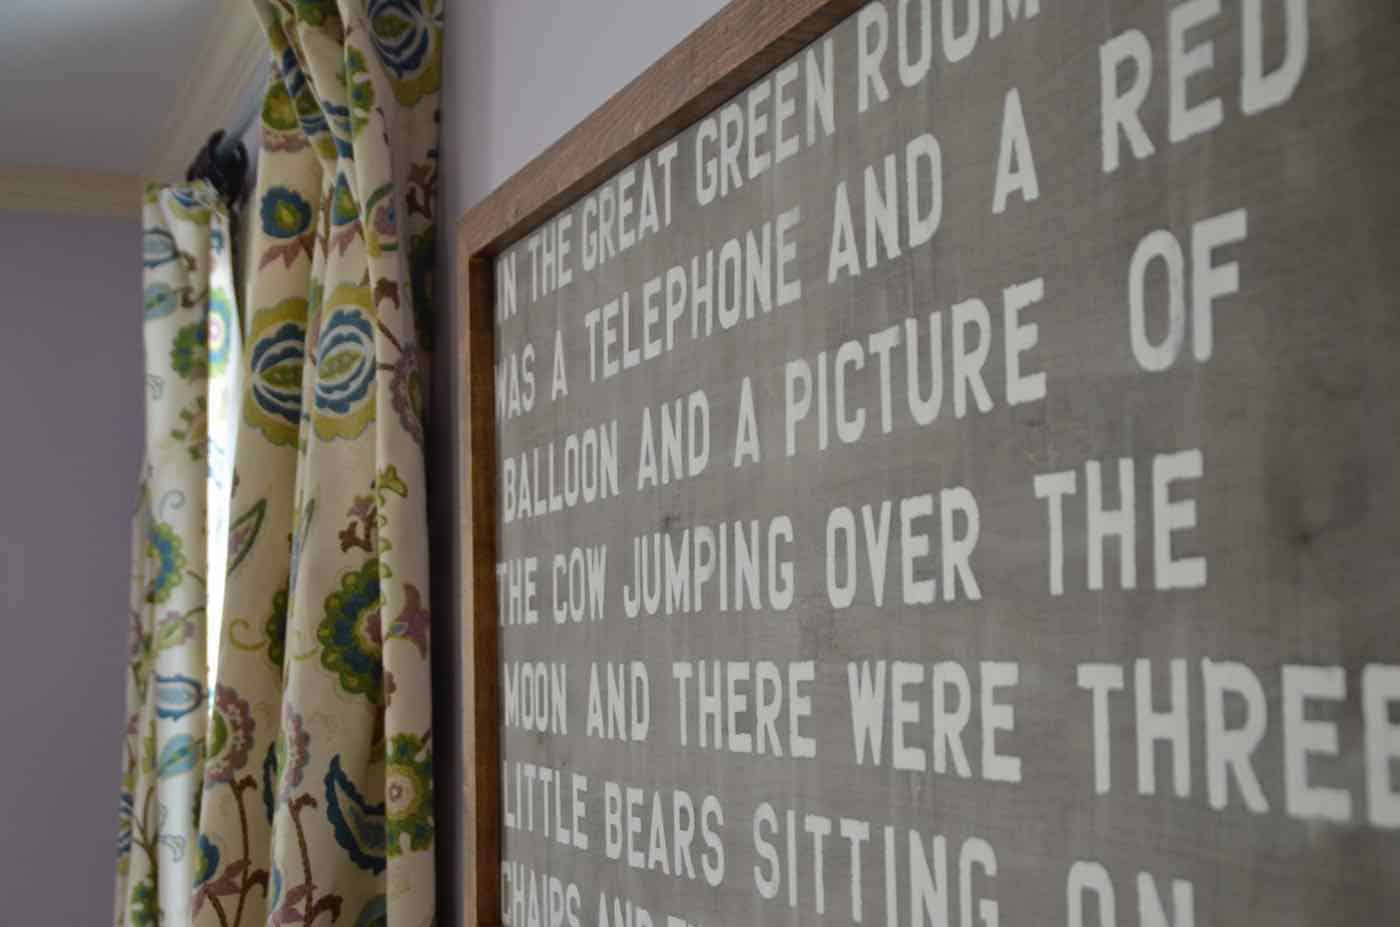
Update: I wanted to share this tutorial again on the blog because we STILL have this sweet quote art hanging in our home. We’ve moved on from our first house and this lavender dining room, so now this stenciled Goodnight Moon art hangs in a place of prominence over the mantel. Just saying these words brings me right back to gently rocking one of my babies to bed. It’s an easy project, but one that means so so much to our family!
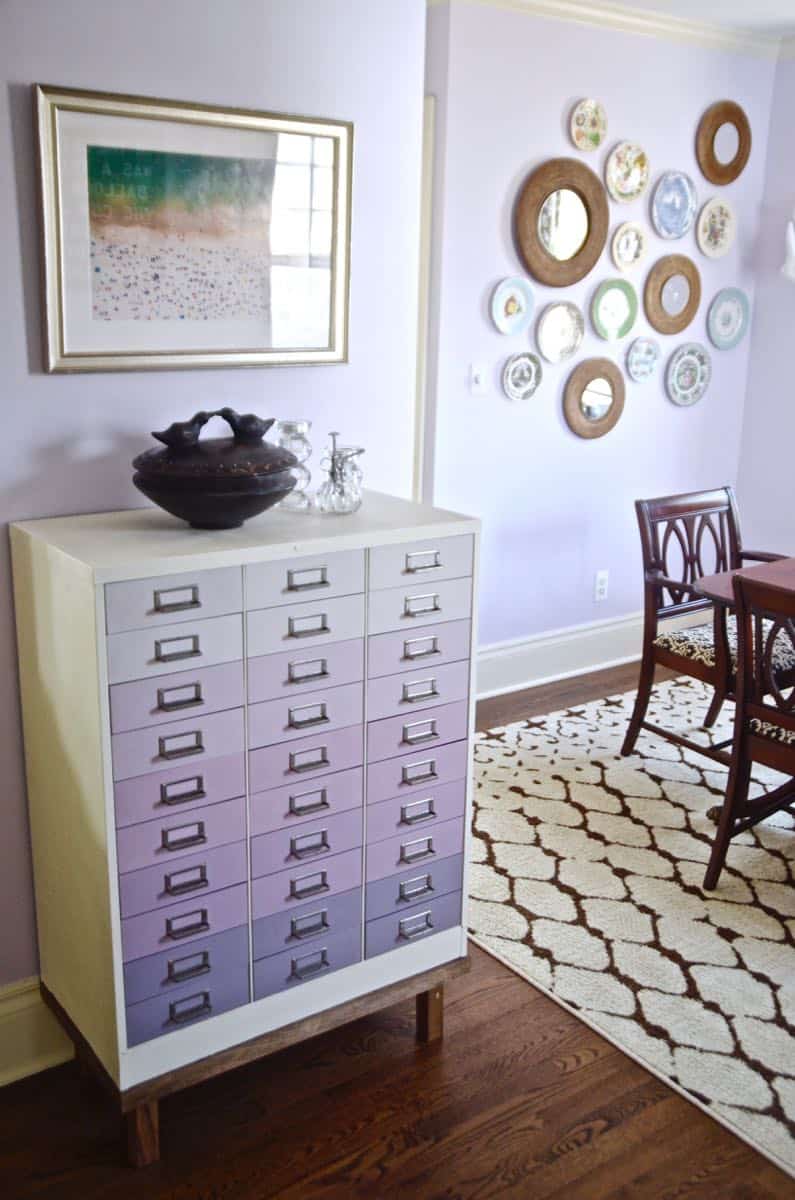
Last week I unveiled our new redesigned lavender dining room. It’s shiny and clean and fun and just begging for some regal dinner party. Or… scattered kids clothes, a rogue pull up and an Amazon Prime packing box as is more likely the case. But this stenciled art is one of my favorite details and it was SUPER easy and inexpensive!
Shop my favorites!
I promised to share step-by-step instructions for some of the projects, so I thought I’d start this week with one of my favorites… the Goodnight Moon stencil art.
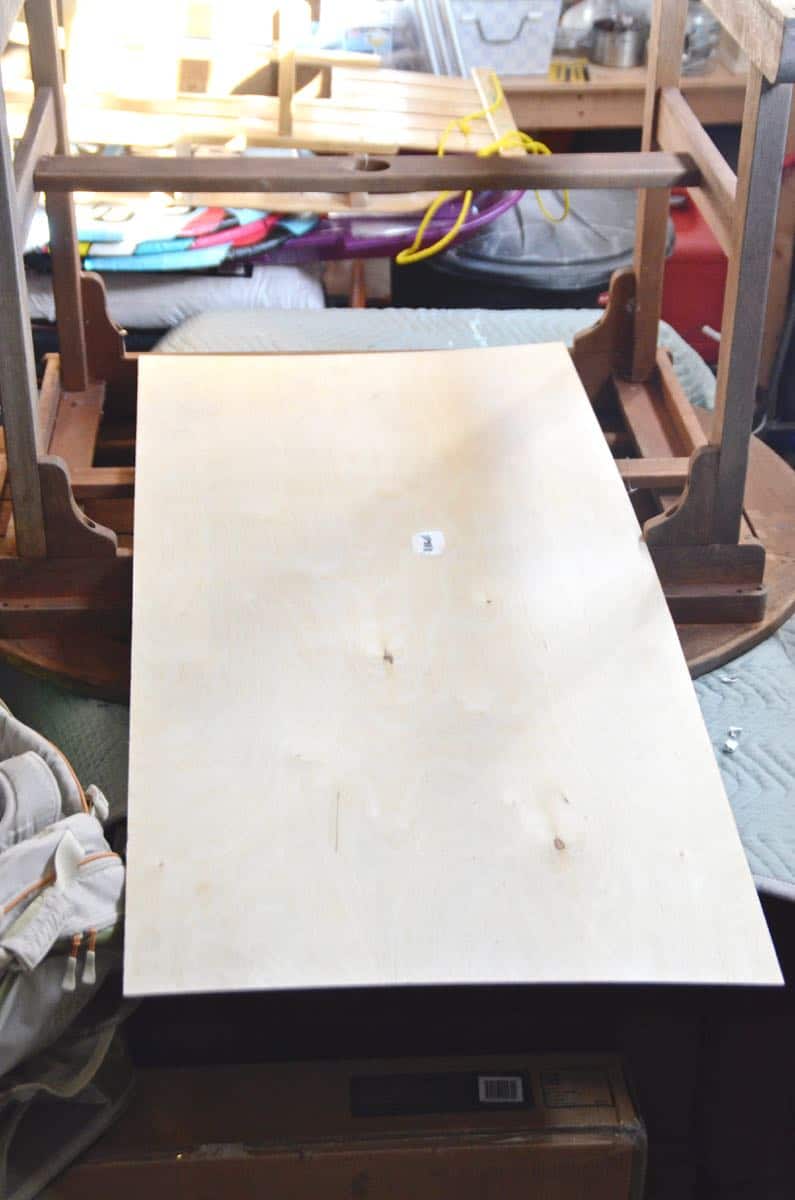
Step 1. Buy thin wood panel
Home Depot sells precut 2′ x 4′ birch panels for $10. I like these because they’re SUPER thin and light, but still wood so stainable, etc.
Step 2: Stain your Wood
I wanted the panel to look aged and weathered so I started by giving it a coat of my favorite home-grown stain (vinegar and steel wool)… but it didn’t take as much as I wanted so I resorted to good ol’ Minwax in Classic Gray. (I only let the stain sit for a minute so it’s not a wildly saturated color…)

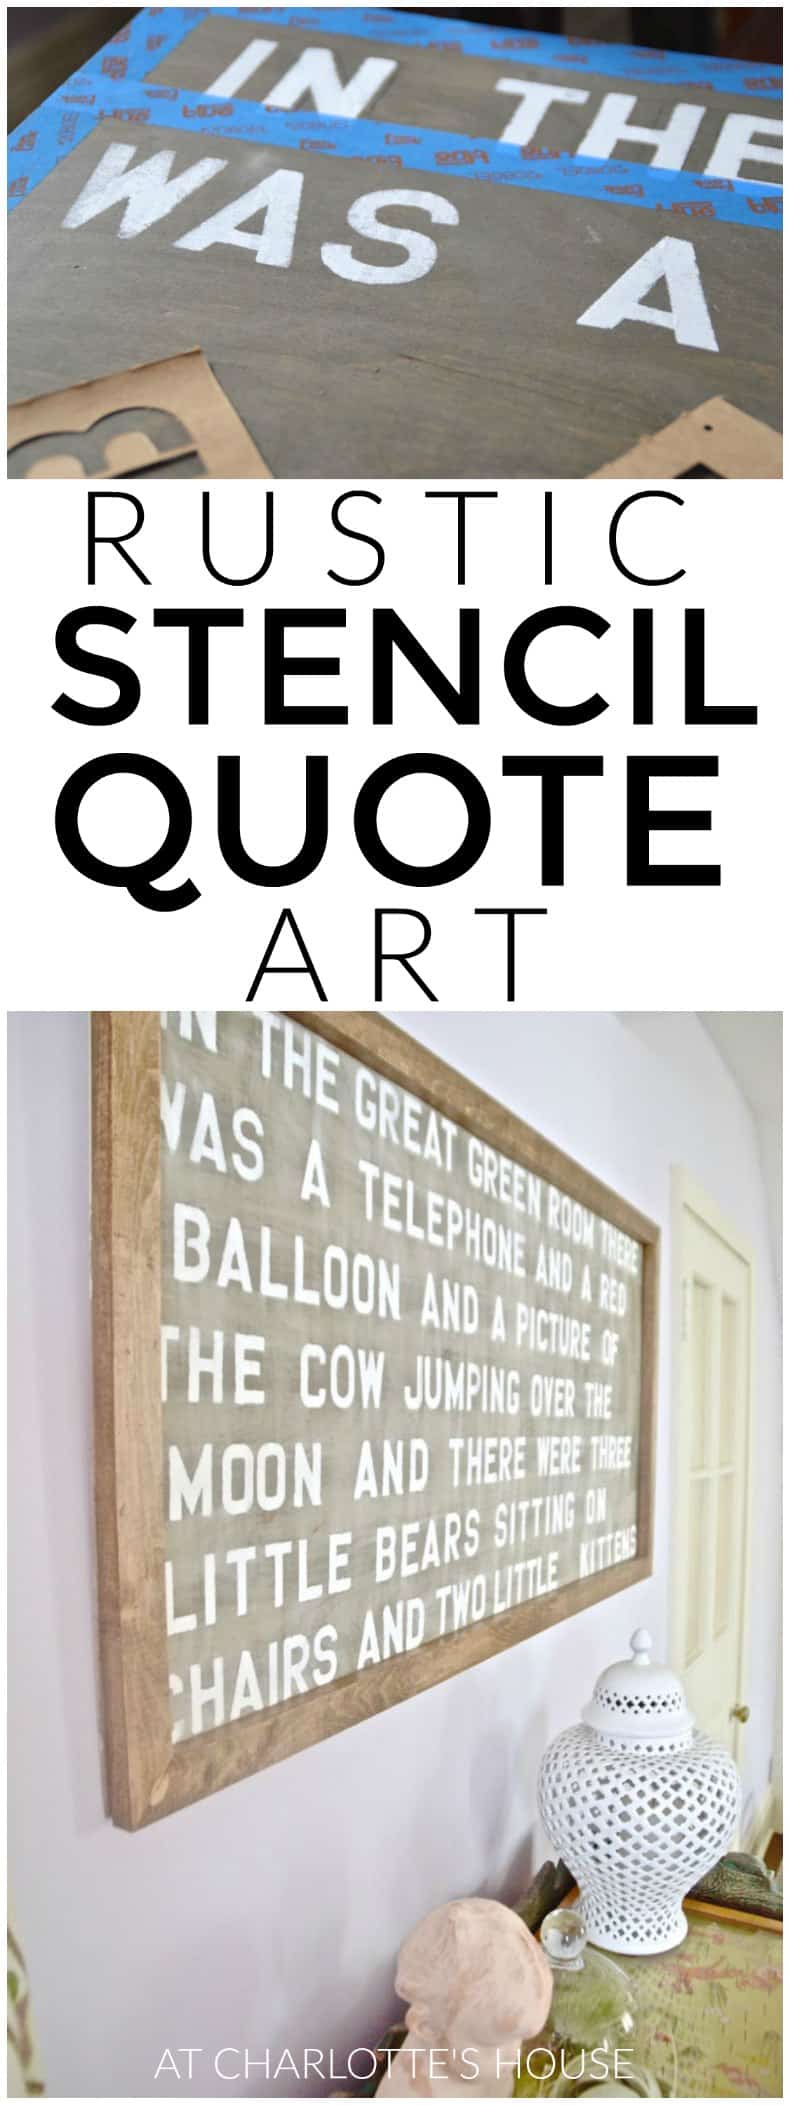
Step 3. Measure and tape out lines.
For the stencil itself, I used basic 2″ stencils I had in my craft hoard. I gave myself a straight line with painters tape and then just eyed it as far as spacing… It hurt my head too much to plan it out better so the text is a little heavy to the left side of the board, but it’s still stinking cute and I love it.
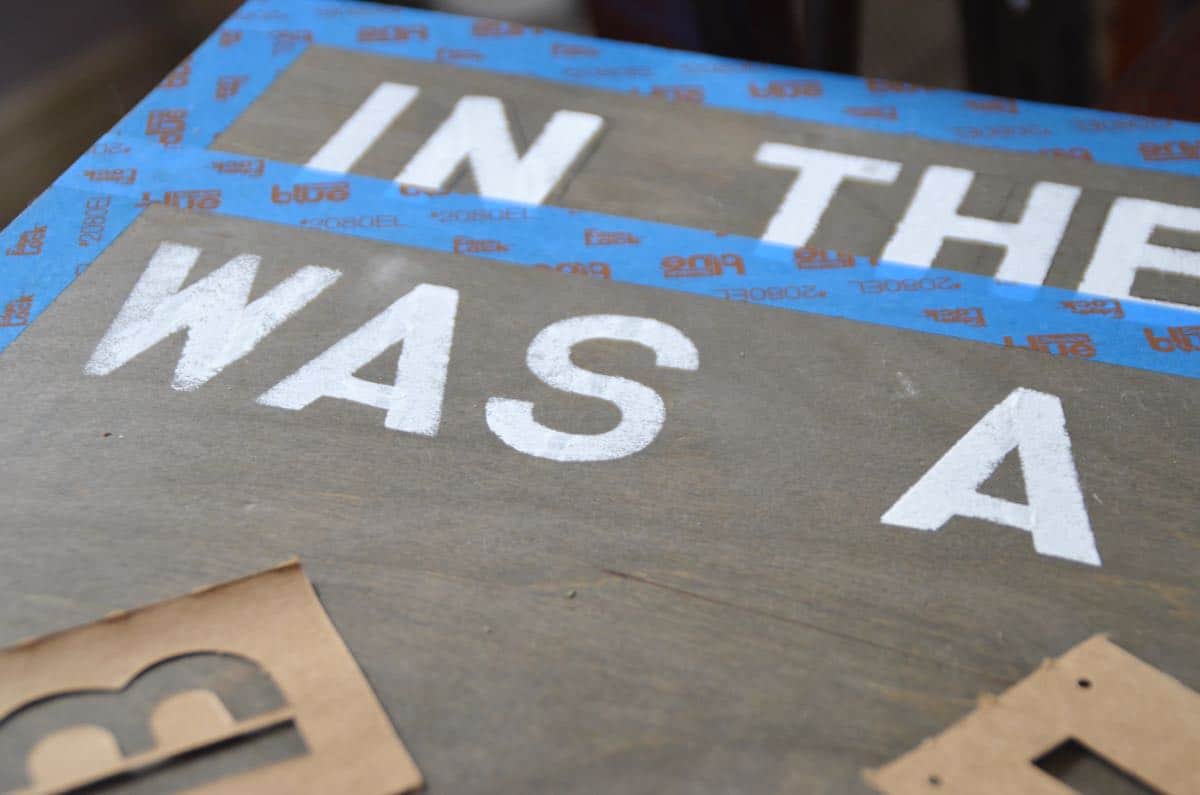
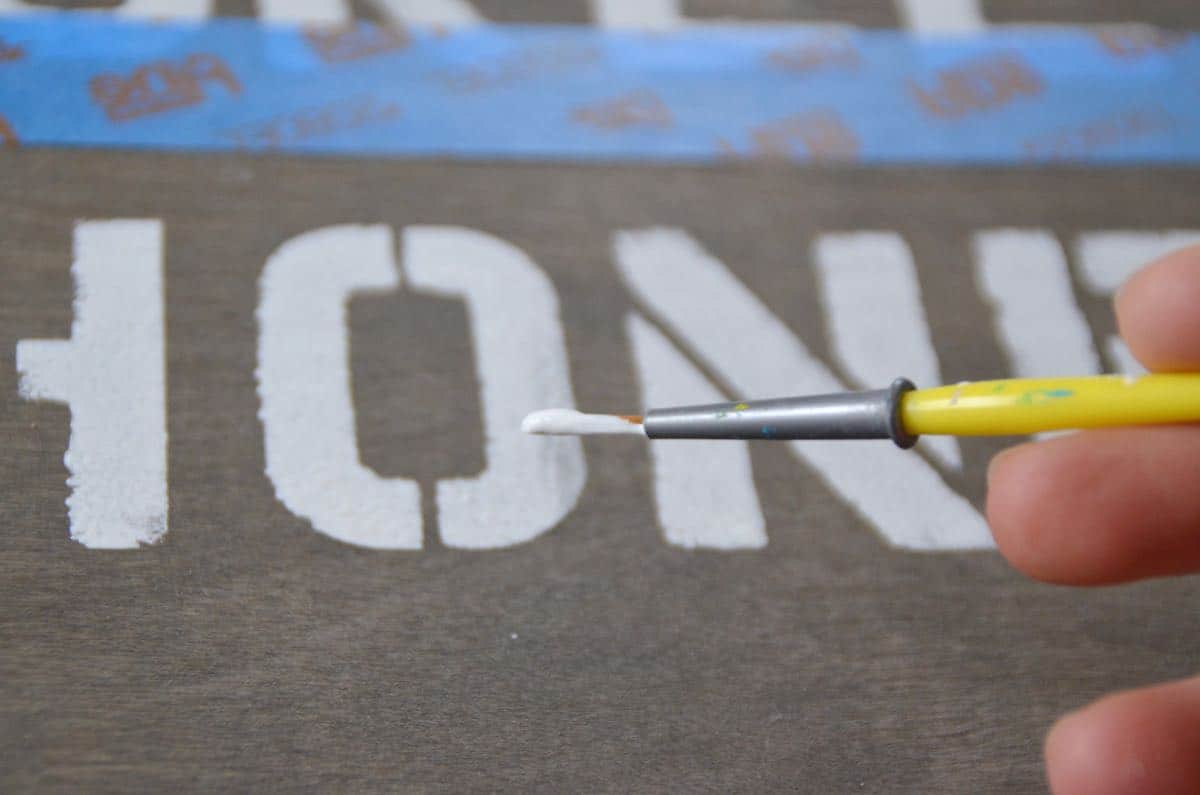
Step 4. Using foam pouncer to spell out quote
With a foam pouncer and simple craft paint, this whole thing only took maybe an afternoon? I used a craft brush to fill in the stencil gaps so the letters were solid. Not laborious work; theoretically you could do this with Housewives playing in the background.
STep 5. Make simple frame with wood glue and 1x2s
For the frame, I used 1 x 2s I had in our garage and gave them a mitered edge. I held the corners together with wood glue and then a couple of staples to hold it in place while the glue dried. Aaaaannnd… I forgot to take pictures. (I also managed to take a picture of the ONE corner where I didn’t sand the wood glue away enough… whatever. #rustic)
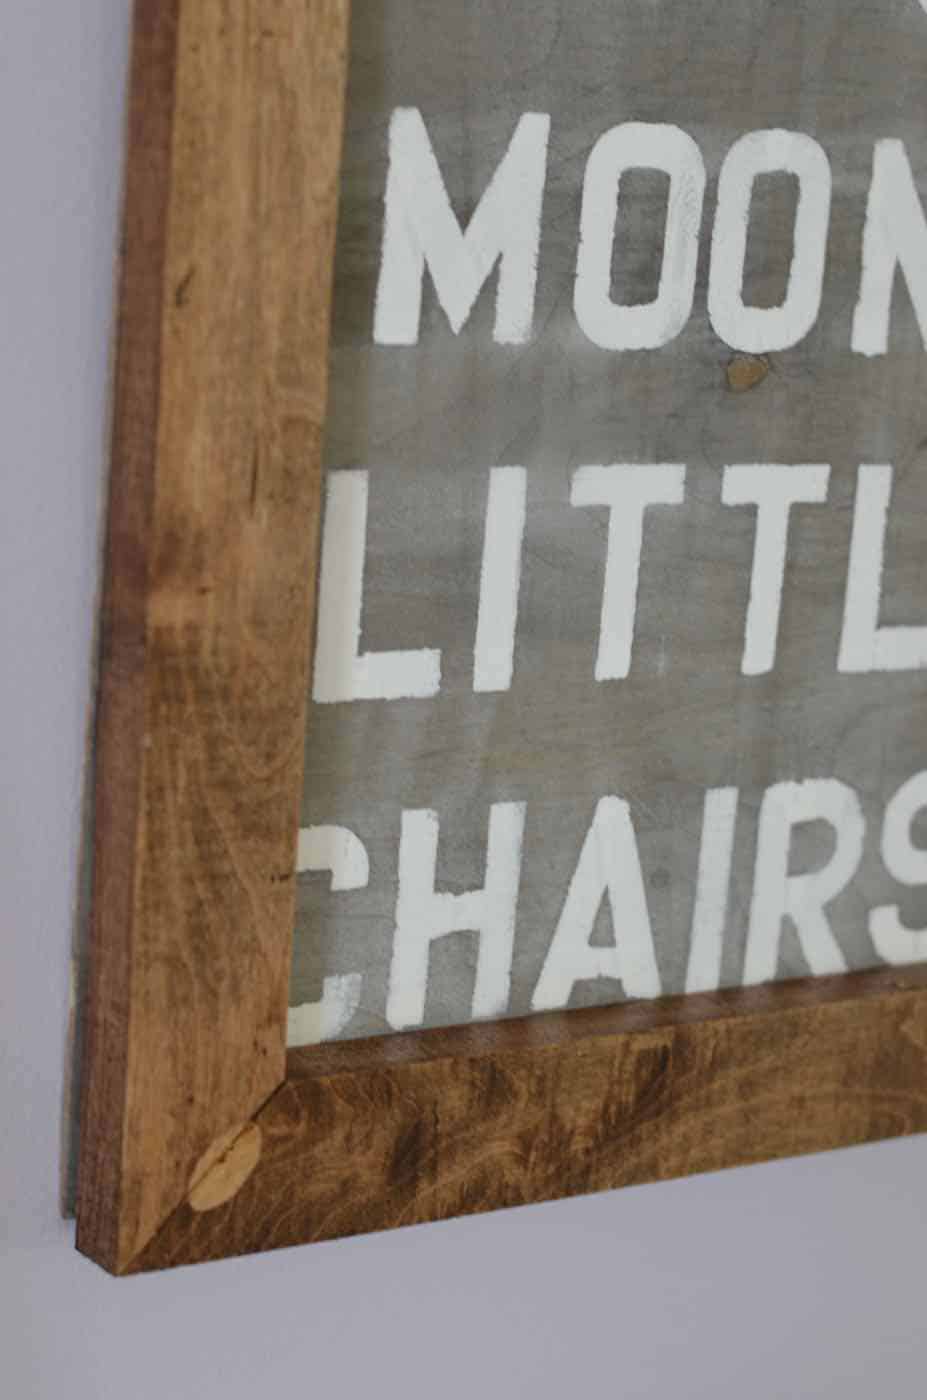
The stain on the frame is Minwax too: Provincial (affiliate). To attach the frame to the board, I pre-drilled holes from the back and just screwed in around the frame (make sure your screws aren’t too long… you definitely don’t want them poking through the front side of your beautiful mitered frame). Simple D-rings with hanging wire on the back and Goodnight, stencil art.
Materials to Stencil Your Own Artwork
(Affiliates included for your convenience.)


I love it. I have plans for an industrial man cave and will probably jack this idea since I already have those stencils. Thanks for the how-to!! Pinnin’.
Jack away my friend!! I’m kinda obsessed myself… Can only imagine what quote you’d pick. Maybe something from that book, Everyone Poops or something.
I have been looking for a good tutorial to make song lyric art for months and I finally found something doable! Thank you so much for posting and for all the details!
Oh great! I love hearing that! Hope you’re turns out great! Feel free to share it! xx
My biggest question…how long do you have to let the previous letter dry before continuing on with the next letter? How did you keep from smudging all the paint?
Hi Emily! My stencils happened to be individual letters so I could easily move from one letter onto the next. But I made sure that I didn’t use a ton of paint and that I put each stencil down straight from above so as not to smudge. But the craft paint definitely dries fast. Even a hair dryer could help speed the process along. Good luck!!
This is amazing, Charlotte! Love your dining room and that book is one of my favorite books of all time. My kids loved reading it every night when they were little.
Hugs, Jamie
Thanks, friend! I could recite that book by heart! It’s so soothing! xx
This is lovely! I used the graphite paper transfer method for my recipe board but I like this idea of stencils – seems a lot easier since you don’t have to trace and then fill in. Love the quote, too 🙂
Best,
Kelly
Yes! I’ve done the tracing method before and it was definitely time consuming. Super easy, but I recall it taking longer.
Thanks!! xx