One Room Challenge, Week 4: Tabbed Top Curtains
Psssst… this post *might* contain affiliate links: see my disclosure here.
Half way point for the One Room Challenge! This is the week where my “only two projects to go” could get dicey from a time-management point of view…yikes. Here’s my design plan and I still have to upholster the chairs I mentioned in Week 2…. remember the beauties with disintegrating foam? I also found an unexpected project when I went to the flea market last Sunday: an adorable folding bar cart… the type with folding legs and a tray topper. It’s wood with amazing campaign details but… the wood on the stand appears to be different than the wood on the tray so- PAINT! Also? I maaaaaay have a few fun accessories to play with once I finish my last two projects. (I teased this on Instagram earlier in the week!)
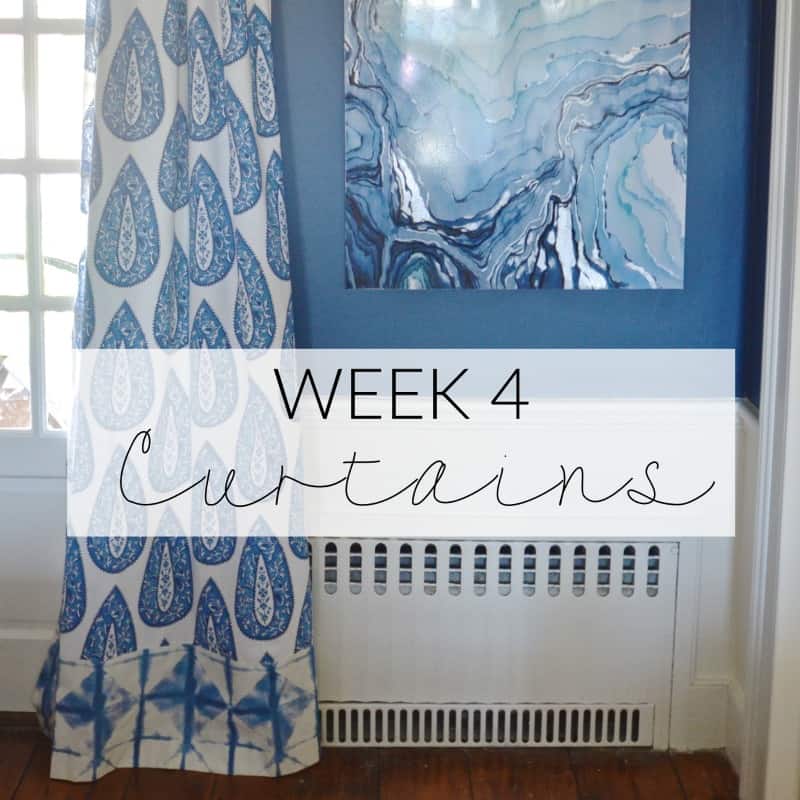
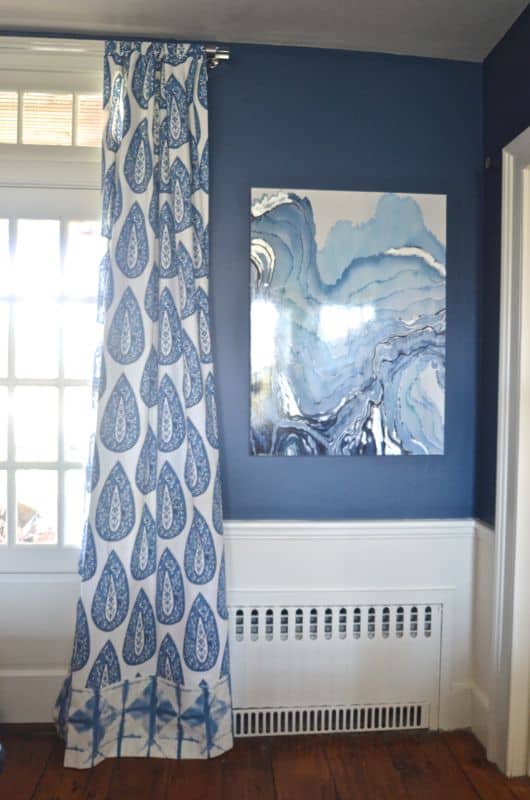
But today… I thought I’d share my new curtains! After a few pathetic attempts at curtains in our old house, I’ve finally cracked the code. I made these lined ones for our old dining room, and then these gorgeous fuchsia ones for Eleanor’s room.
Shop my favorites!
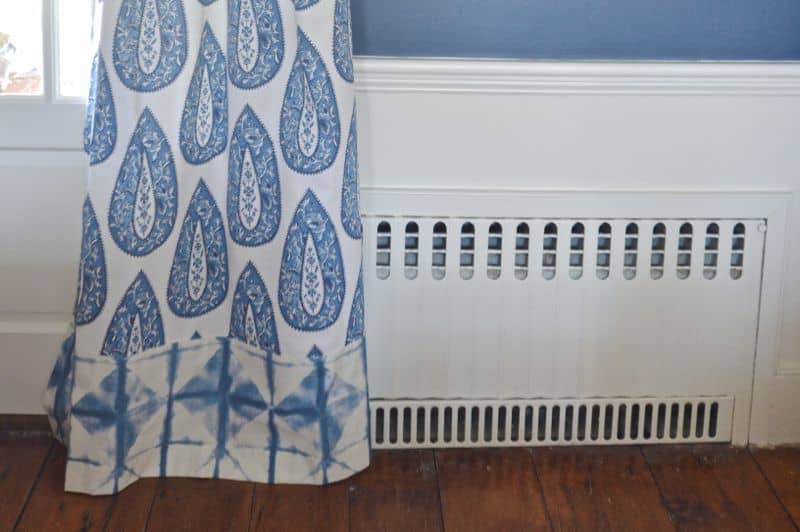
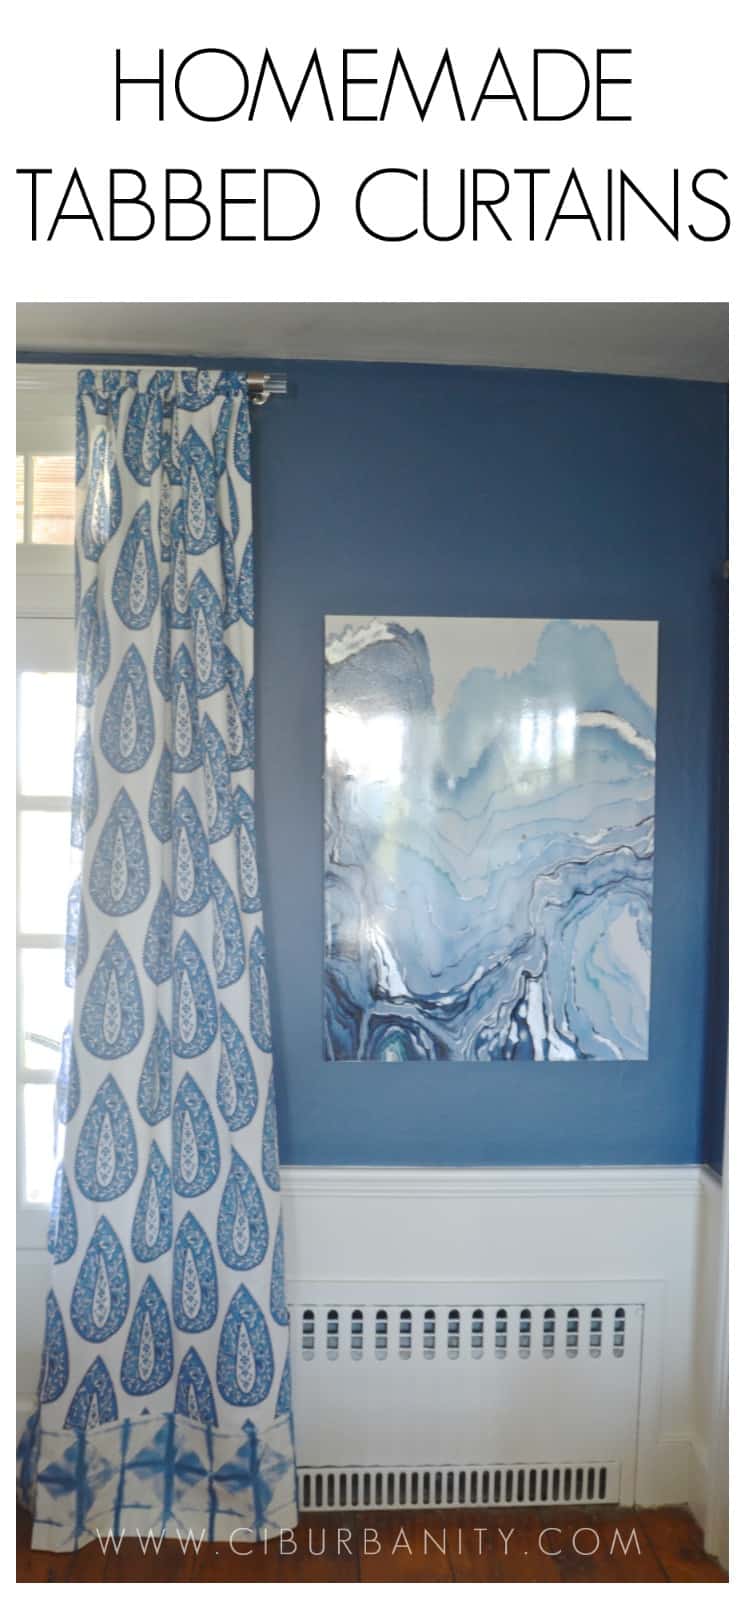
I’d planned to make the exact same ones for THIS dining room until I hit a couple snags. Of course. First snag was that I did my math wrong and was short fabric by about 12 inches…. but that was a happy accident since it meant I added the fabric I’m using on the side chairs as a little trim piece. I should mention that I’m cuckoo for cocoa puffs about the main fabric my pals over at Lacefield Designs sent me. I’ve been DYING to use it somewhere in my house and sort of planned the navy blue in this room so I could use this fabric finally!
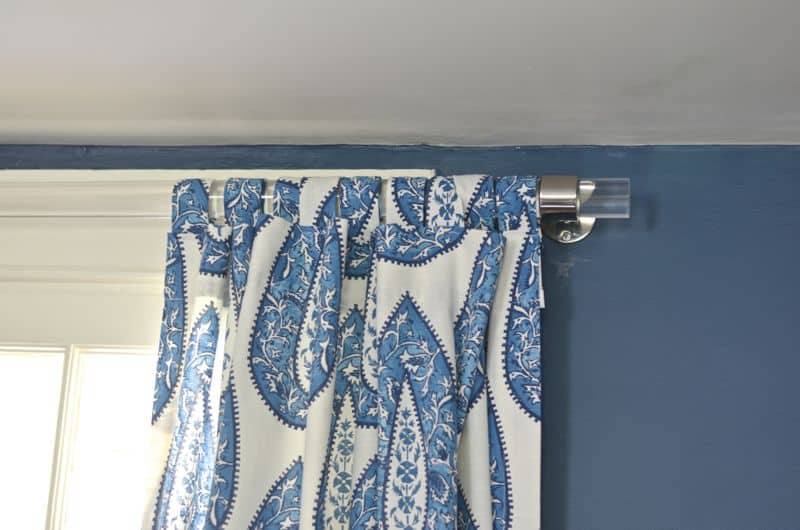
Like I said, I had plans just to sew 2 panels and then add some wooden curtain rings like these (affiliate). But then I hit my second snag… because the curtain rods were mounted on the wall, the thicker curtain rings didn’t fit over the door trim. Womp womp. So I scrambled and made fabric tabs. (Curtain rods are from here, and hardware is from here.)
How to Sew Curtain Tabs
Step 1
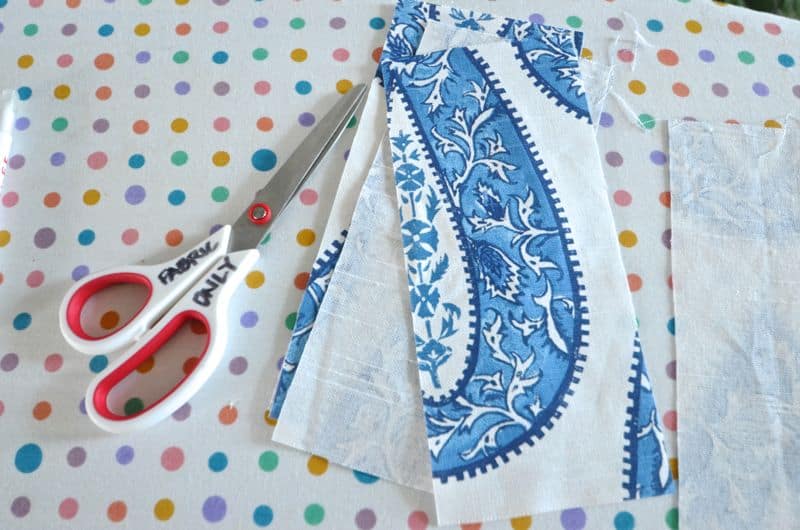
I needed the tabs to be a few inches long so that the length would be right and I wanted them to be about an inch wide. I cut strips from my scrap fabric that were 8 inches long and 3 inches wide.
Step 2
With the right sides of the fabric facing each other, I sewed the edges.
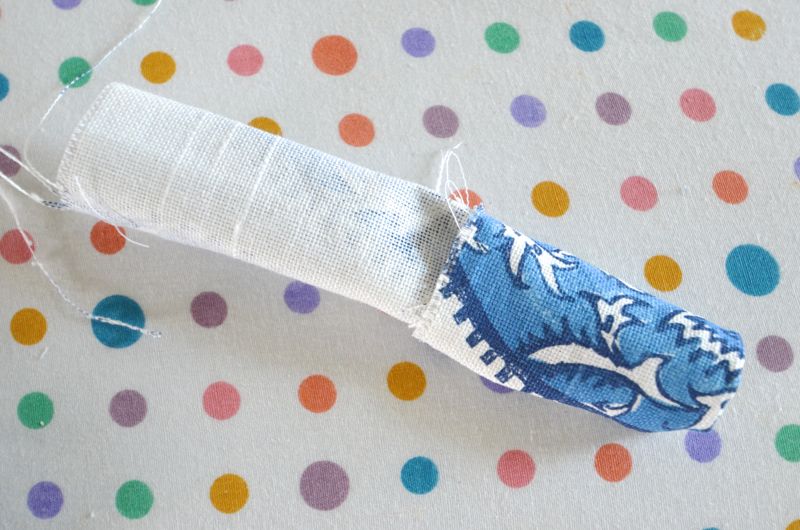
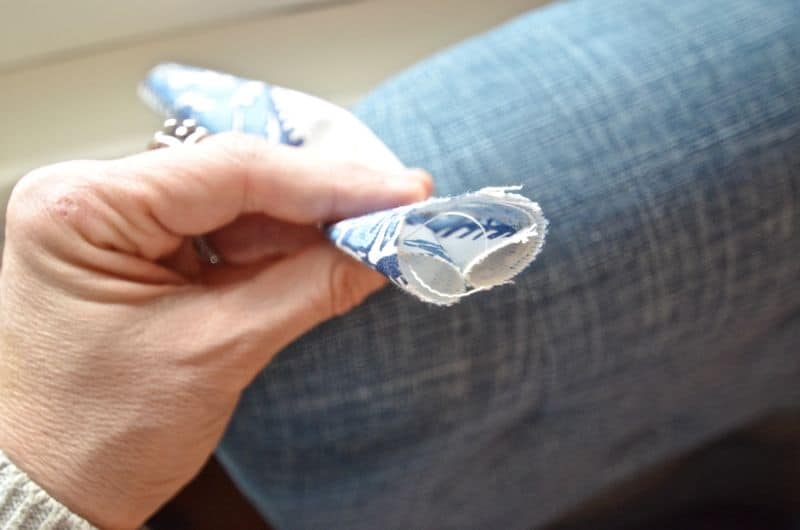
I couldn’t figure out an easier way to do this other than just slowly working each one with my fingers, but the next step is to turn each little tube of fabric right side out so that the seam is on the inside.
Step 3
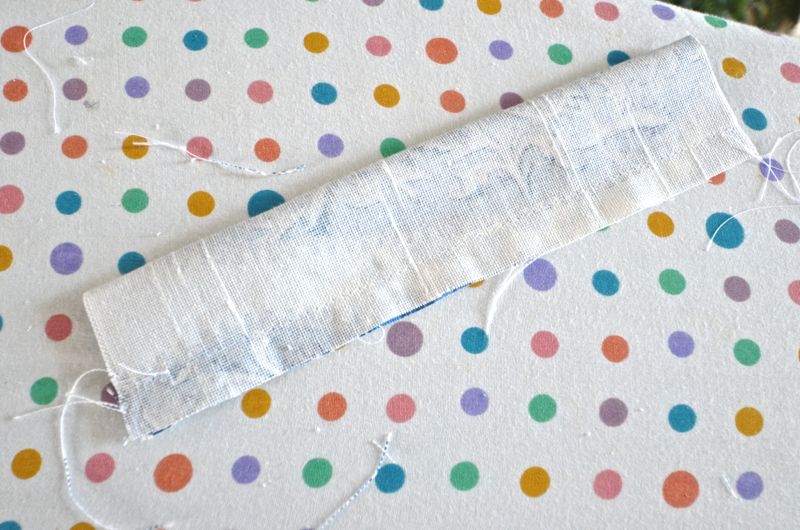
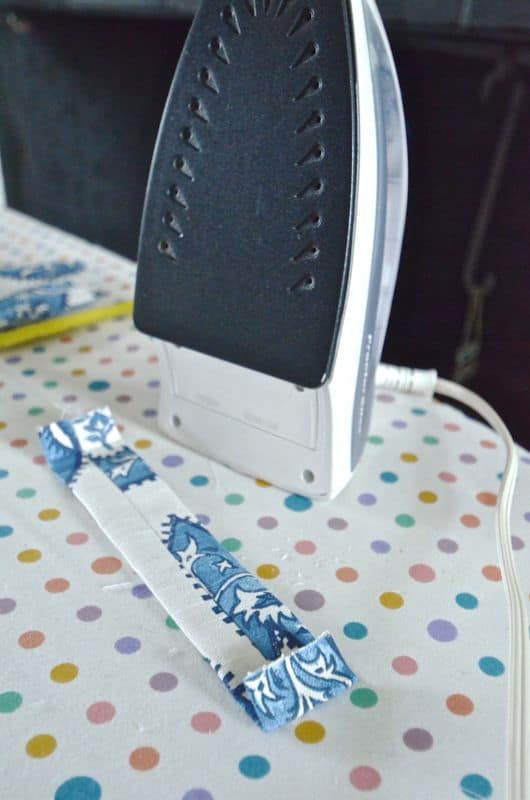
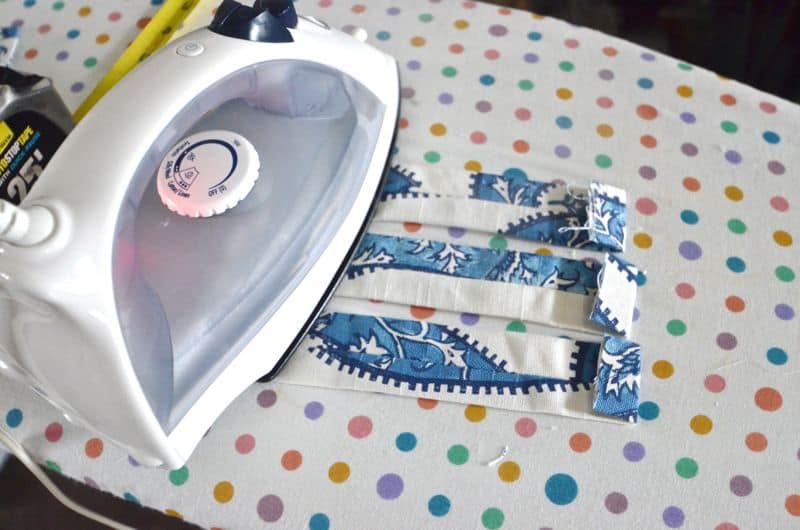
Once I had all my little strips turned right side out, I ironed them with the seams down the middle. It’s important to make sure the seams are pressed flat inside the tube in this step.
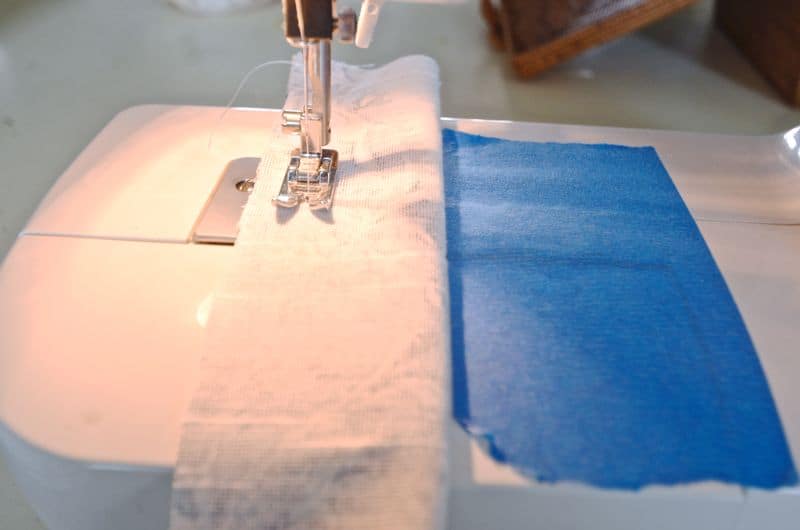
To make sewing easier, I also ironed both ends under by an inch. I pinned the tabs onto the front and back of my curtain panel and sewed along the top and bottom edge. The fabric was thick, but ironing first helped a lot.
Tip: You can iron 2 or 3 strips at a time!
Step 4
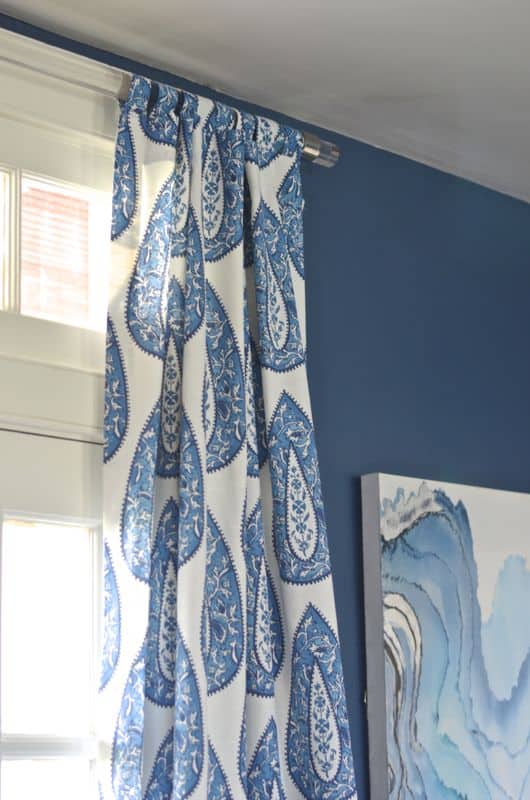
I actually love how the tabs turned out. The wooden curtain rings would have been cool too because of the other wooden elements in the room, but given the two hurdles these curtains threw at me, I’m thrilled with how they came out!
For those of you who tune into Bottletalk on my Facebook Page, I know I promised a source list… Stay tuned. I have one almost ready to go and will *try* and share it in the next few days!
Aside from those two looming projects mentioned earlier, I’ve tackled everything else on my To Do list for this room!
- the walls have been painted Benjamin Moore’s Van Deusen Blue
- I’ve made curtains
- hung art
- made macrame wall decor (tutorial coming soon)
- found and repurposed a dated nautical mirror
- painted the table (I’ll share next week!)
- hung a new chandelier that’s SO pretty I’m making you wait to see it!
- painted the sideboard (reminder I used this AWESOME paint (affiliate) )
Head over to Calling It Home to see all the other One Room Challengers. This is a big week and I can’t wait to see what everyone’s been up to! And come back next week to see a source list for my room and hopefully some other goodies like table settings or upholstery or a bar cart makeover! To be determined!


The curtains turned out beautifully! You are right, use these opportunities to make flubbed projects better than originally thought. I completely feel your pain with measuring too short, just did it recently to our game room curtains.
THanks so much, Joy!! I measure too short more than I care to mentioned… Doy. 🙂
The curtains are gorgeous and of course, they look great next to that blue wall. I like how you were able to save the day by adding the bottom piece of fabric to the curtains. It has happened to me too. 😉 And the tabs are also very classy and make a nice fit with the curtain rods.
But you made no mention of that stunning piece of art! The elephant in the room? Or are you saving it for the end?
HAHA! That one is from Homegoods! I’m posting a source list soon and have one that’s similar… isn’t it AMAZING!!
Absolutely love your drapes & the artwork! I came thisclose to using the same Lacefield pattern in a different colorway for my dining room ORC but have hit some snags with my fabrics & hardware also. Way to overcome those obstacles!
Thanks!!! Thankfully no MAJOR setbacks, but there’s always something, isn’t there?? 🙂
They are gorgeous Charlotte! I love how you added the band at the bottom to compensate for the length. That’s such a fun little detail. You are inspiring me to take out the sewing machine and attempt to conquer it again. My ORC would have been worlds easier if I could sew. I love your art too by the way! So pretty!
Thanks, Lisa!!! I agree! I’m LOVING the little strip at the bottom… And make no mistake…. I can *barely* sew, but I’ve cracked the code on the straight line! That art is from Homegoods and I LOVE it!!
Curtains are next week’s project but of course I’ve decided on a complicated valance just to make things fun. Love all the different shades of blue working together here.
Gah. I haven’t tackled valances yet… but my son’s room could use some. Might see how yours turn out before tackling them! 🙂
Your curtains are beautiful. I love the colors in your room.
anks, Tiffany! I wasn’t sure how it would come together, but loving it so far! 🙂
All the blue is making me swoon. LOVE the two different fabrics together on the curtains!
Thanks, Gretchen!!! Throw enough blue together and it’s bound to match, right? :/
Just wanted to tell you that I love your curtains!!! One more reason I need to brush up my sewing skills…so I can make fabulous custom curtains too 🙂 Great work!
Thanks!! It’s taken me LOTS of baaaaaaddd sewing posts to figure out the straight line thing. Ironing first has helped a lot. Doy. Good luck!!