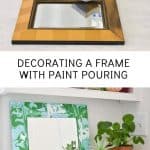
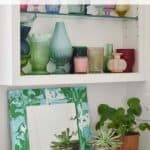
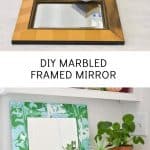
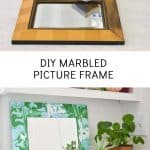
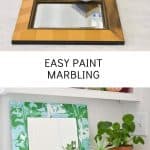
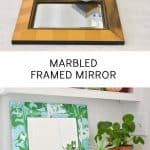
Using Paint Pouring to Decorate a Frame
Psssst… this post *might* contain affiliate links: see my disclosure here.
How to: Paint Pouring
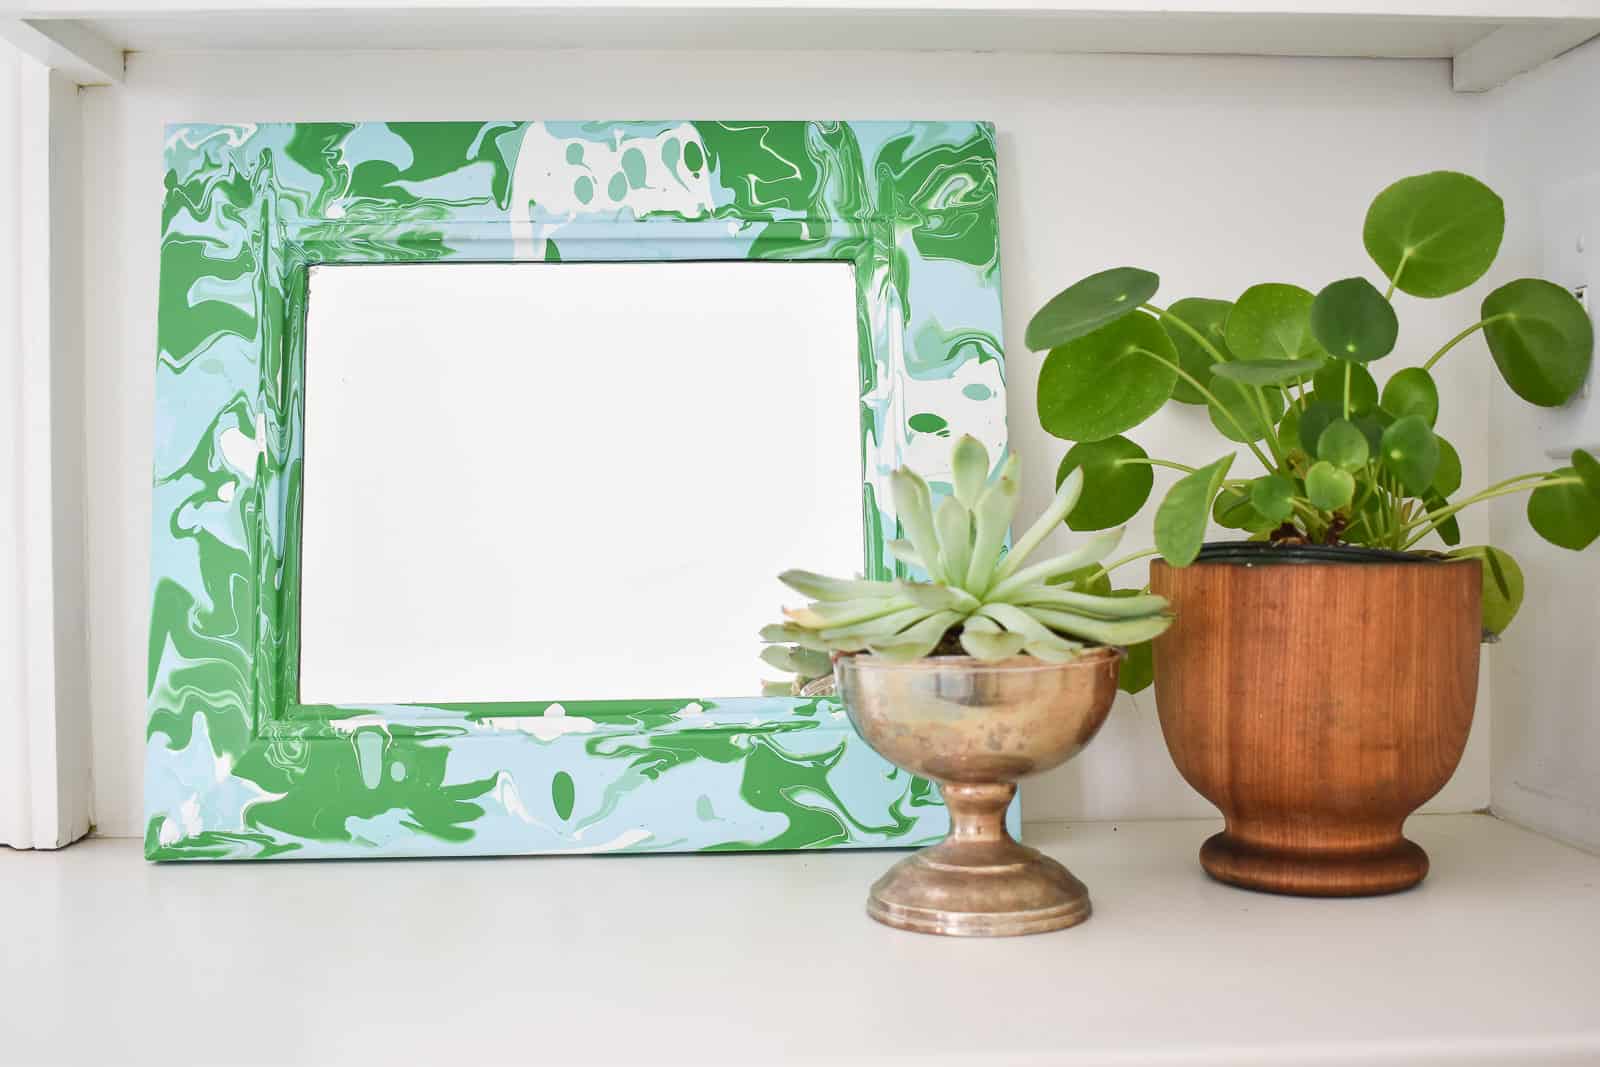
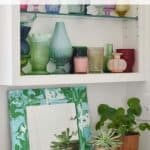
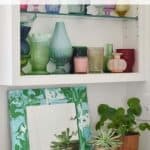
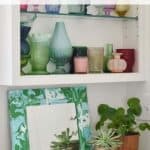
Are you all sitting down? You might need to be because this technique is so unbelievably cool and bada$$ that you’re going to swoon a bit. I’m talking paint pouring. Yep. The pouring of paint to make amazingly cool and marbled and variegated patterns…. super easy. Super satisfying. Here’s how you do it!
Step 1. Prep surface
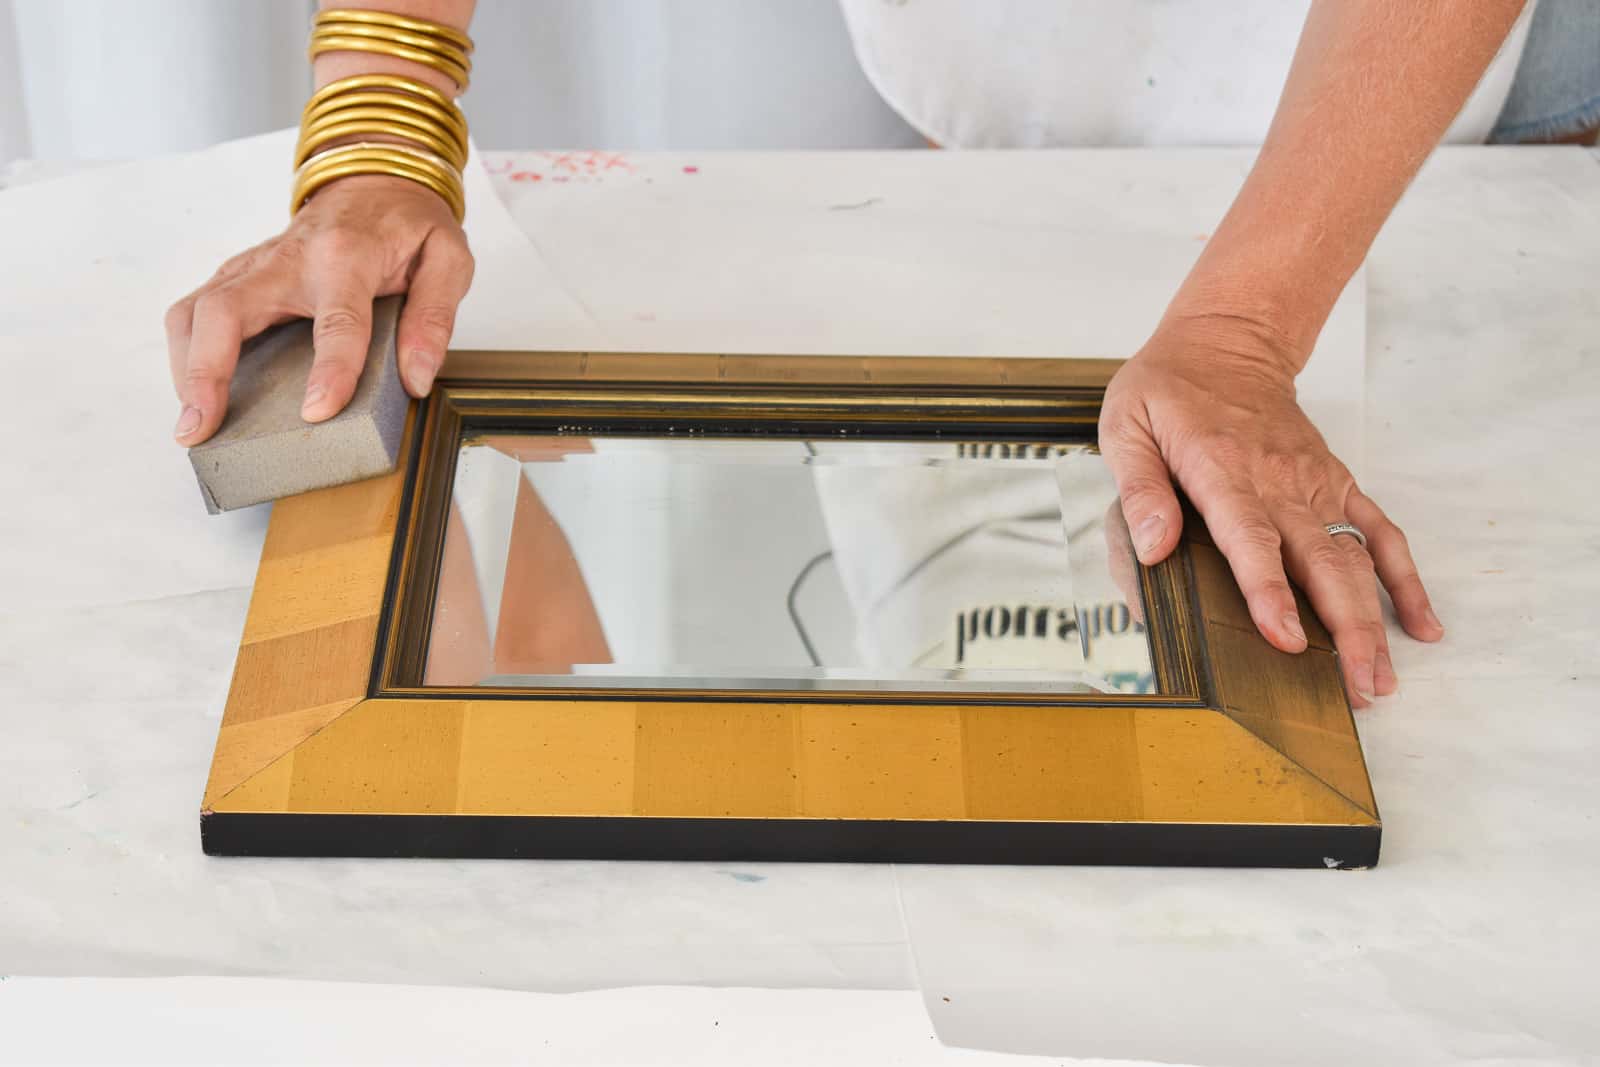
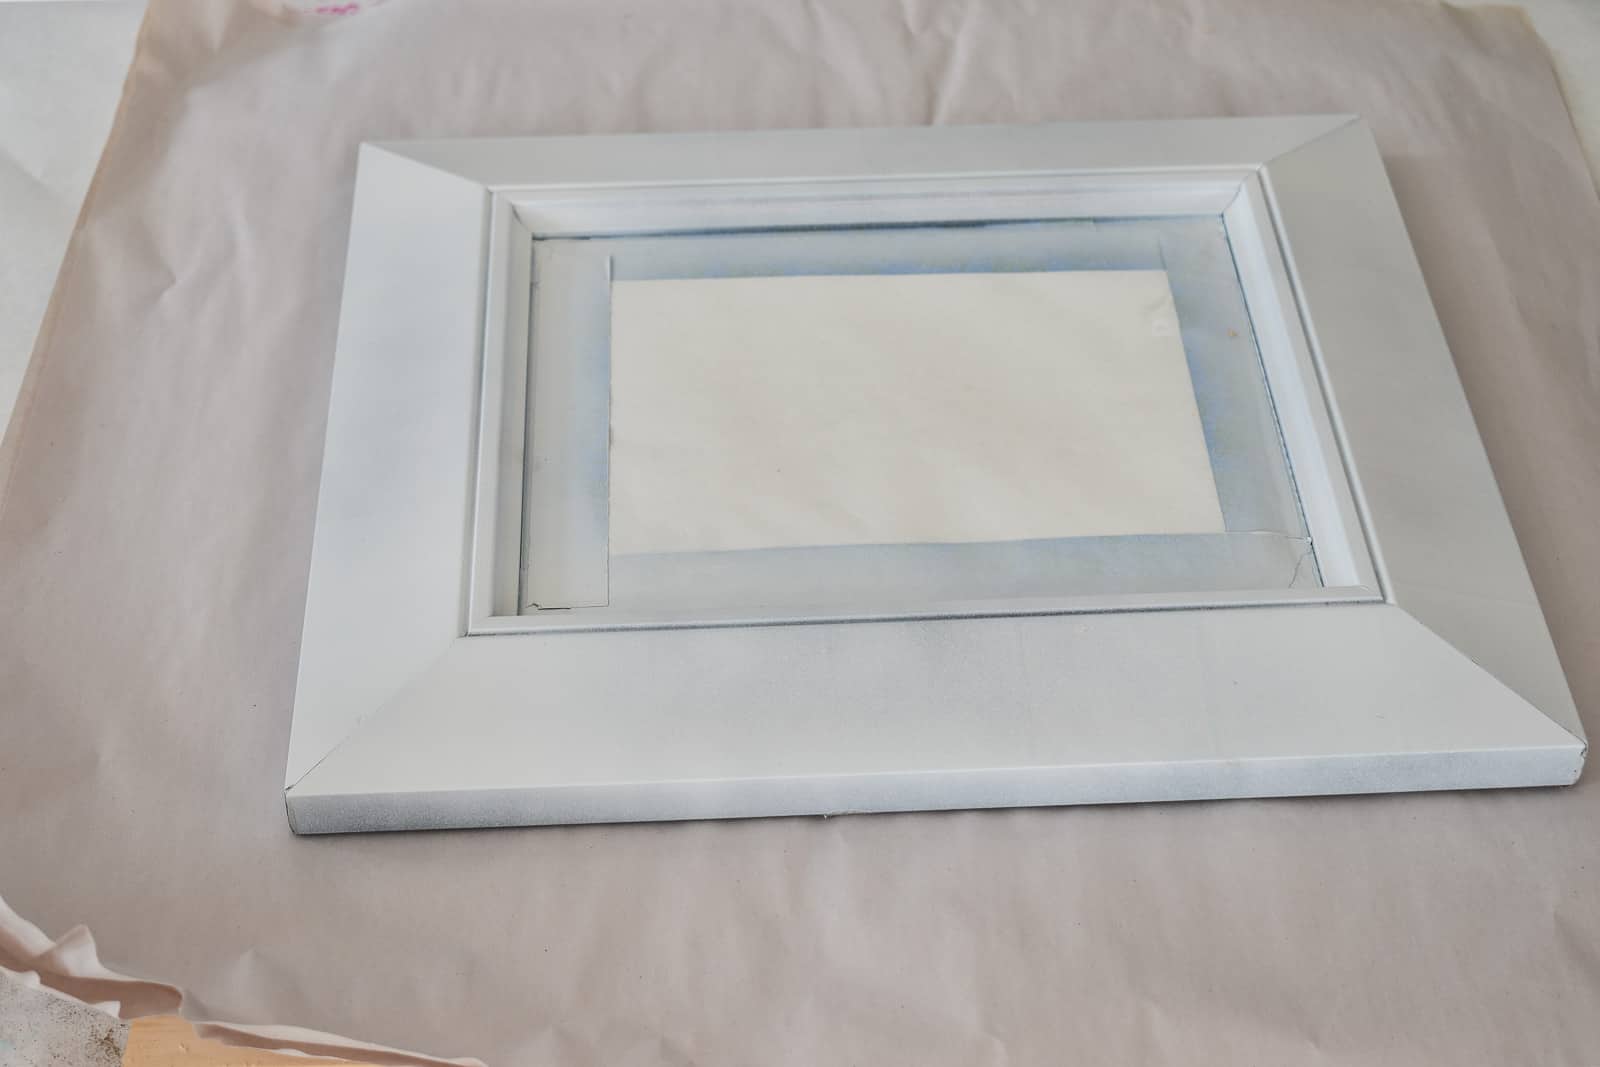
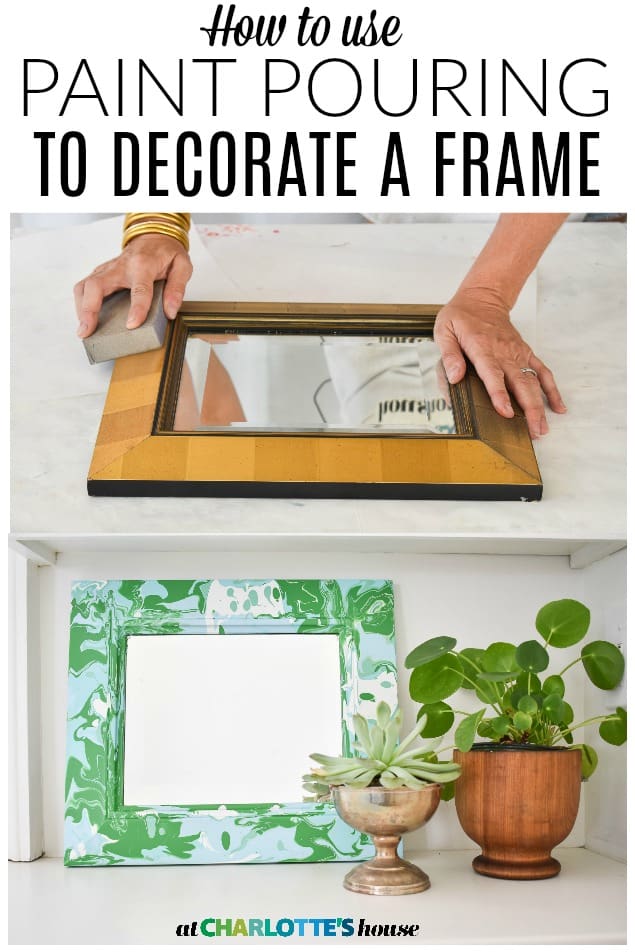
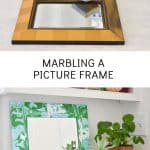
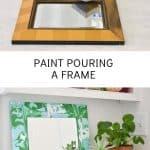
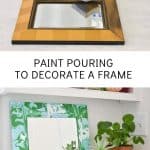
I wanted to update this thrift store mirror so I had to quickly prep the surface so paint would adhere. I sanded with a sanding block (I can’t remember what grit but for this it doesn’t really matter), and made sure the surface of the frame was clean and clear of dust. Then I gave it a light coat of Rust-Oleum flat white spray primer.
Shop my favorites!
The mirror I picked up was stapled into the frame so I couldn’t remove the glass. Instead, I used painters tape and some scrap paper to tape off the mirror.
Step 2. Mix the paint
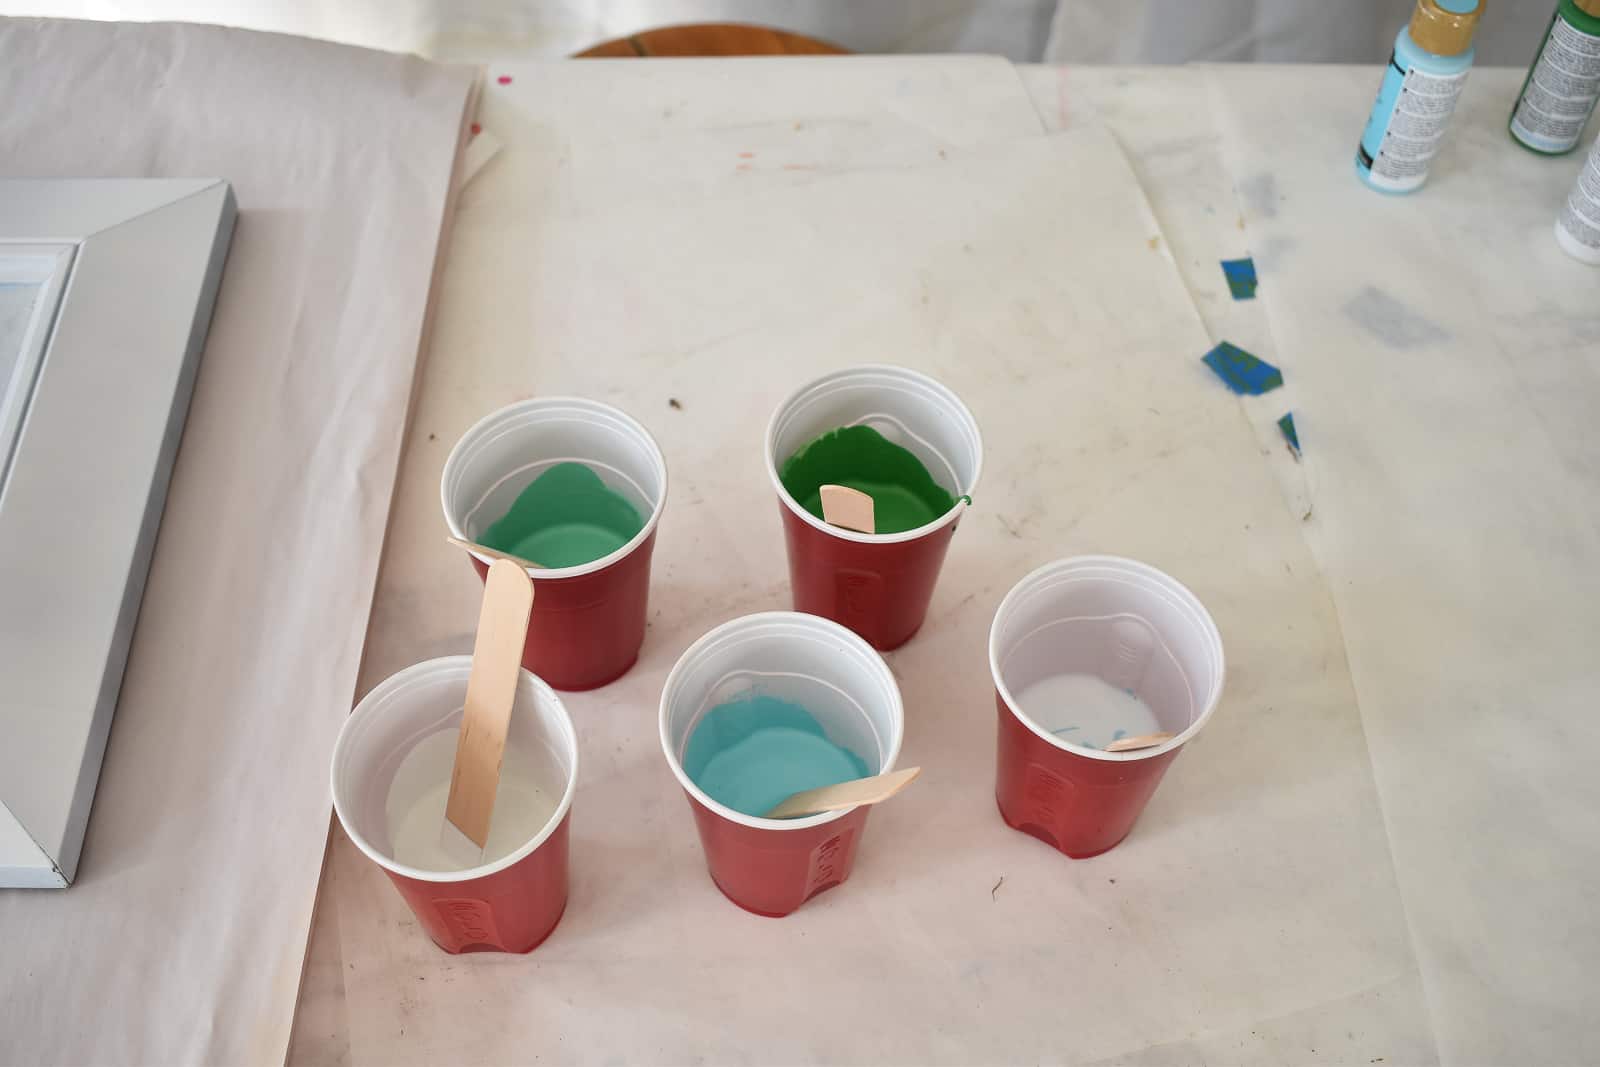
In order to pour paint, you need a pouring medium. I work with Decoart so they sent me some of theirs and it worked great (linked at the end of the post). Read the label on your pouring medium for recommended mixing ratios. I used basic craft acrylic paint and mixed it roughly 1:1… you’re looking for the consistency of buttermilk basically. Use plastic disposable cups and separate stirrers for each color.
Step 3. Prep the work surface
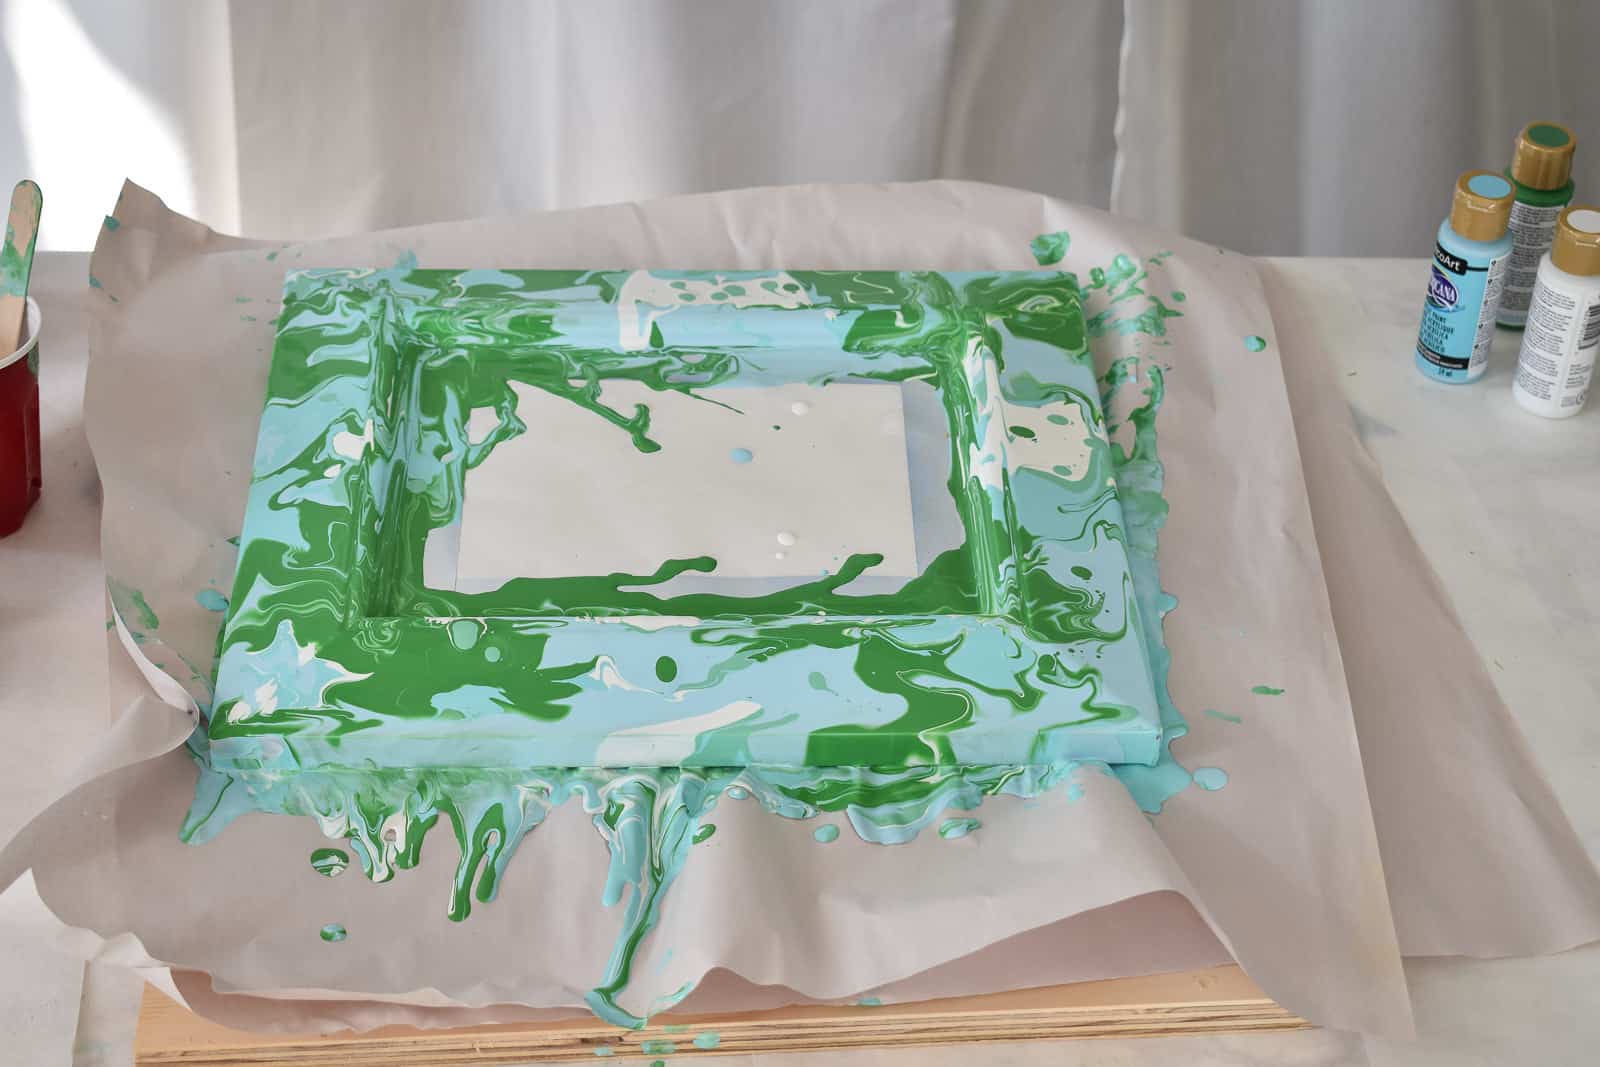
This is NOT a neat project. You will want rubber gloves, a plastic drop cloth and rags. Paint WILL drip everywhere, I used paper instead of a plastic drop cloth and it would have worked better if I’d let the mirror dry elevated rather than resting on the paper.
Step 4. Pour, baby, Pour
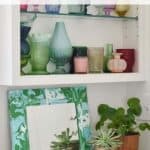
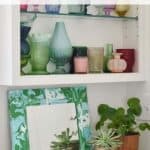
I’m sharing how to do a clean pour. (A dirty pour is when you mix all of the paint in one cup and invert it onto the work surface.) I started by evenly pouring a bit of each color around the frame of the mirror. They will naturally start to flow together, but this is when you want to put on your rubber gloves, pick up the frame, and start to slowly move the frame to help the paint flow together where you need it. Add paint as needed to completely cover the work surface. Obviously taking pictures of this step was impossible, but check out the video below to see how I did it.
Step 5. Finishing Touches
As I mentioned above, my mirror ended up sticking to the paper a bit when it dried so I needed to use an x-acto knife to remove it. In hindsight, I would have used a plastic drop cloth and dried to let it dry elevated so it wasn’t resting on anything.
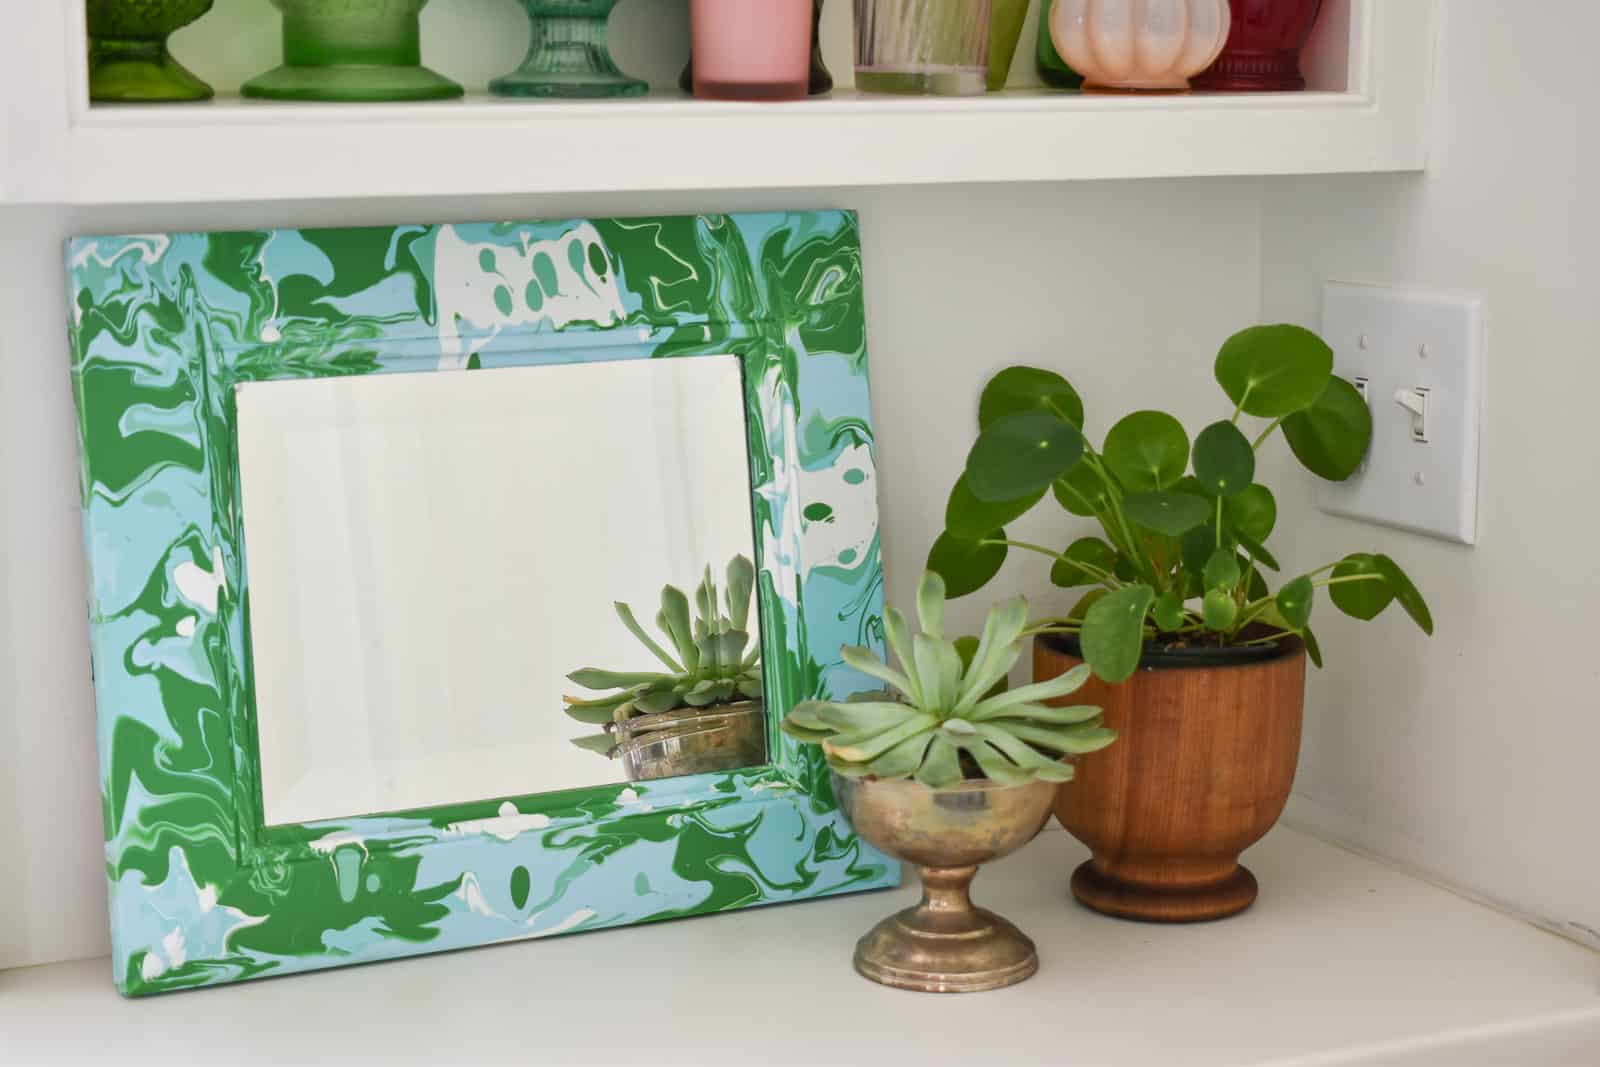
When the paint is fully dry, remove the paper/ painters tape on the mirror. Again, you might need an x-acto knife to clean up the edges or scrape off any paint that might have bled through.
I didn’t use a top coat, but I probably should since they make one. I’ll link to materials below so click anything you want details about! (Affiliate links.)
Materials
If you want to see the pouring and paint manipulation in action, see my video below. (And don’t forget to subscribe while you’re at it!)
If you liked this thrift store makeover, then you might also like:



Thank you Charlotte for doing this video. Ive seen paint pouring before but you made it look so easy. I loved the colors you used i have a big letter that ill be doing this to and i cant wait.
Yay! Please share the results with me! It’s such a fun technique!
I want to do this!!!! I love the look. Thanks for sharing.
Thanks, Jen! It’s SUCH a fun technique!