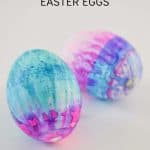
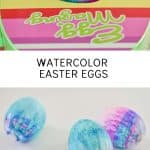
Watercolor Eggs with the Eggmazing Egg Decorator
Psssst… this post *might* contain affiliate links: see my disclosure here.
Decorating Easter Eggs
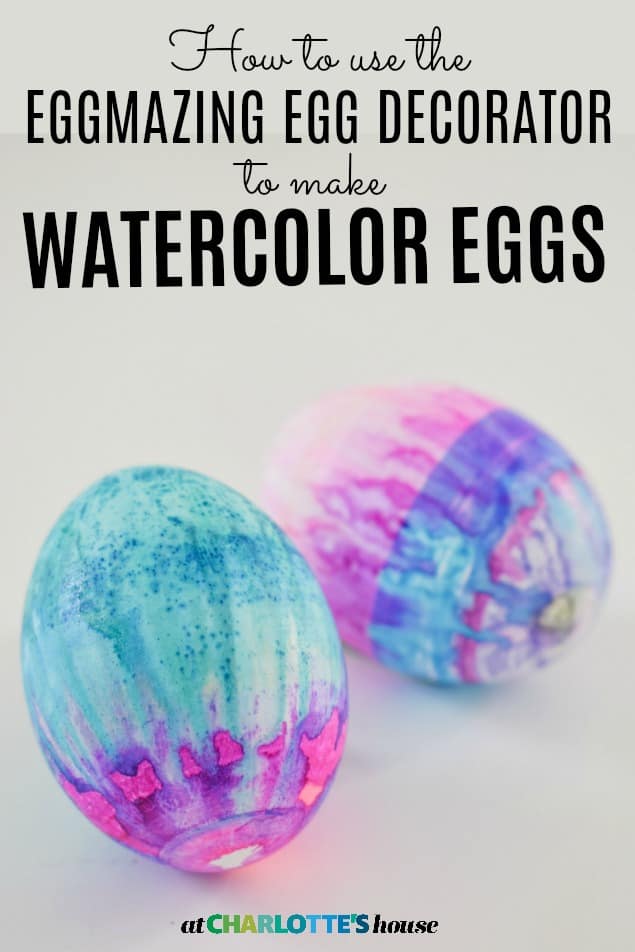
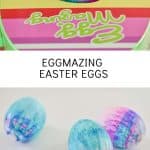
I wanted to use our favorite Eggmazing Egg decorating kit to decorate more artistic Easter Eggs!
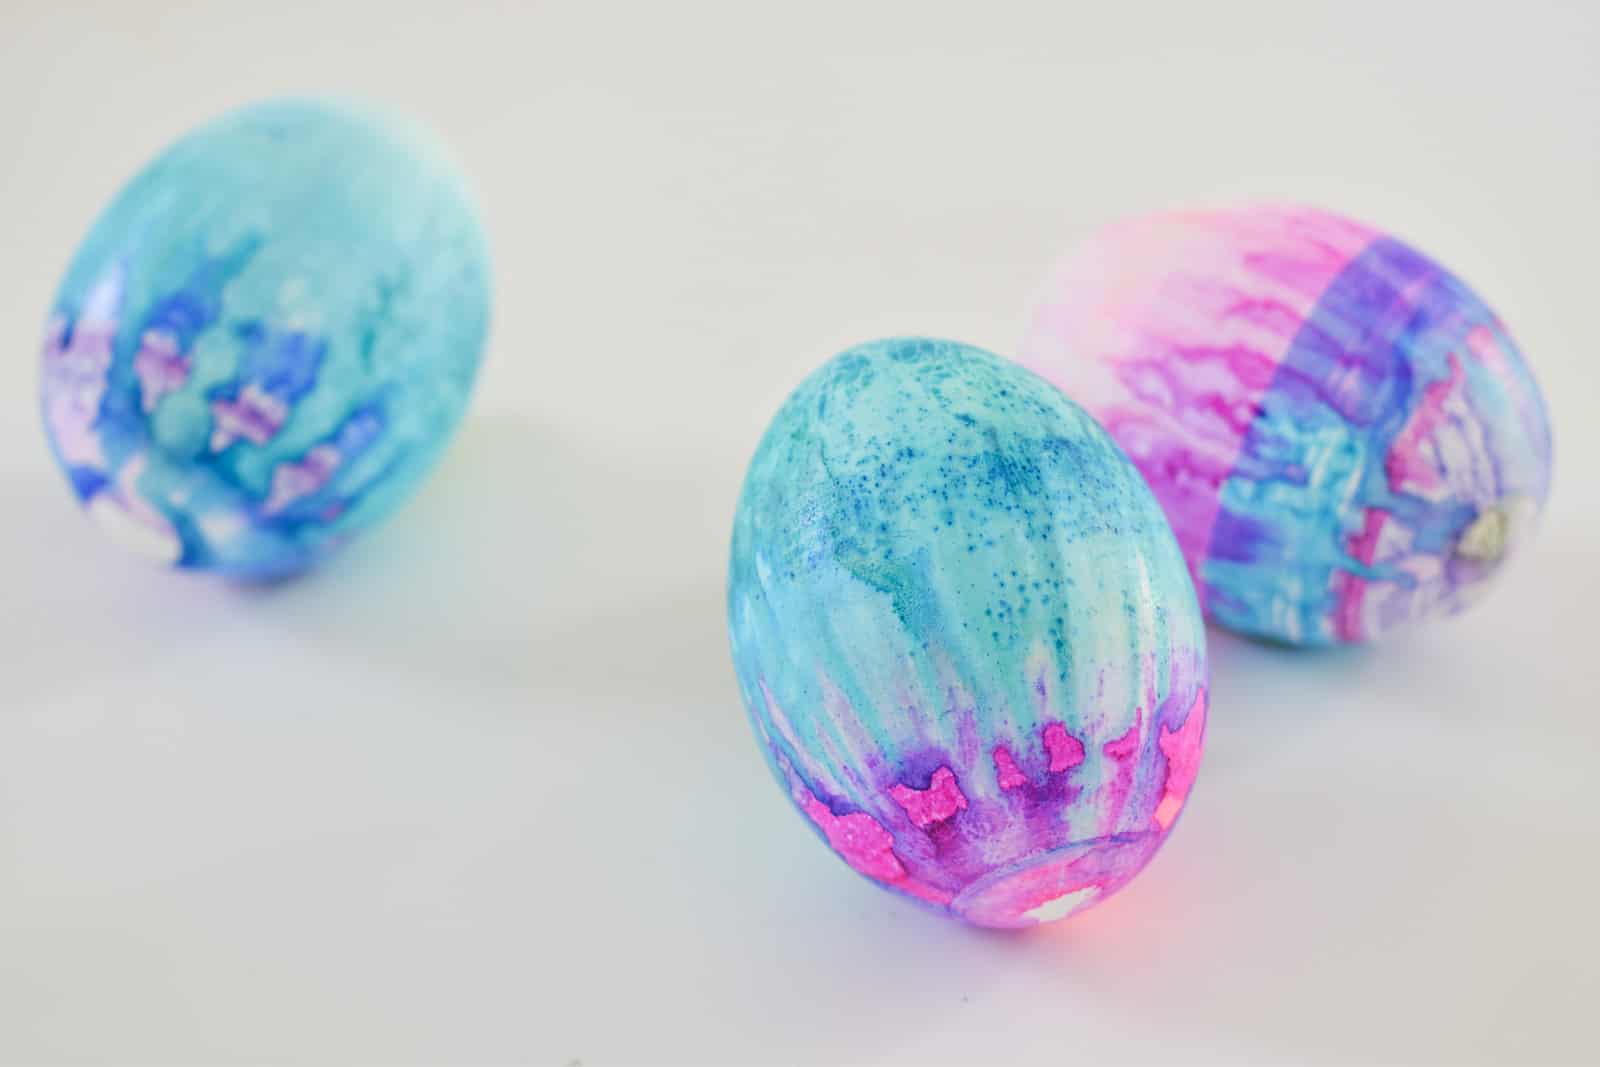
Last year, my mom gave the kids the Eggmazing Egg Decorator. I’m going to start by saying that it is, in fact, AMAZING. You will need to have MANY eggs on hand as it makes for fast decorating, but it’s easier and cleaner than, say, balancing an egg on a spoon and dipping it into a cup of dye. I’m not sure of the fine print with egg dye… but I noticed a little note in the packaging of the Eggmazing Egg Decorator that said eggs should not be consumed after you decorate them. Oops. I assume it has to do with the permanent marker being used, but we ate every last egg last year and everyone survived.
Shop my favorites!
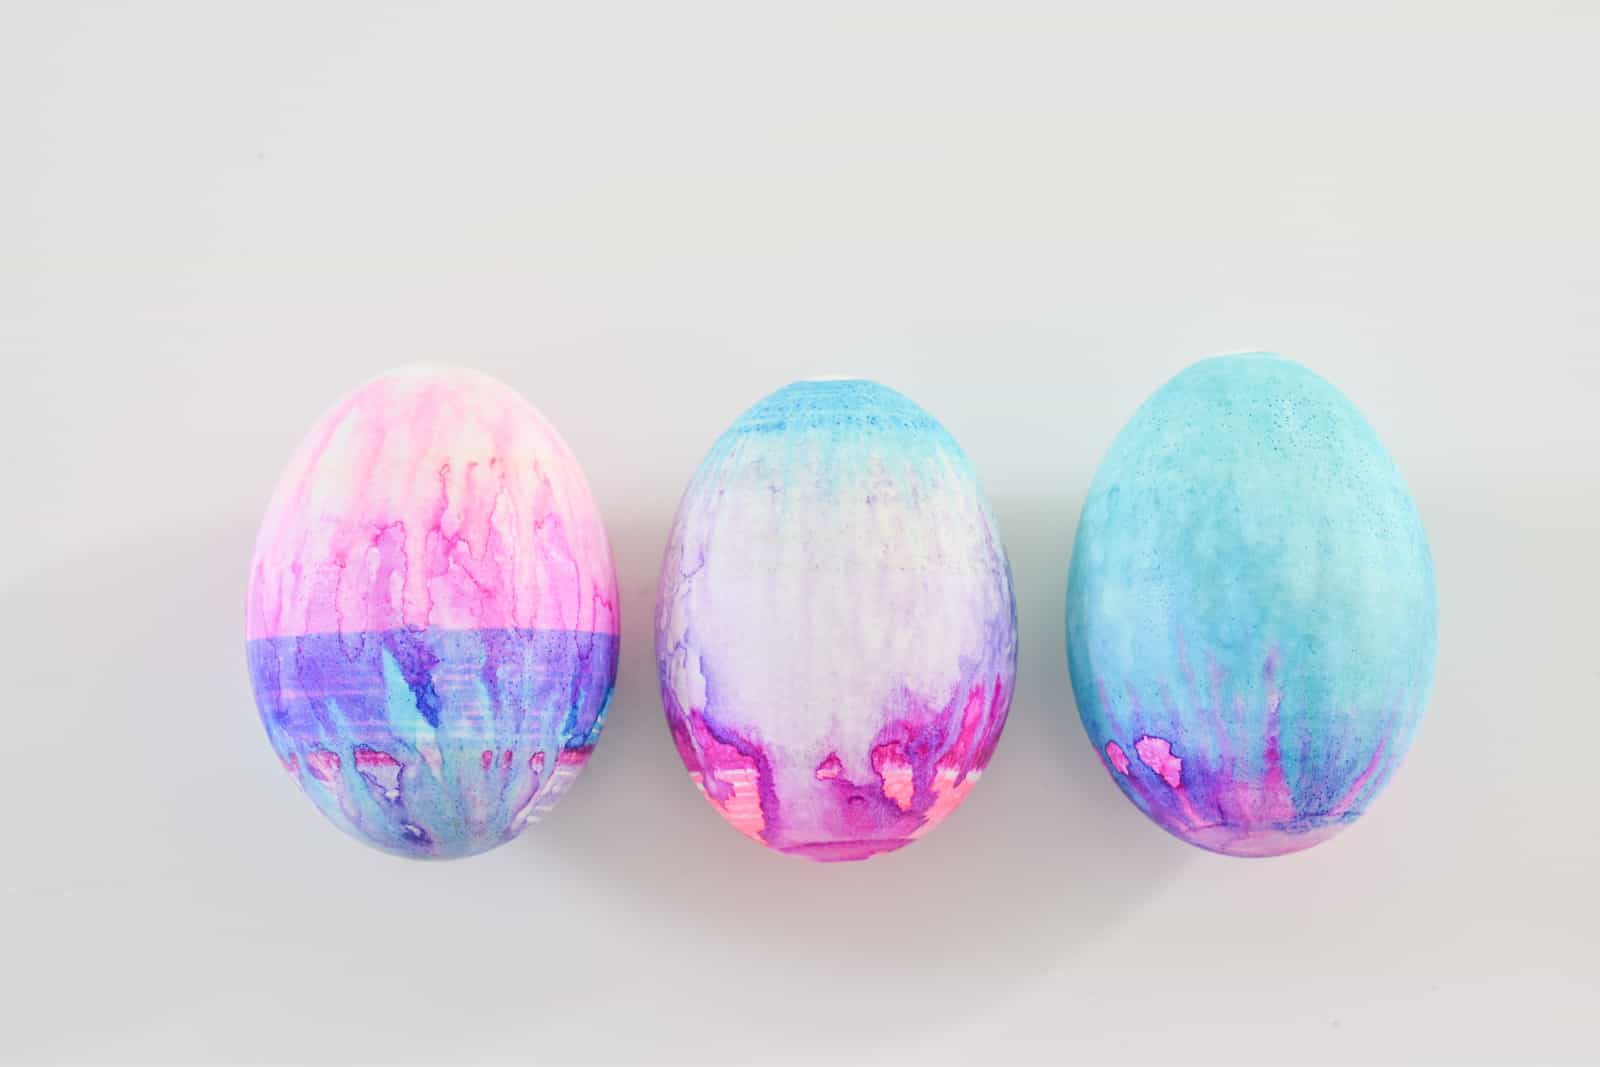
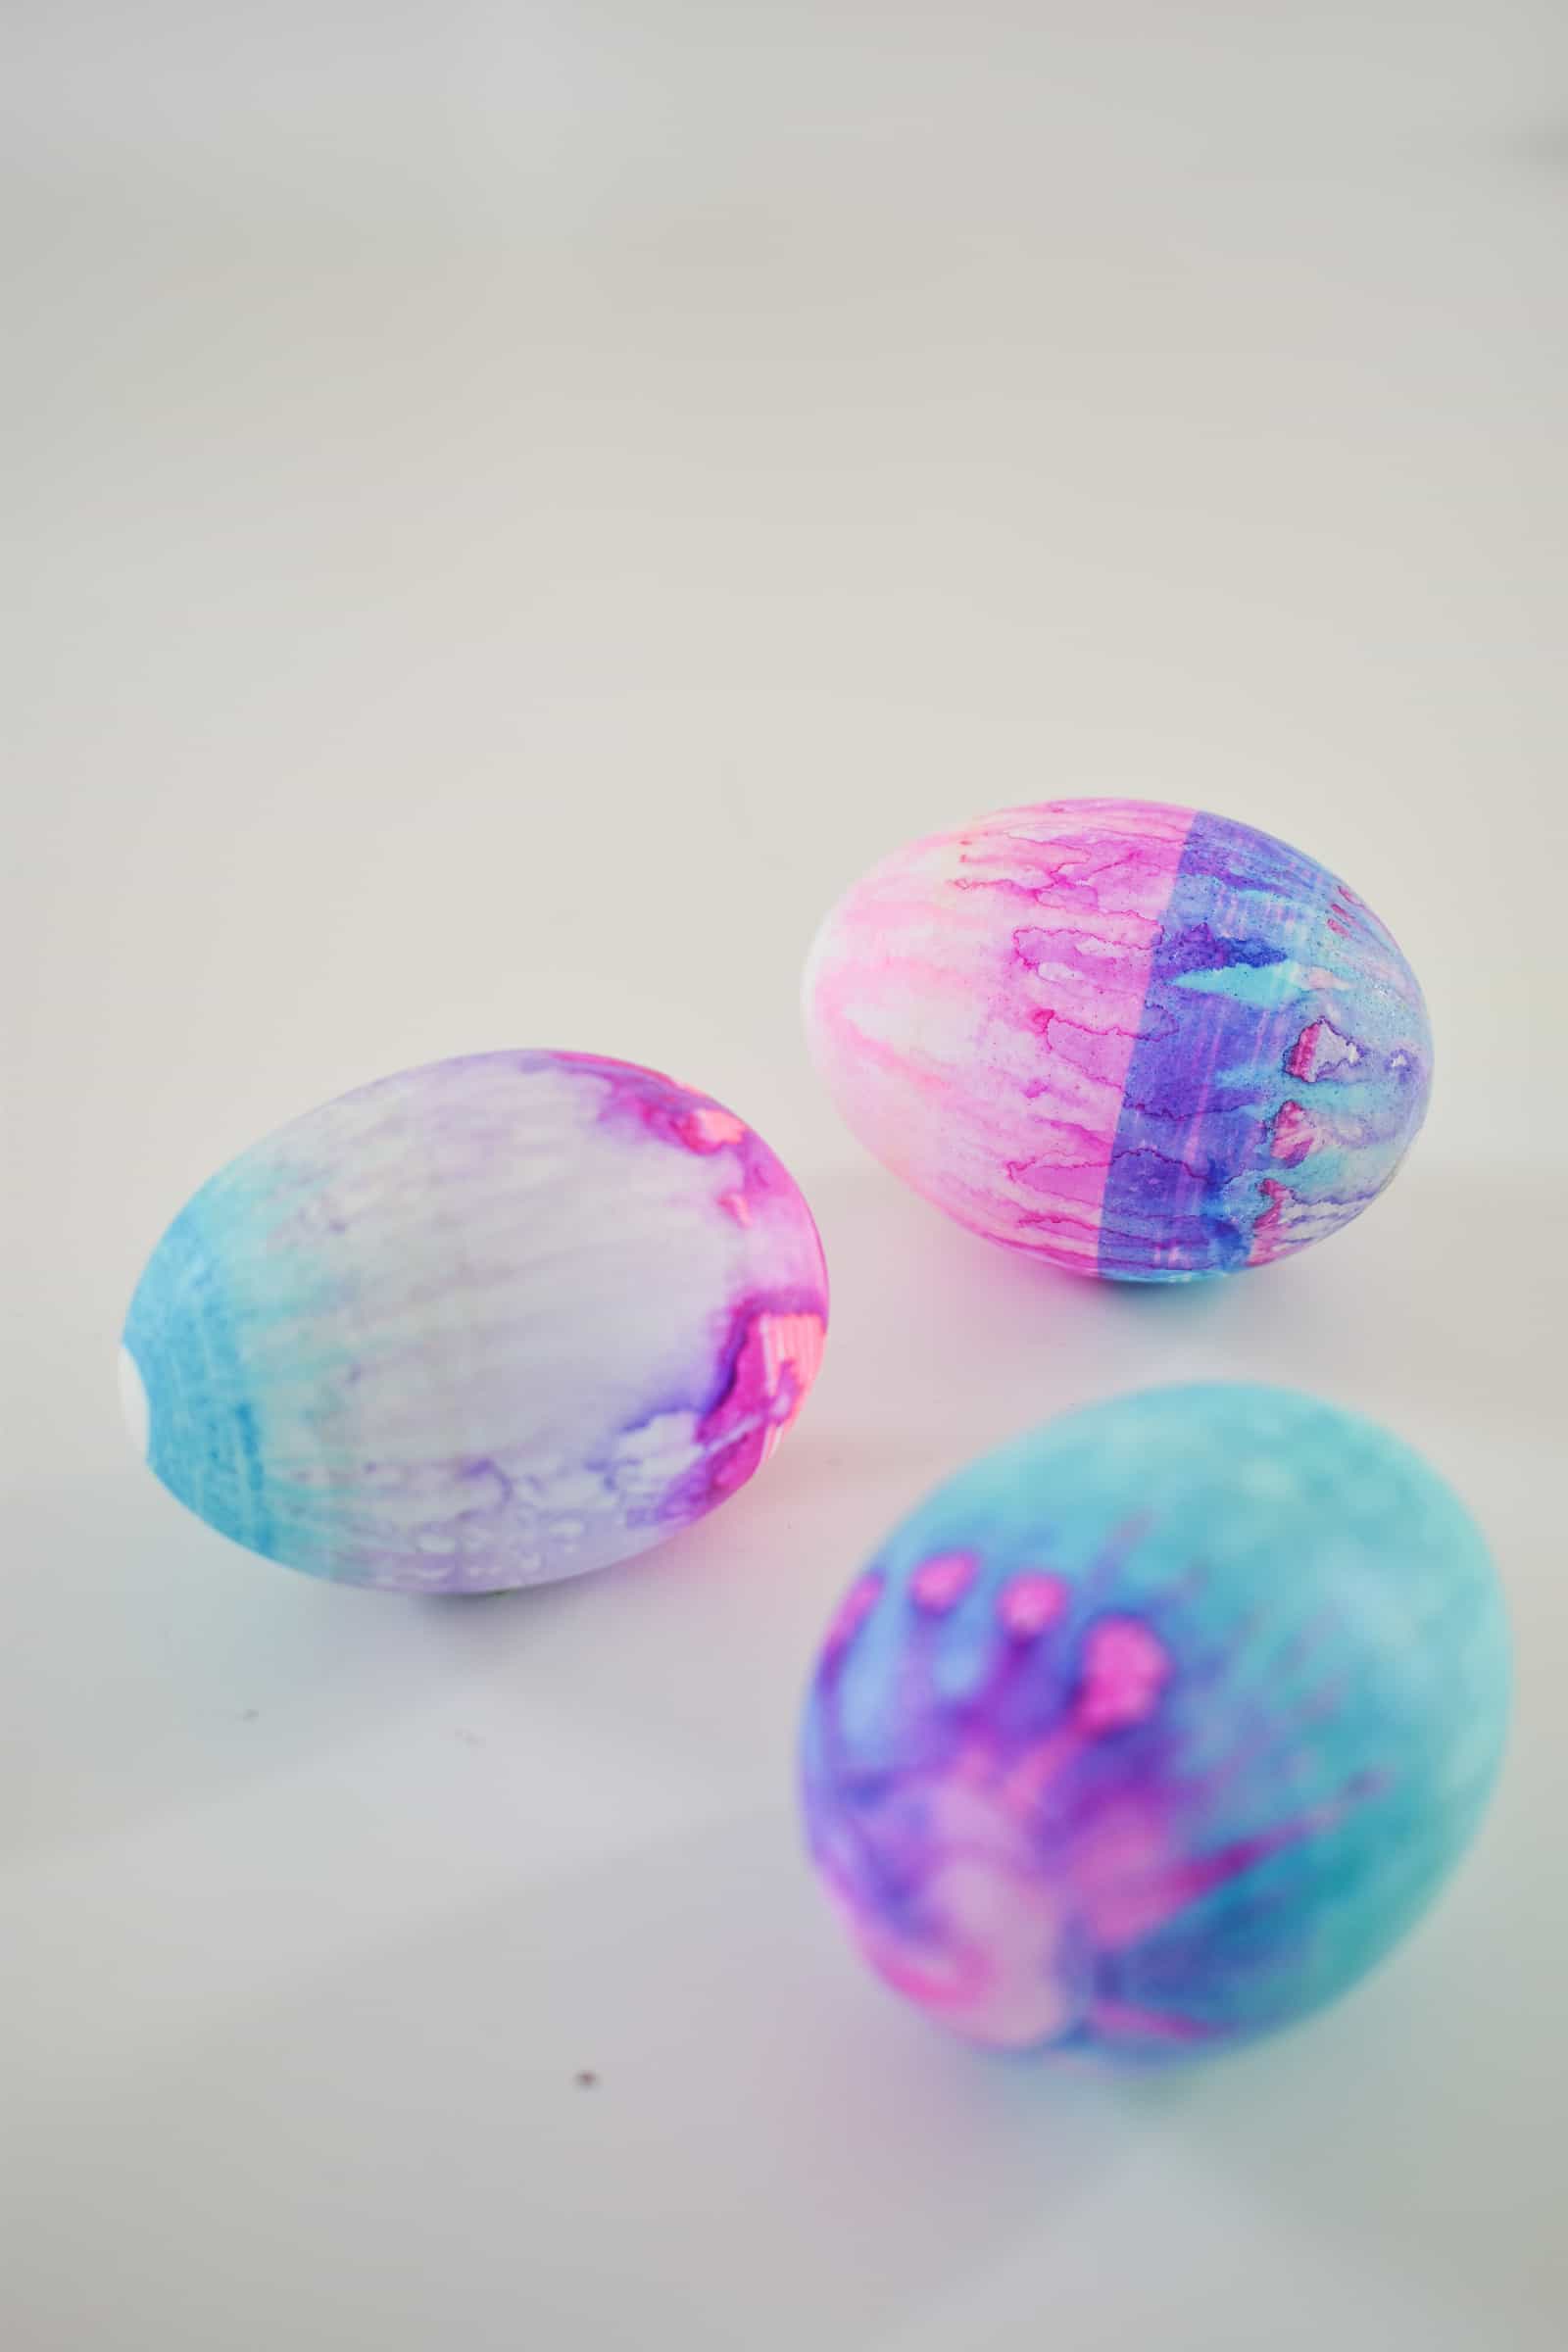
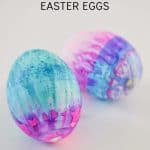
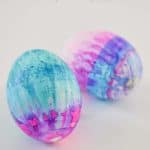
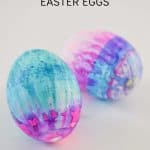
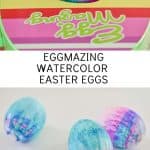
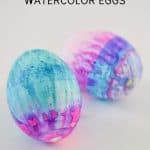
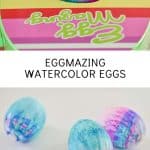
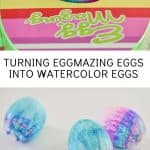
This year, I decided to see if there was a way to use the Eggmazing Egg Decorator for decorating Easter eggs that were a little more artistic. Turns out… it’s SUPER easy. Here’s what I did. (Material list at the end of the post.)
Step 1. Choose your colors
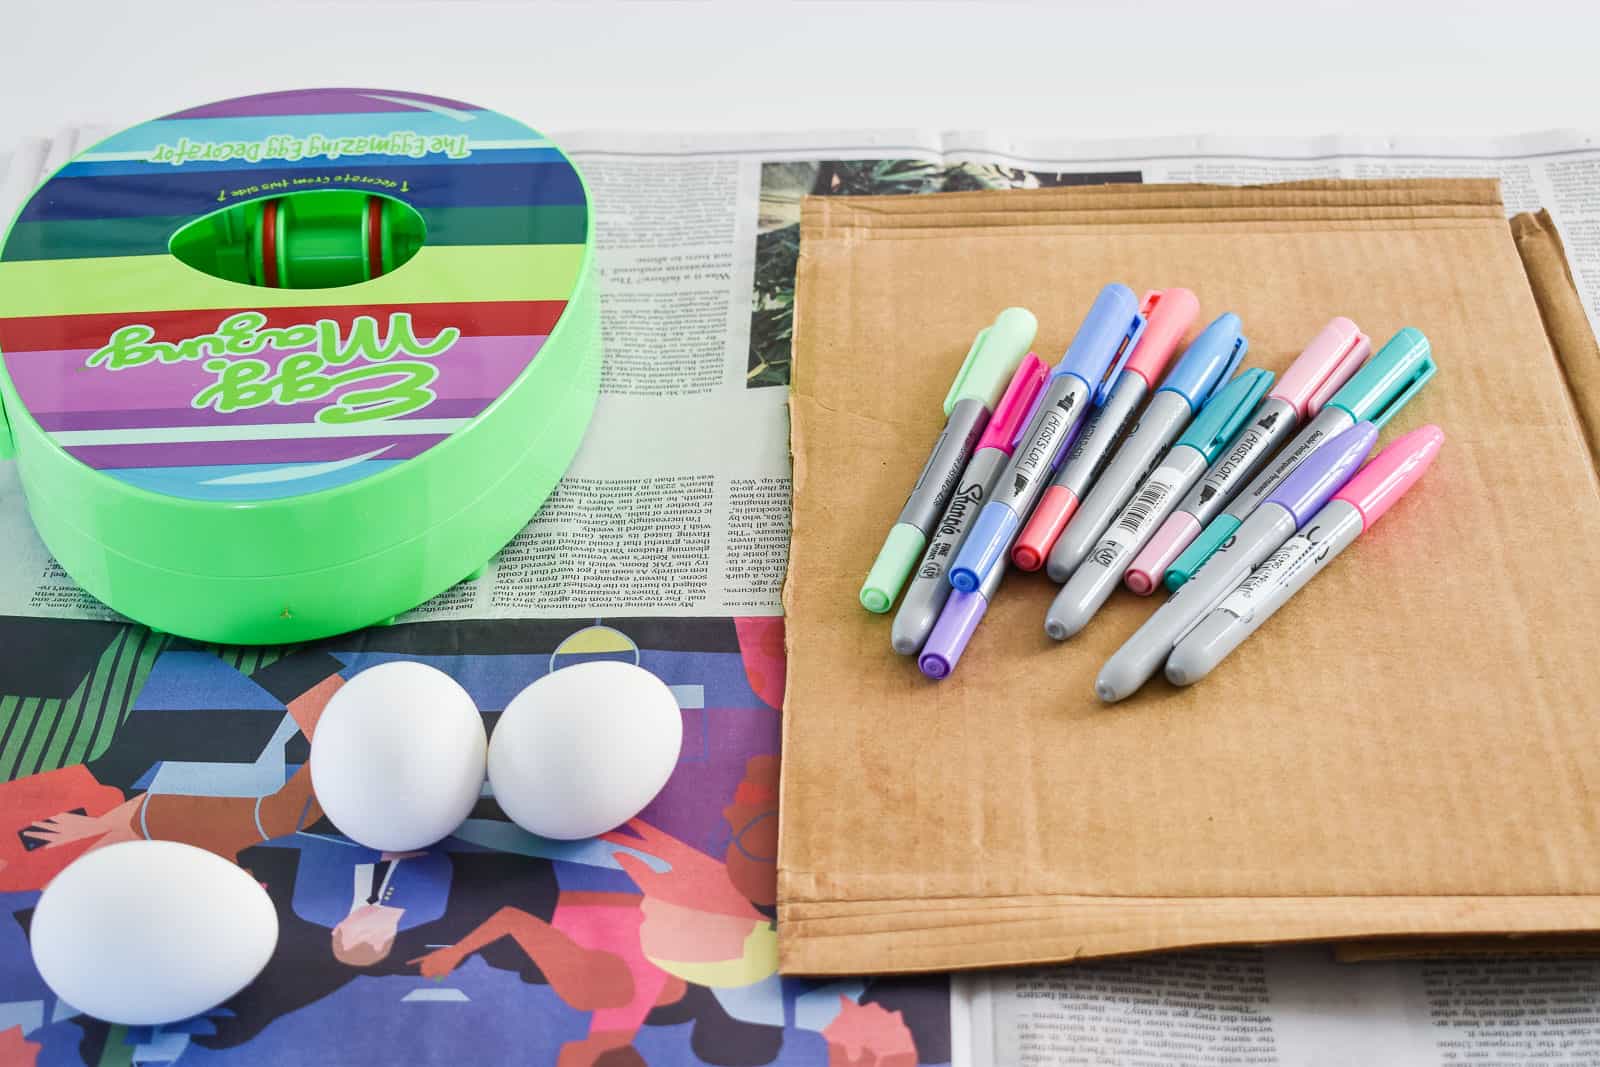
You need to start with permanent markers, so choose colors that will “play nice” with each other. Ideally your colors will mix together so consider which colors are next to each other when you decorate your egg.
Step 2. Color the egg
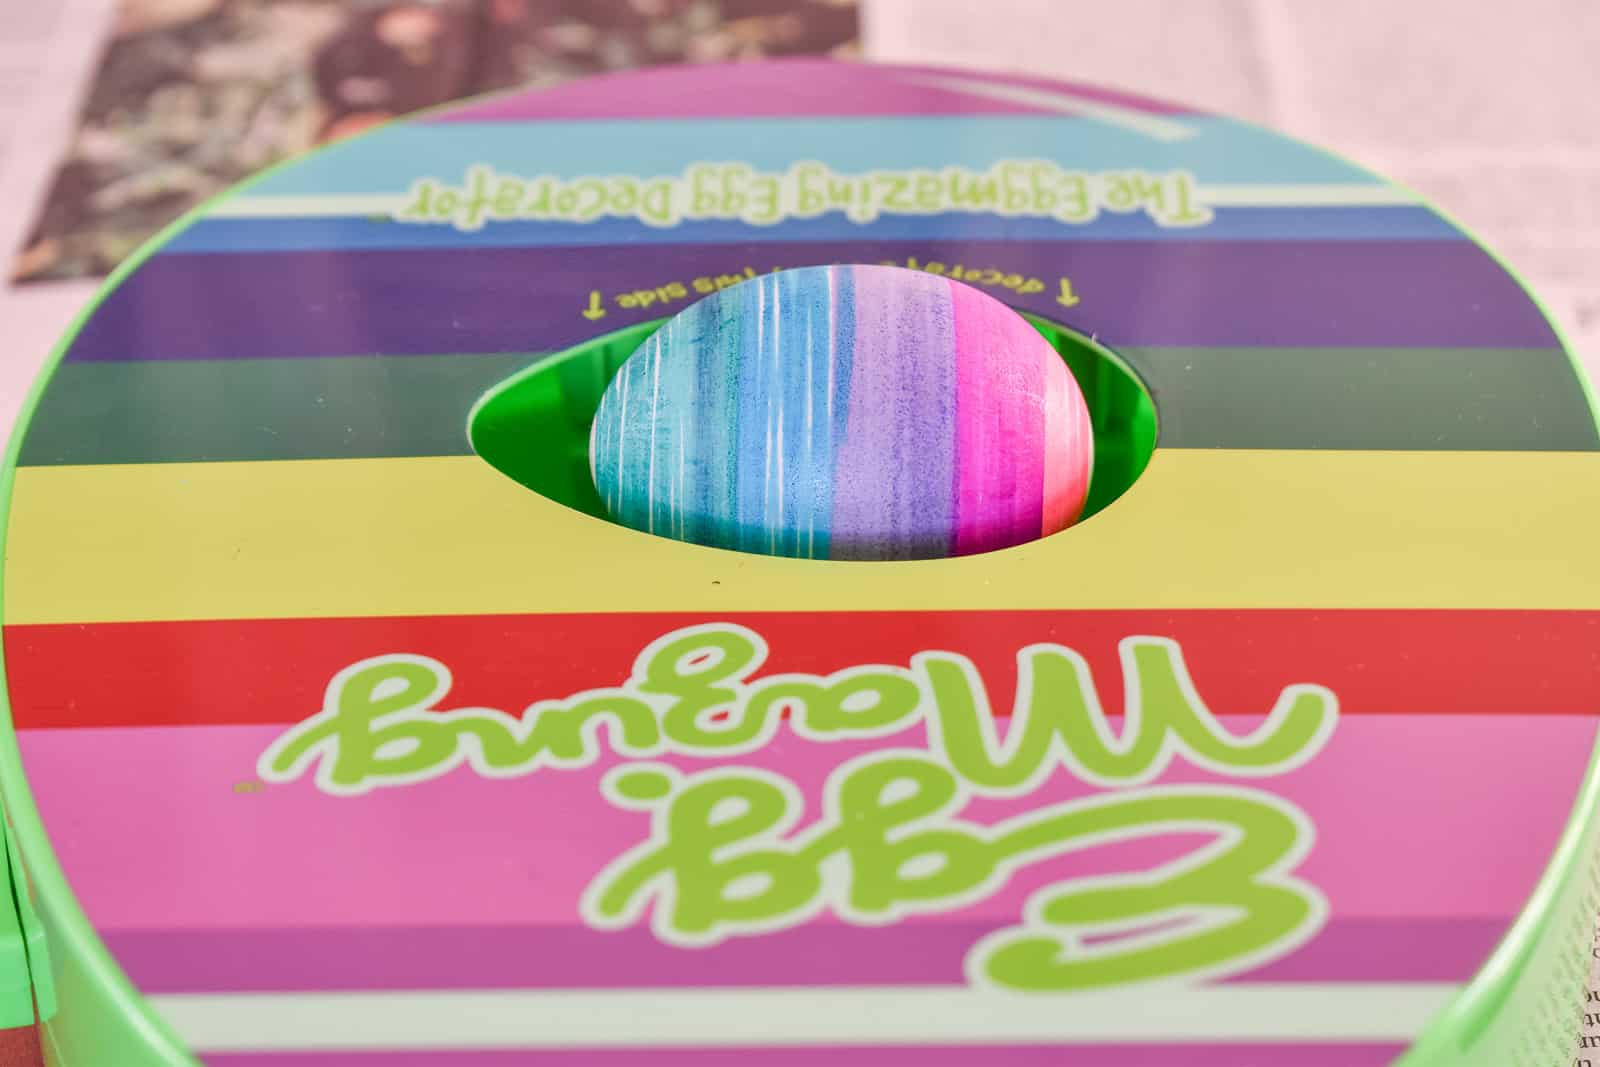
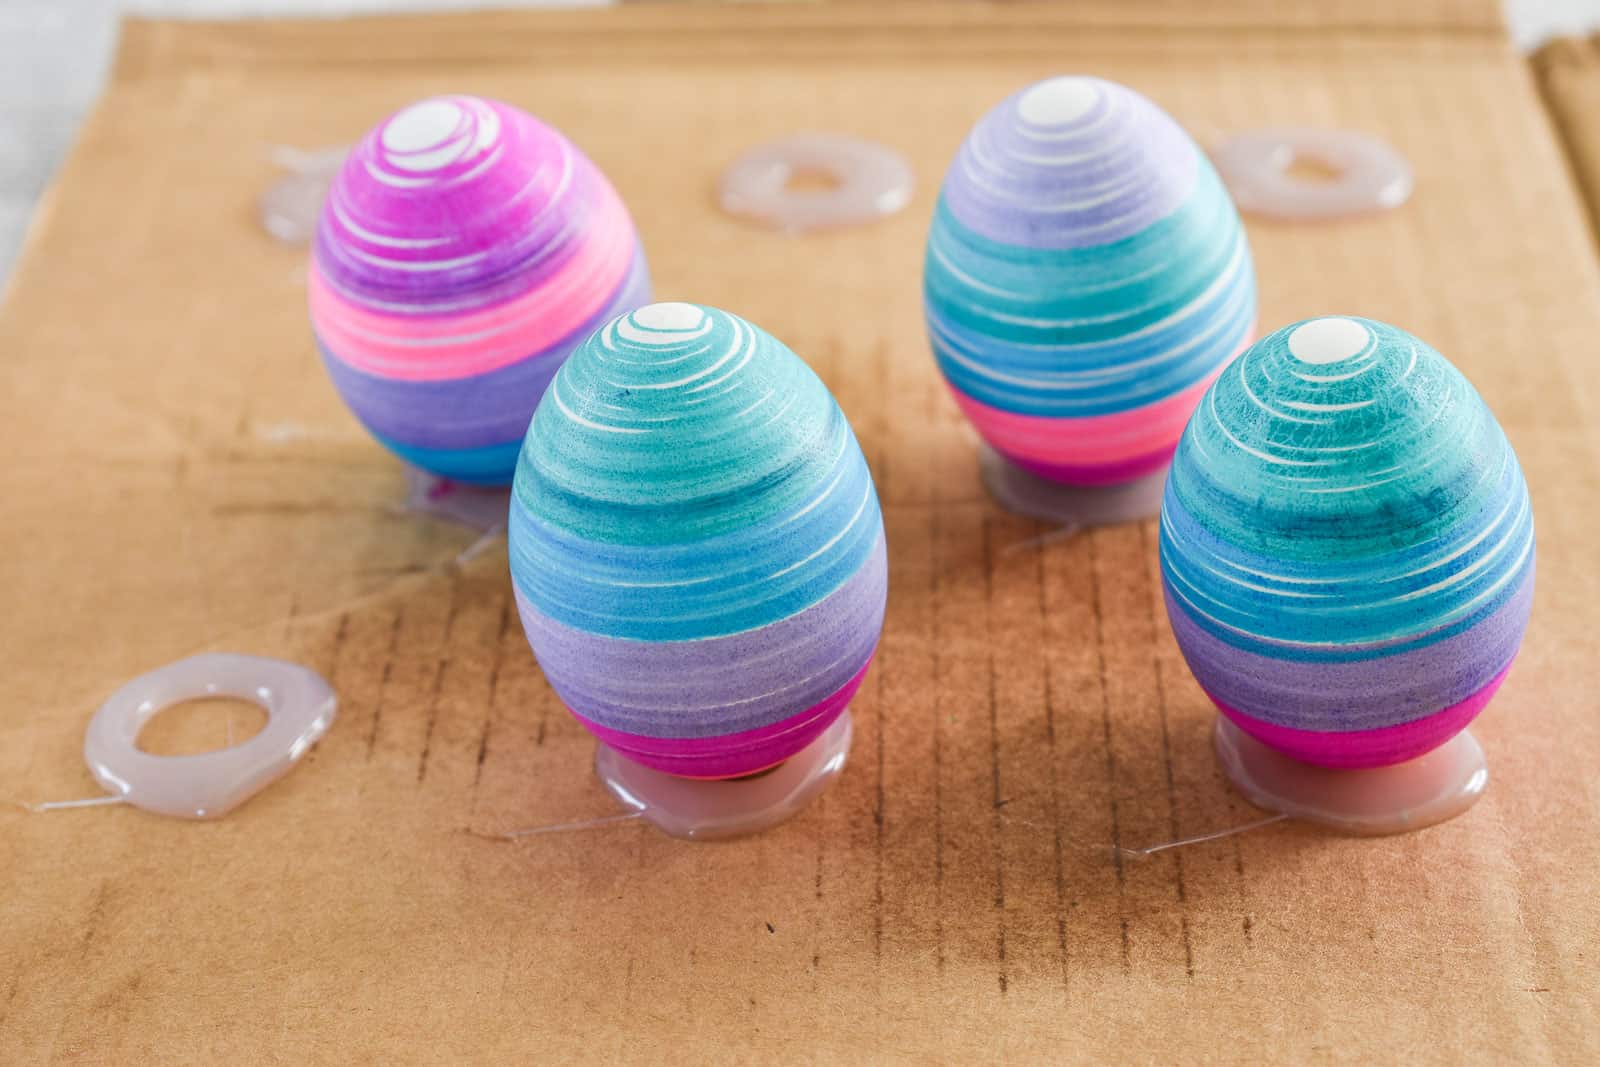
Place your hard boiled egg into the Eggmazing Decorator and color as much of it as possible with your spectrum of permanent markers. I found that arranging my pens in the right order before I began made it easier.
Step 3. Make an Egg Stand
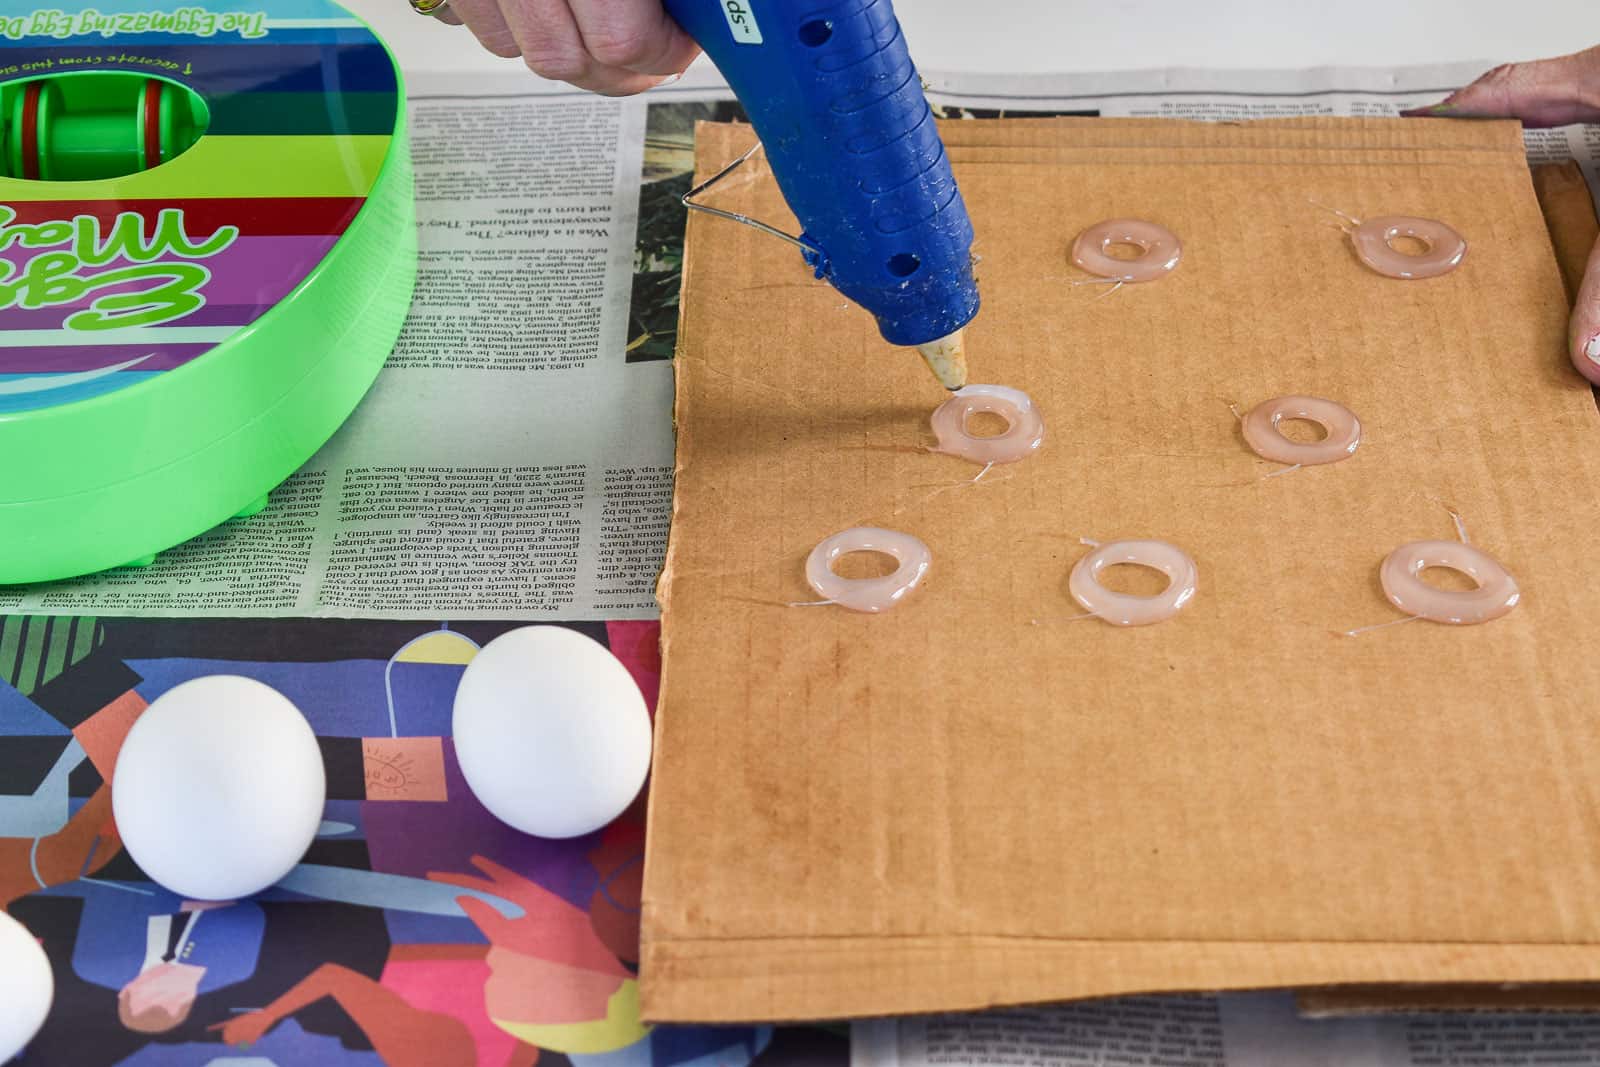
I tried this project without an egg stand and… I think it works best if you make one. But don’t worry… it’s SO easy. Grab a piece of cardboard or scrap paper and make a bunch of small penny-sized donuts with a hot glue gun. Once the glue dries… your egg should perch right in the middle and stand up straight!
Step 4. Spritz
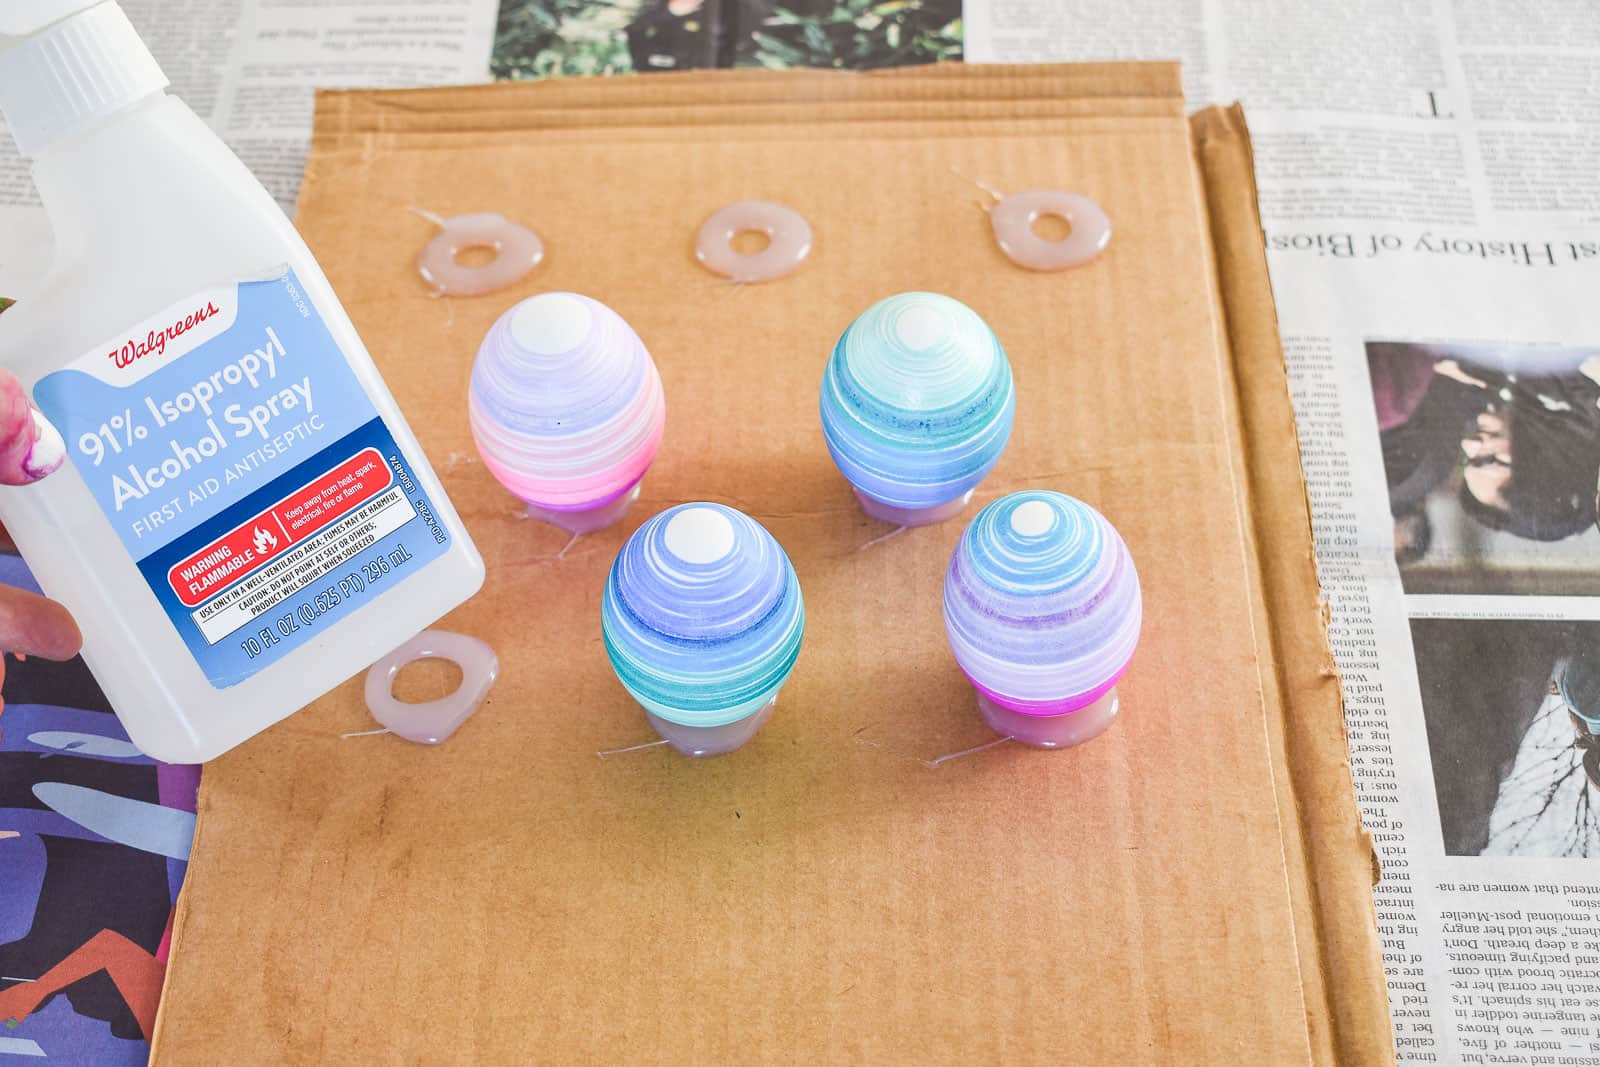
With your decorated eggs perched on their stand… give them a few GENTLE sprays of rubbing alcohol. It took me a few tries to get it just right… essentially you want a fine mist to land on the entire egg. If you spray too much, all of the pen will drip off… too little and you can still see the Eggmazing lines.
Be aware… your room WILL smell like rubbing alcohol. I also suspect these eggs should definitely NOT be eaten, but I haven’t googled that to confirm. I tried these eggs with both Sharpie and non-Sharpie brand markers, and honestly I think the Sharpie brand pens worked the best… the others wore off really fast by comparison.
Watercolor Egg Materials
- Eggmazing Egg Decorator
- Hard boiled eggs
- hot glue gun
- permanent markers
- spray rubbing alcohol
For other Easter projects, check out my hand colored Easter eggs or my Easter egg place card holders!



Don’t Miss Out
Become An Insider!
Signup for exclusive tips, and tricks from Charlotte’s House!
Let’s chat!
I love comments from you, so feel free to leave your thoughts and ideas below! And don’t forget to follow me on Instagram for even more!