DIY Upholstered Daybed Frame
Psssst… this post *might* contain affiliate links: see my disclosure here.
How to Build a Wooden Daybed Frame
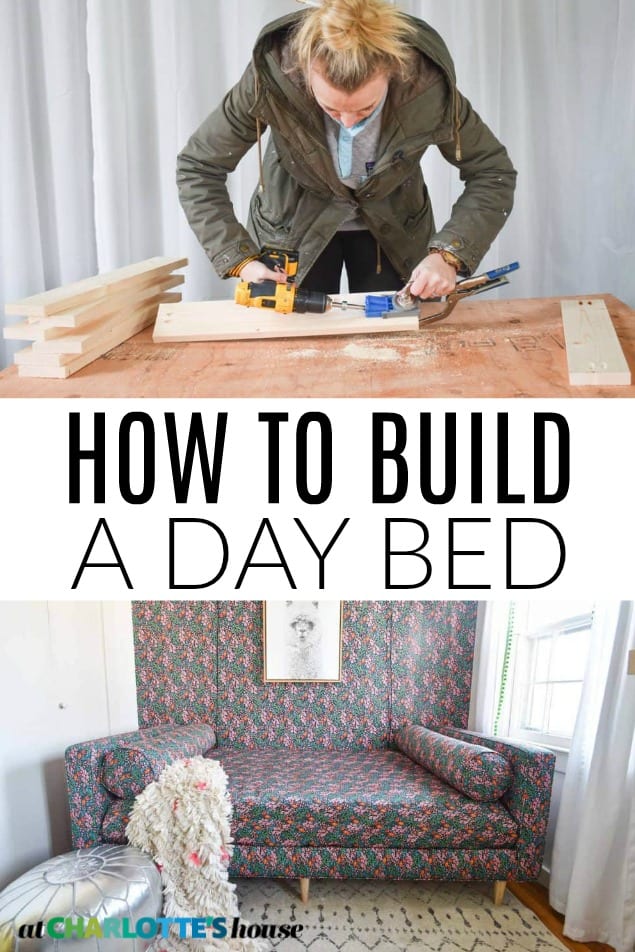
I made this wooden daybed for our guest room and then had it upholstered.
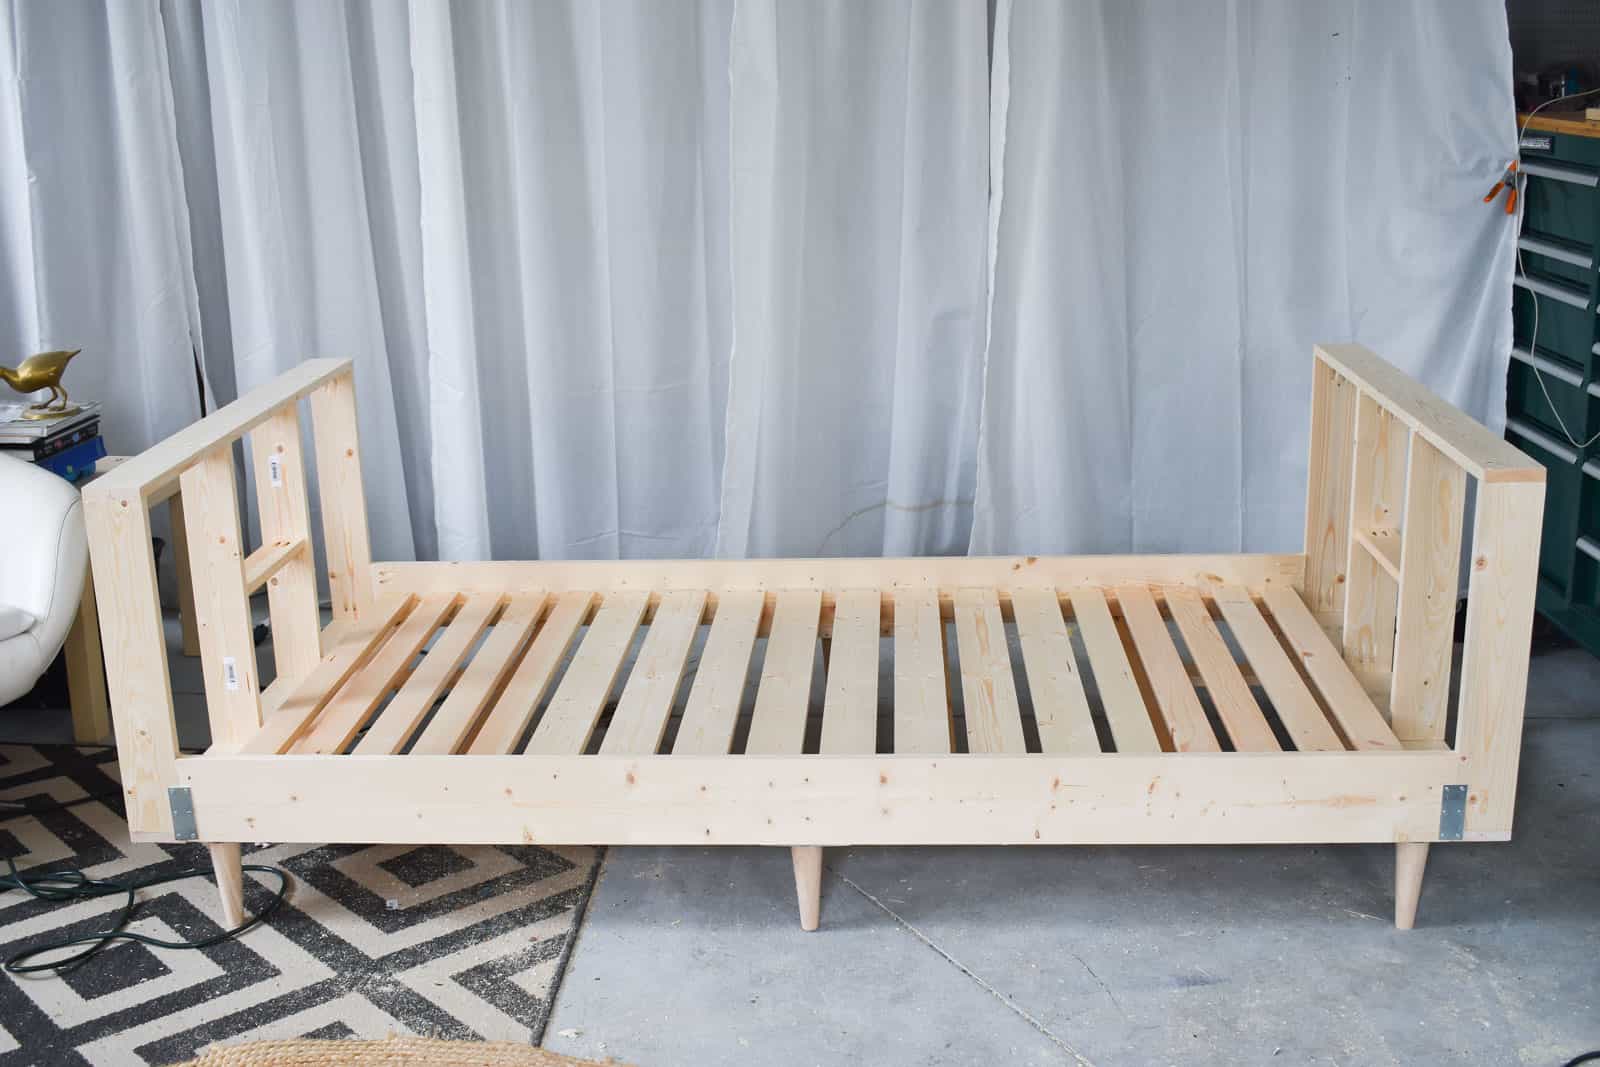
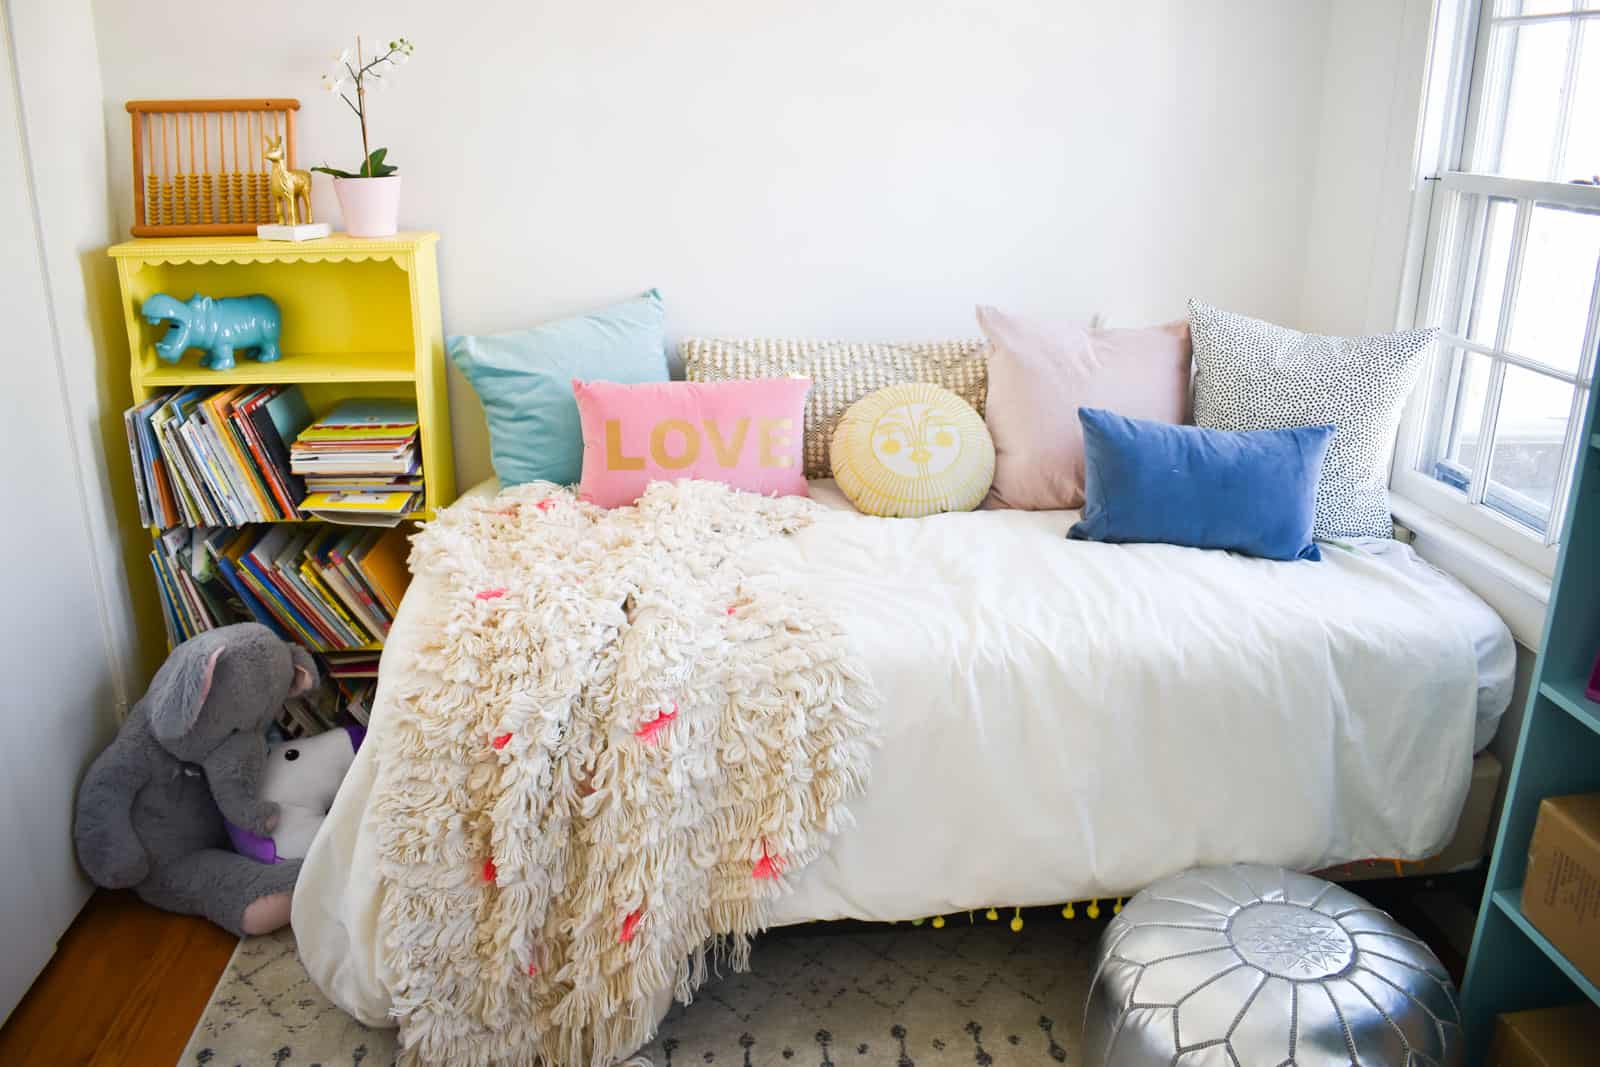
When my friend Sarah asked me to join her for the Dueling DIY: Guest Room Gauntlet… I knew that figuring out a better layout for our little guest room would be a challenge. Transforming the bed into a daybed seemed like a good solution and after some time with my friend, Google… I found a design that I loved. But, I wanted to build it myself! I loved that a daybed would allow the room to be used as a laundry room/ study/ homework area, but also double as a single guest room when need be!
Shop my favorites!
If you’ve been following along, then you know this room is very very small and used to be a nursery for Louisa. She now shares with her sister, so I’m making over this space to be a little more useful for multiple purposes (think guest room, quiet play space, laundry holding area…). Pivoting the bed to open up the space was step #1. I can still open the closet doors and without a full time resident, we don’t need an air conditioner in the window so that isn’t a factor the way it was before.
Daybed Design
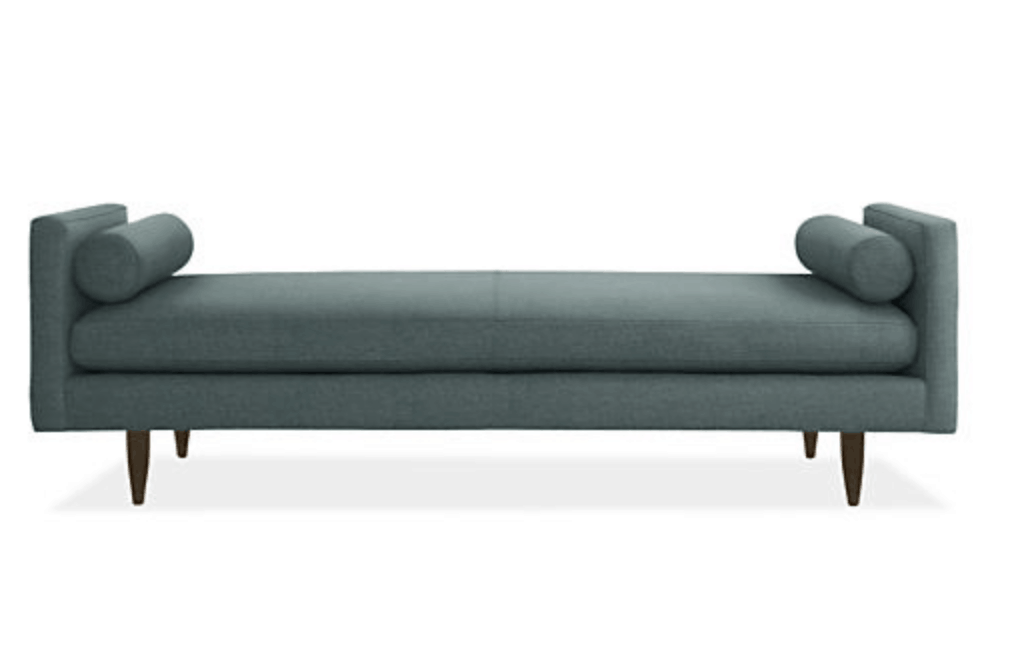
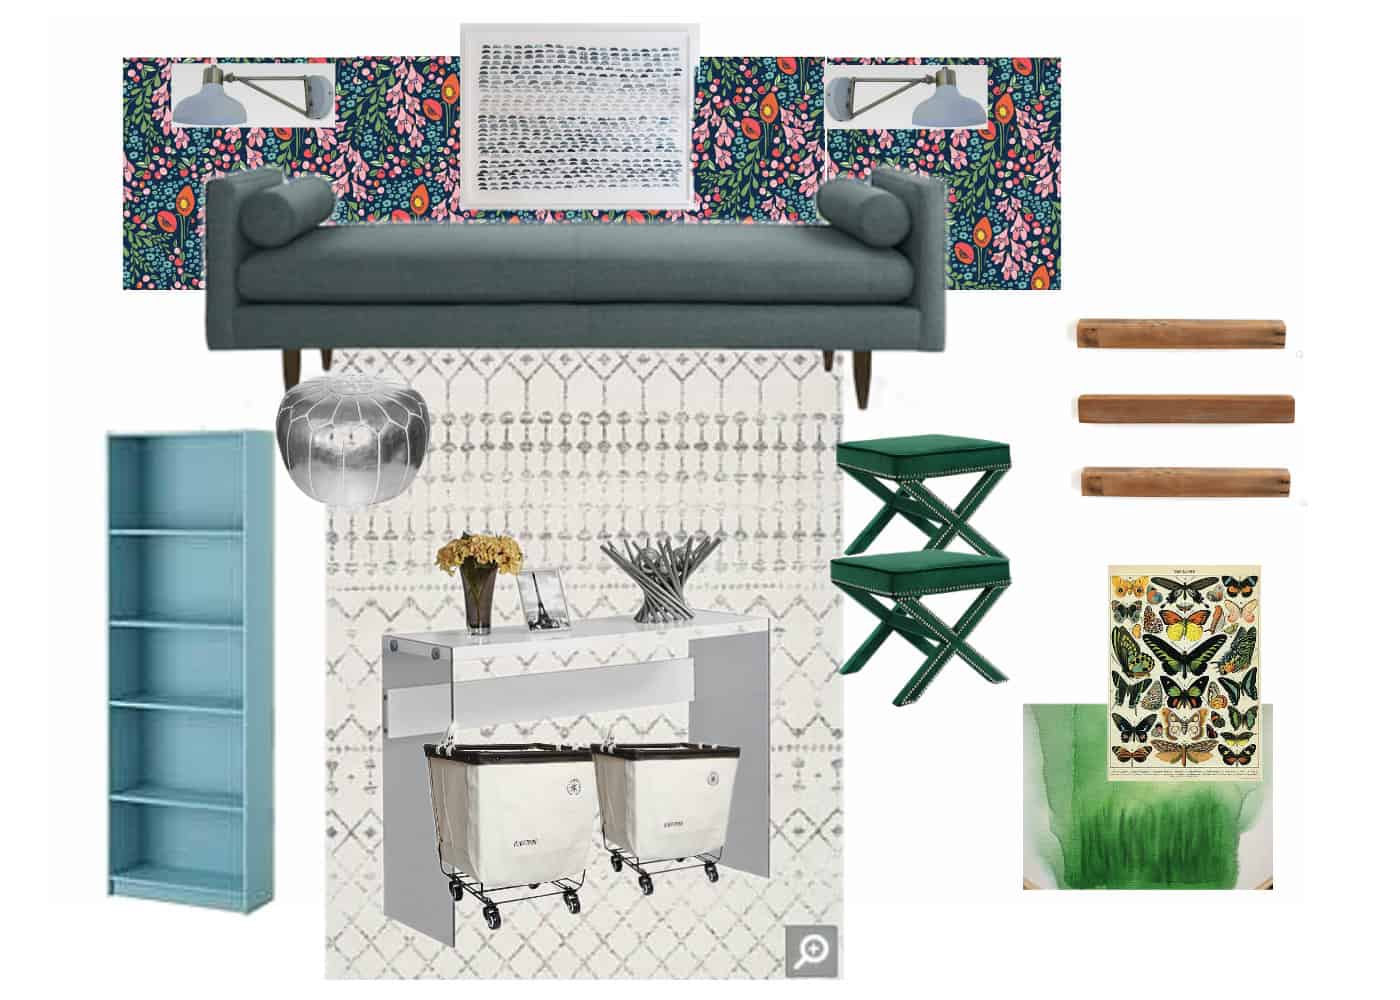
The design for my daybed is super basic… two end pieces and then a bed frame similar to the trundle I made for Oliver. I wanted the arms to stay about even with the window sill, and I wanted the top of the mattress to be about seat height. And then, obviously, the mattress dimensions are already predetermined. I shared my vision for the space here…. this is what I’m aiming for.
Step 1. Build Both Ends of the Daybed
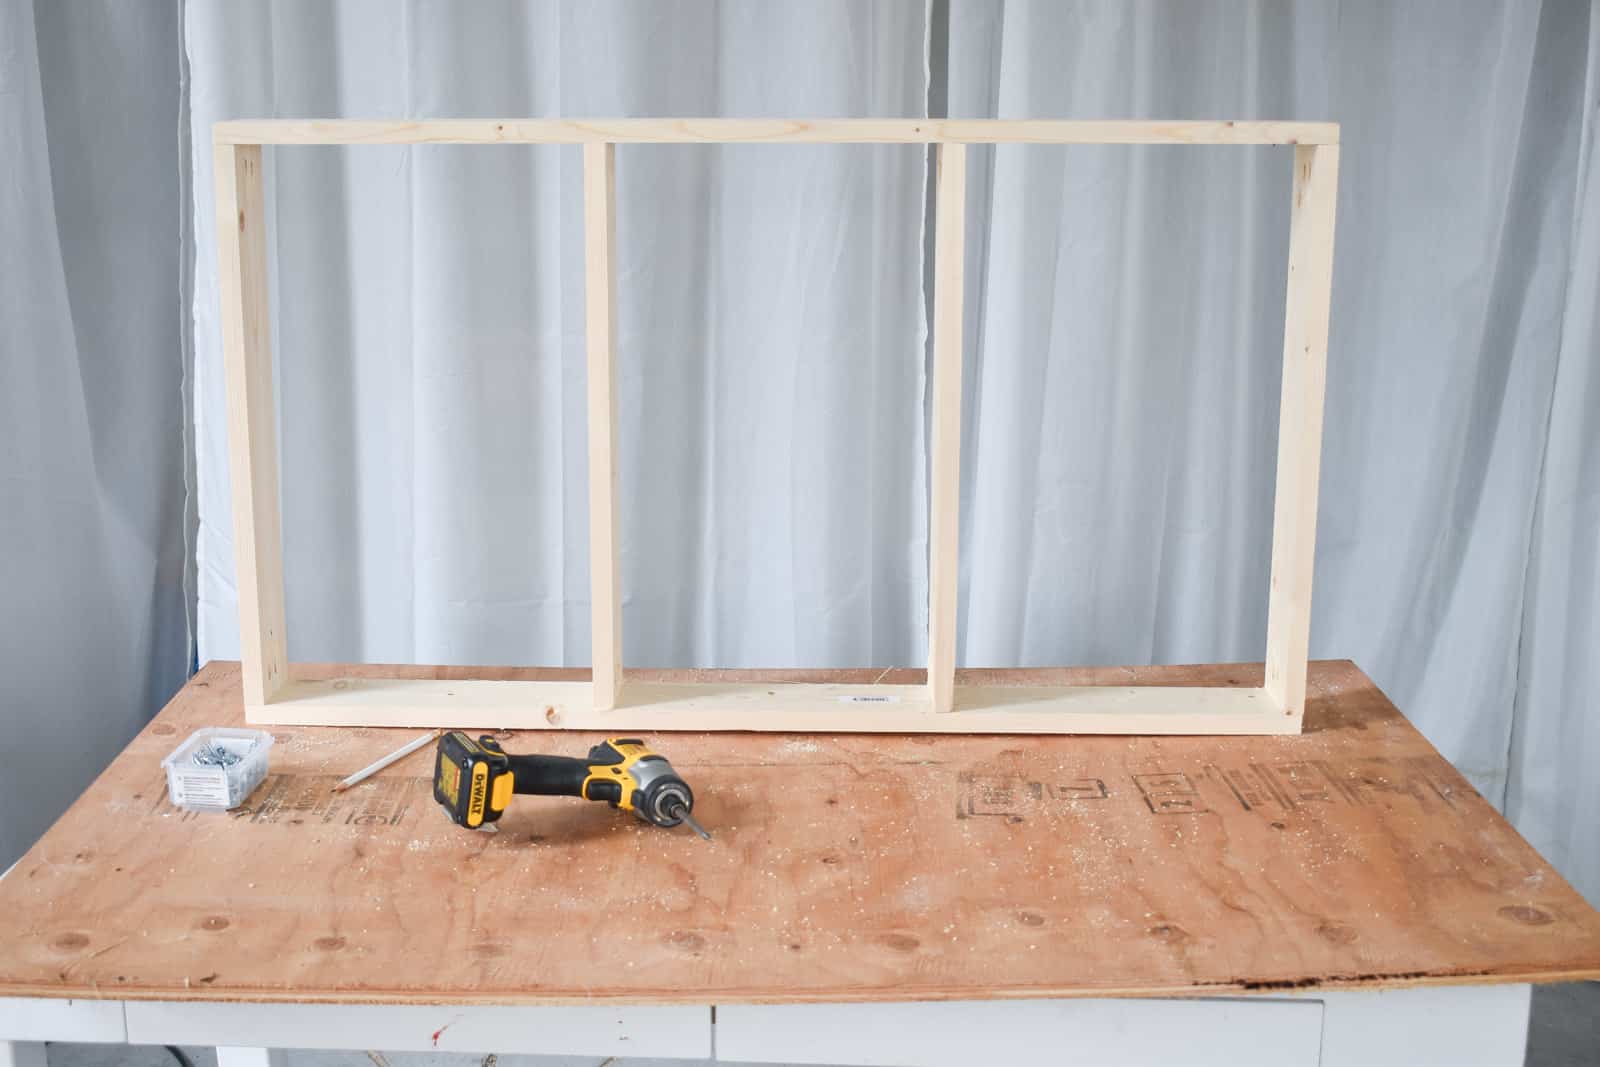
I built the two end pieces out of 1x4s using pocket holes and my kreg jig (affiliate) with a design similar to a mini framed wall. I determined the width of the bed and the height of the arms (taking into consideration the 6-inch feet I bought on etsy (affiliate)).
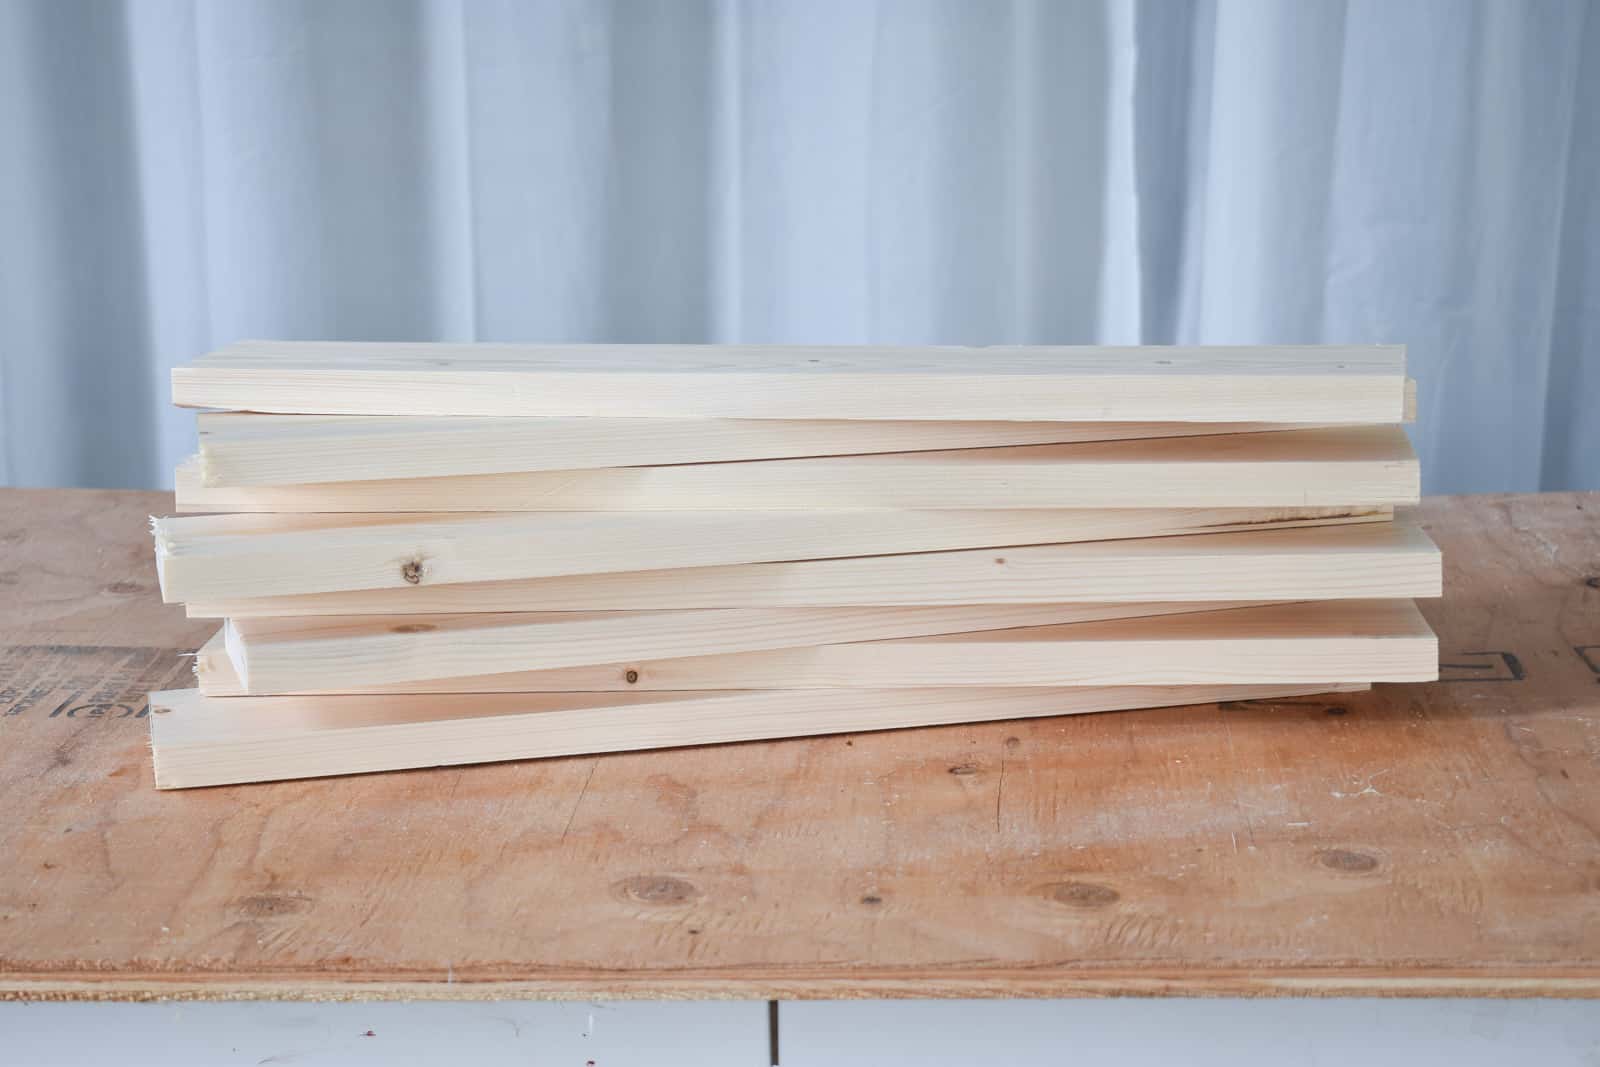
Step 2. Construct the DayBed frame
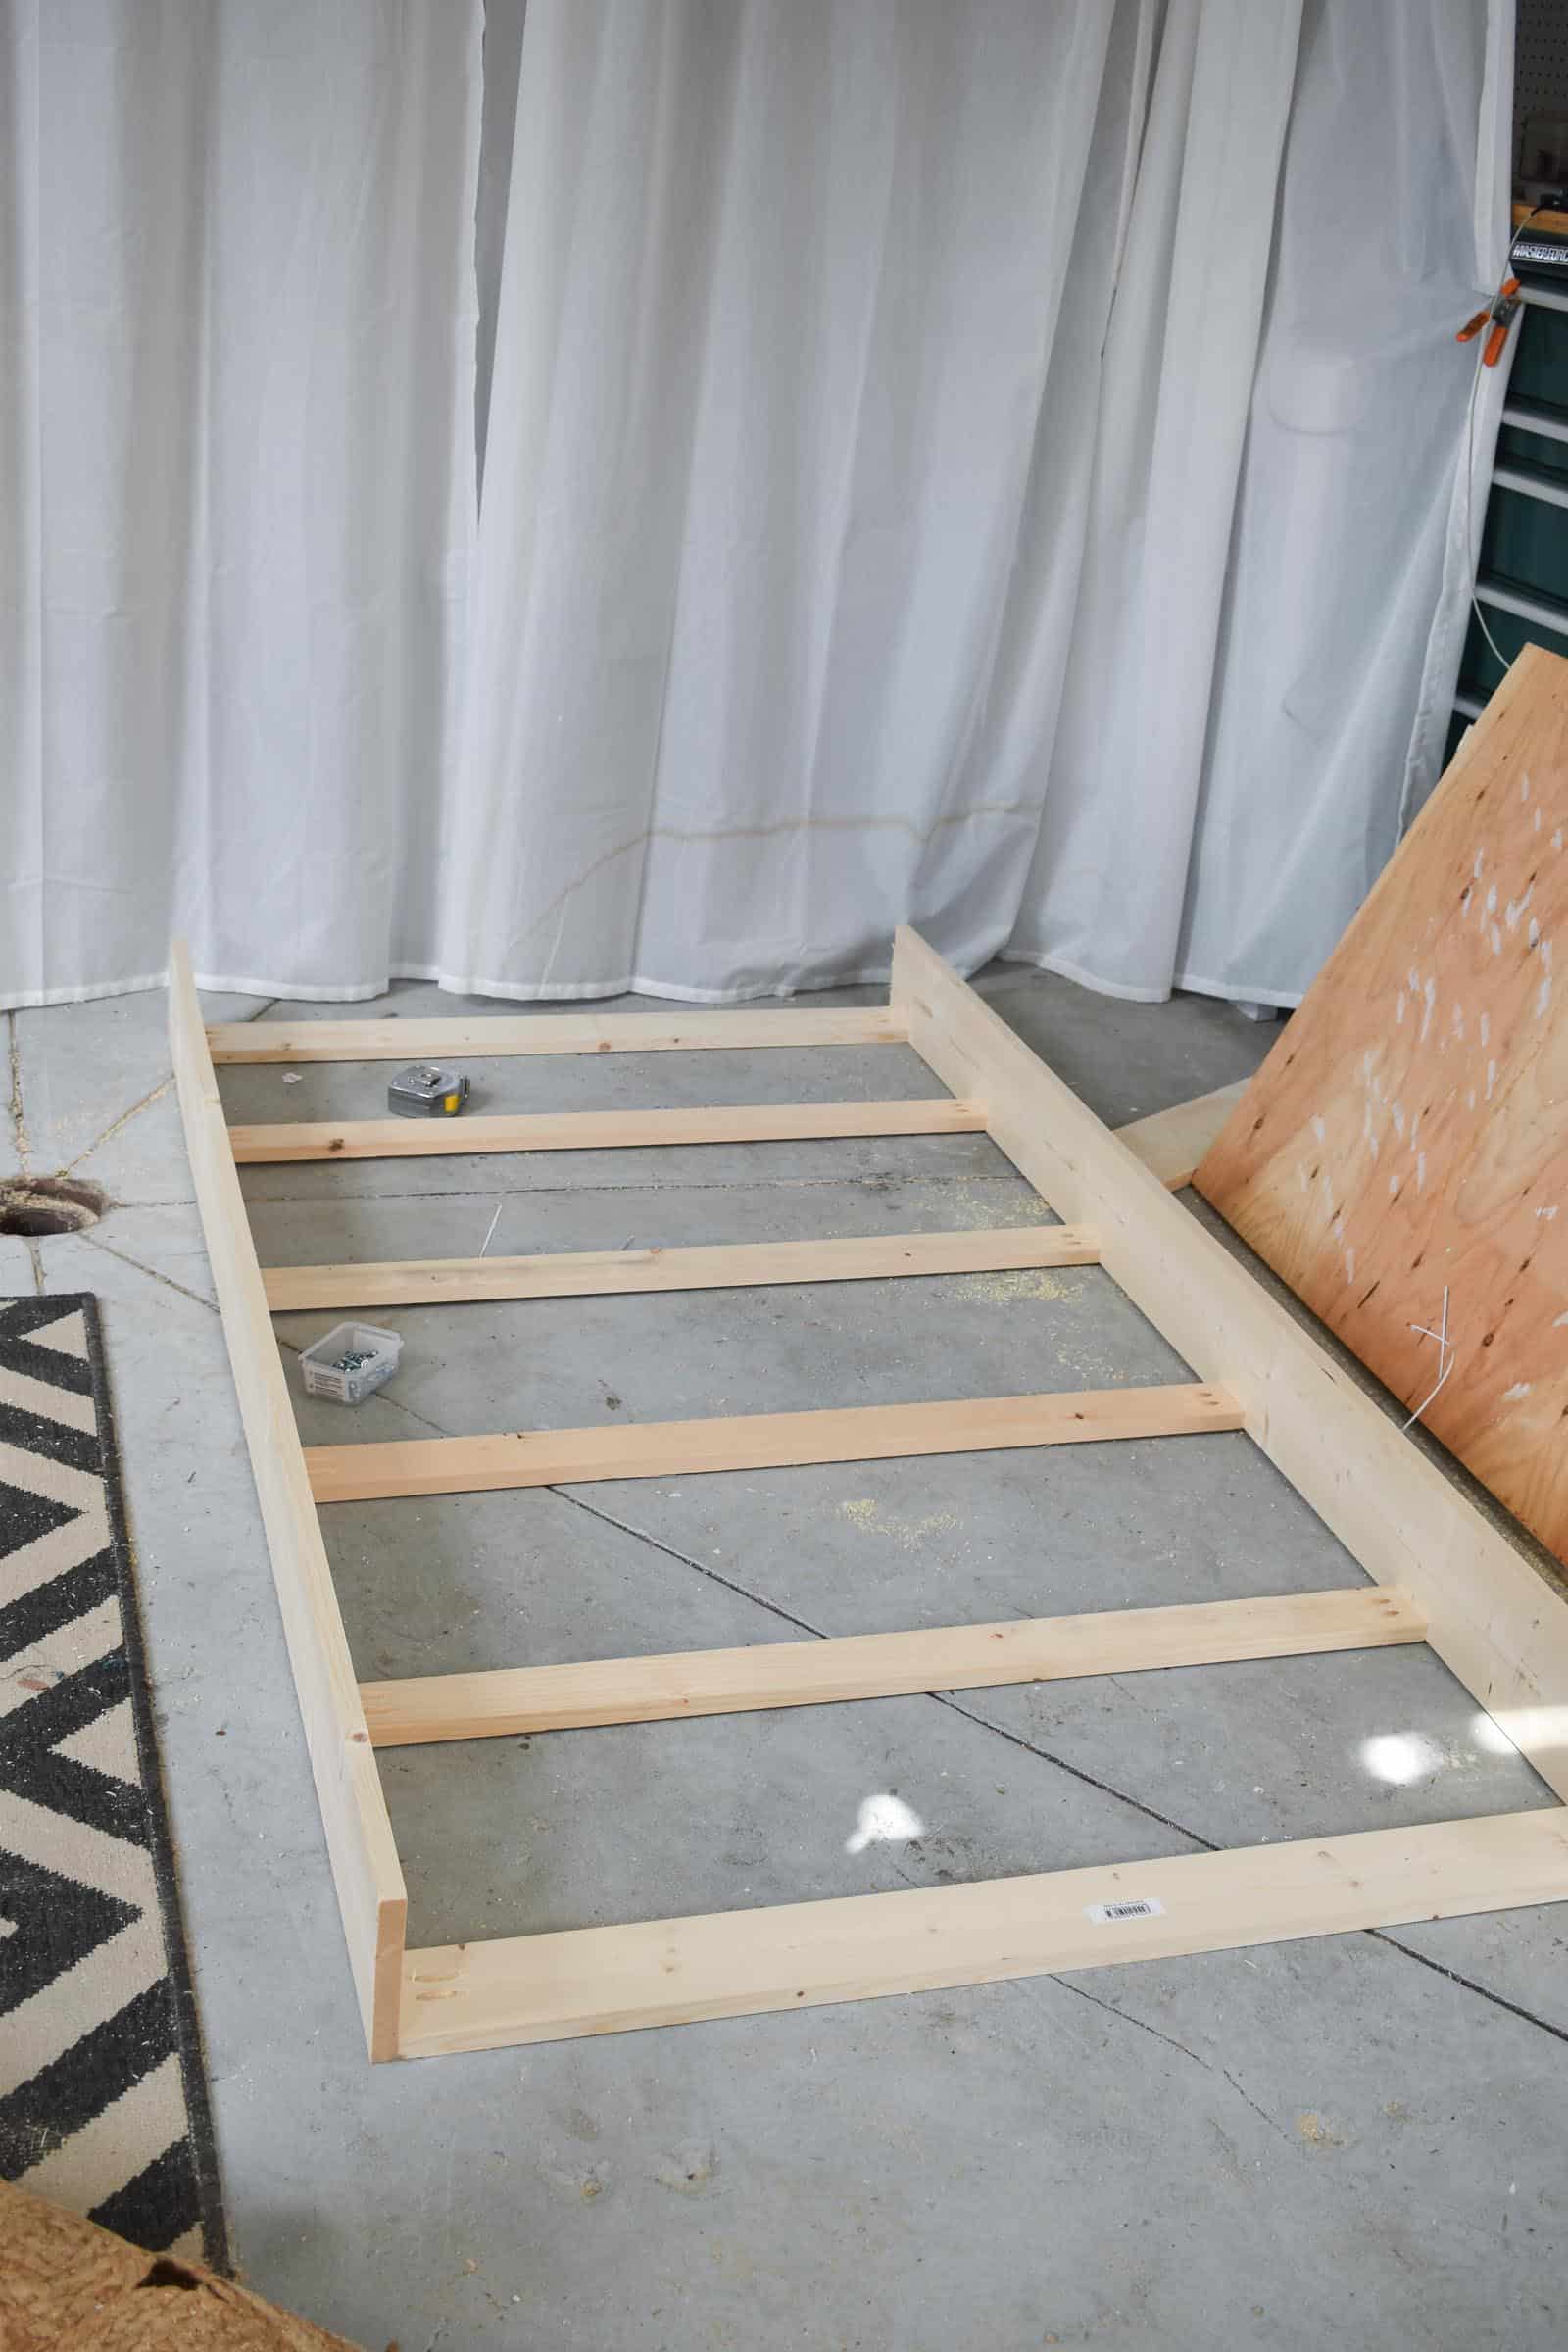
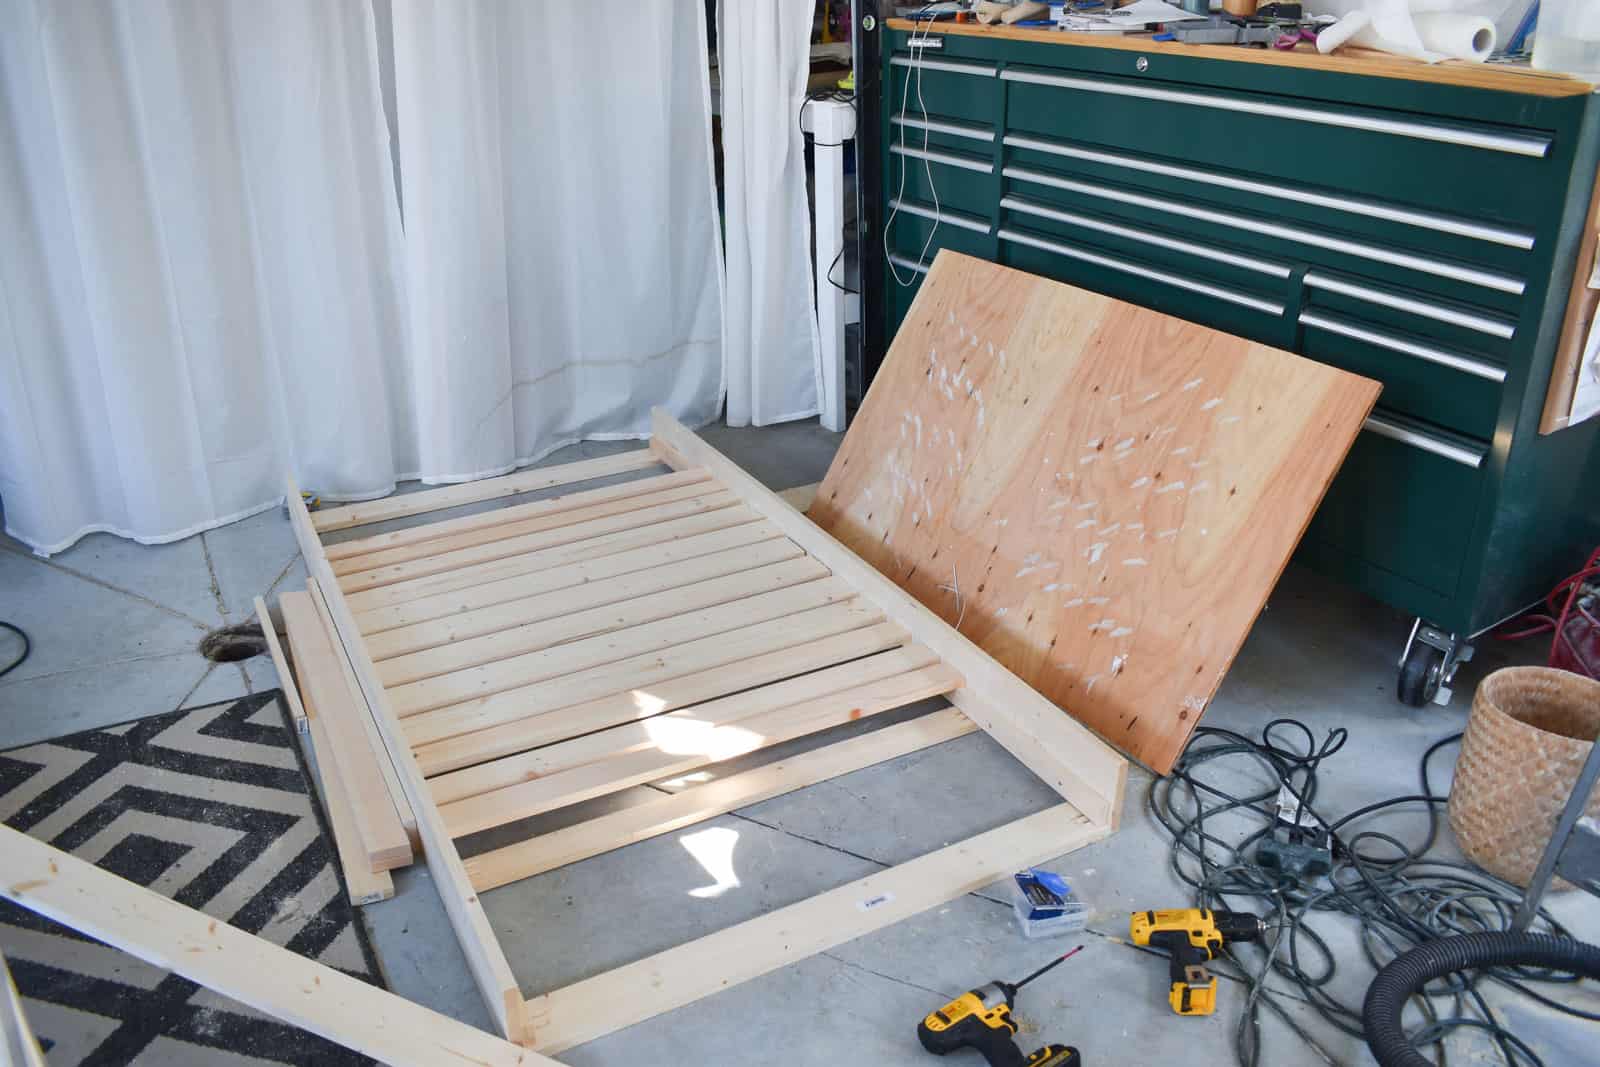
For the bed frame, I used 1x4s and 1x8s; I was most concerned that it would be structurally sturdy because of this smaller lumber. (2x lumber just felt like it would be too clunky for something like this…) I created a preliminary frame with 1x8s for the length and 1x4s screwed in place (with pocket holes) across the bottom.
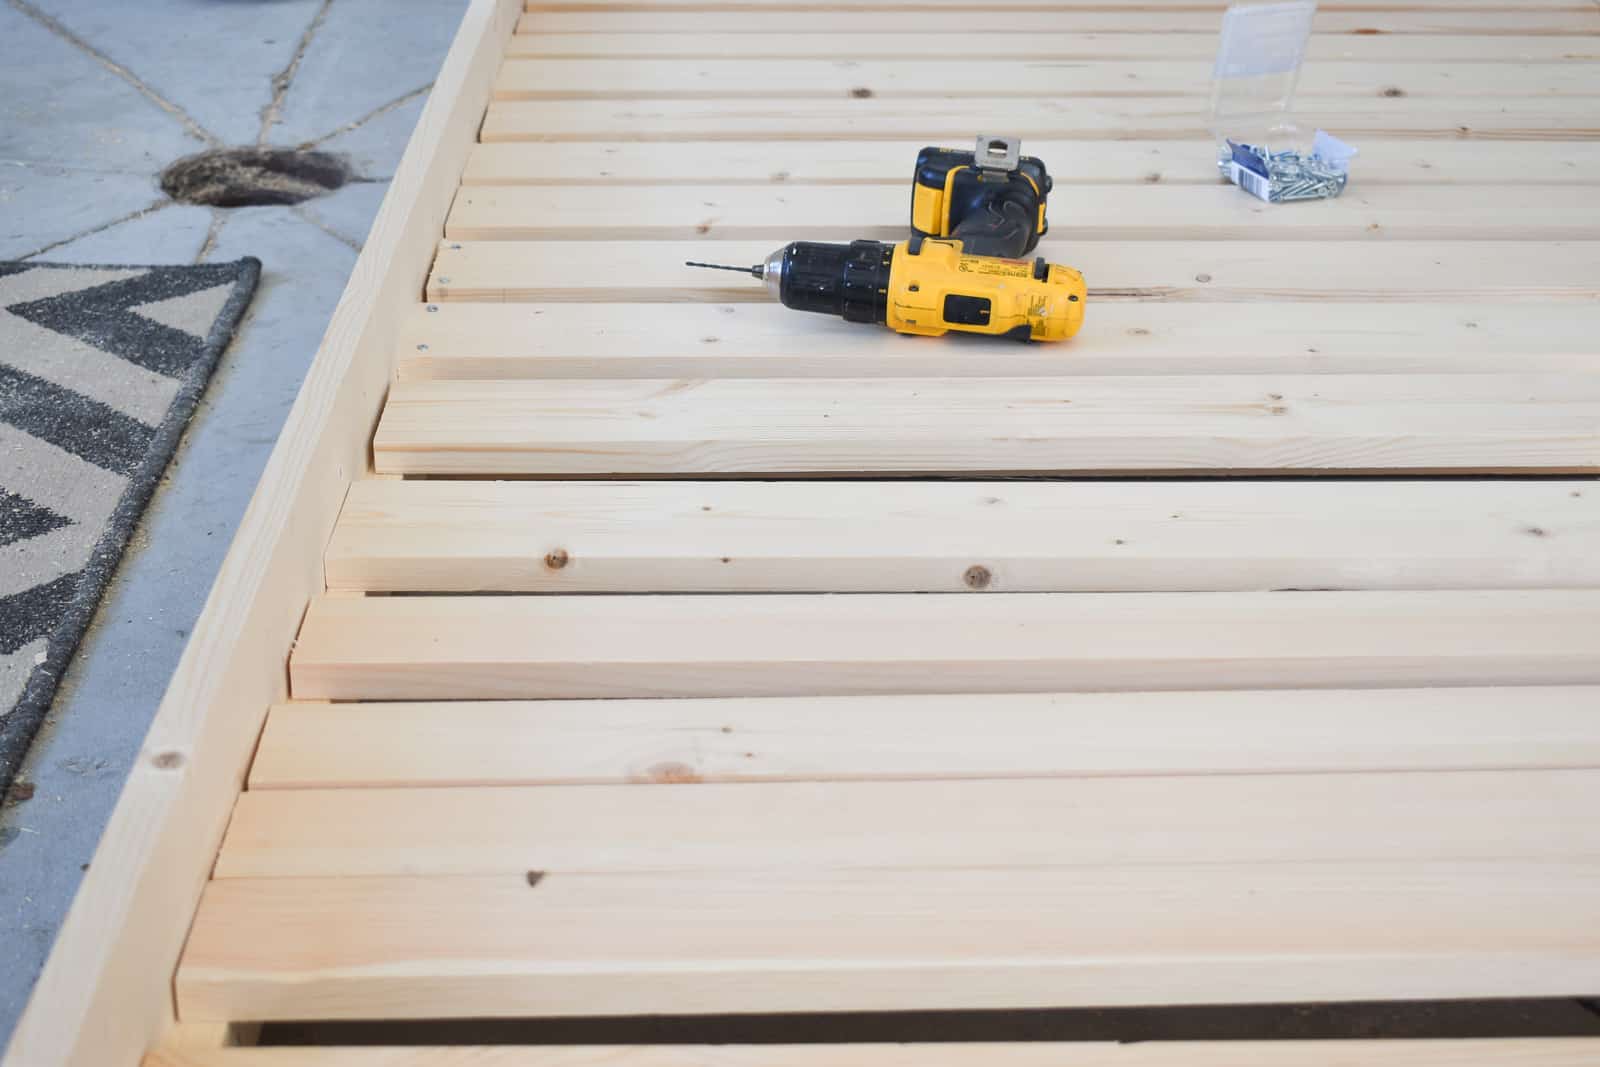
Then, I screwed two 1x2s against the 1x8s to act as a support for the slats that would ultimately support the mattress!
Thanks to NOT measuring twice, I cut a batch of lumber 1/2″ too short, had to head back to Home Depot and ultimately ended up with some 1×3 slats and some 1×4 slats. I used the 1×4 slats in the middle and then worked my way out to the ends with the 1x3s. I predrilled and then screwed all of these down onto the 1×2 rail in place against the sides of the bed.
Step 3. Add legs
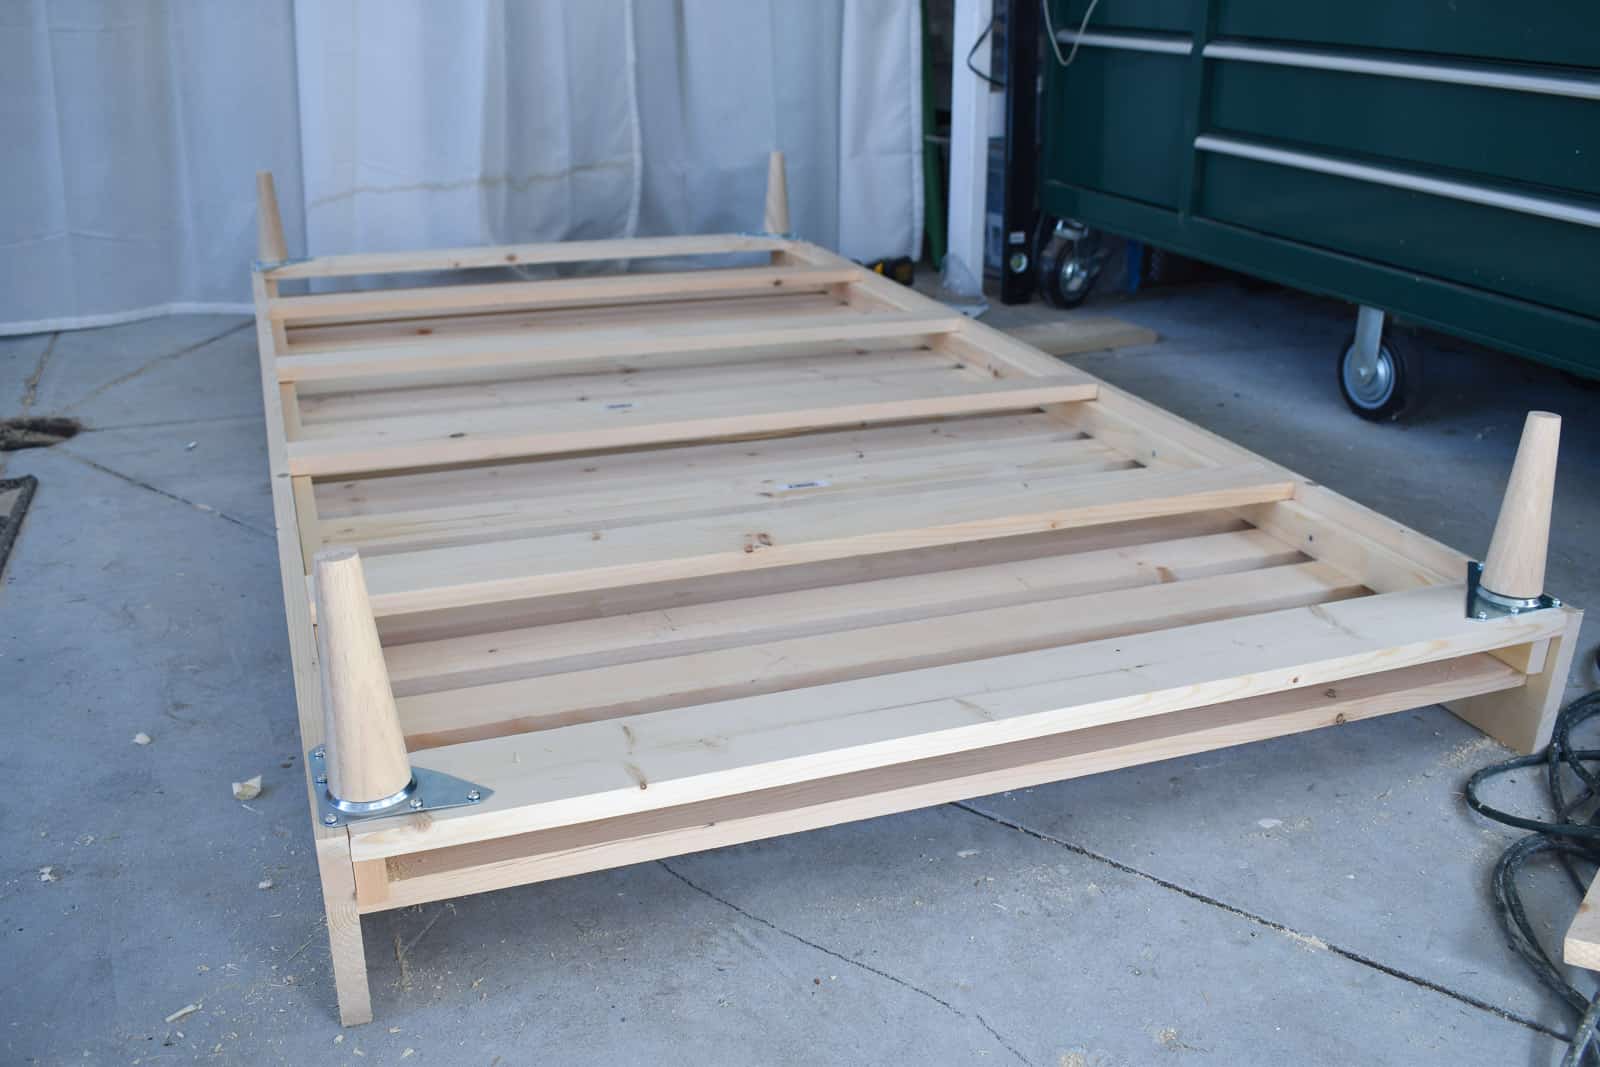
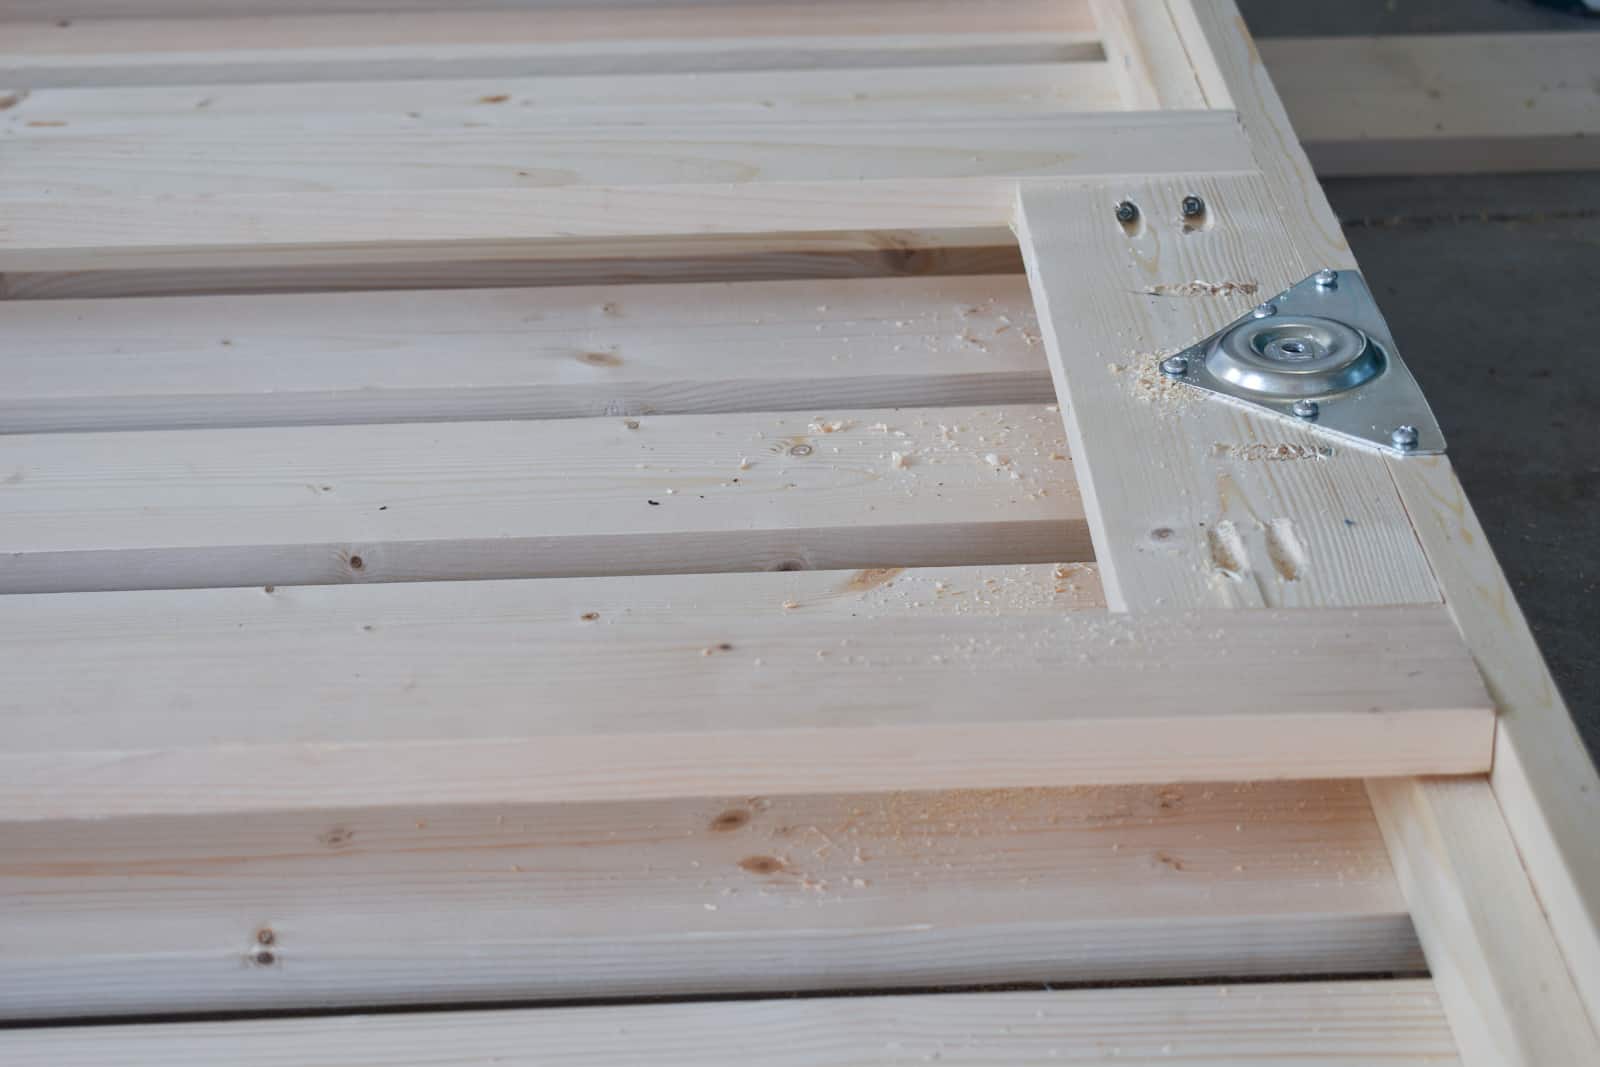
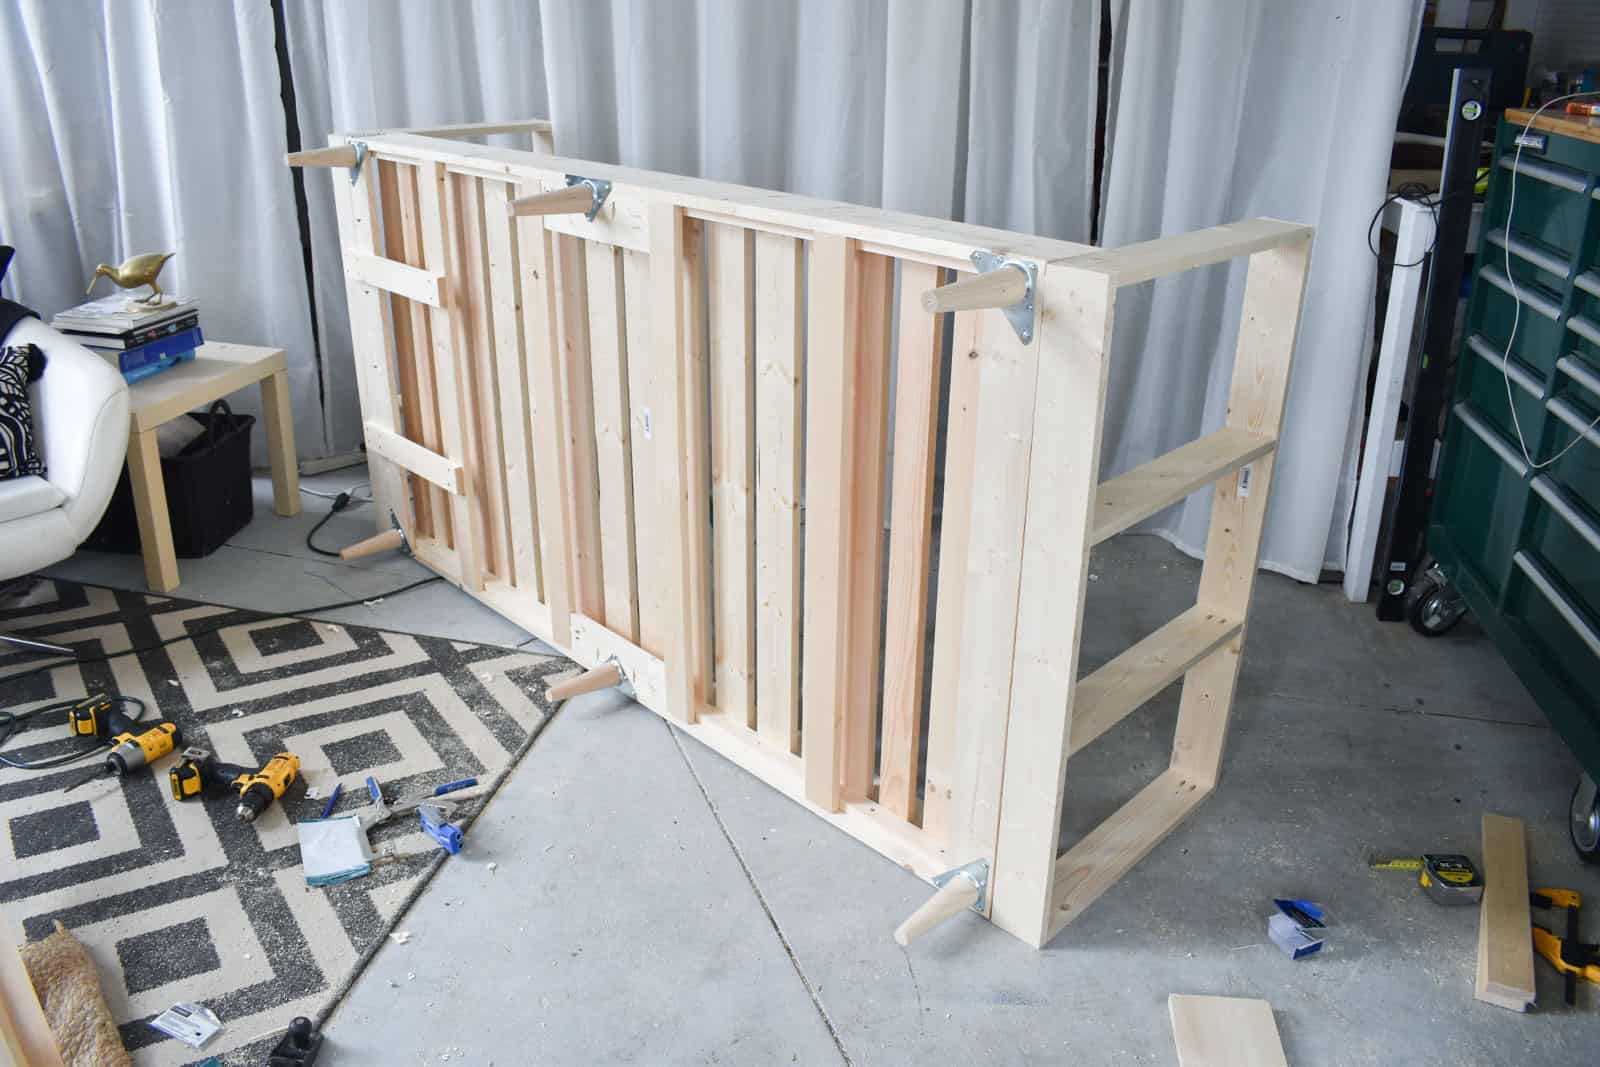
I found these stunners on etsy (affiliate) and loved the mid century look. I’m using metal plates to attach them and made sure the corner plates were screwed into both the side rails AND the cross beams just to disperse the weight a bit. For the leg in the middle of the bed, I added a piece of 1×4 to give the plate something to screw into. My biggest concern again was that these plates and the legs would have proper support so that the weight of the bed (and any kids jumping on said bed) would be dispersed!
Step 4. Connect the frame to the arms
I originally conceived of building the arms separate because I was thinking it might be easier to upholster. After I built everything, I realized that it might be safer just to connect the arms in advance and leave it up to my upholsterer to figure things out! I started by drilling some preliminary pocket holes. I know from experience that these will definitely not be secure enough to handle the torque of a child sitting on the arm of the sofa, but they were the first step in getting the arm lined up with the bed frame. I then added a length of 1×4 beneath the arm and screwed this into both the arm and then two places on the bed frame. Finally, I had these smaller metal plates and I screwed those in place across the seam where the arm meets the bed.
It *seems* pretty secure. Not a wiggle or a wobble. If it gets loose once kids are crawling all over, I can add a third support brace AND perhaps a larger L bracket, but for now… I’m claiming victory. See a video of how I made it here… perhaps it will make more sense to see it live:
My plan for this daybed has always been to upholster it. Fingers crossed, I haven’t done anything that will make that problematic. I have faith that my upholsterer will be able to make this look gorgeous! And before you ask… yes… I considered upholstering this myself, but I realized the style I want involves seams that will probably need to be sewn and I knew I would be frustrated if it looked wrinkled and saggy and amateur. I’m hoping that there’s actually not a ton of upholstery required (the two end pieces and the side beams) so the cost may not be a ton. Hoping.

I hope to get my fabric in a few weeks and then I can send this off to get all pretty! Make sure you tune back in to see how it looks then! (To see how I pick wallpaper and fabric online… check out this post!)




Wow!
You made that look really easy.
Once I figured out all the structural things… the building wasn’t too complex!
Inwiuld like to Make this bed for a foster child we Have. Will a twin size mattress fit this bed. And i w love to have the cut list please
Hi Sherrie! I’ll try to grab some of the dimensions for you tomorrow! Honestly… you’re going to want to build this to the specs of your specific mattress… mine fits my twin mattress, yes, but there are subtly differences between twins.