
Everything You Need to Know About Replacing Kitchen Counters
Psssst… this post *might* contain affiliate links: see my disclosure here.
Replacing our Dated Kitchen Counters
Replacing the dated counters in our kitchen was one of the biggest improvements for this room makeover!
Disclosure: This is a sponsored post in collaboration with Wilsonart®. They provided me with our kitchen counters and I couldn’t be happier!!
Shop my favorites!
Story Time
The first time I ever replaced a kitchen counter was in the first house we ever owned. We were young and fancy-free and not at all intimidated by the state of the kitchen when we bought the house… Spoiler: it was not good. As a bit of a band aid, we replaced an old dated kitchen island with something a bit more up to date using Restore Cabinets and a basic box store butcherblock. Well… the island looked fine, but the butcher block split in 3 or 4 places about 3 weeks after we installed it. Who knows whether it hadn’t acclimated or whether it was just plain cheap, but filling and sanding your brand new kitchen counter is not the most fun way to spend your time. 0/10 recommend.
Replacing our Kitchen Counters
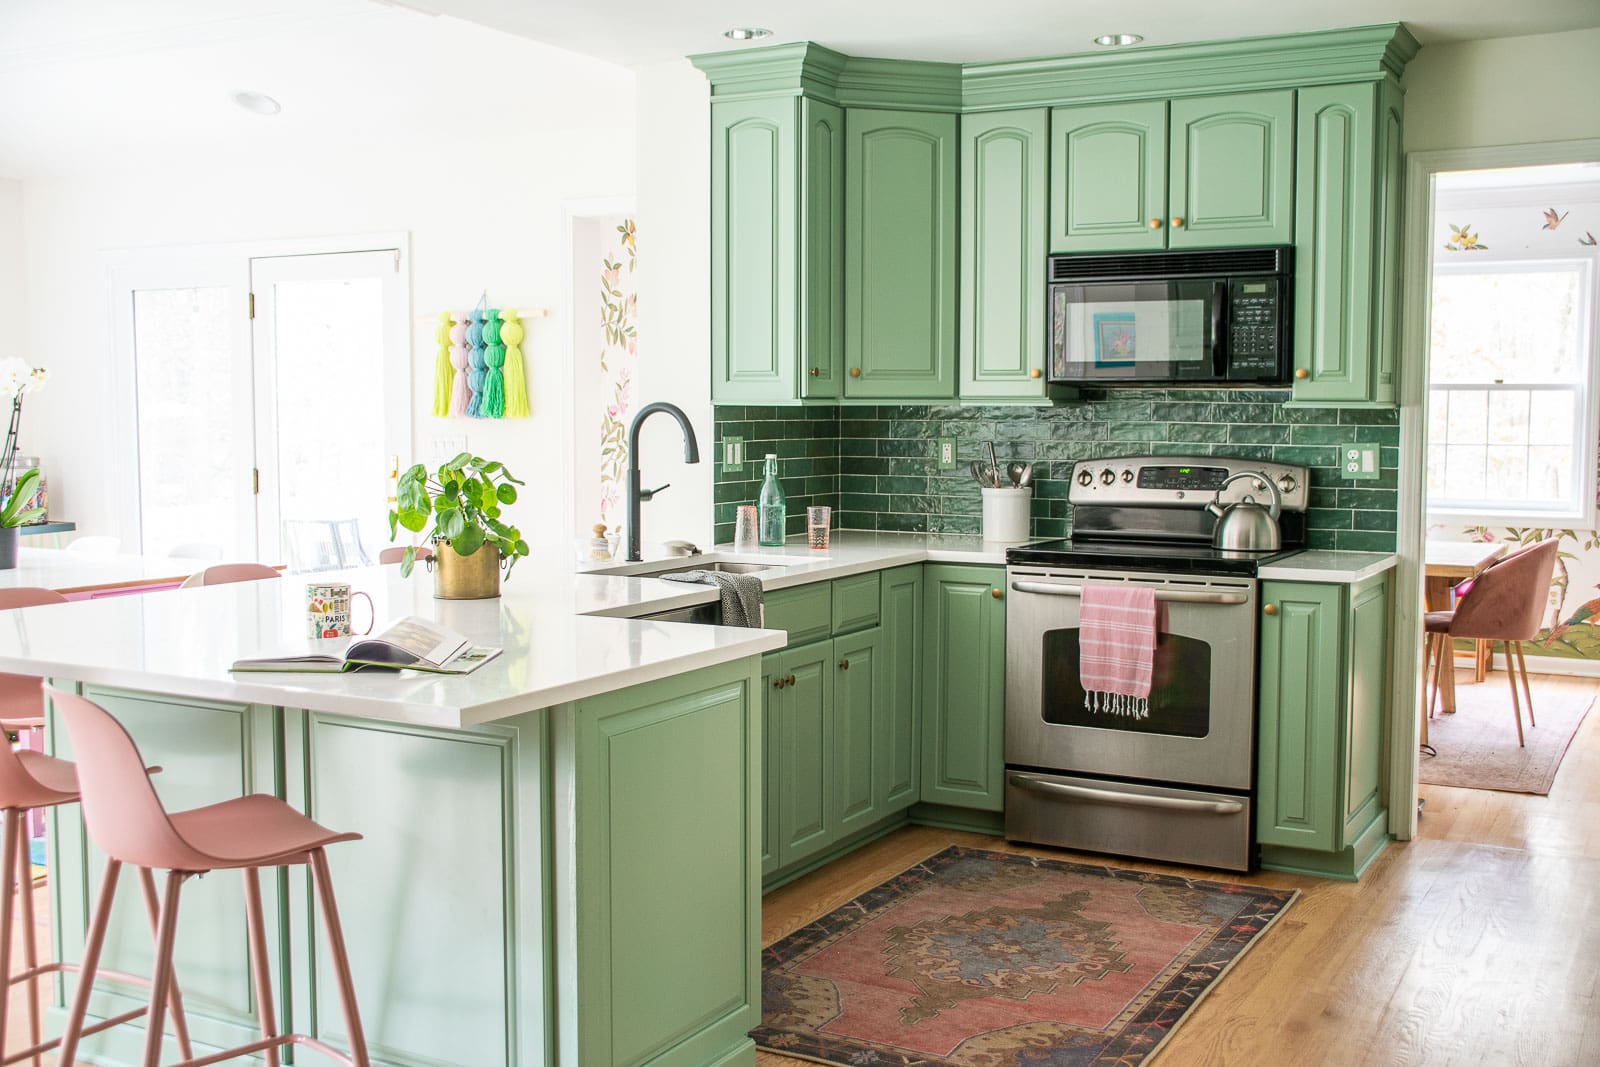
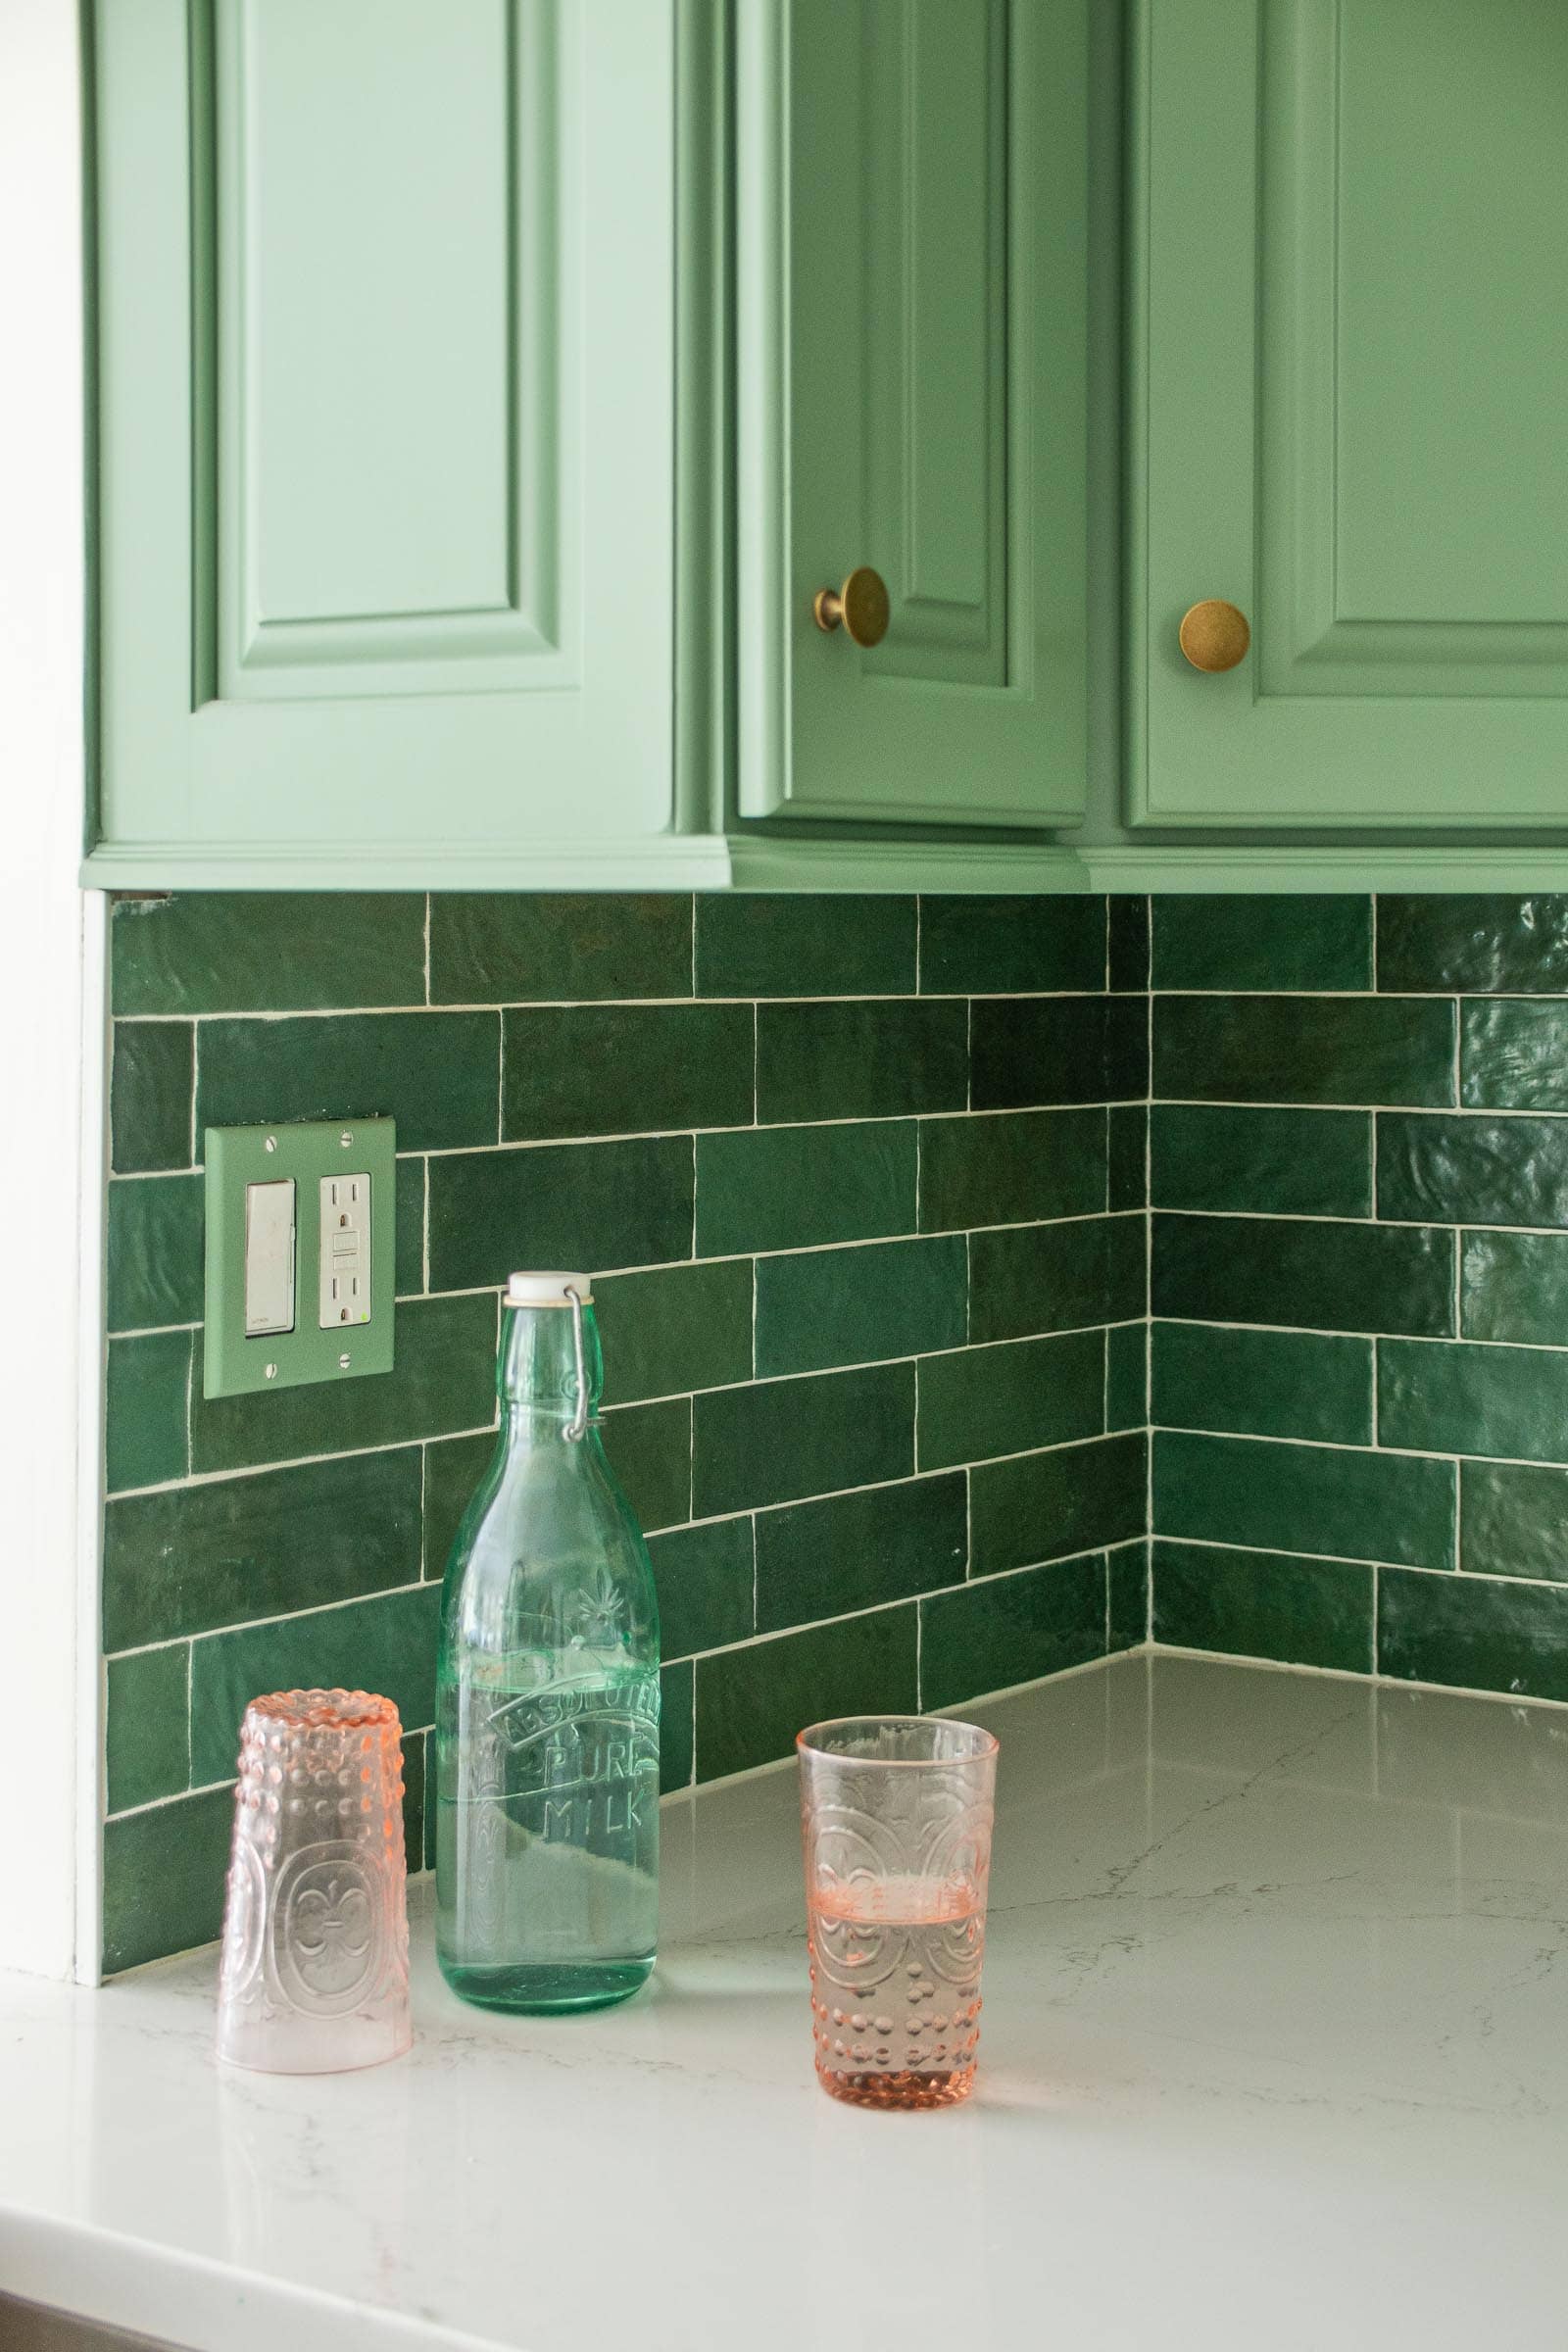
We’ve lived in 4 houses and this is the FIRST KITCHEN I’ve ever made over from top to bottom! I’ve painted cabinets… added an island… but never the whole shebang and I’m over the moon with our new and improved space! We moved into this house in November of 2020 and the kitchen was high on our list of rooms to update! Ultimately we ended up replacing the flooring, painting the cabinets, adding a backsplash and replacing the sink/ faucet.
To see the full kitchen reveal click here!
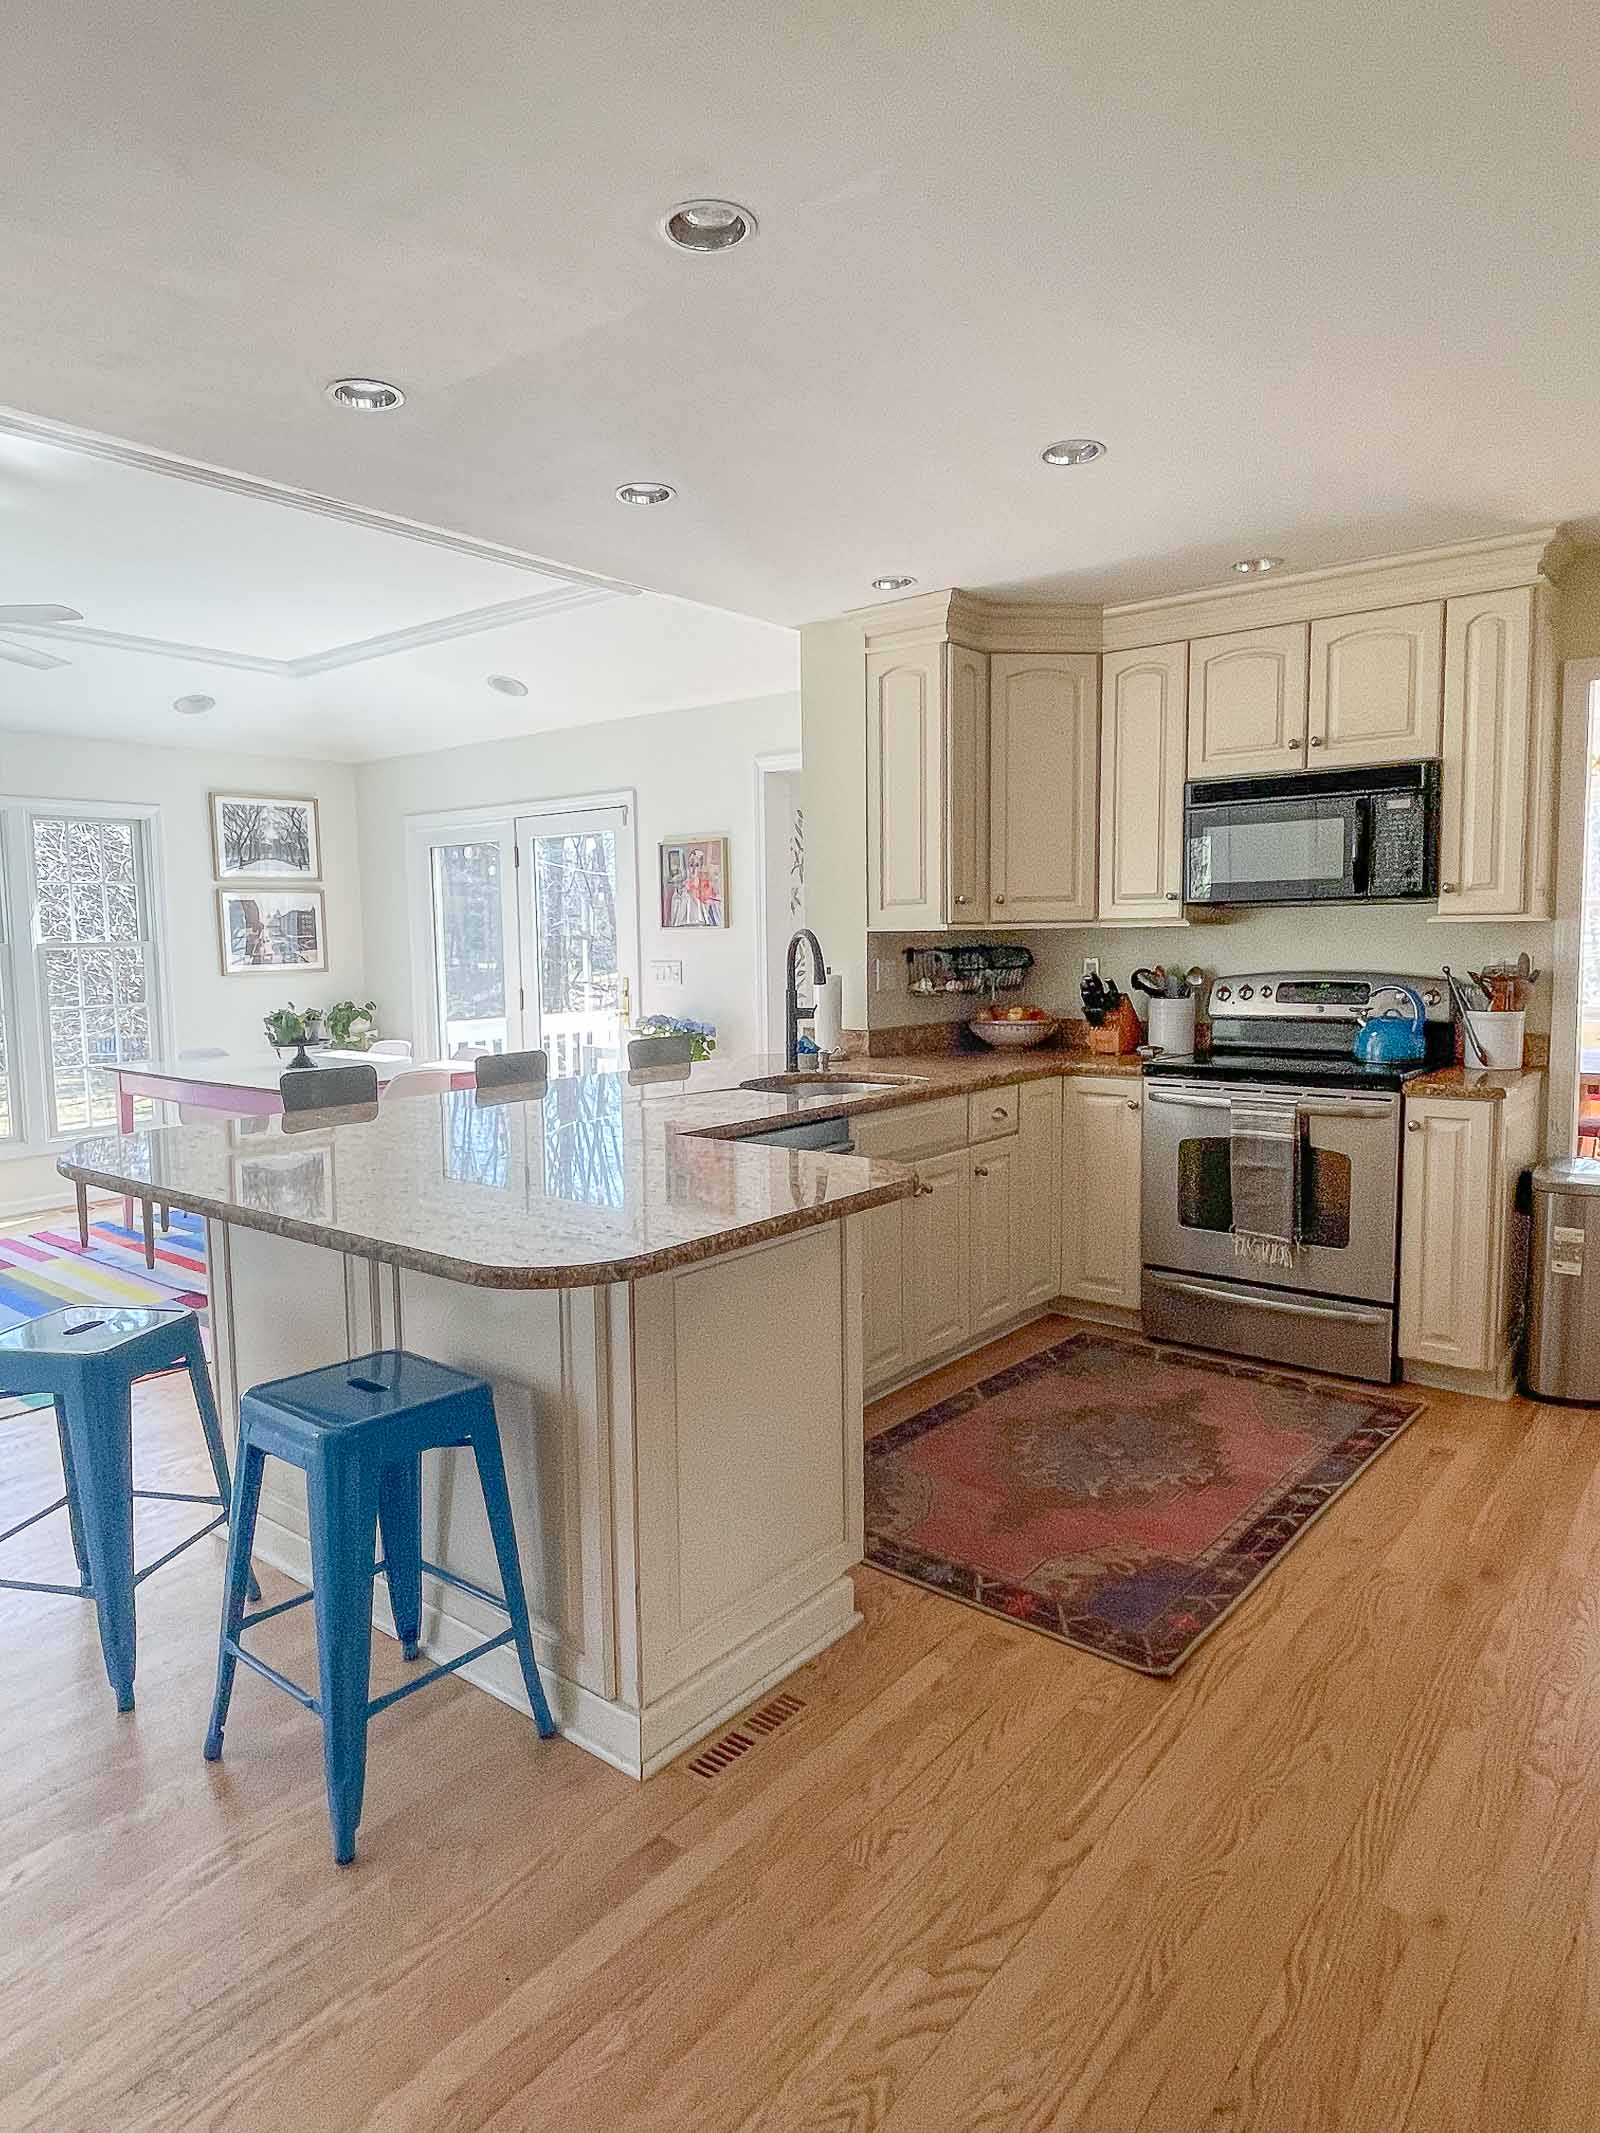
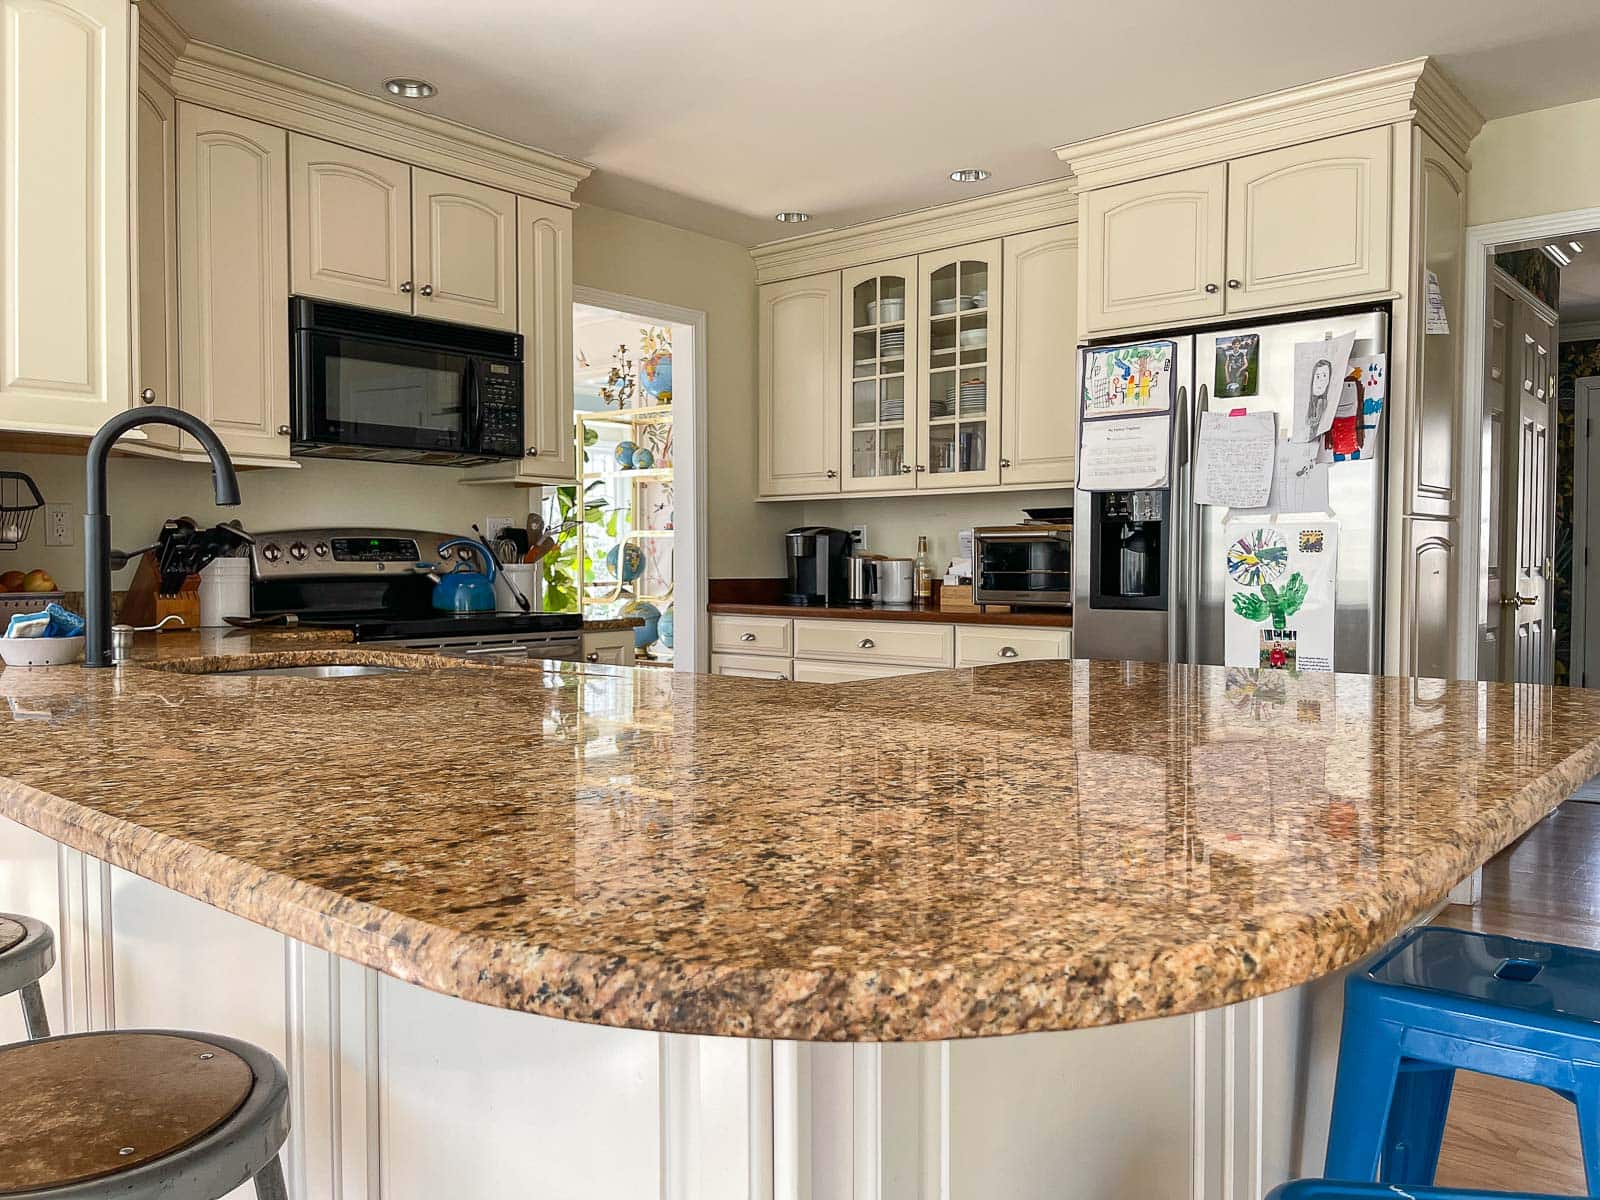
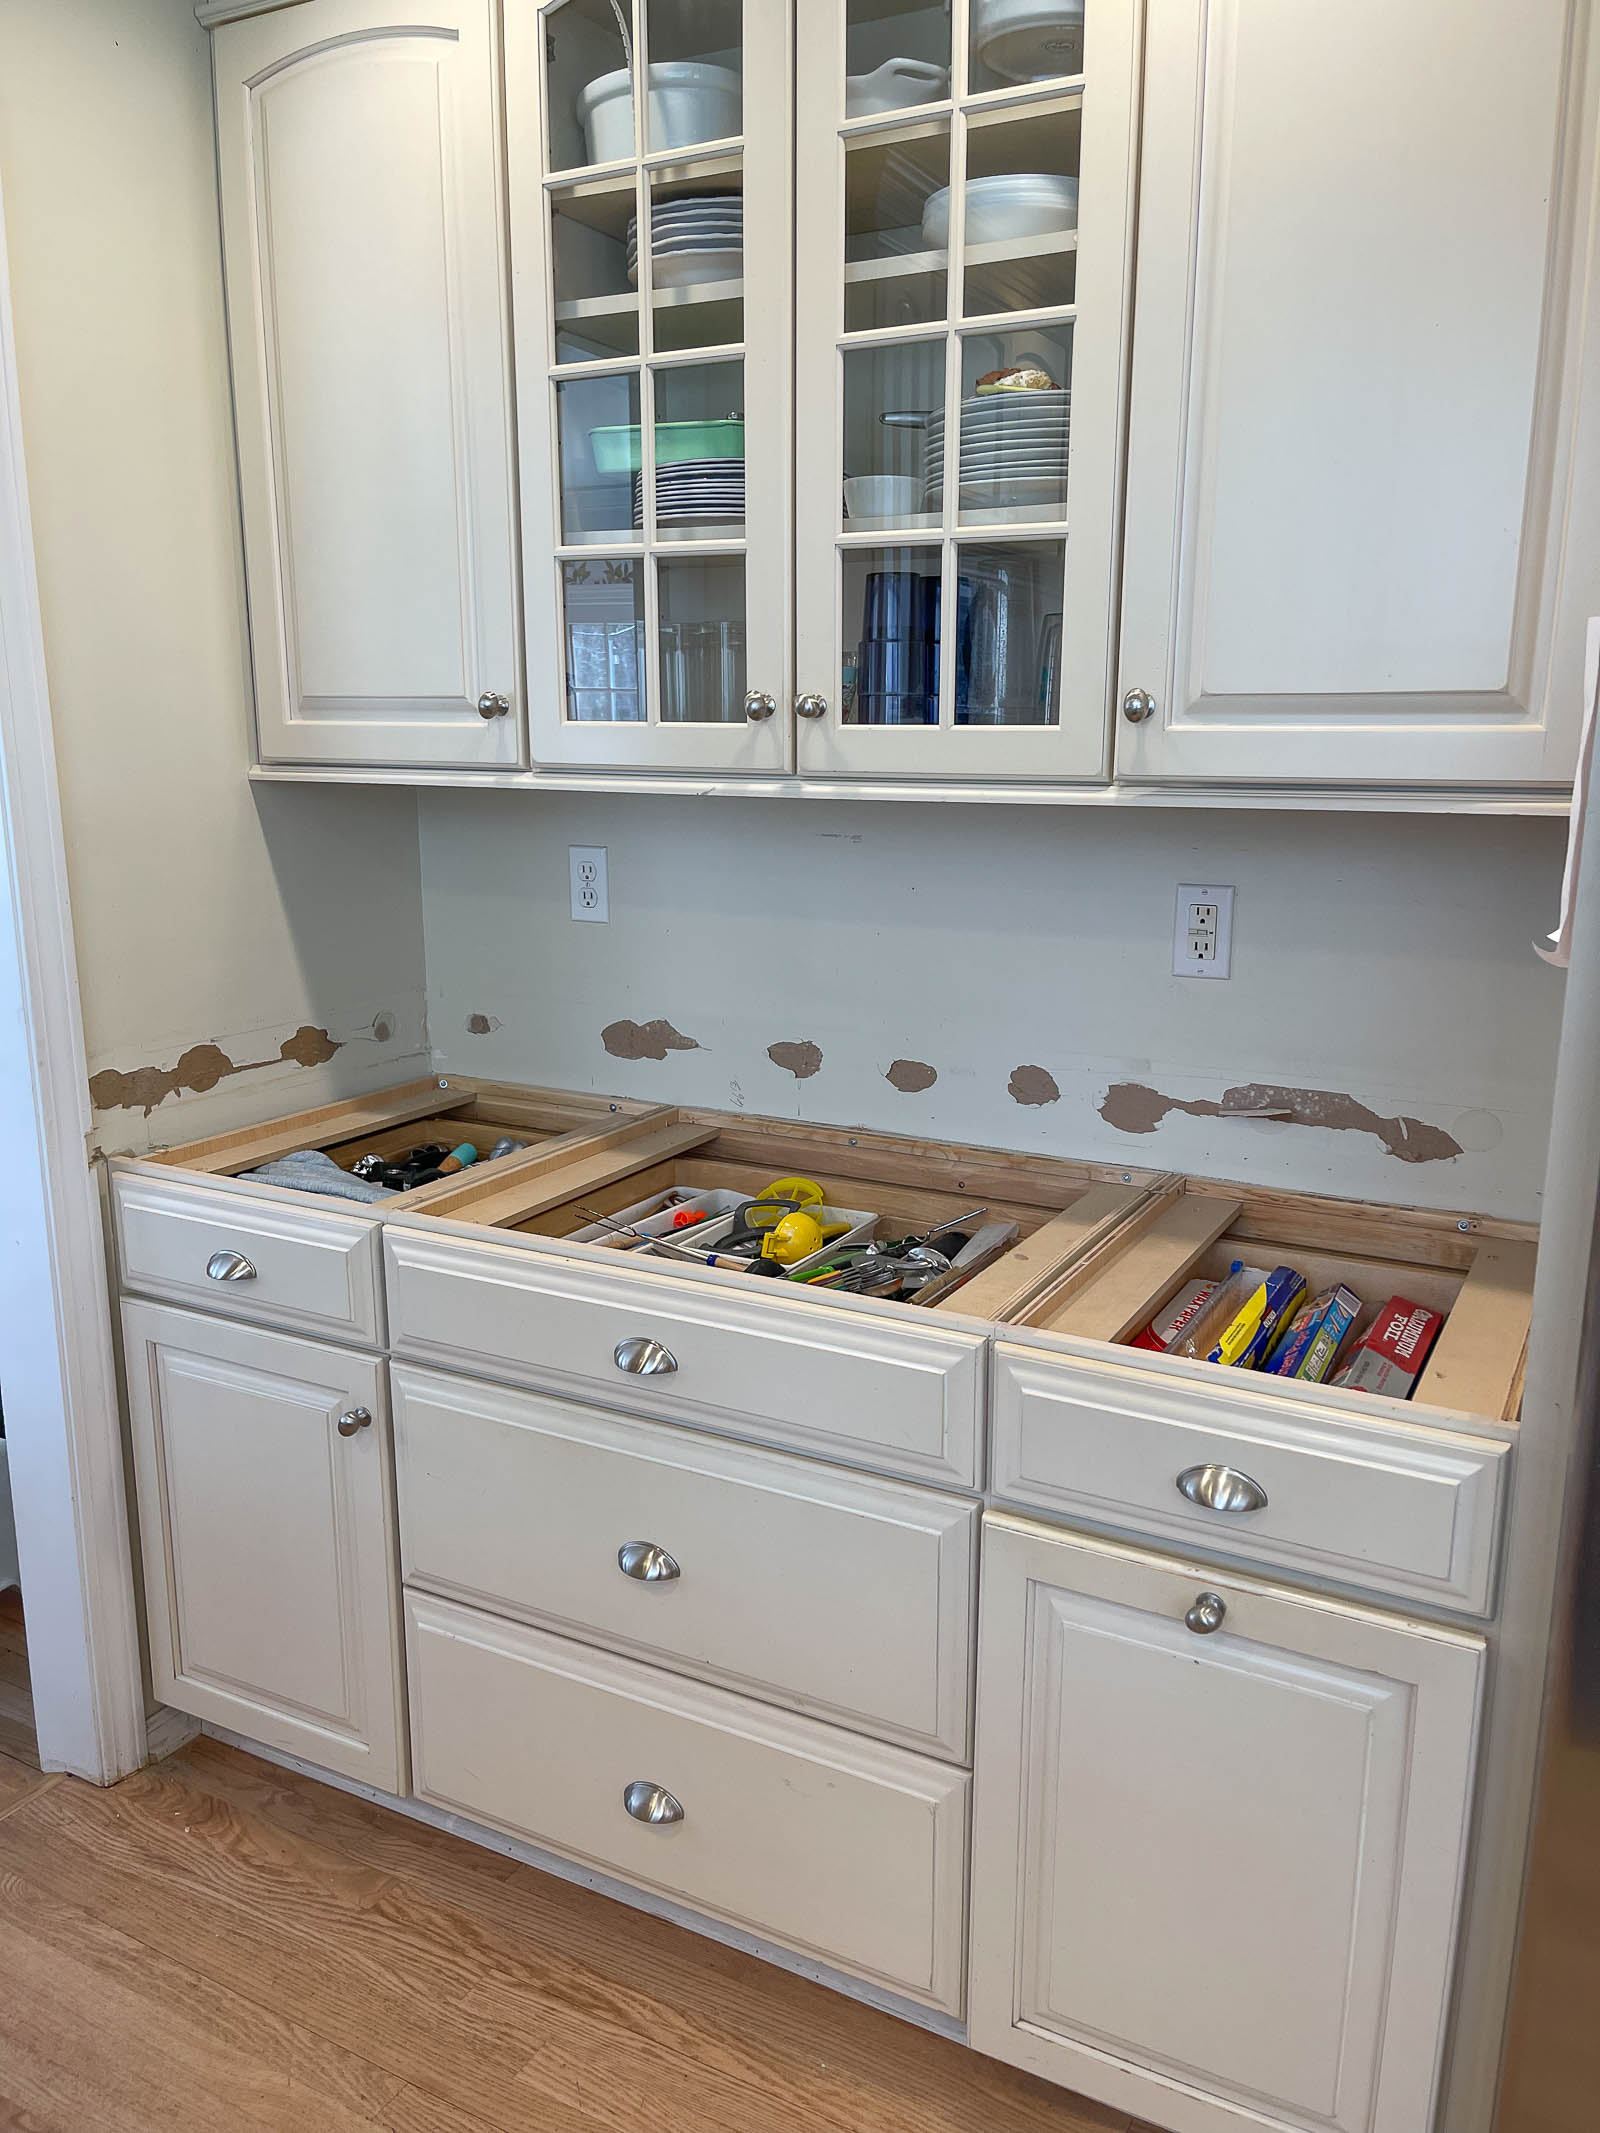
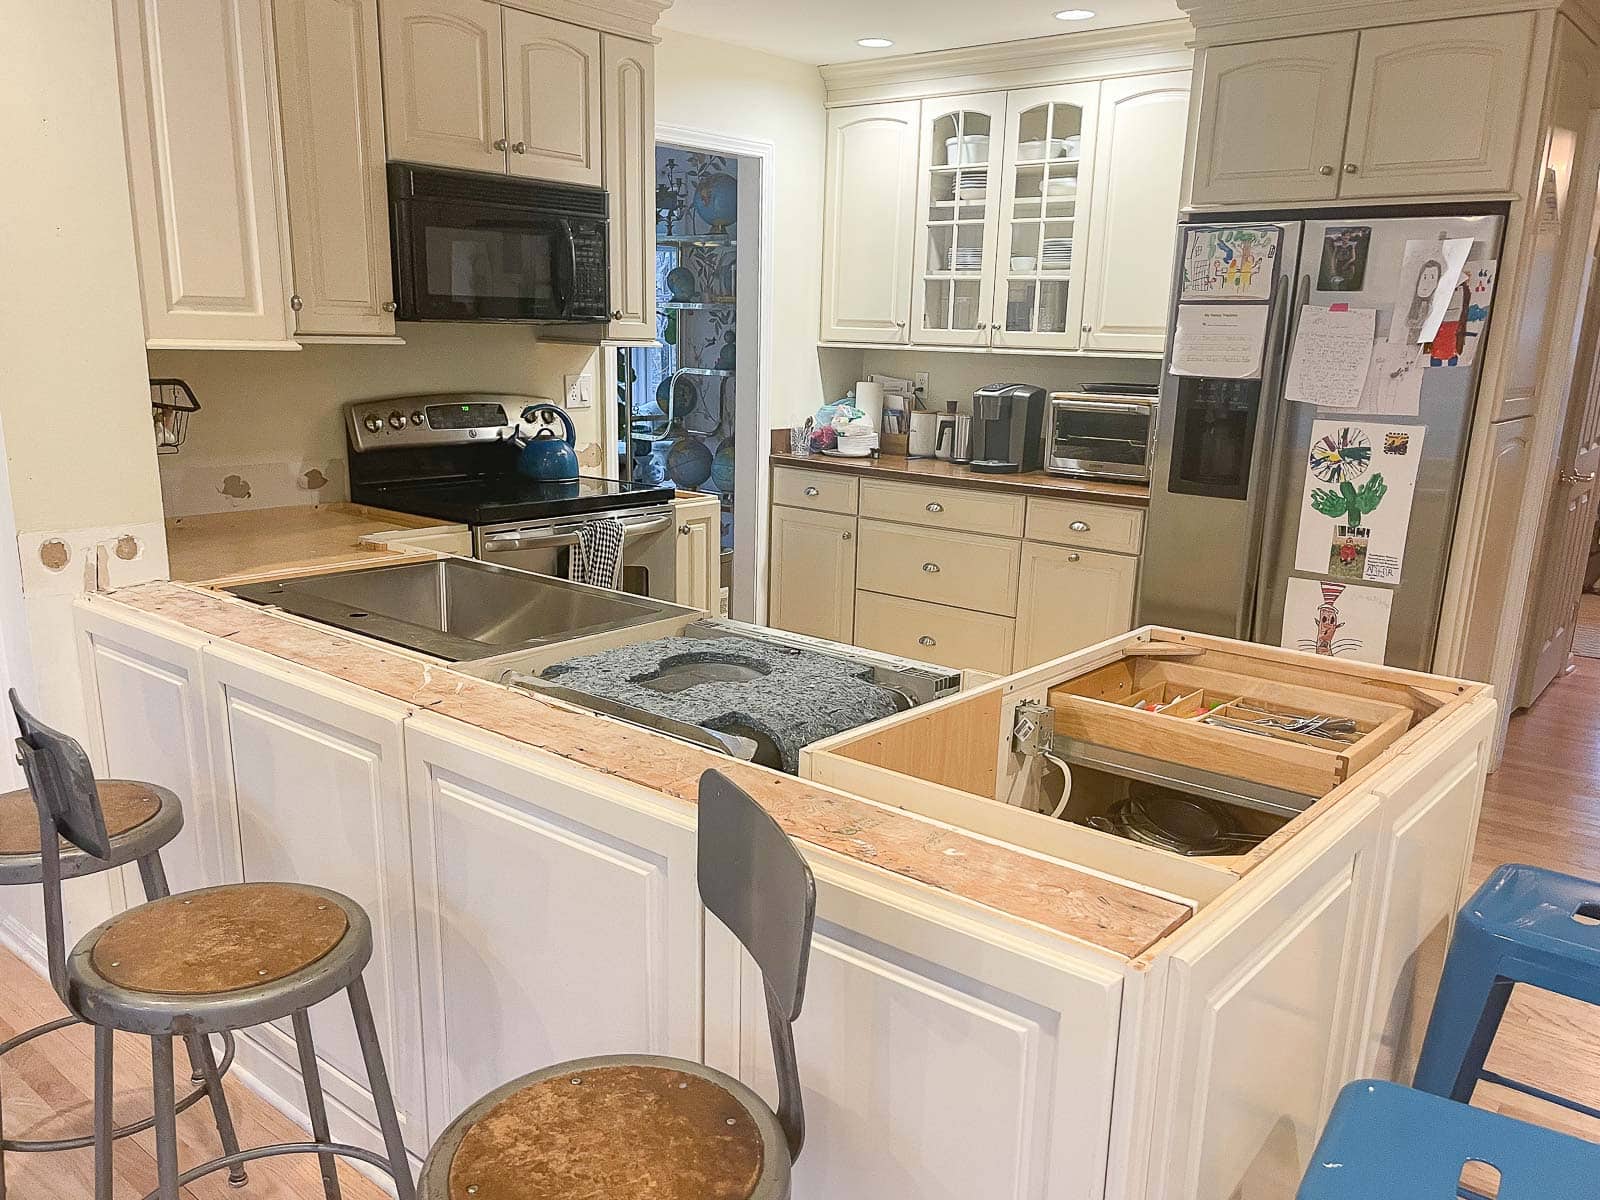
In my opinion, the original counters were one of the more dated elements of the space. The dark granite hid lots of dirt which seems like it would be a good thing until you touched it or put something down and came back with a sticky hand or a wet piece of paper. The shape of the counter also felt dated… that wide curve on the corners might have been preferred had we lived here with small children running around the space, but aesthetically it didn’t do it for me.
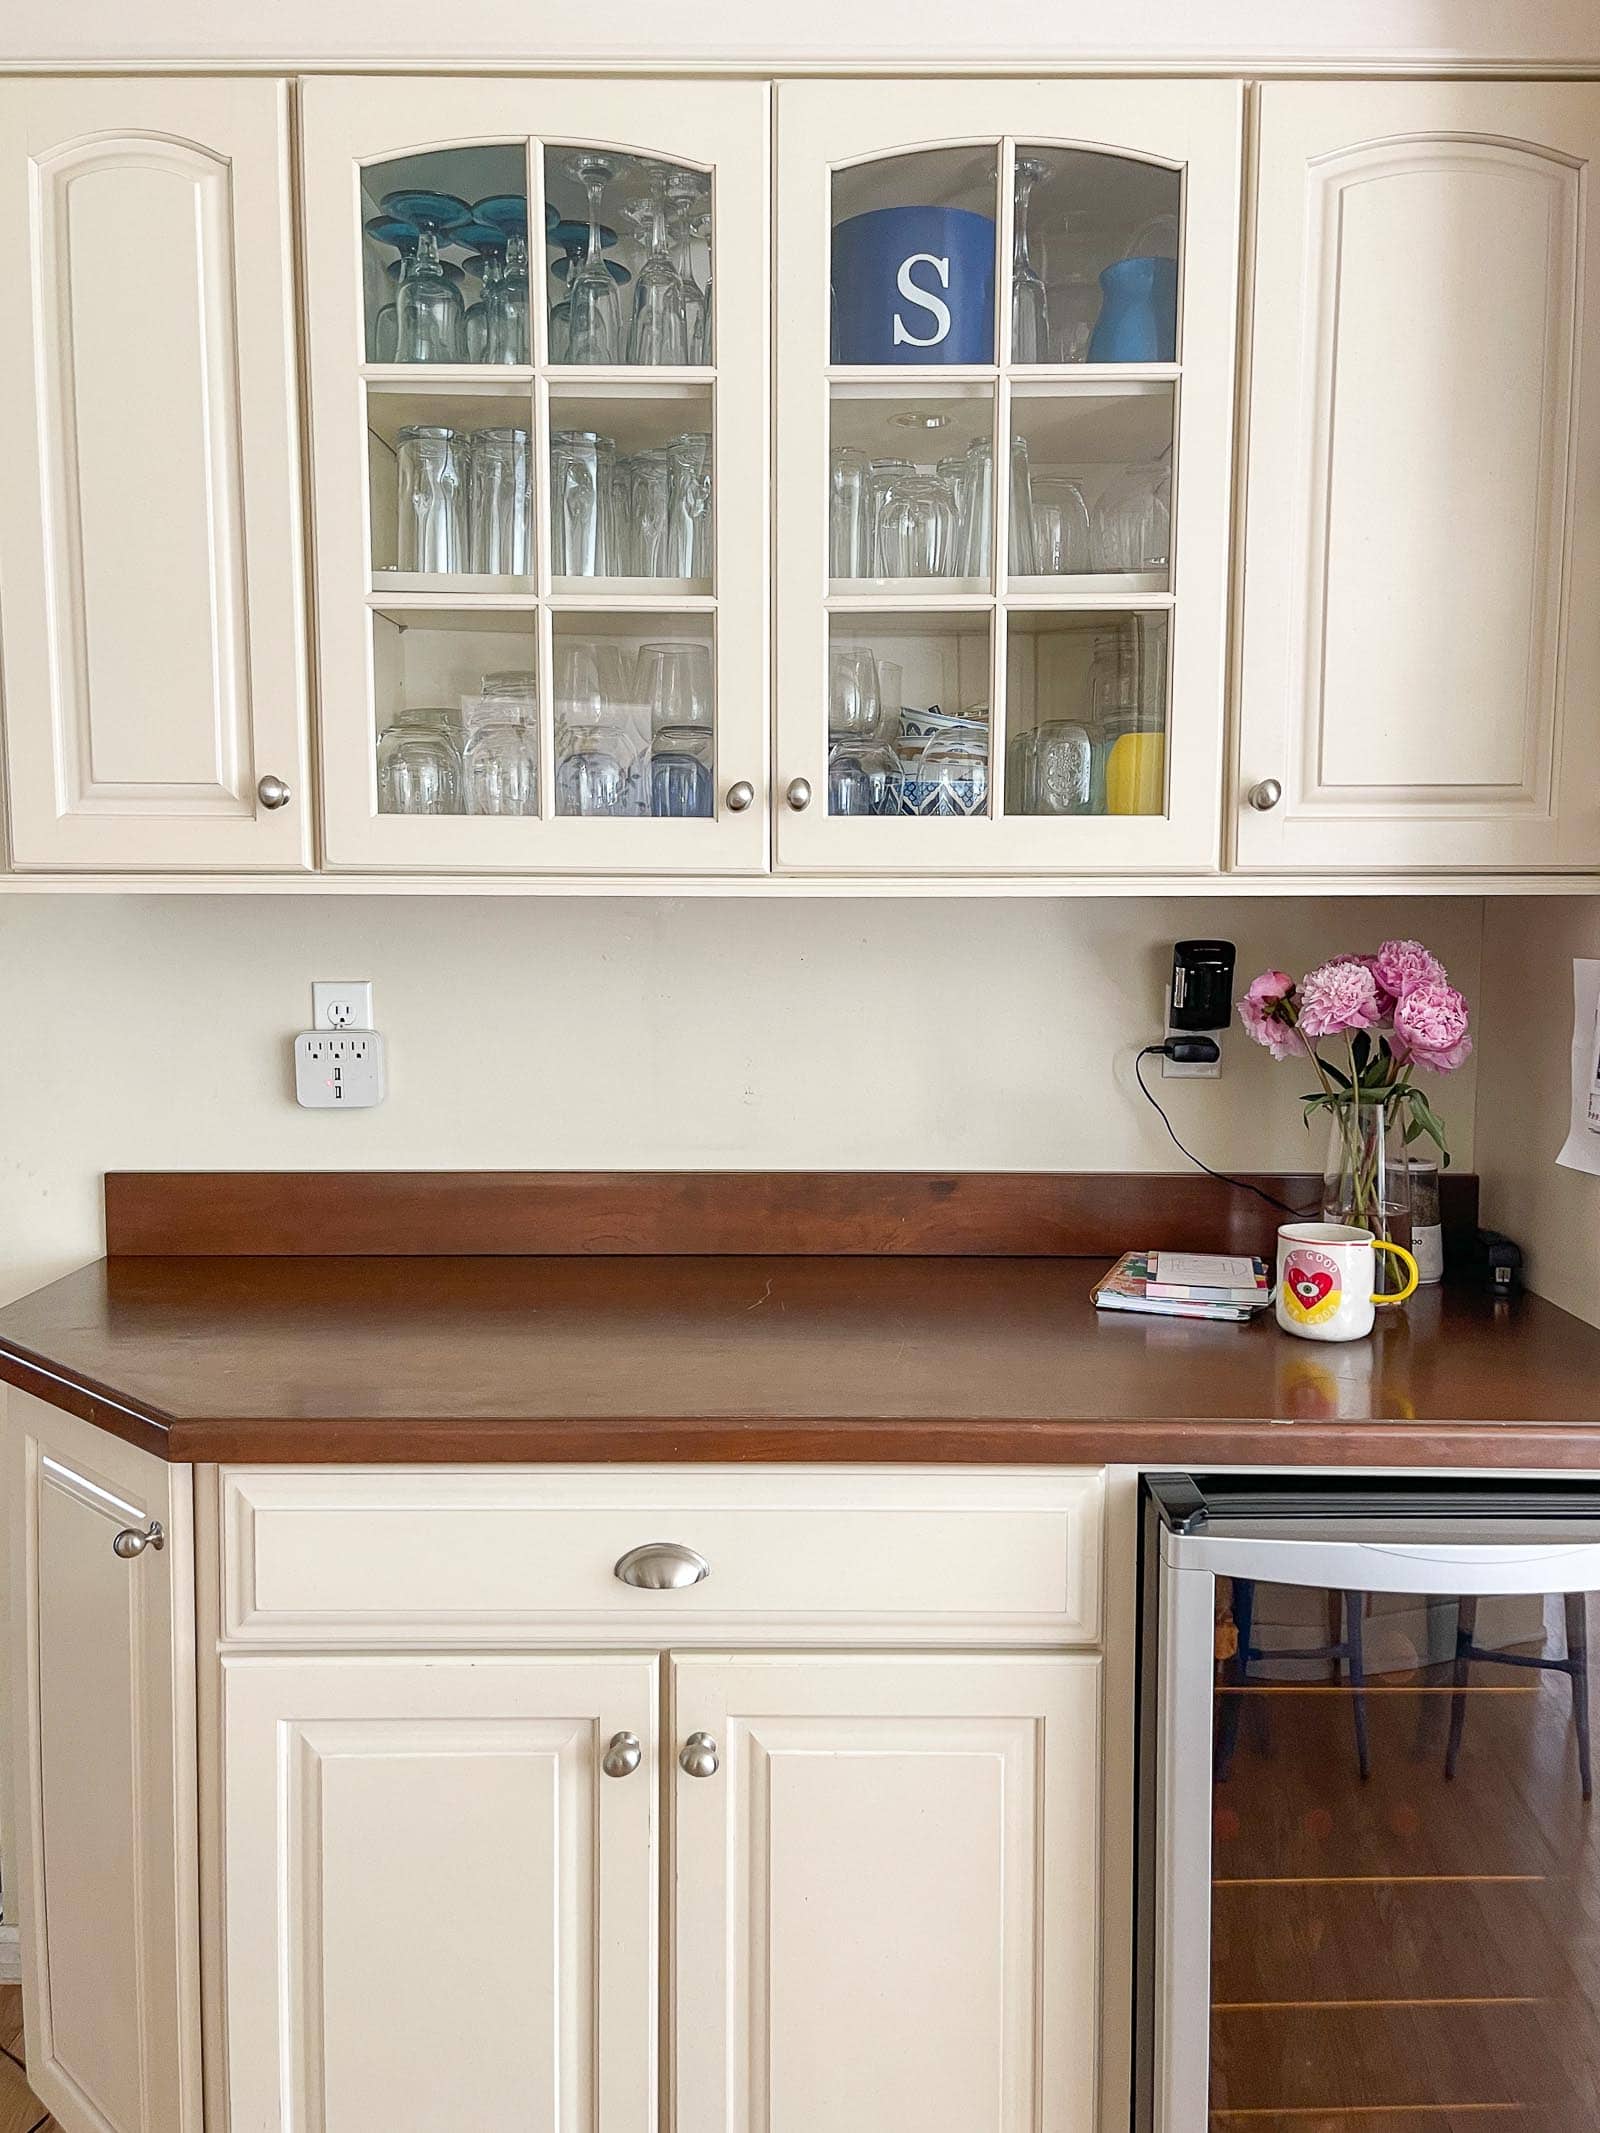
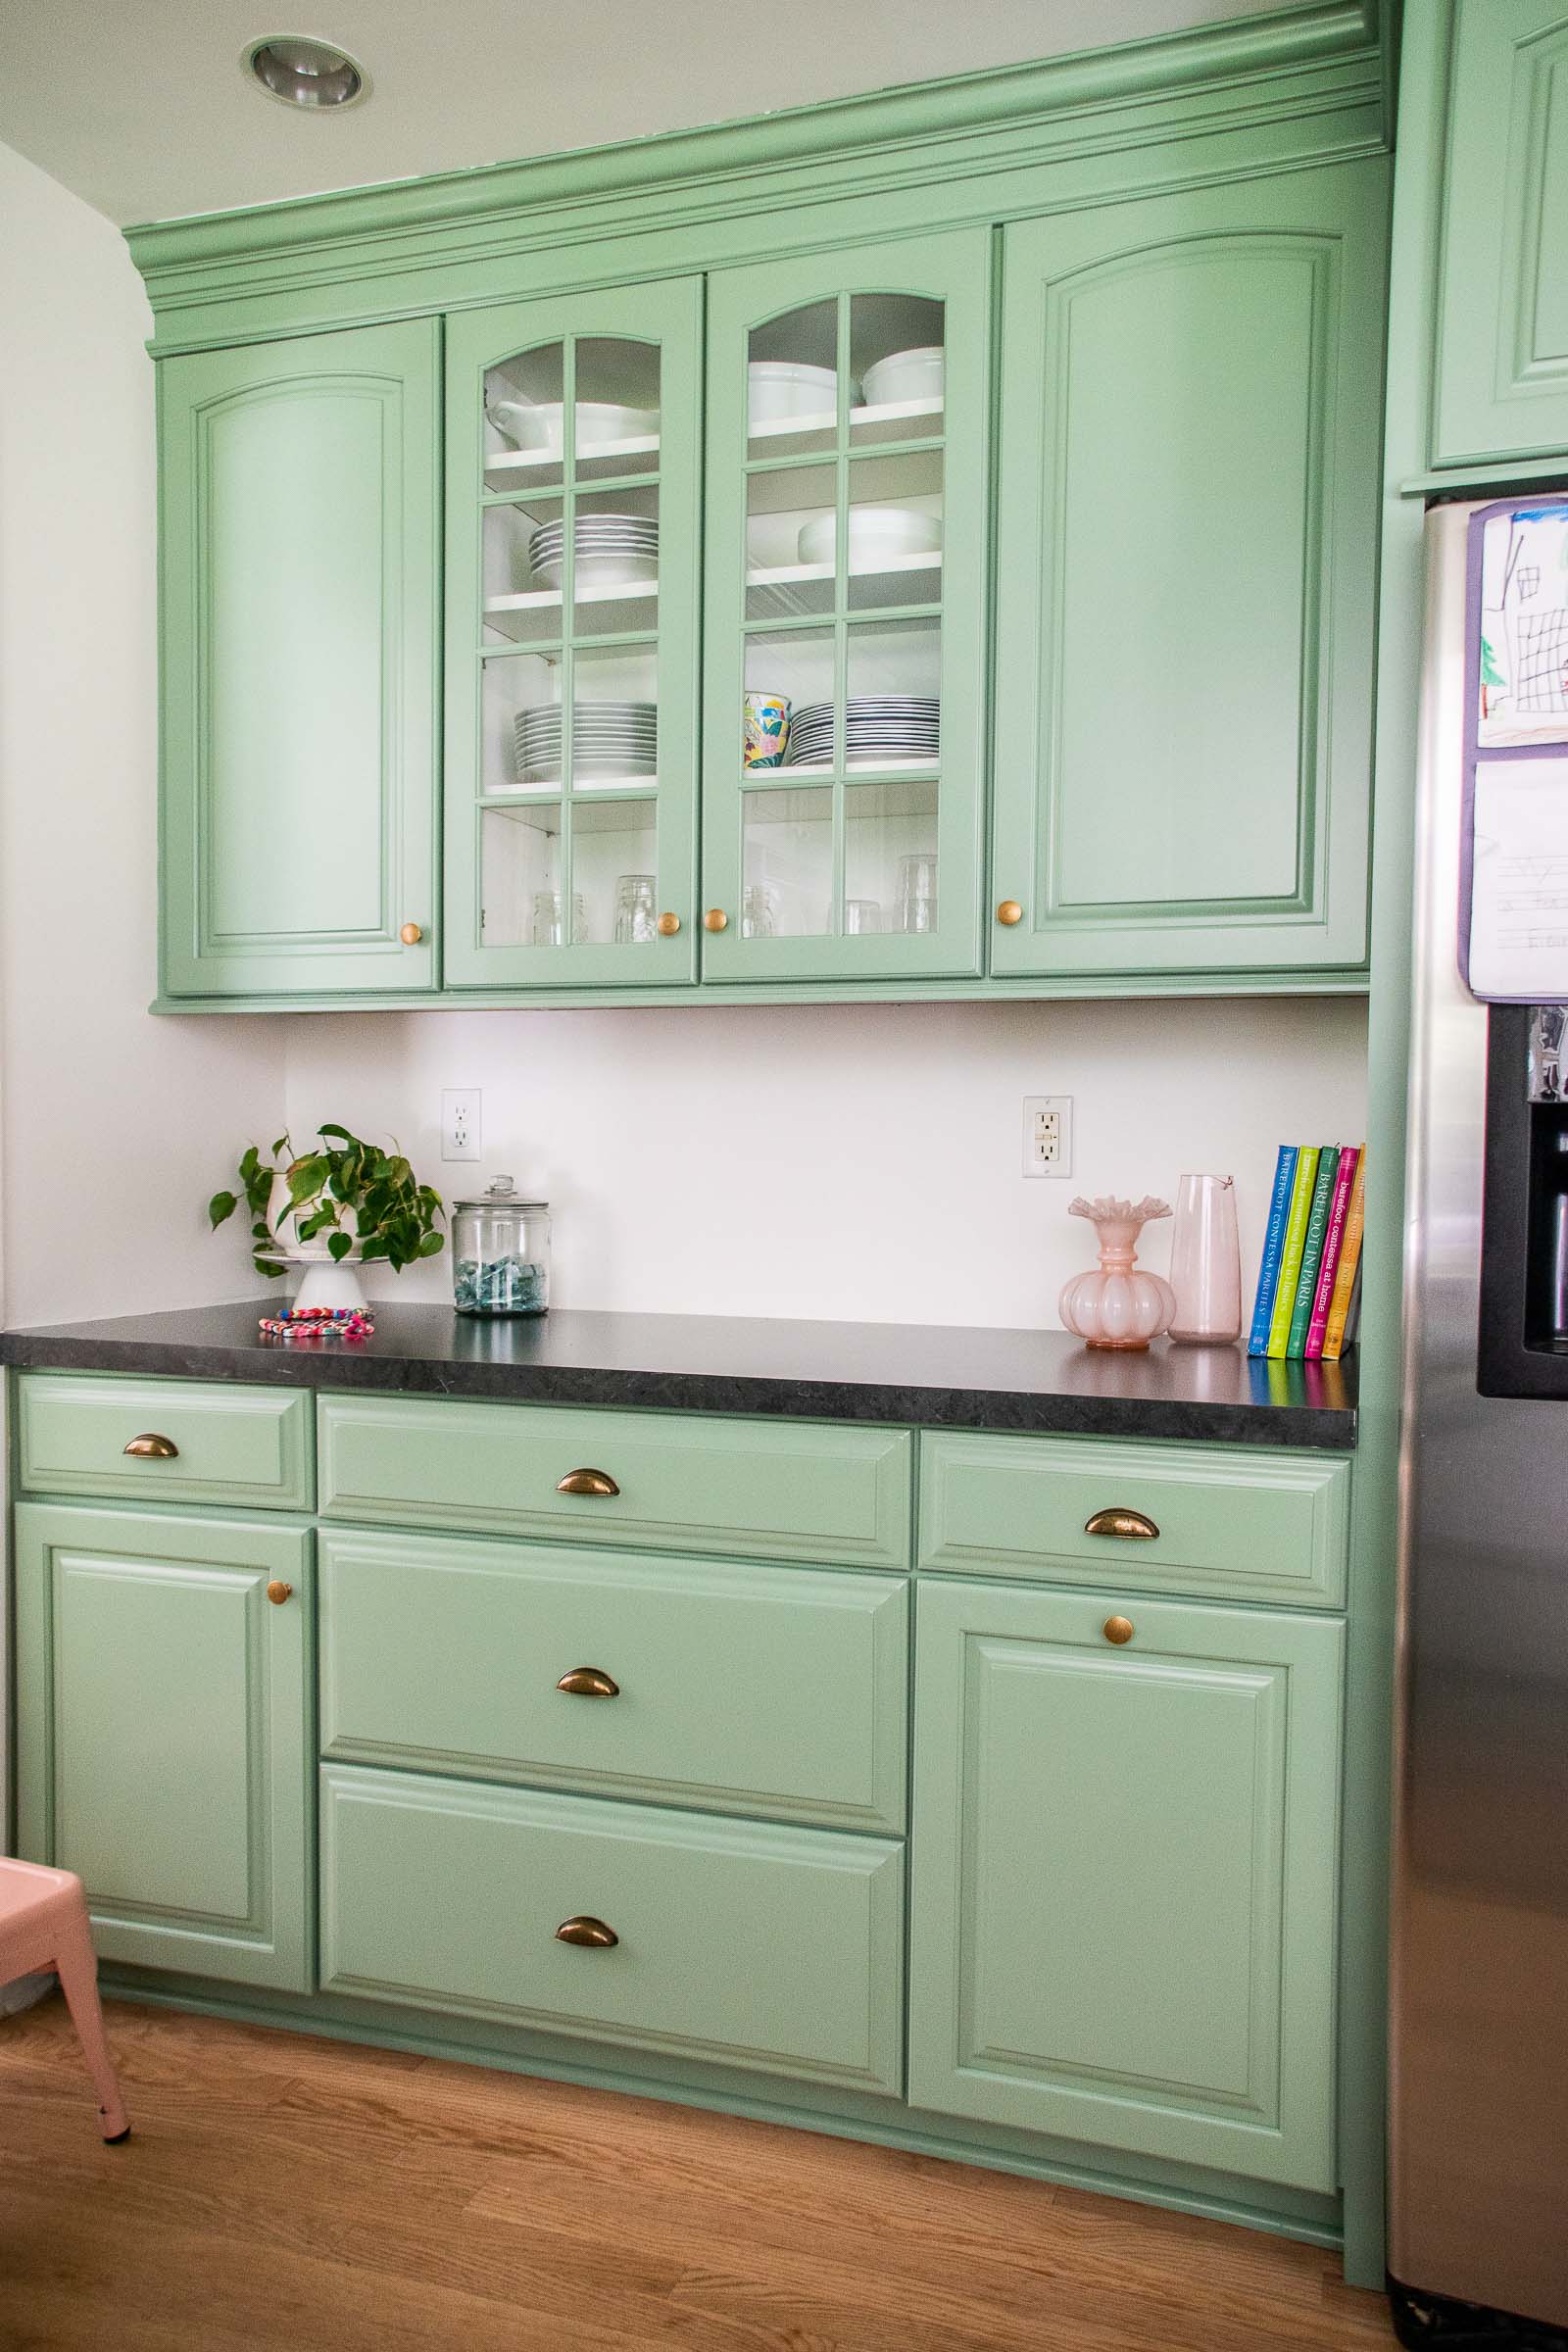
The counters on the sides of the kitchen were a different material: a dark stained wood. In principle I didn’t mind the wood and they could have been refinished, but… there were a couple things about them that I didn’t love. Anytime something wet was put down on them (in our case the steamy lid of the crock pot), the finish on the wood counter would turn a foggy white like a water ring on a table. It eventually dried out, but sometimes it took a day or two so the counters often looked pretty haggard.
Wilsonart® HPL
Wilsonart® initially reached out to me about their HPL line of counters. This stands for high pressure laminate and, as they described it, it’s not your grandma’s laminate counter. To start, there are hundreds of finish options. Everything from a stone appearance to a metal look to colorful to more decorative. You can see their full selection here… be prepared to scroll! And within all those finishes are also options for sheen and obviously what kind of edge you’d like. In other words… you got choices aplenty.
The advantages of an HPL counter are many: when it comes to durability, they’re almost unmatched. Ding resistant, chip resistant and even scratch resistant thanks to their AEON™ Enhanced Scratch & Scruff-Resistant Performance Technology (say that 10 times fast!).
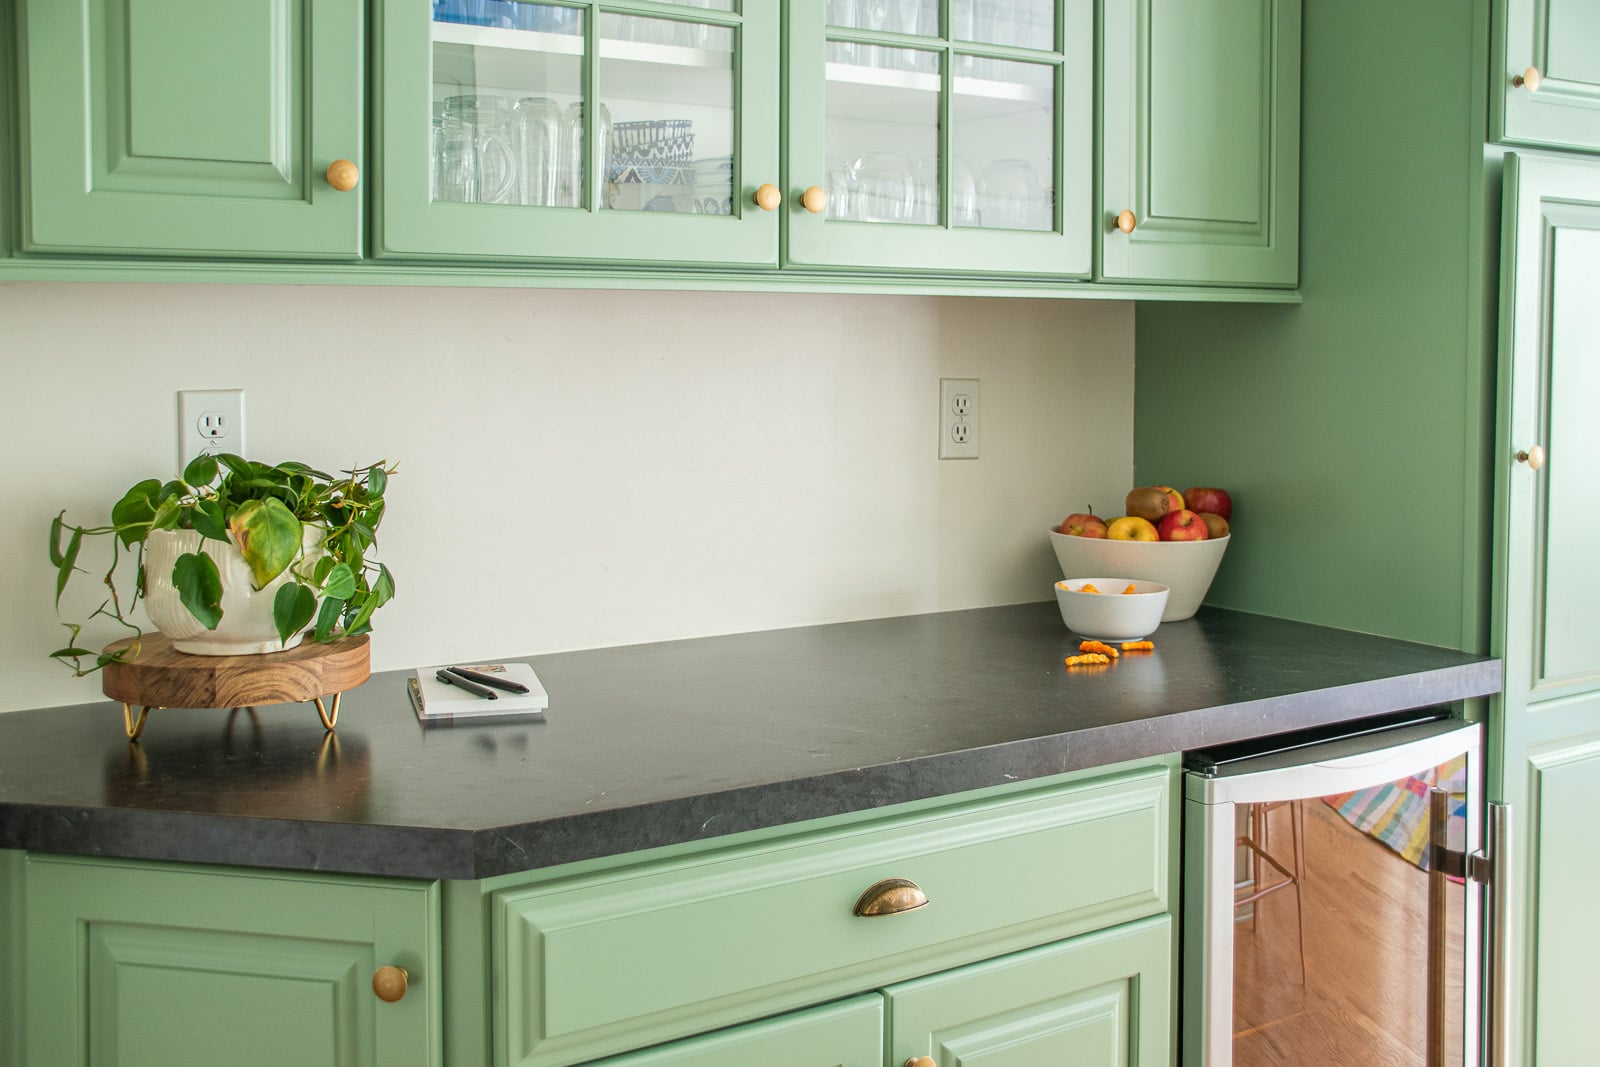
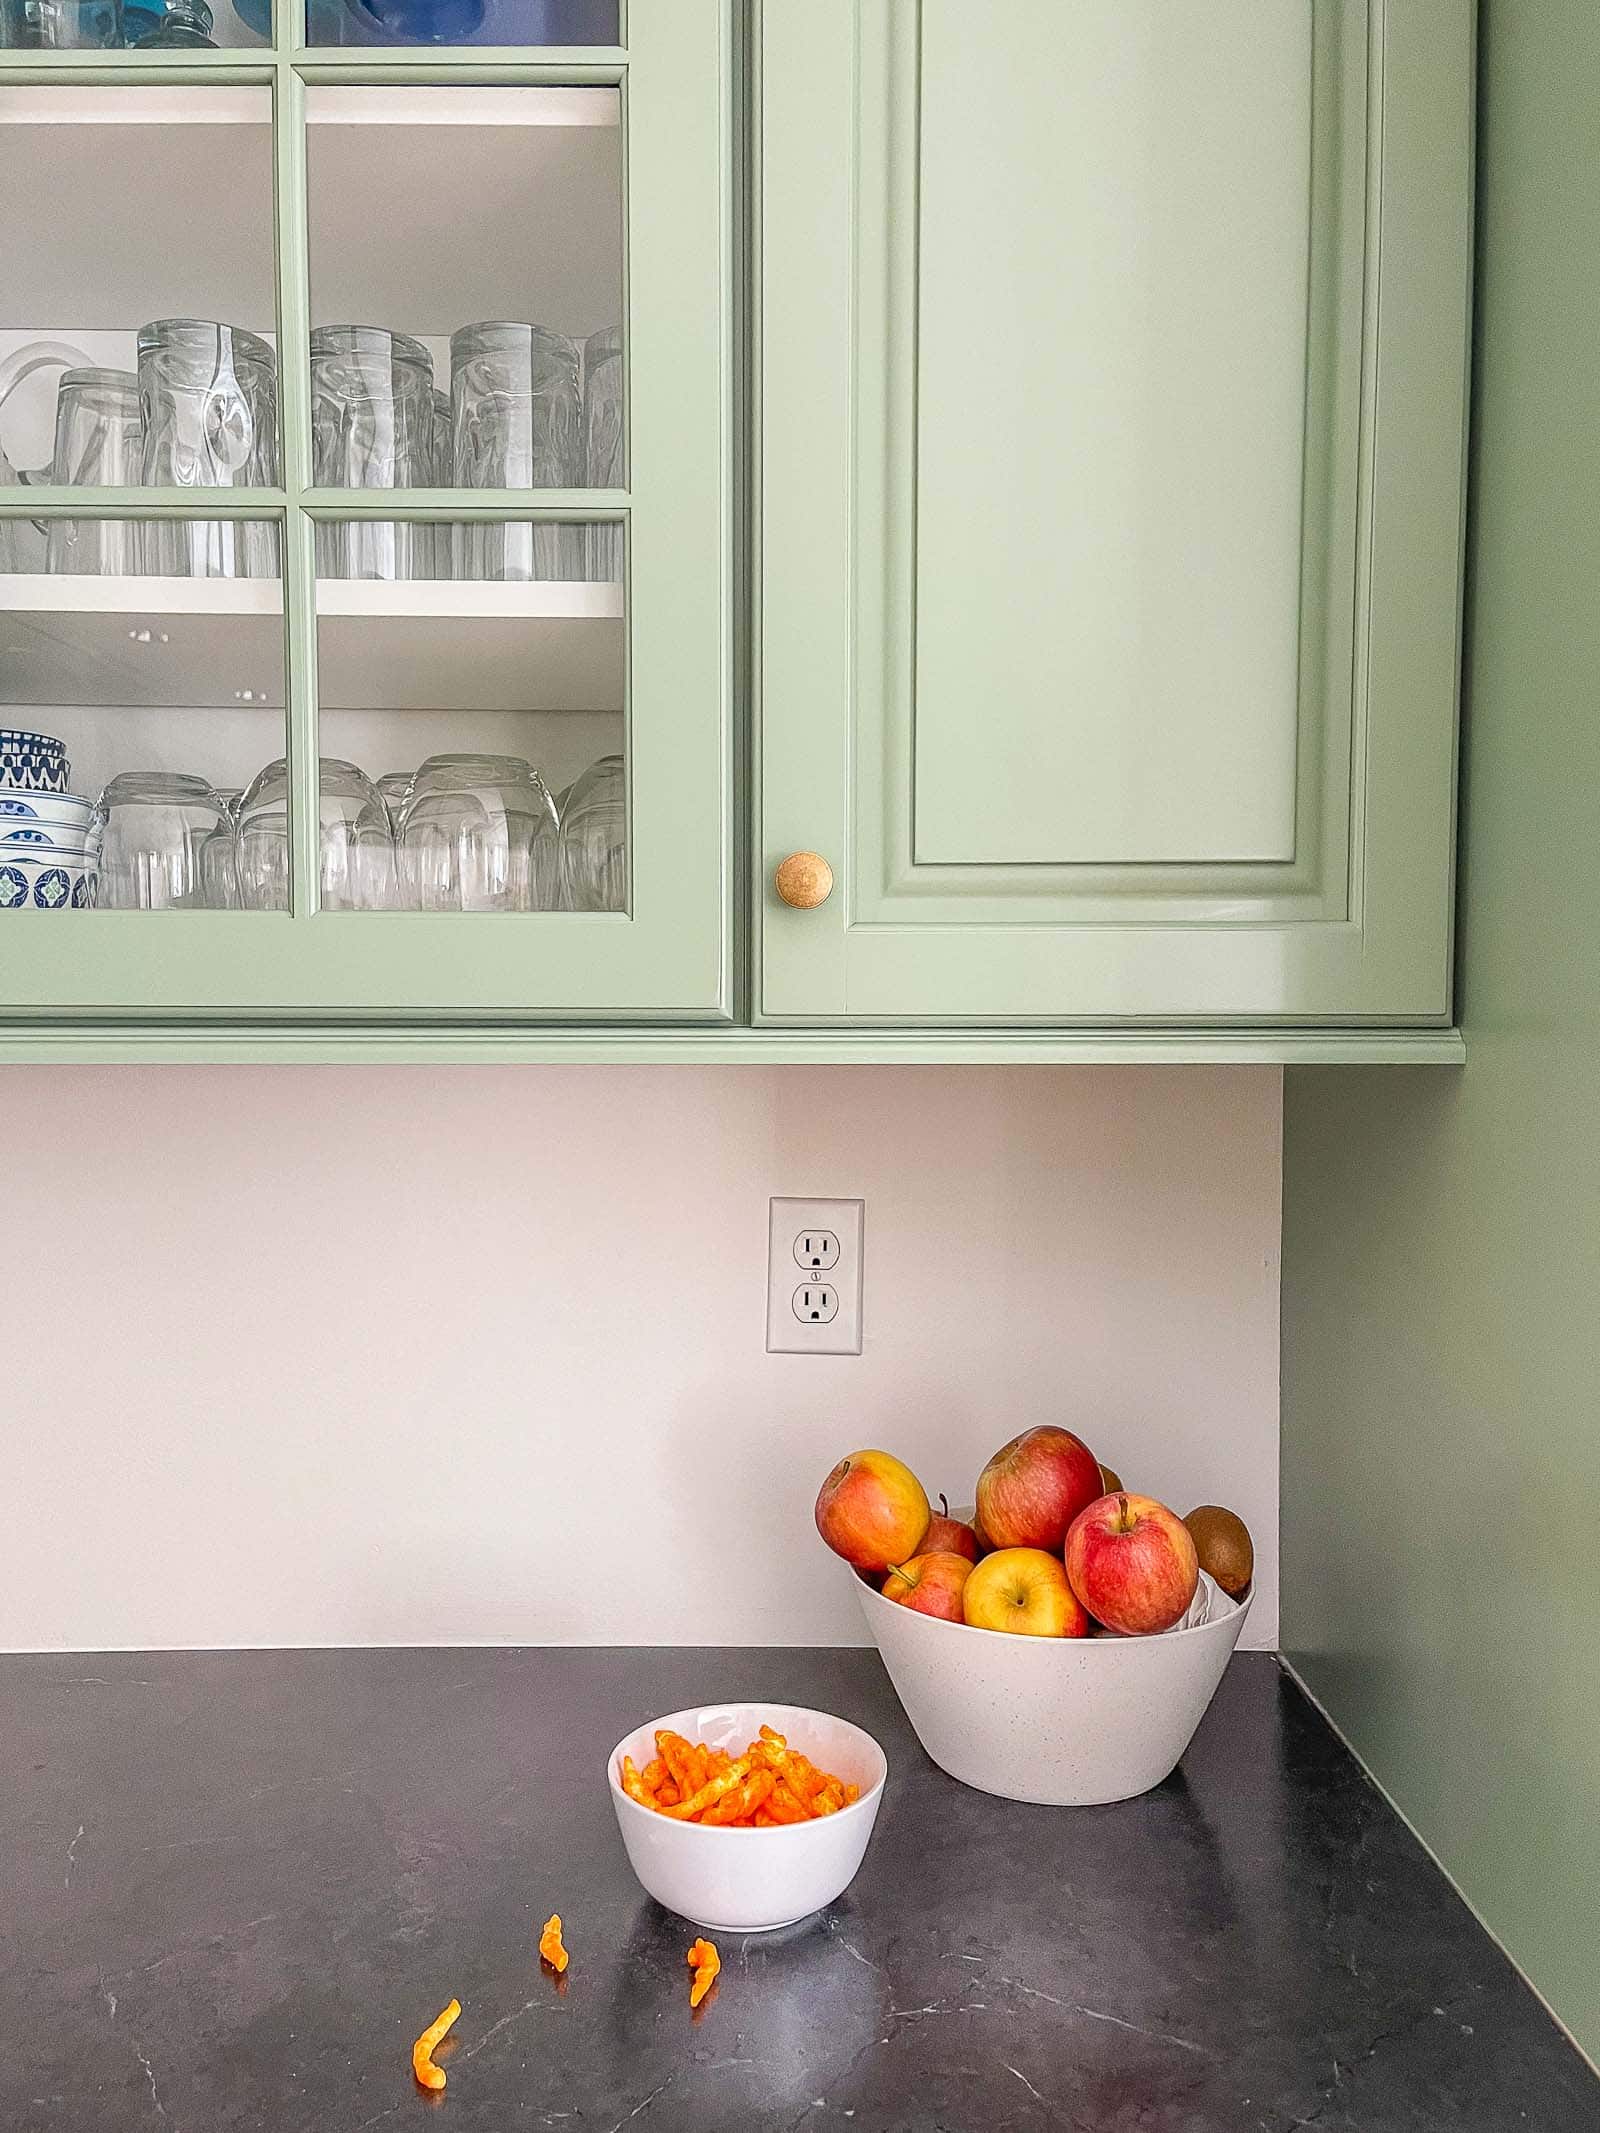
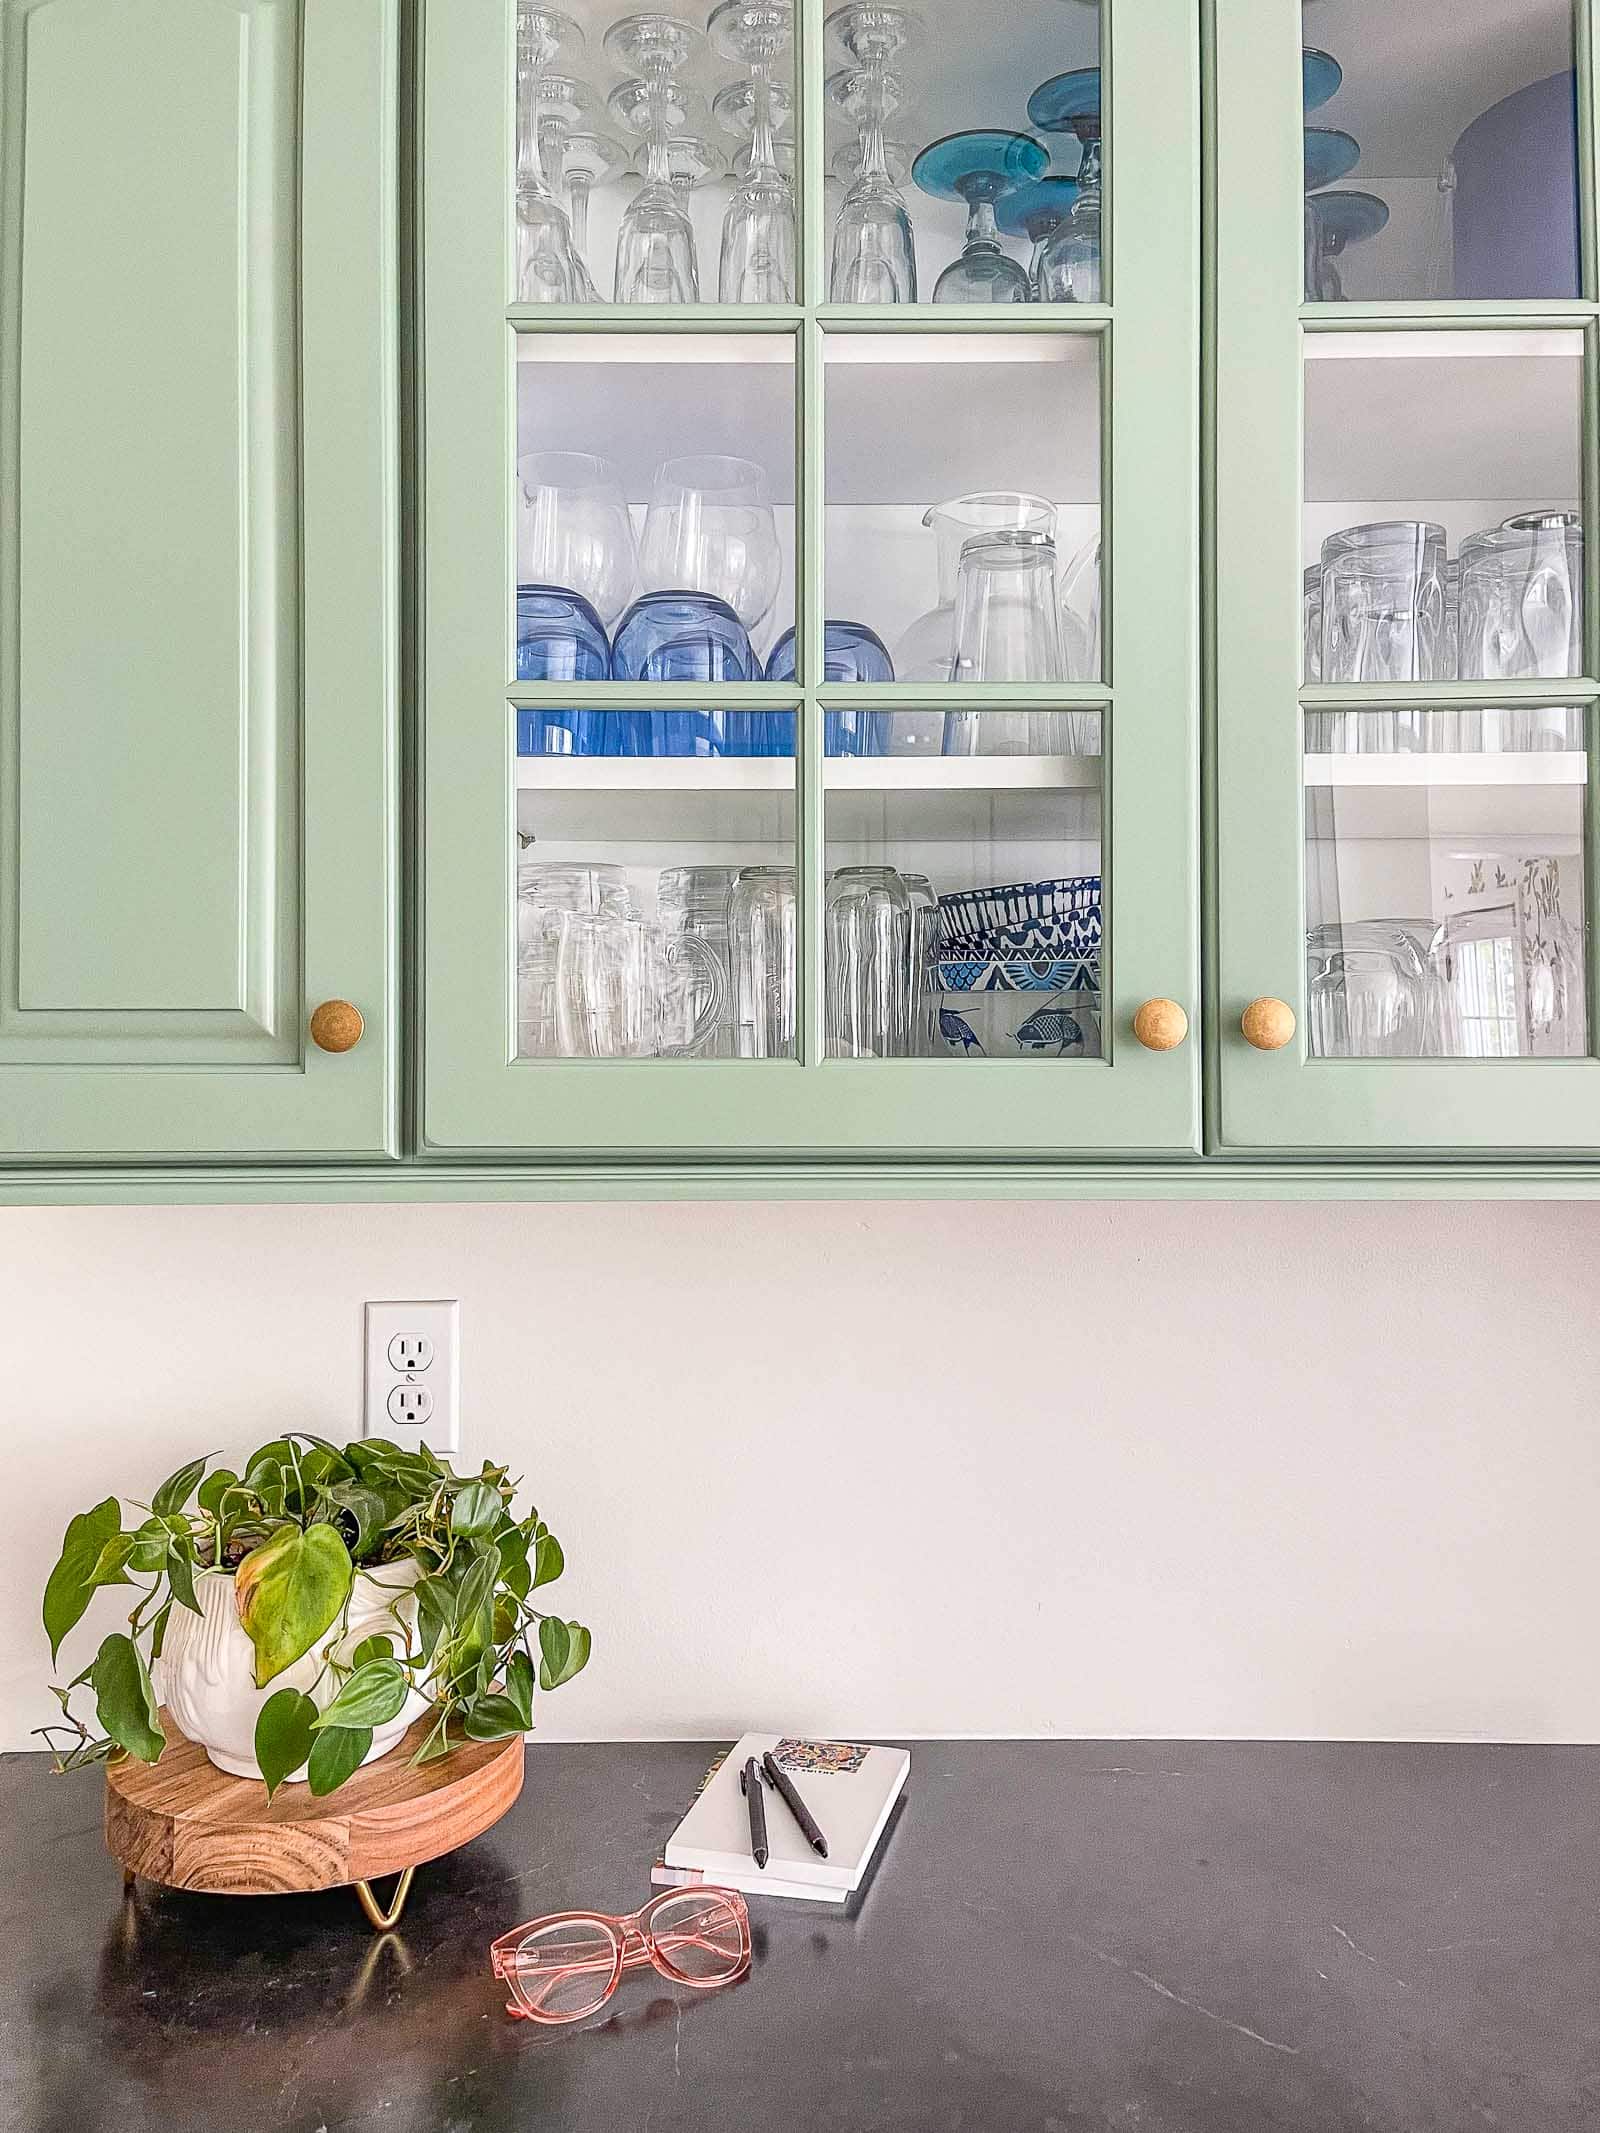
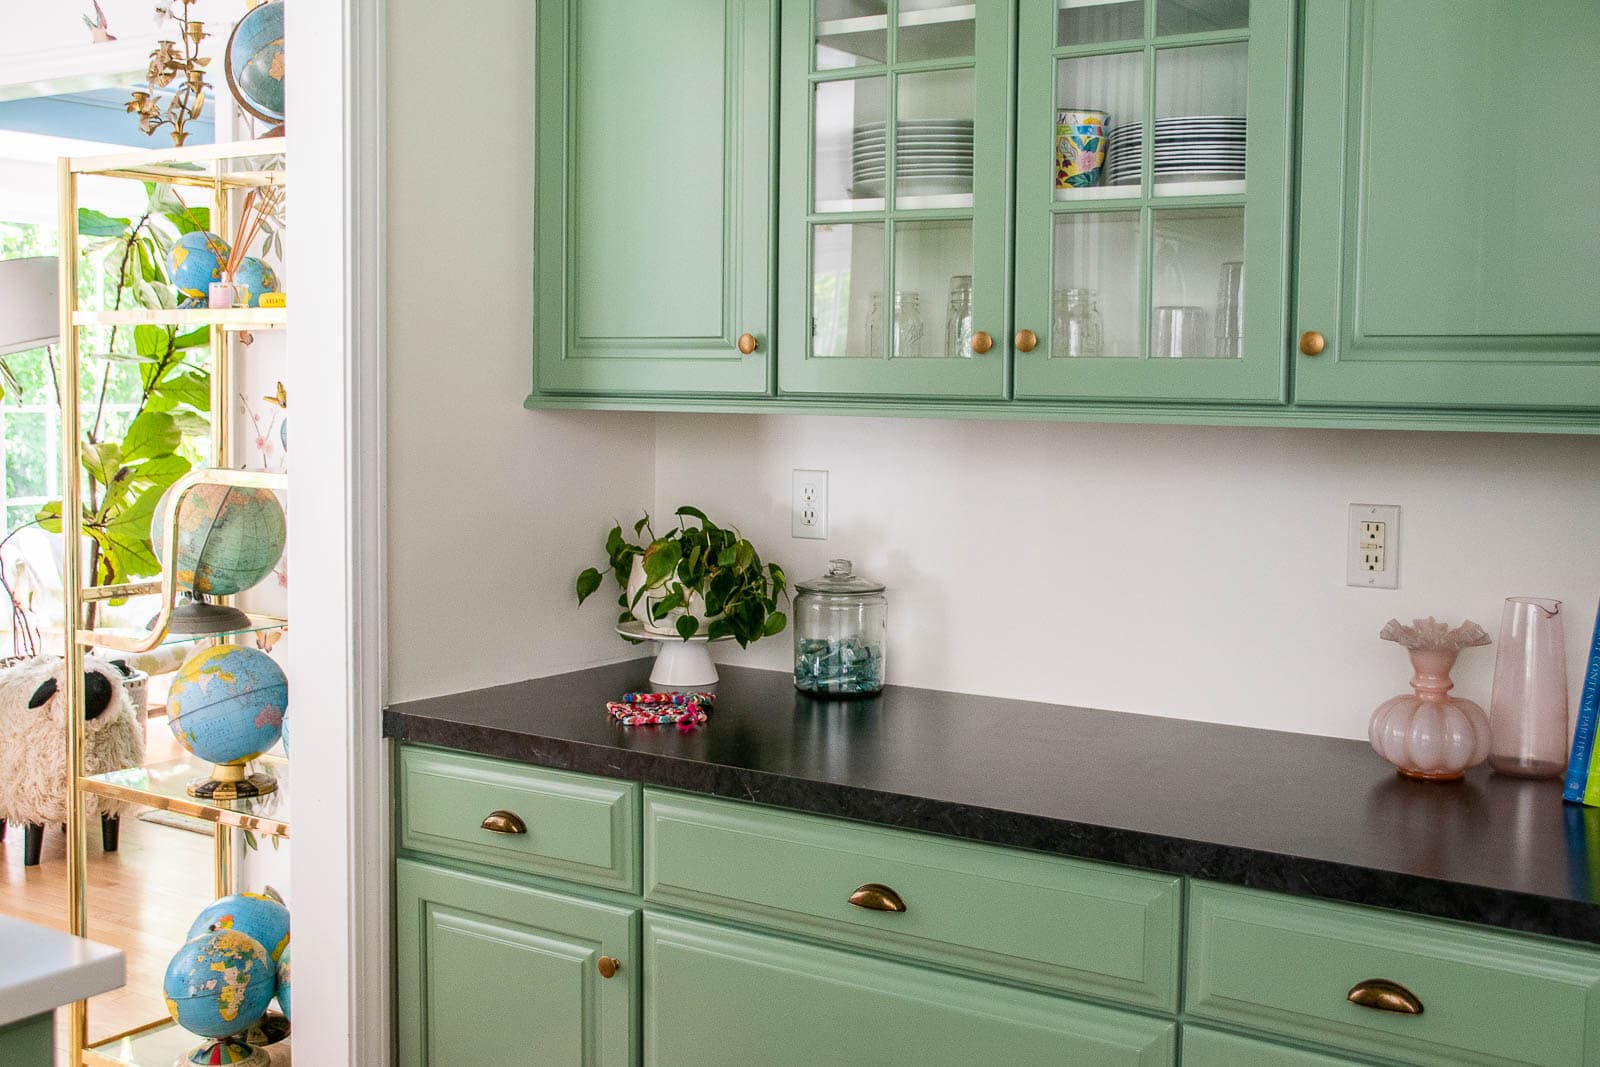
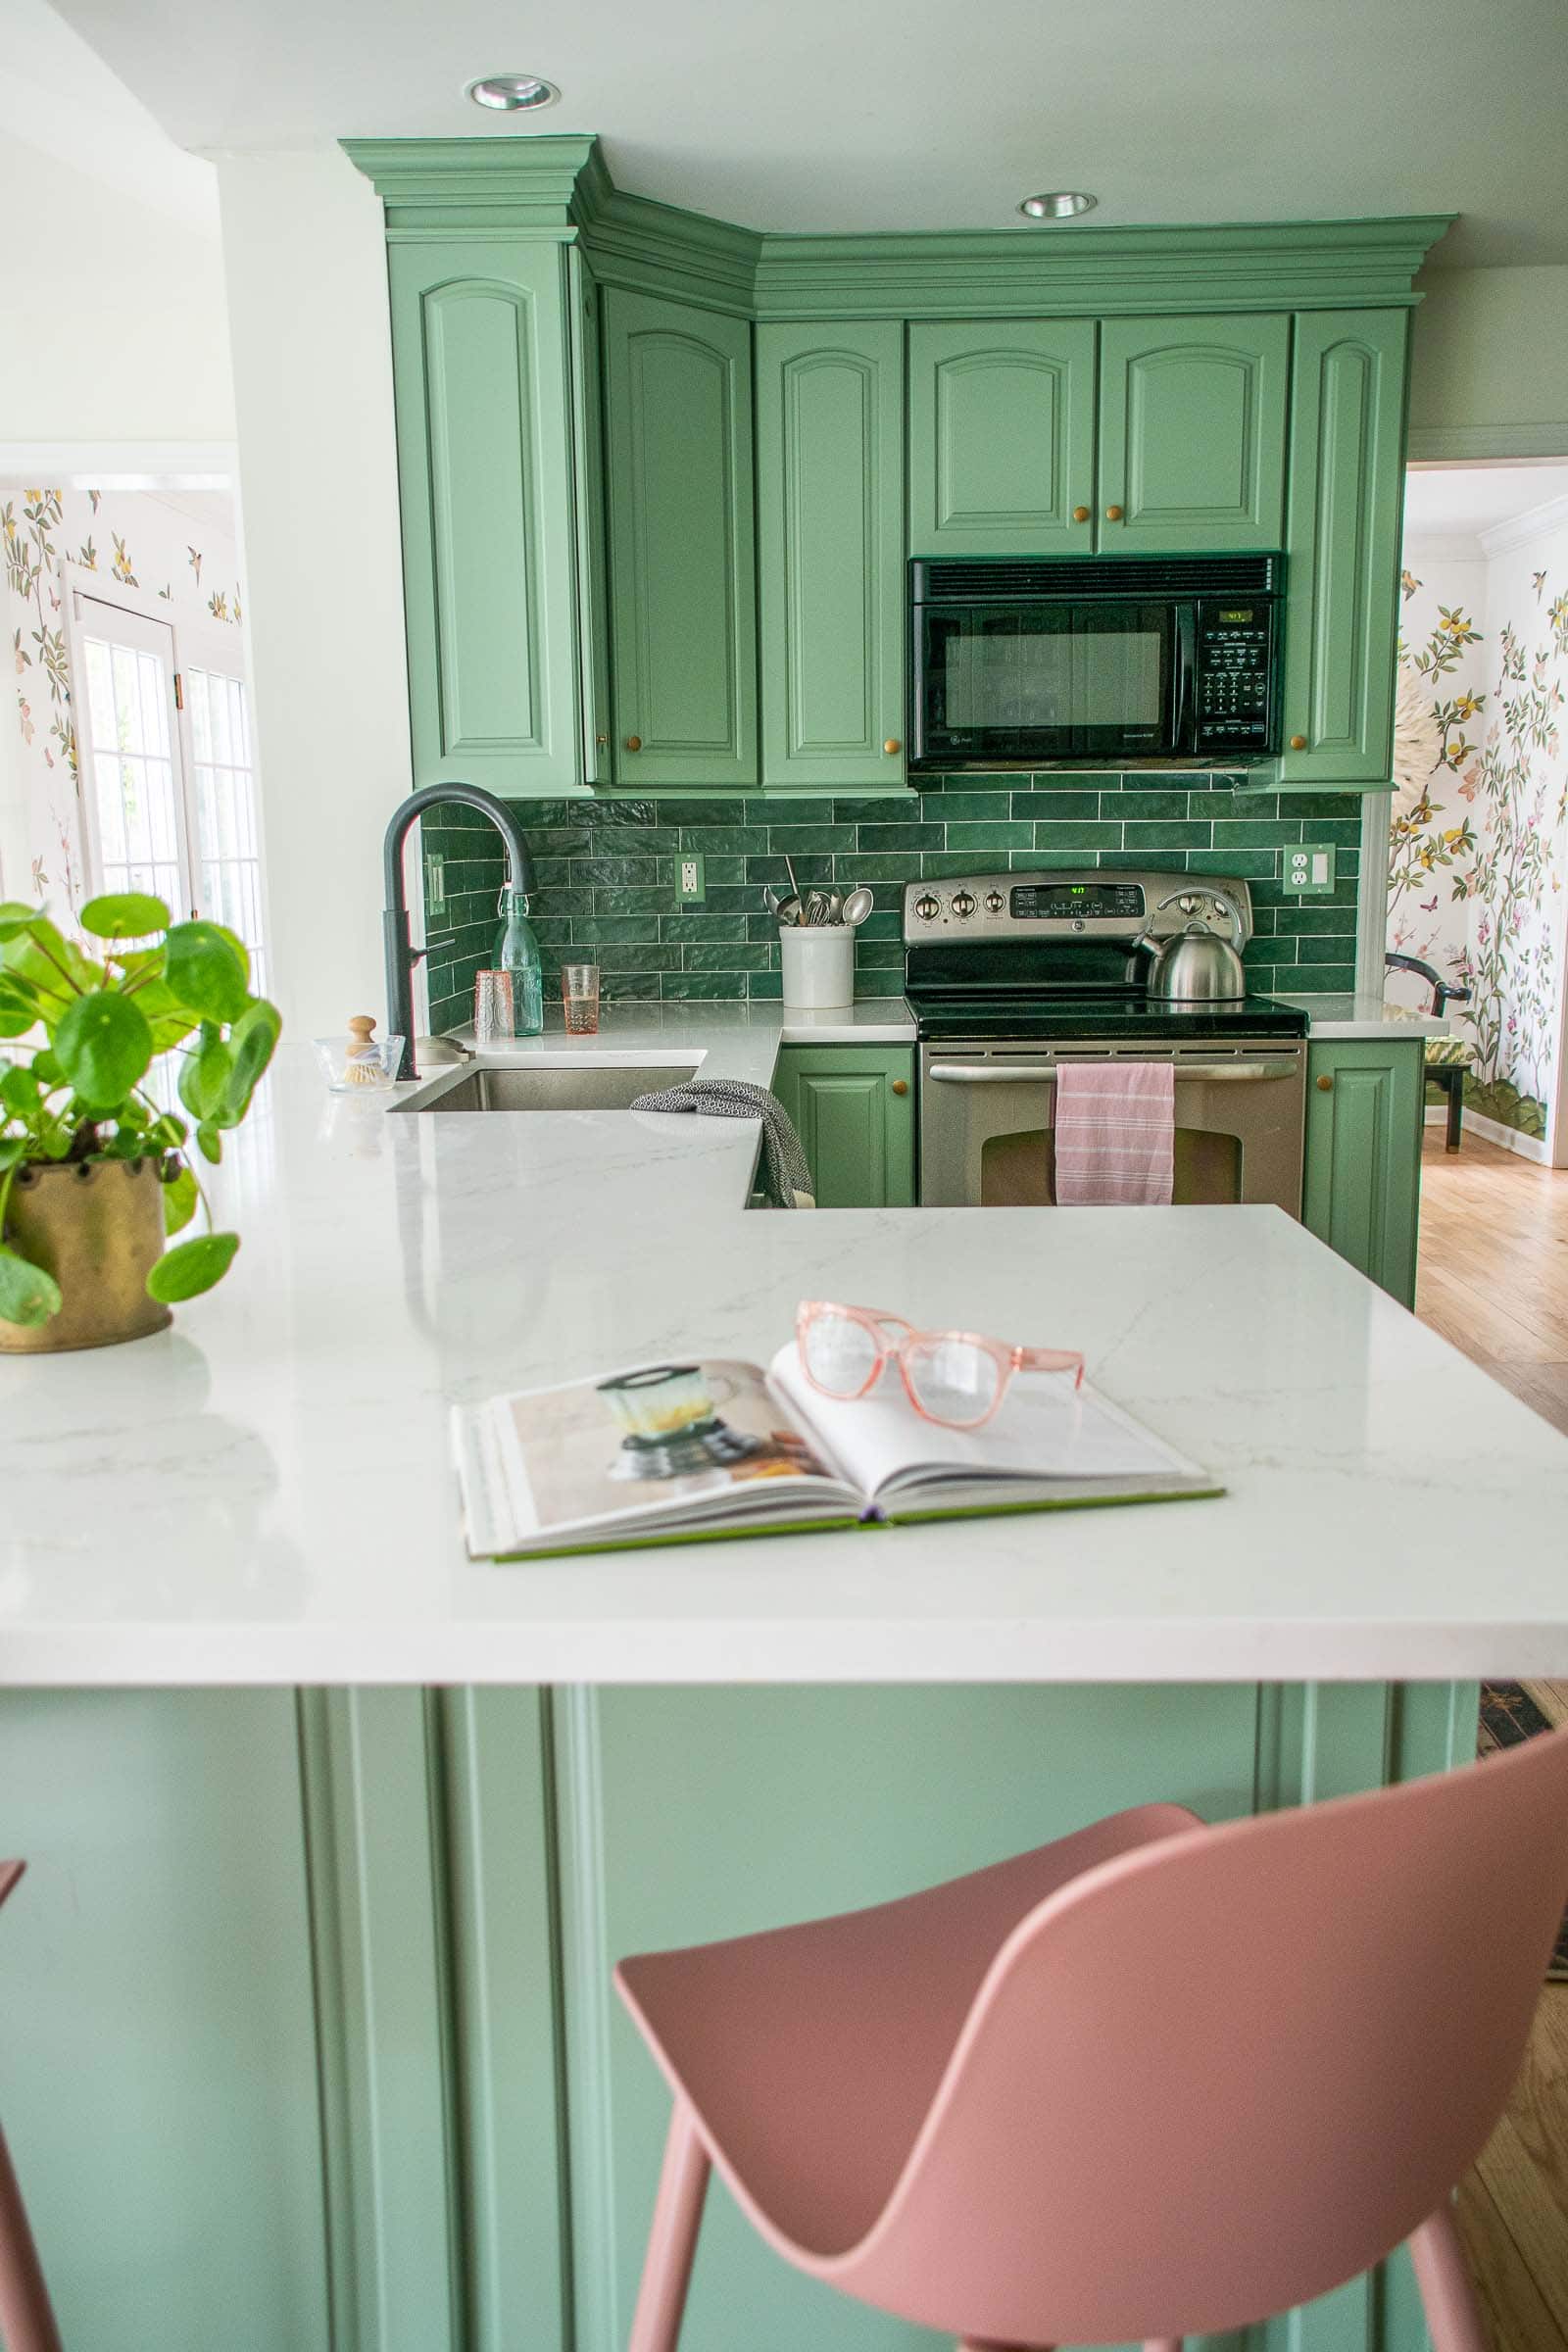
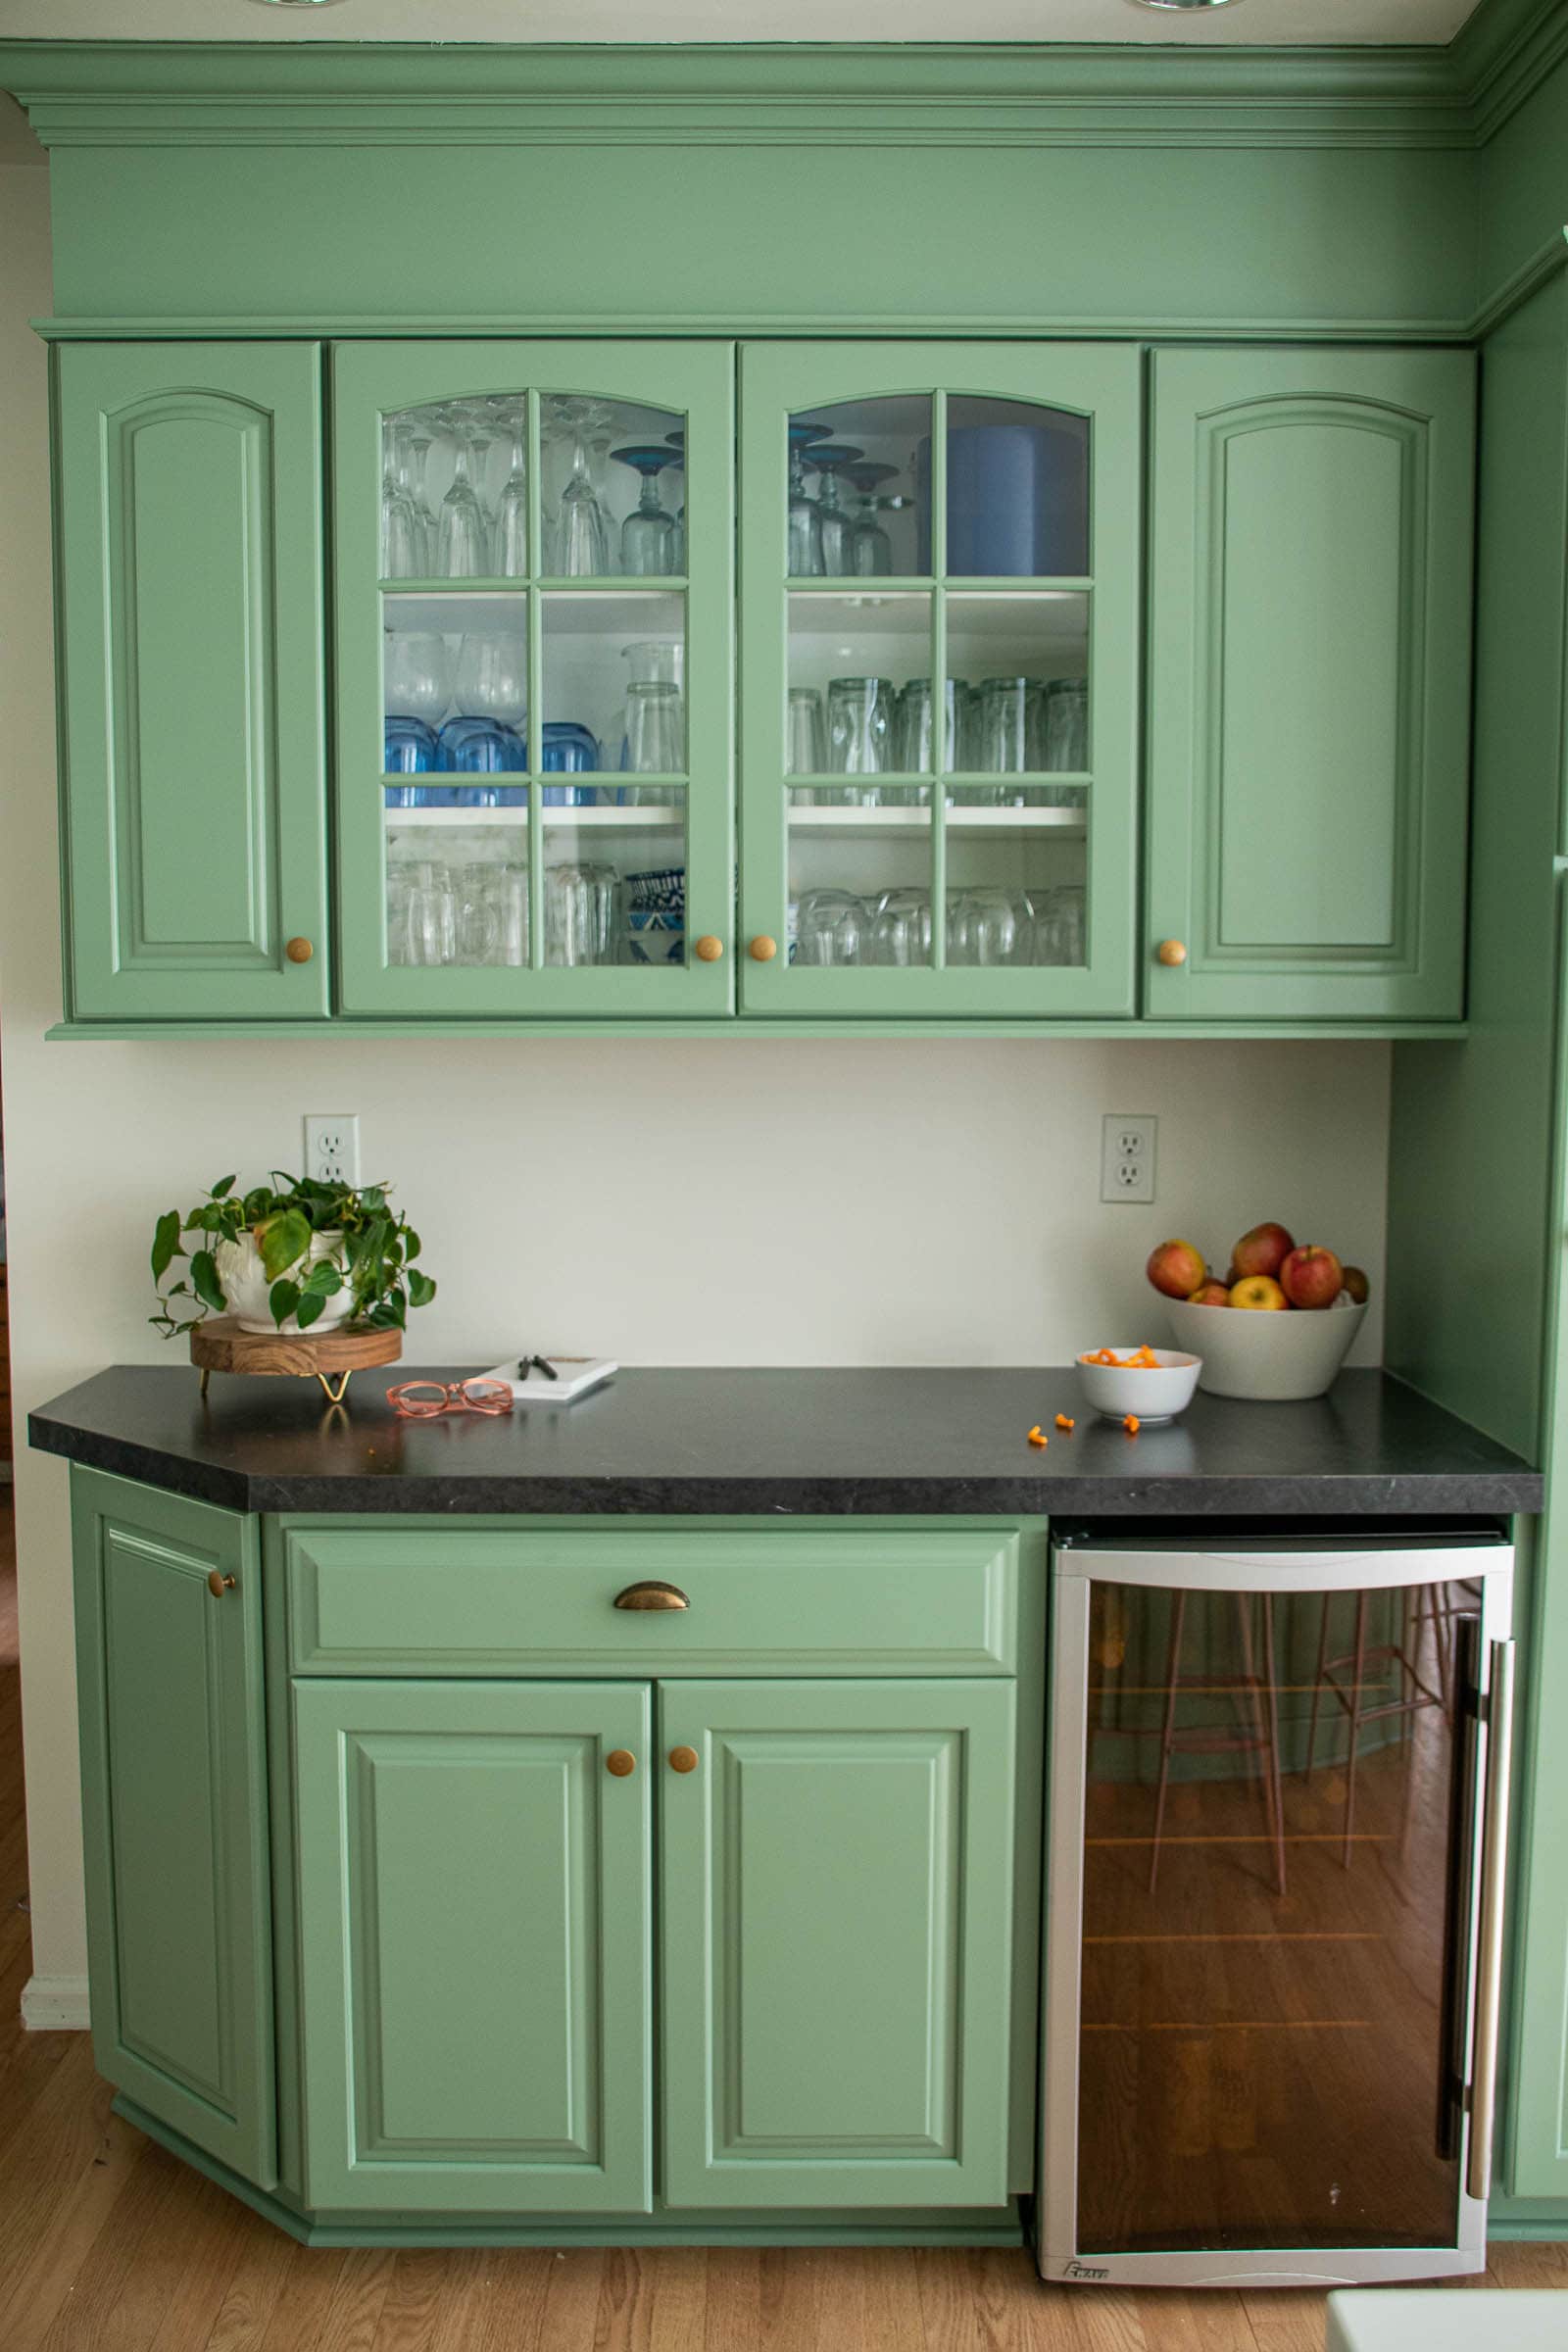
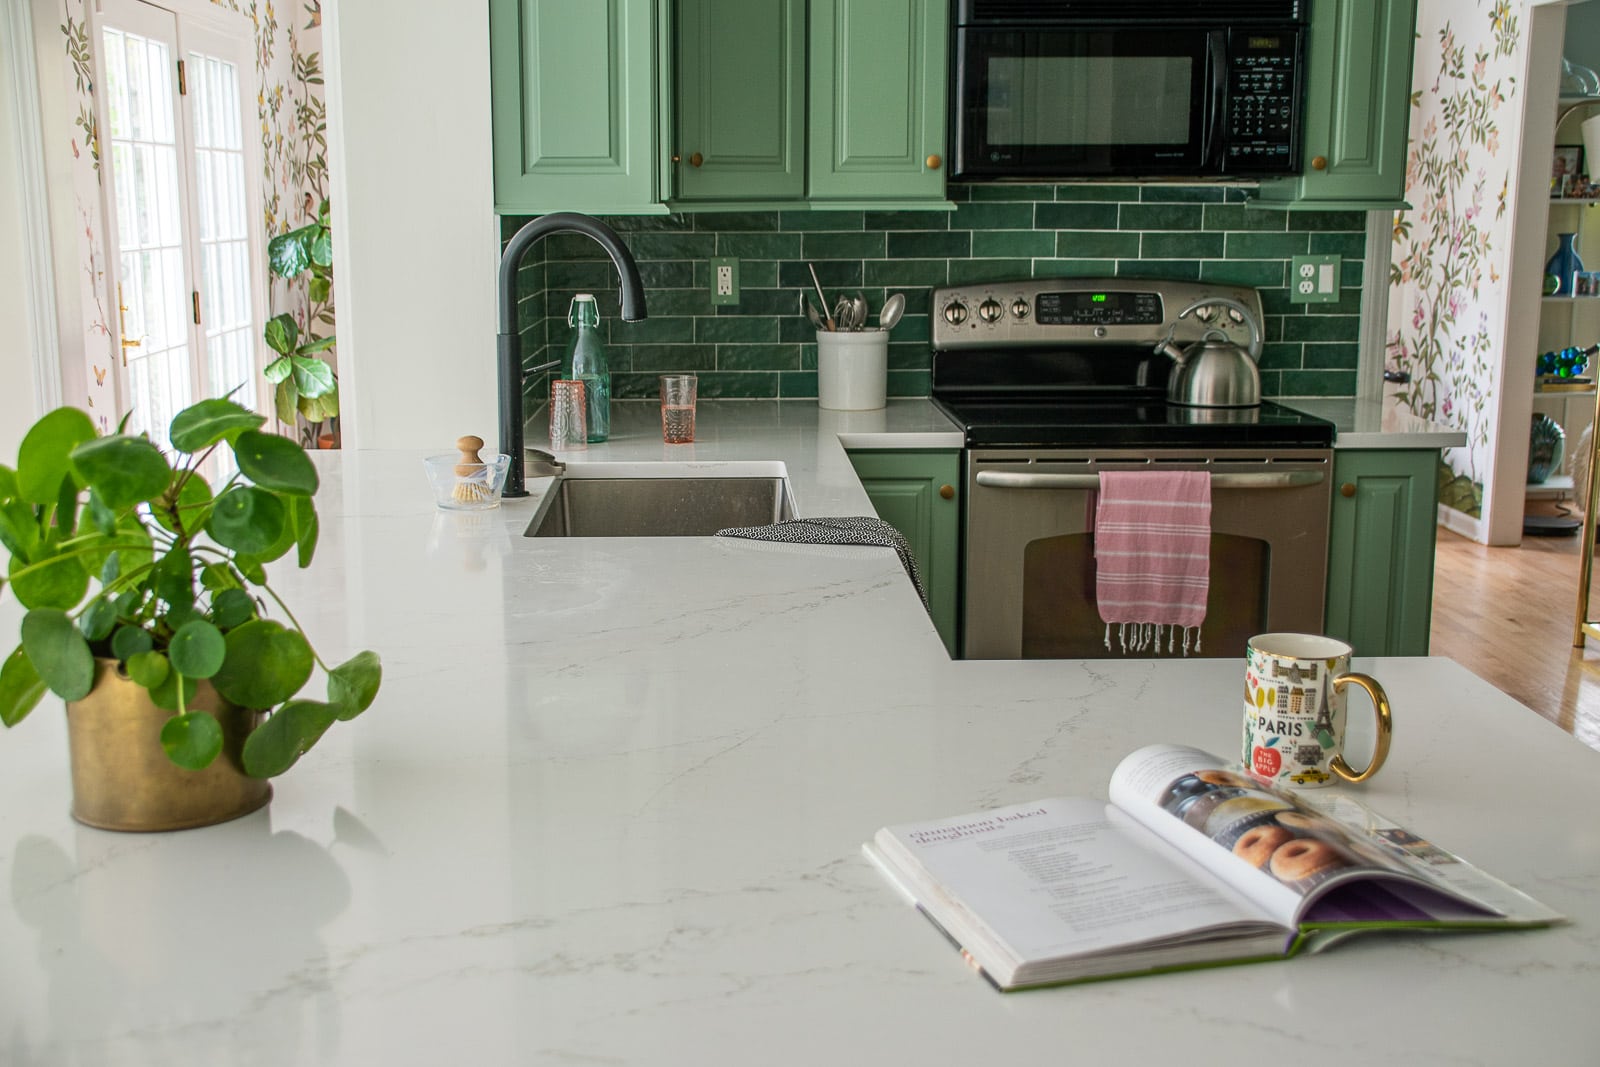
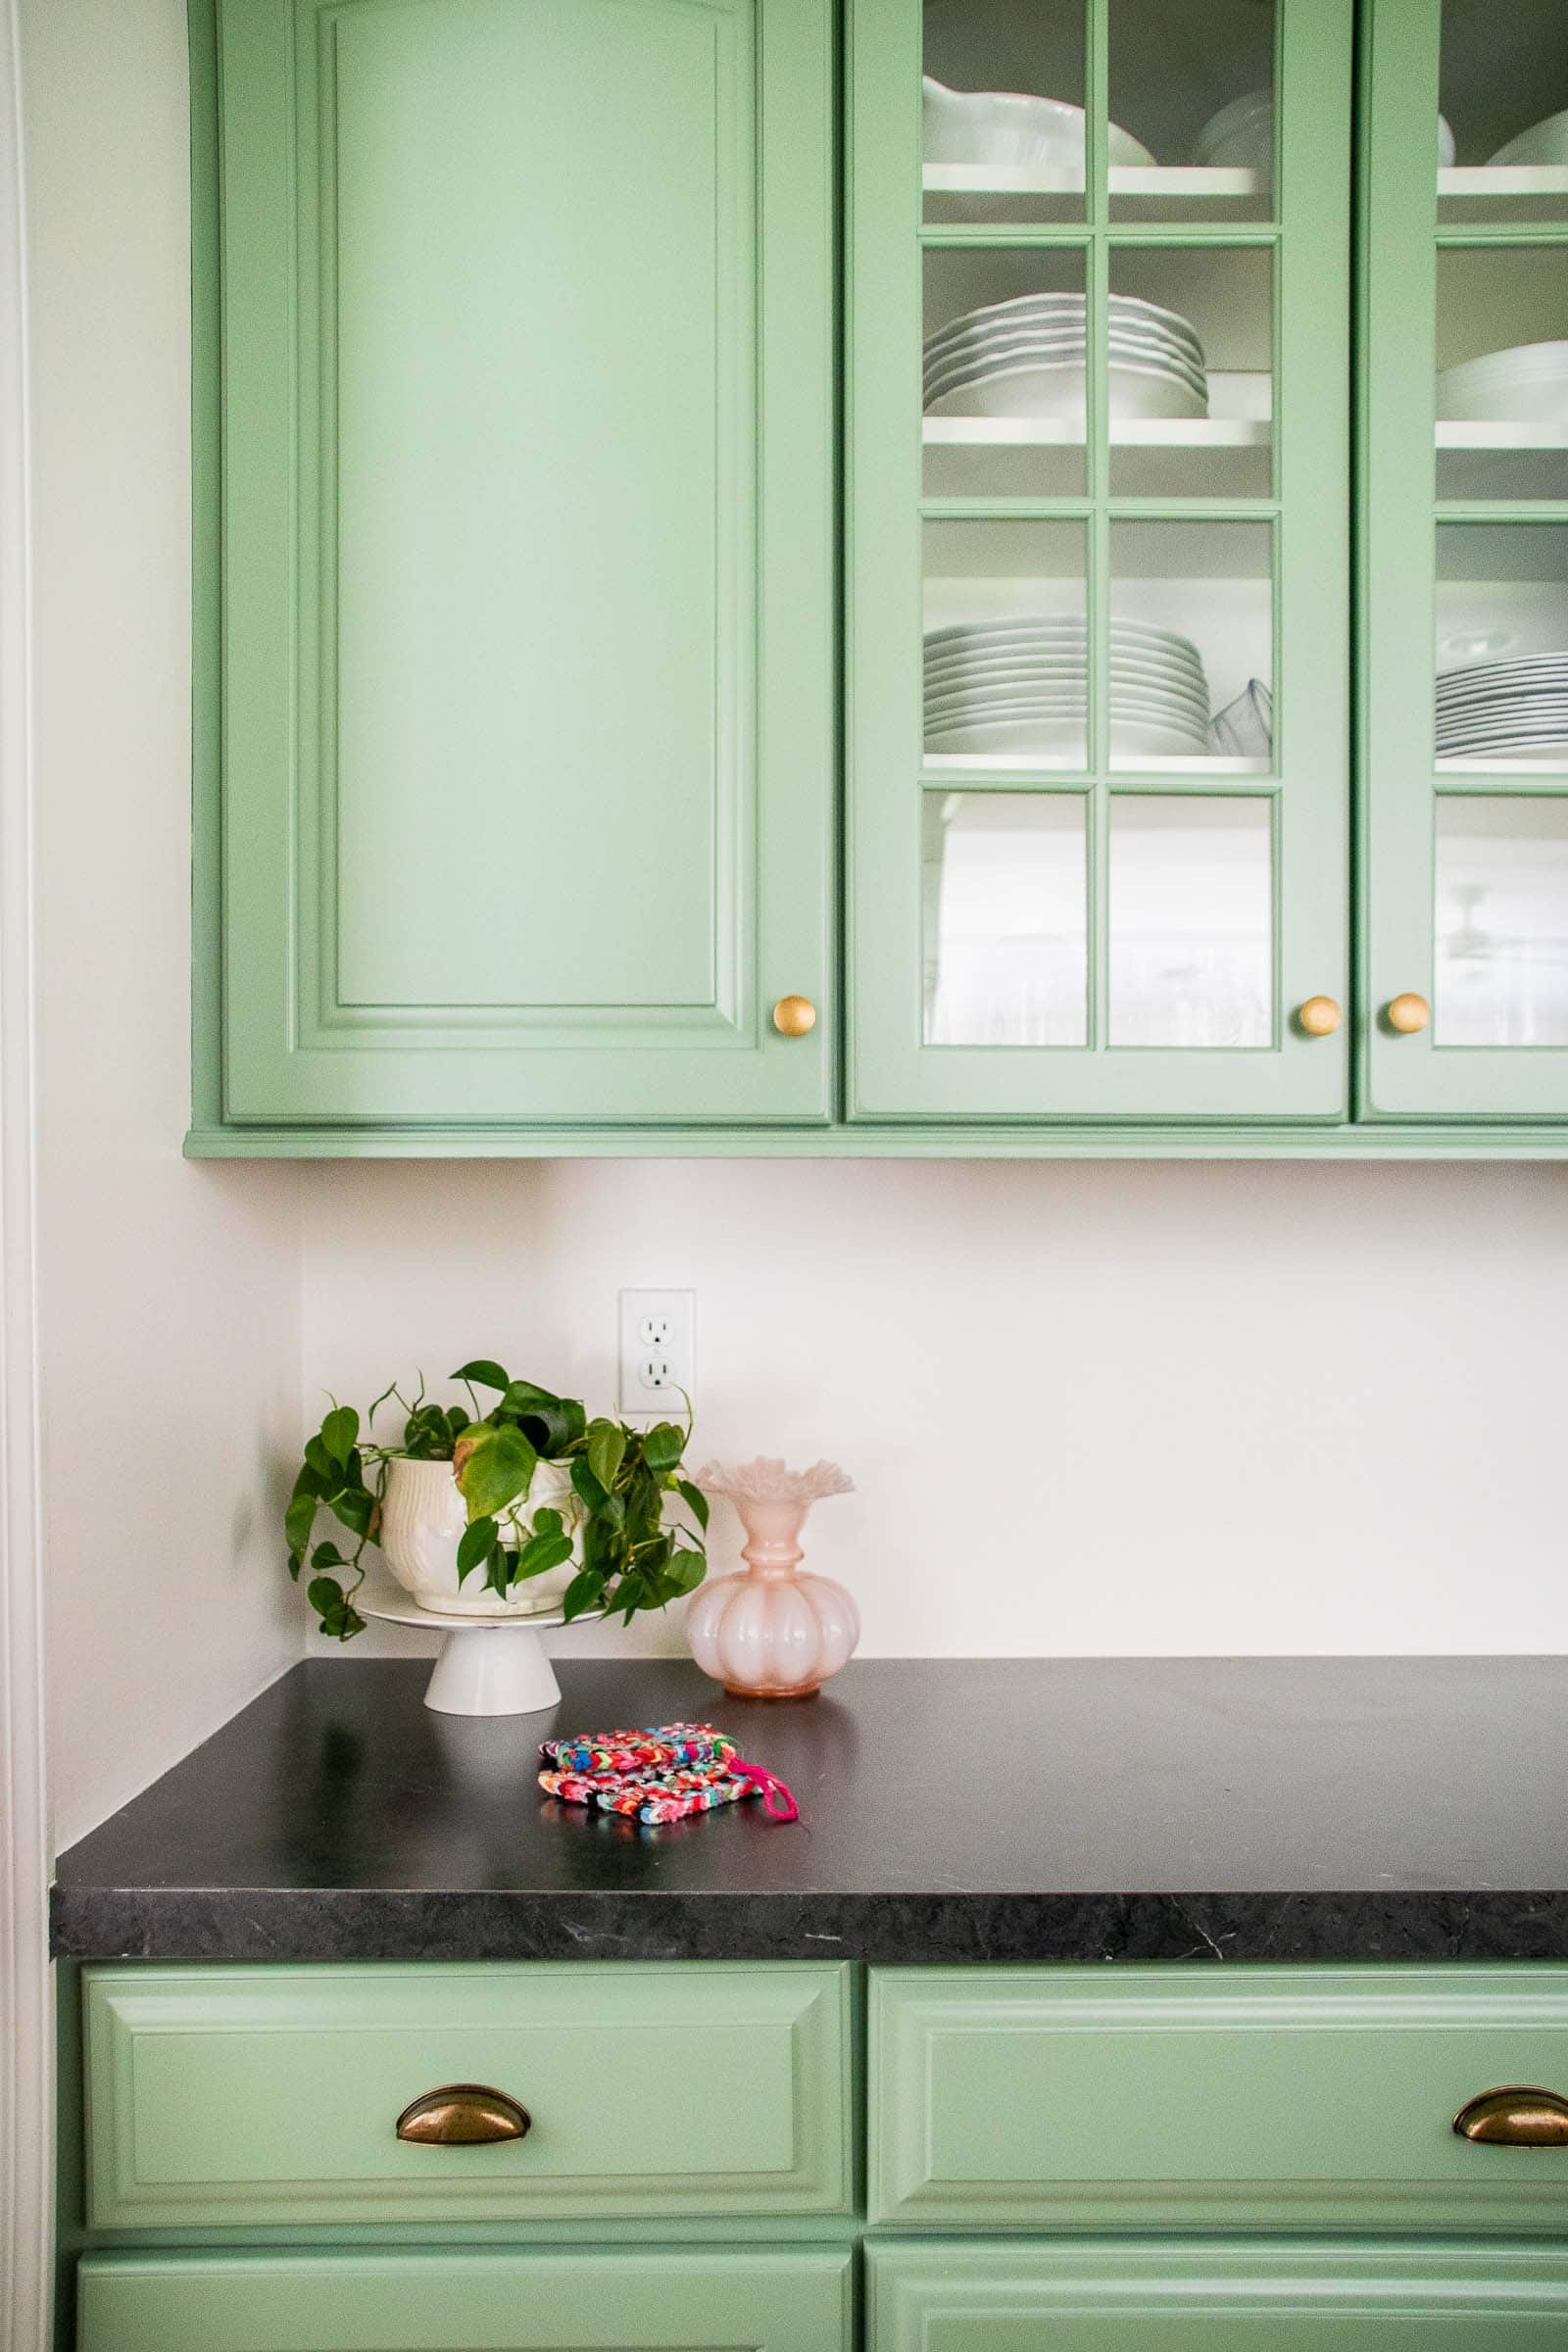
I chose the Black Alicante marble laminate design for our side counters to give us a stone appearance… I loved the subtle white and black veining and am crazy about how it elevates the space and adds a little texture compared to the previous dark stained wood. My original plan was to use this HPL throughout the kitchen but after discussion with the Wilsonart® team, we decided that the style of undermount sink I’d already ordered made it a little tricky to use for our center island. (Like all laminates, the core is a particle board/ plywood material which needs to be protected from water… around a sink can be susceptible which is why an overmount sink is recommended in order to prevent water from penetrating the core underneath the laminate itself.) There is a way to install an undermount sink and still make it work, but I was happy to pivot and bring in quartz for this counter just to be safe. With so many people using our sink… I didn’t want to risk it!
Installation of the HPL couldn’t have been easier. Wilsonart connected me with a local installer who came and took measurements of our existing counters. There was no need to remove them first. It took less than two weeks for them to fabricate the HPL counters and then a few hours for them to remove the old wooden counters and then install the new and improved laminate ones. I chose a basic square edge and am beyond pleased with the new look!
Wilsonart® Quartz
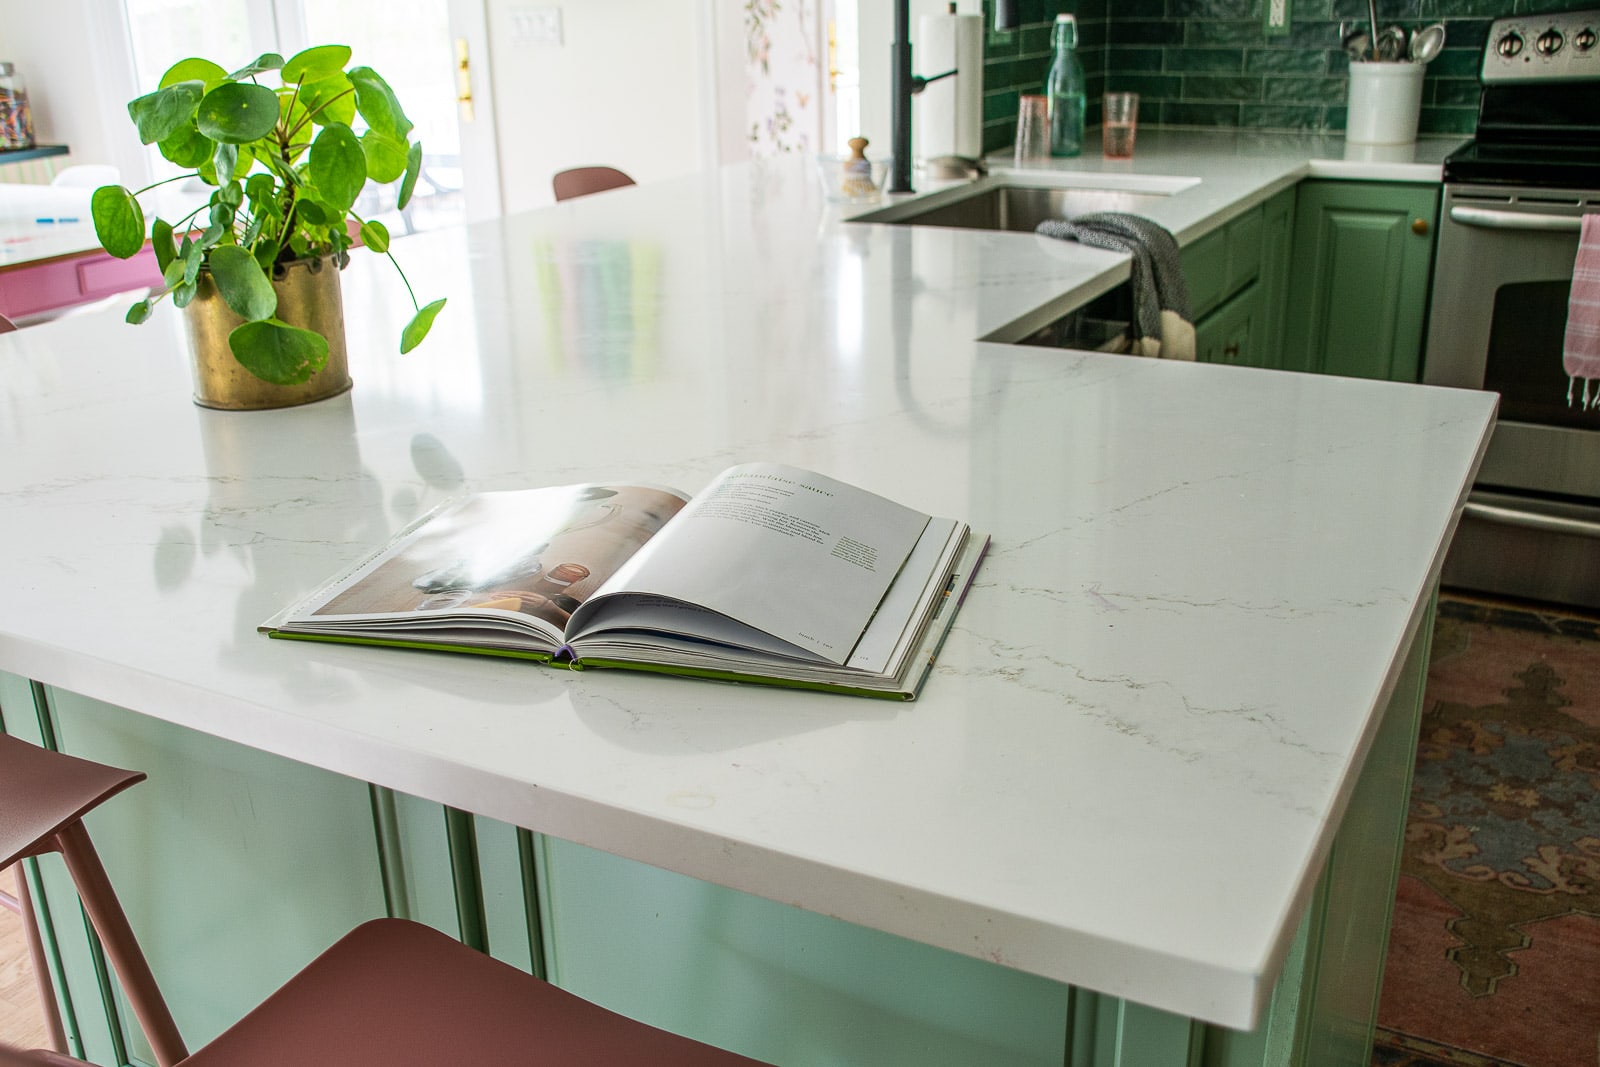
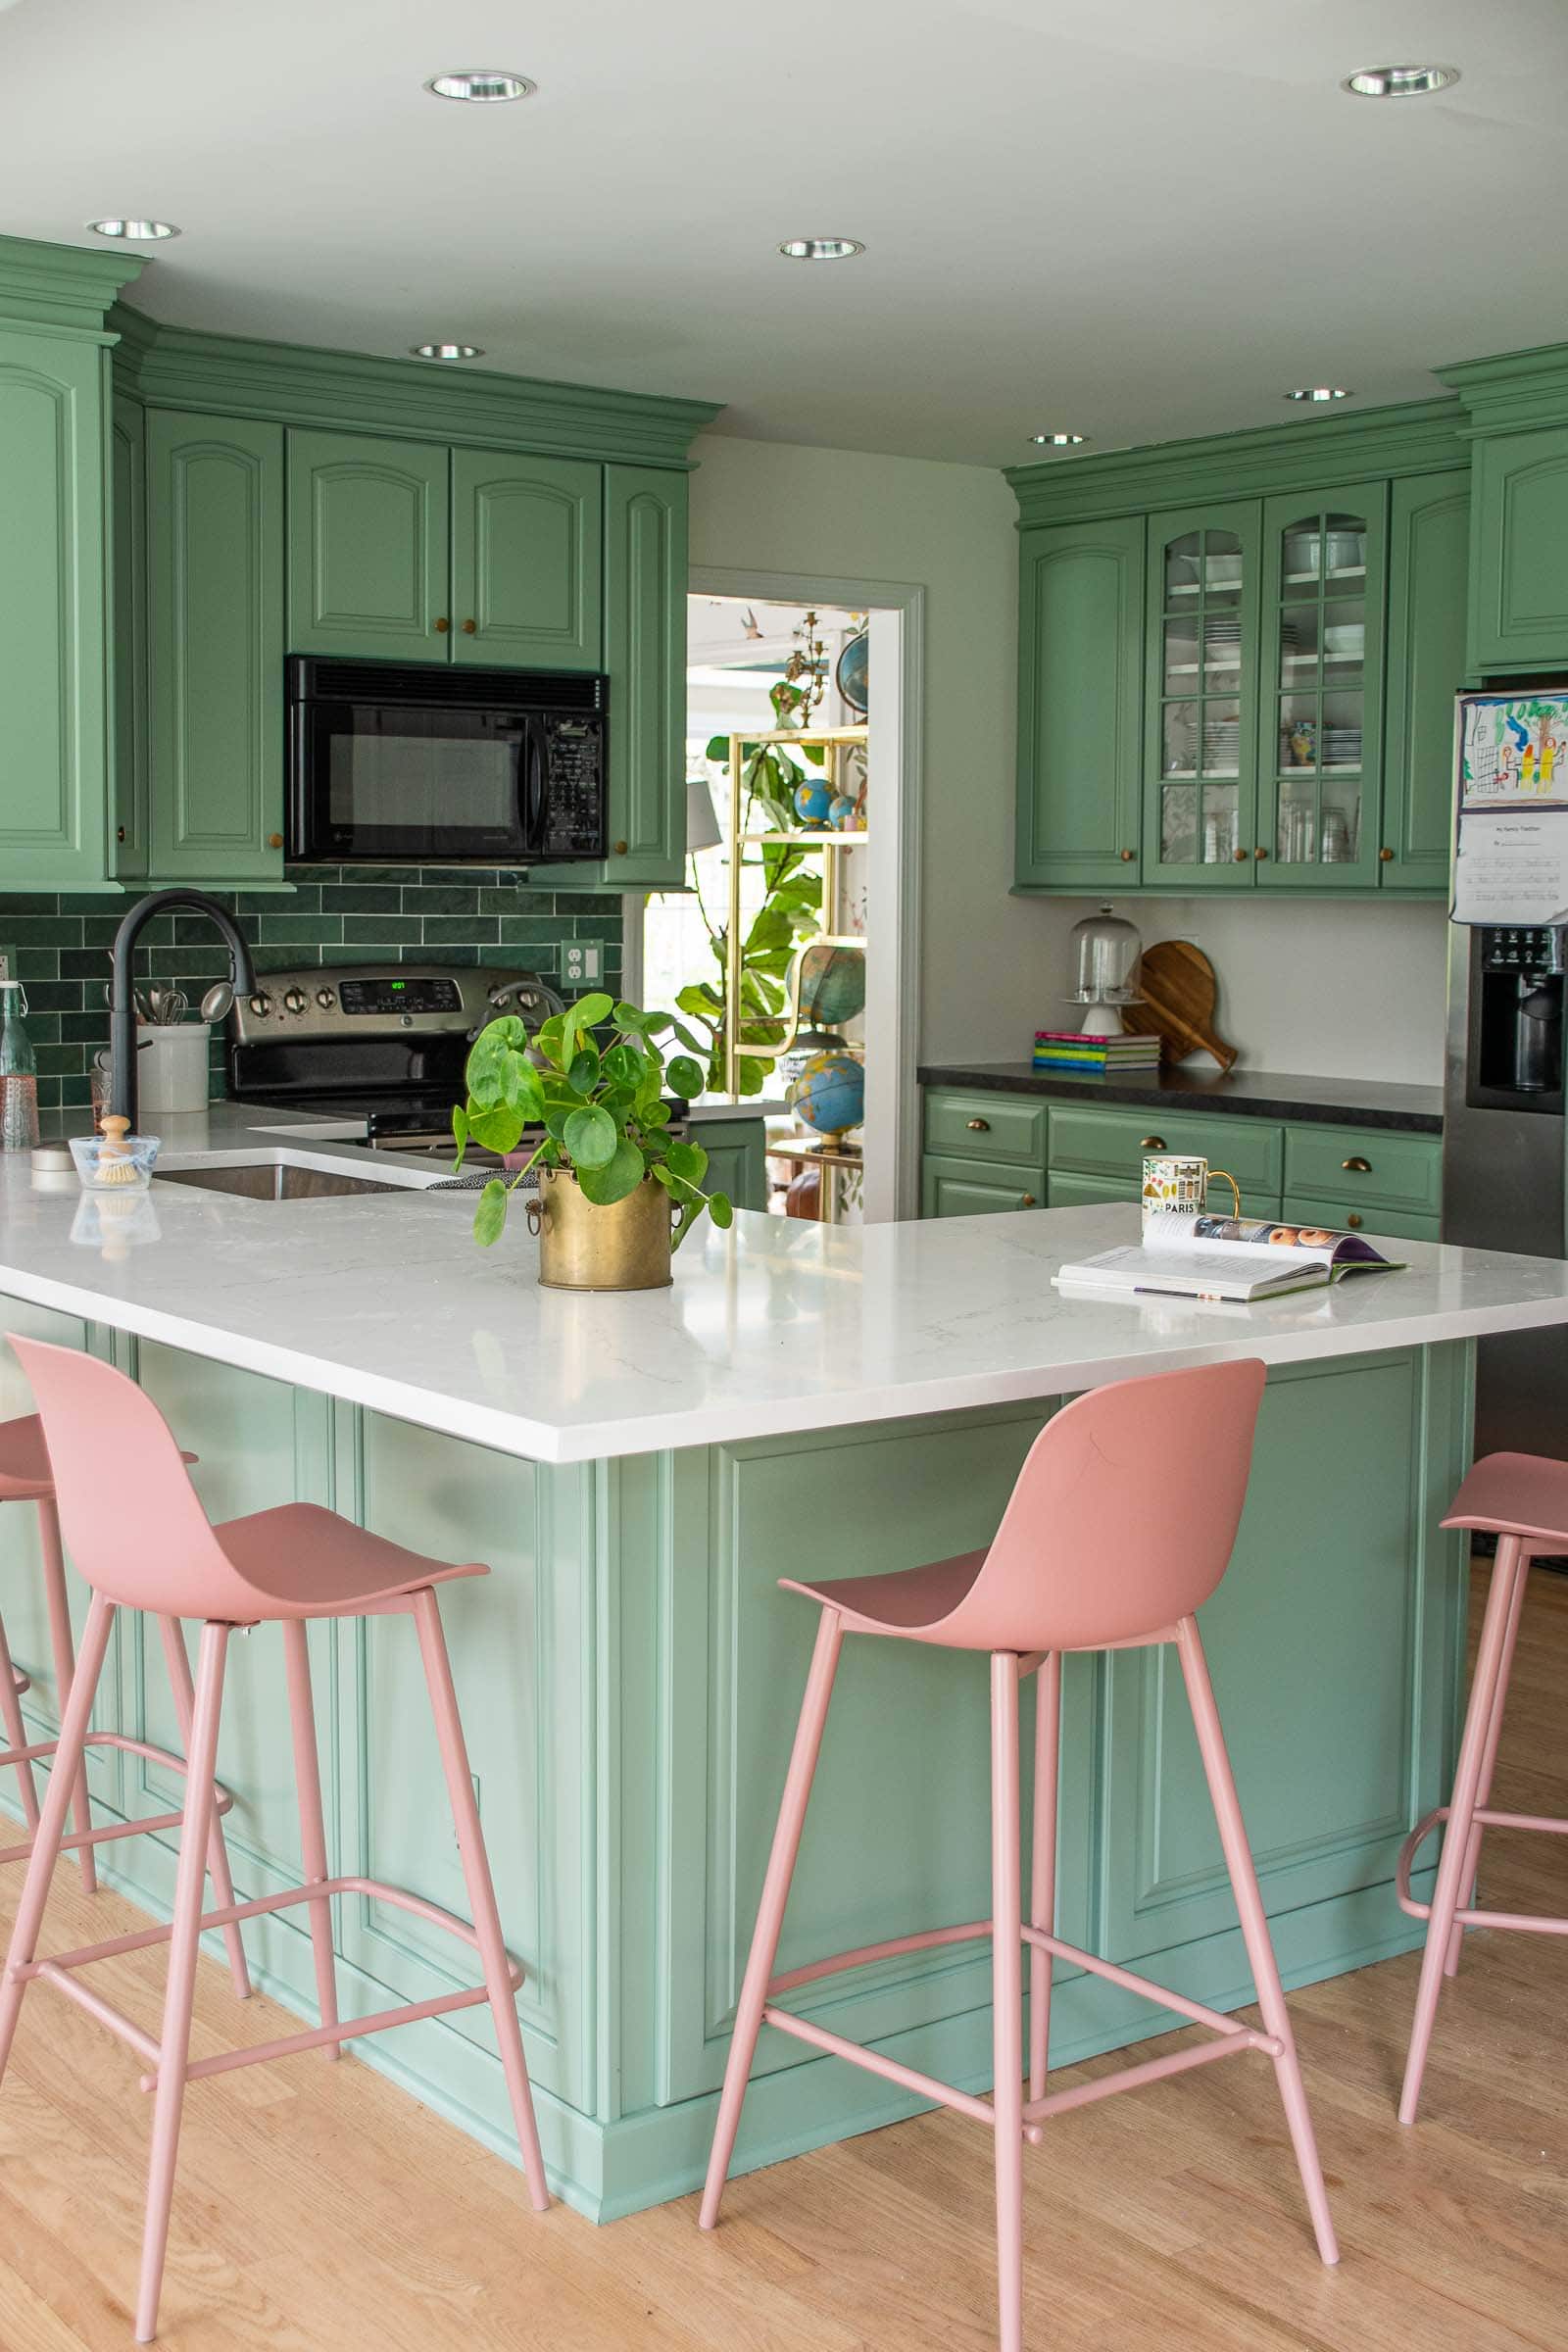
If you thought the HPL on my side counters was good… wait until you see the Wilsonart® Quartz on the center peninsula. I chose the Calacatta Serchio quartz with a large but very soft vein throughout. (The amount of samples I had to choose from for both the HPL and the quartz was amazing… so many incredible choices!) The quartz is just about as durable as the HPL. Wilsonart® Quartz: it’s easy to maintain and clean, stain-resistant, and features a 10-year limited warranty. That’s a long time! Ha!
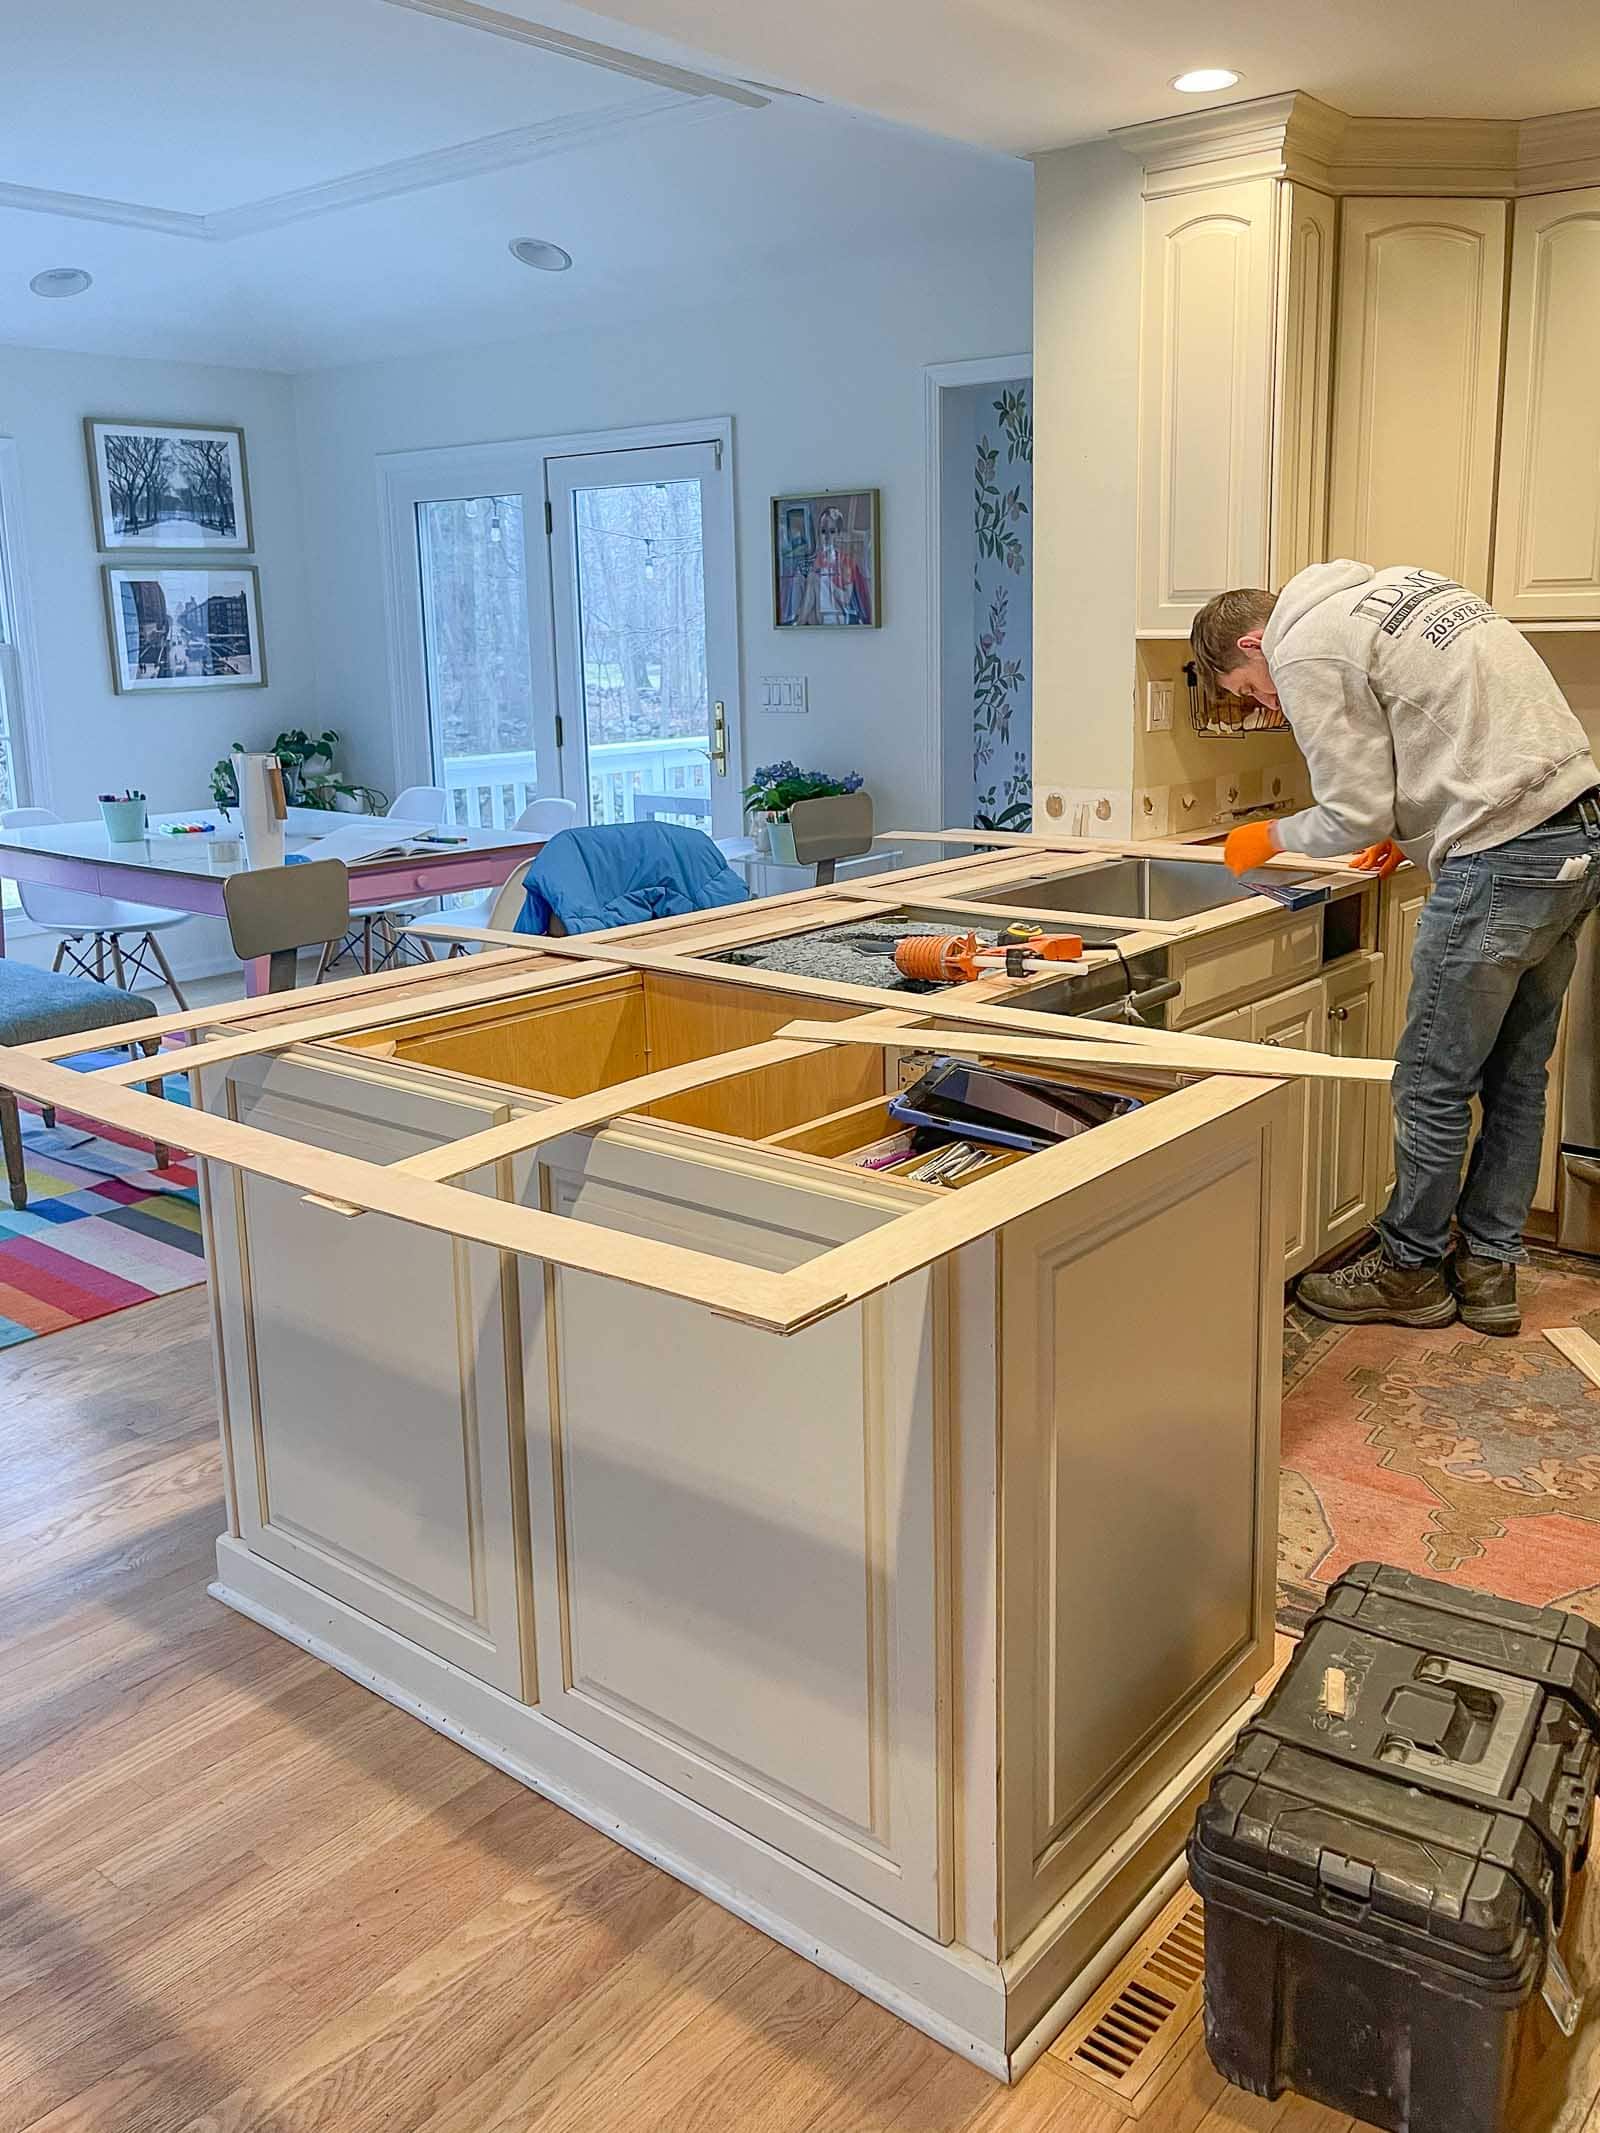
Again, Wilsonart® connected me with a local marble/ quartz fabricator and installer and they were terrific! Because I was also planning to replace the sink for something large enough to actually fit our family, I asked them to remove the counters first so I could retrofit and make sure the sink worked where I needed it to. Normally you won’t need to remove the counters until they come to replace them, but I wanted to be double sure about the new sink before they templated and fabricated the new counters.
 With sink in place, they came to template. I was *fascinated* by this process and did that thing where you try to hover and watch what a contractor is doing without hovering and watching what a contractor is doing. I’ve heard from you all that there are different techniques, but our template was made using a series of 3″ strips from 1/4″ plywood or underlayment. With a hot glue gun and laser measure, he was able to create a template of the actual counter that he marked up and then took with him to the workshop. It looked like he also had an iPad with design software so perhaps he was also making plans on there as well. Regardless… whatever he did worked. They came back about a week later with a perfect quartz counter.
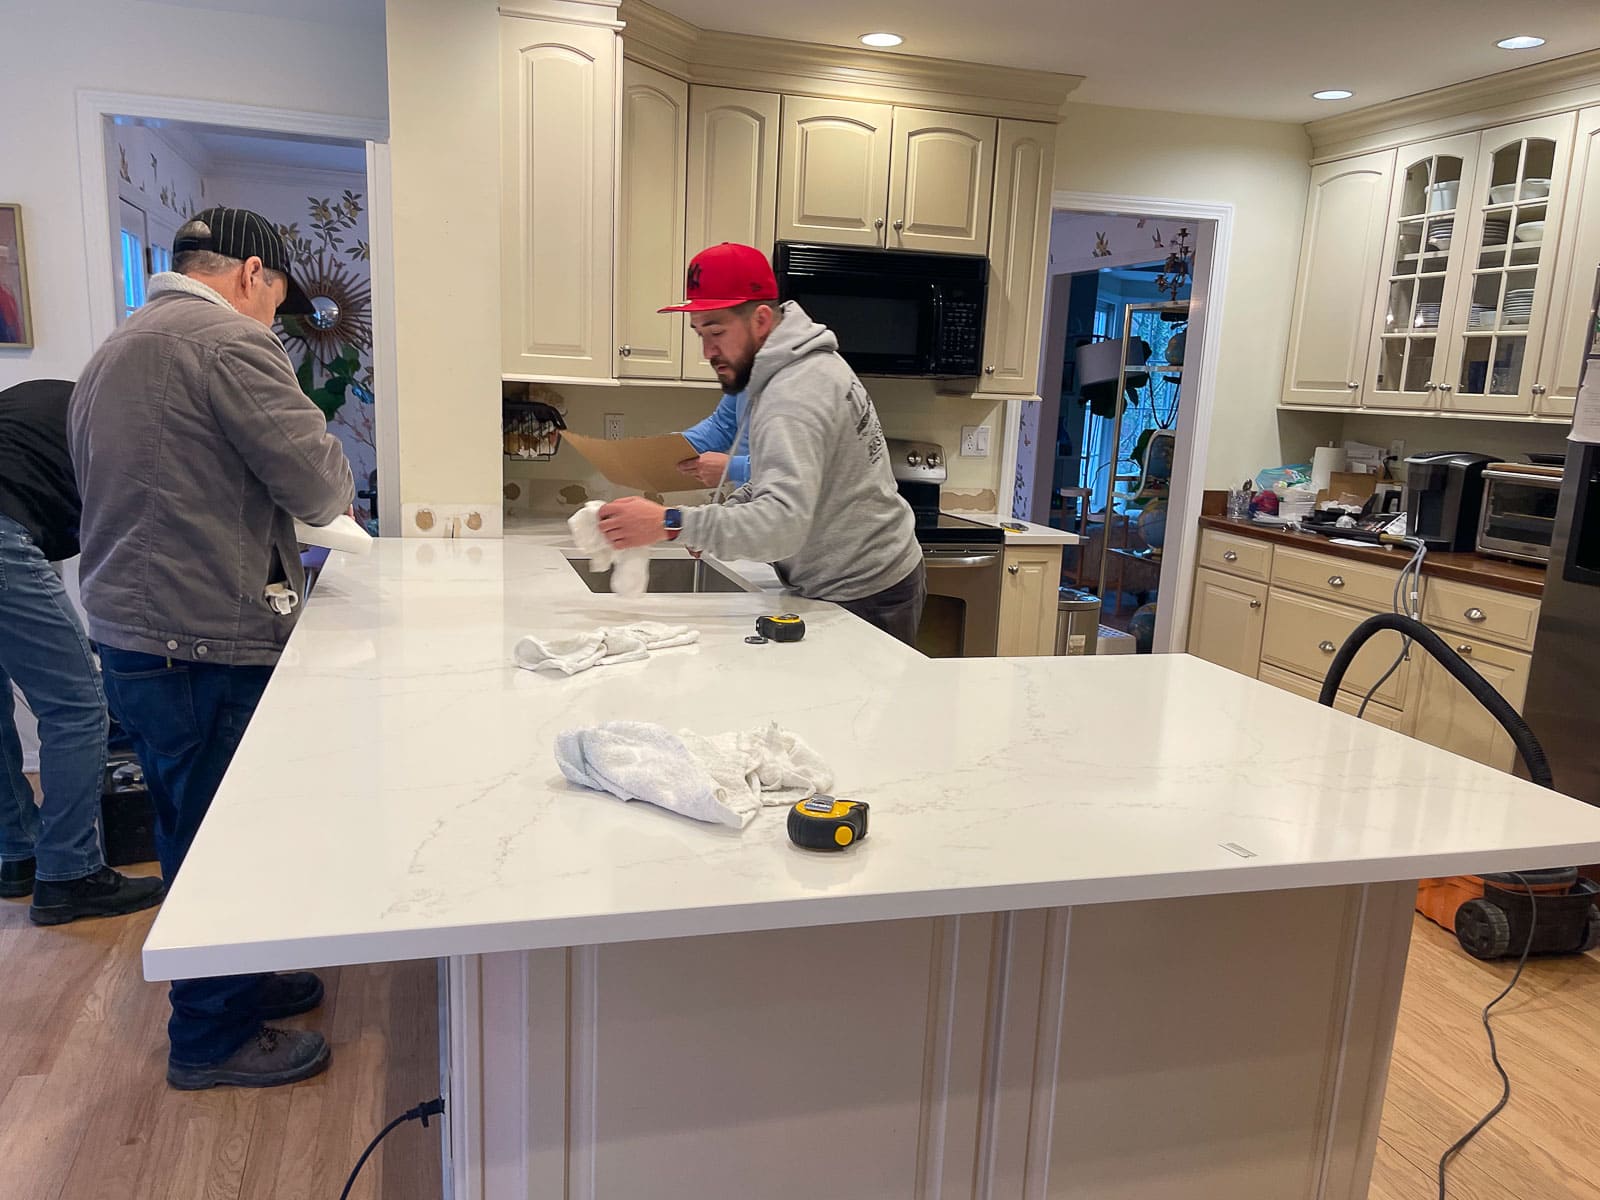
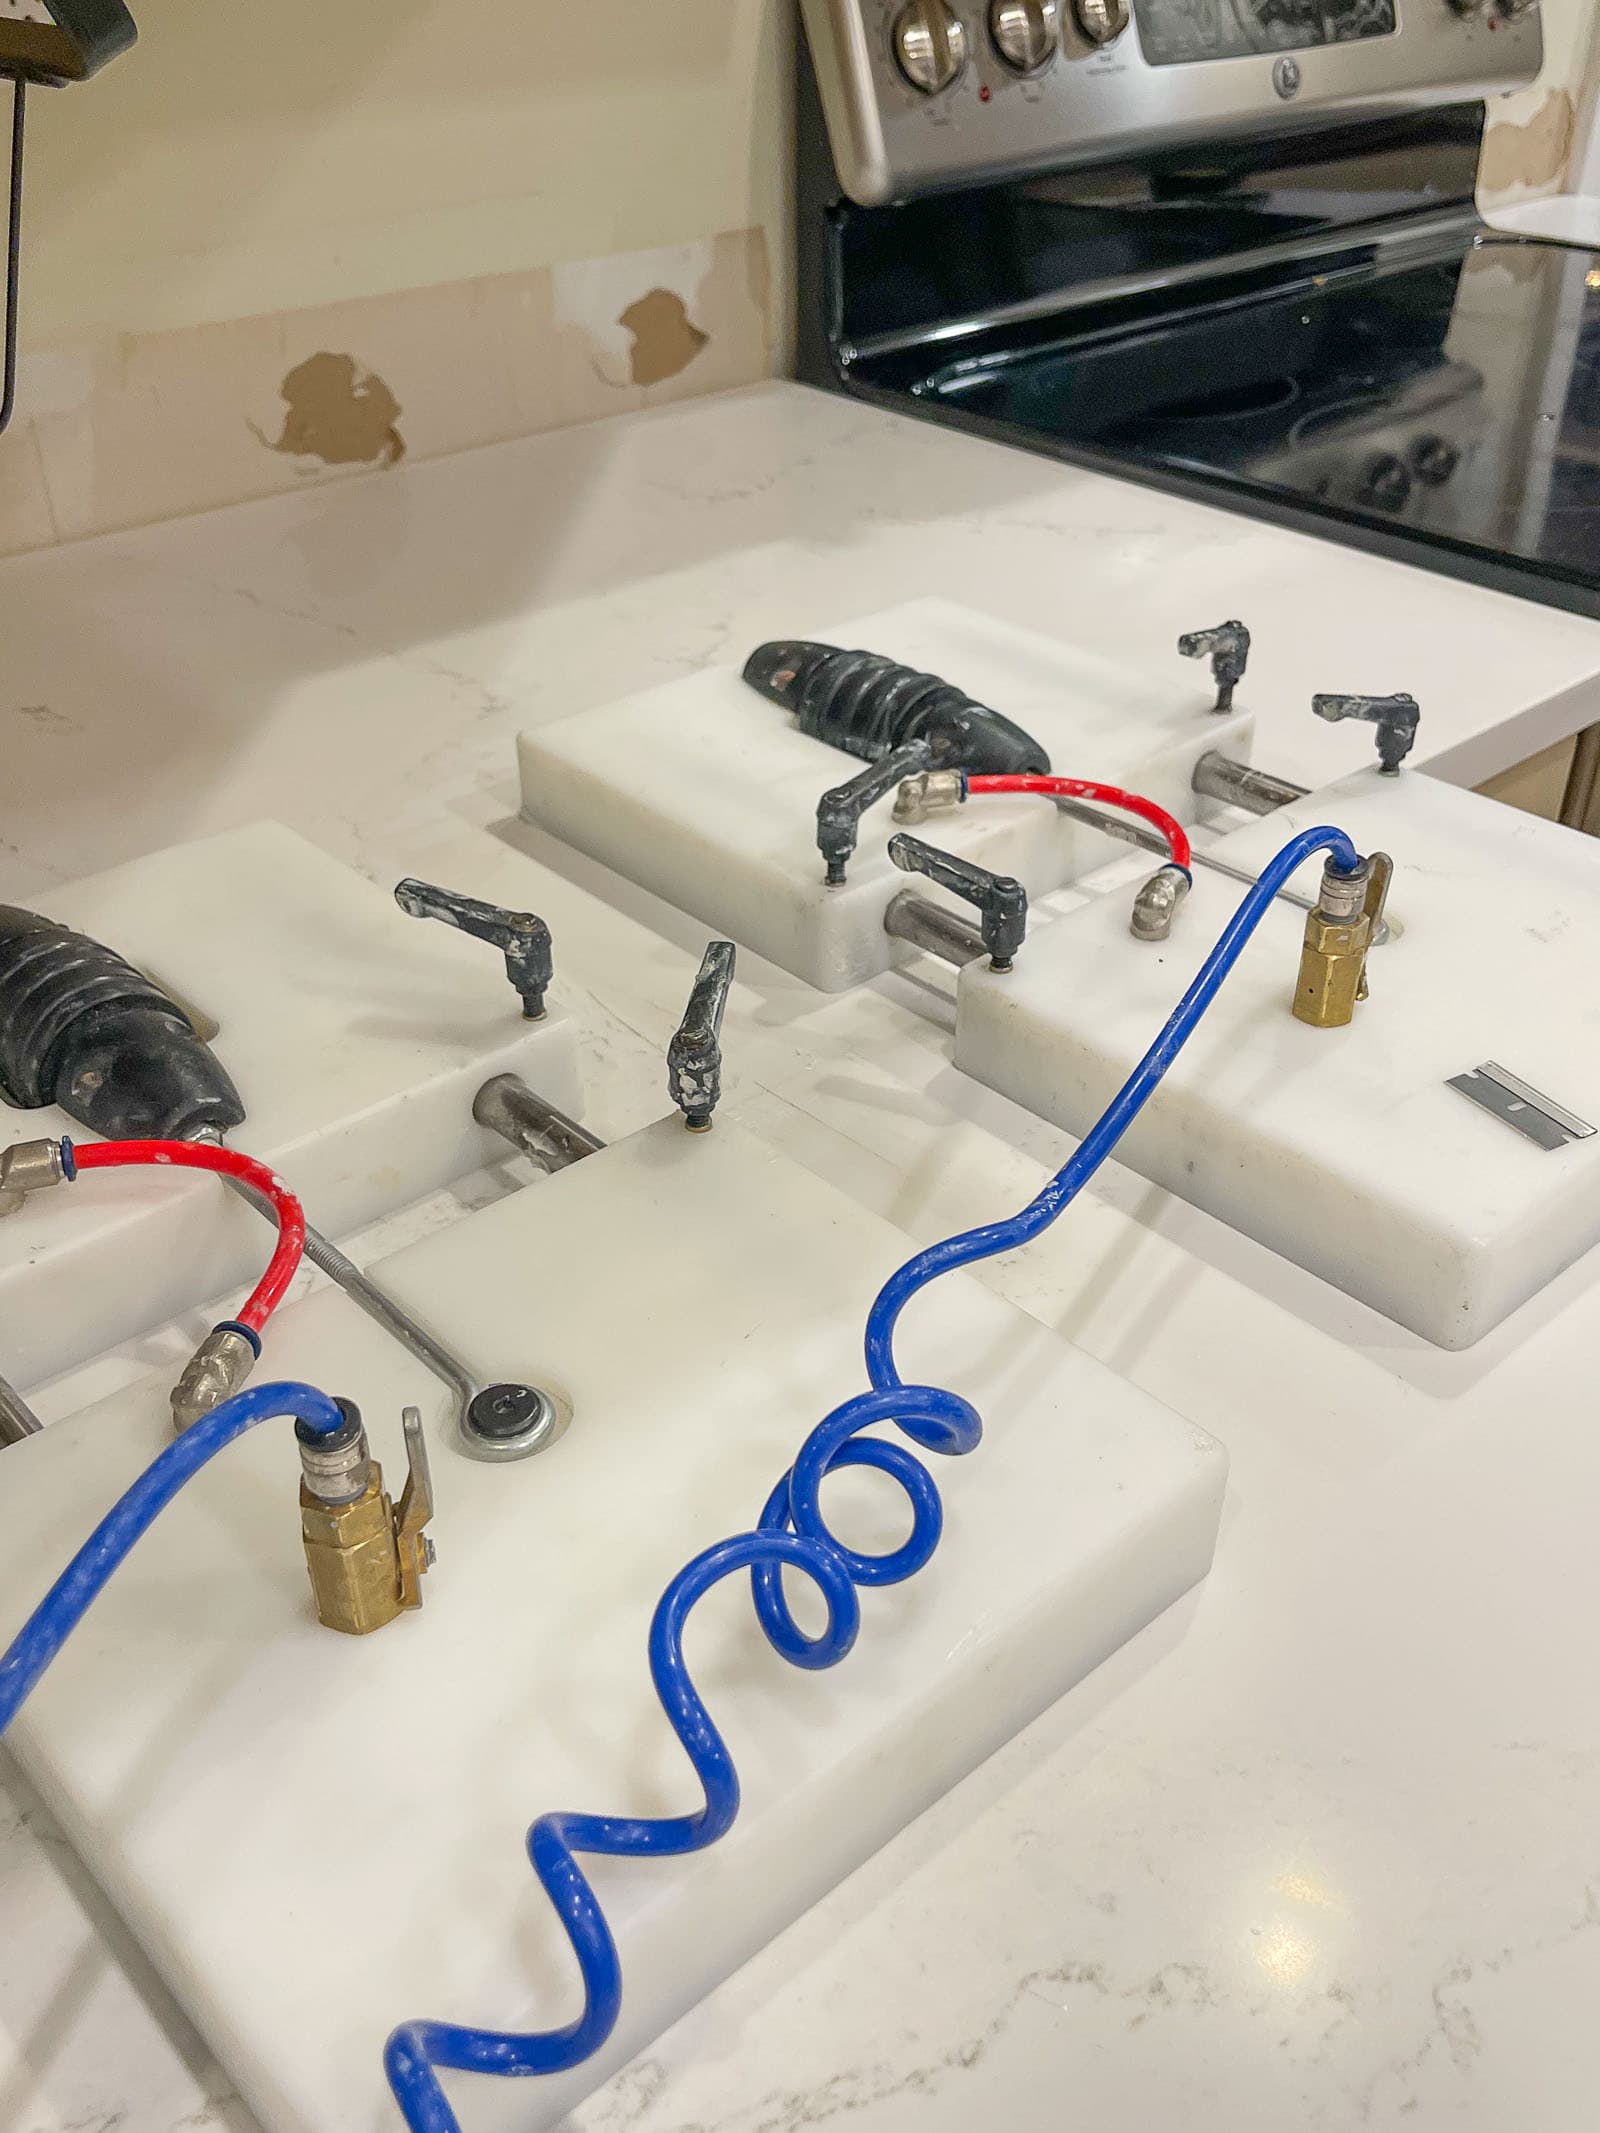
Installation was pretty simple too… there were four or five guys to help lift it up into the house. It’s HEAVY! The counter is adhered to the cabinets with silicon. We kept the overhang small enough that no additional support was required. (For a larger overhang, they would have installed a bracket for the needed support.) Our counter had one seam that they filled with custom mixed epoxy and then used an air pressure rig to clamp it together until it had set up and hardened. You don’t even see it!
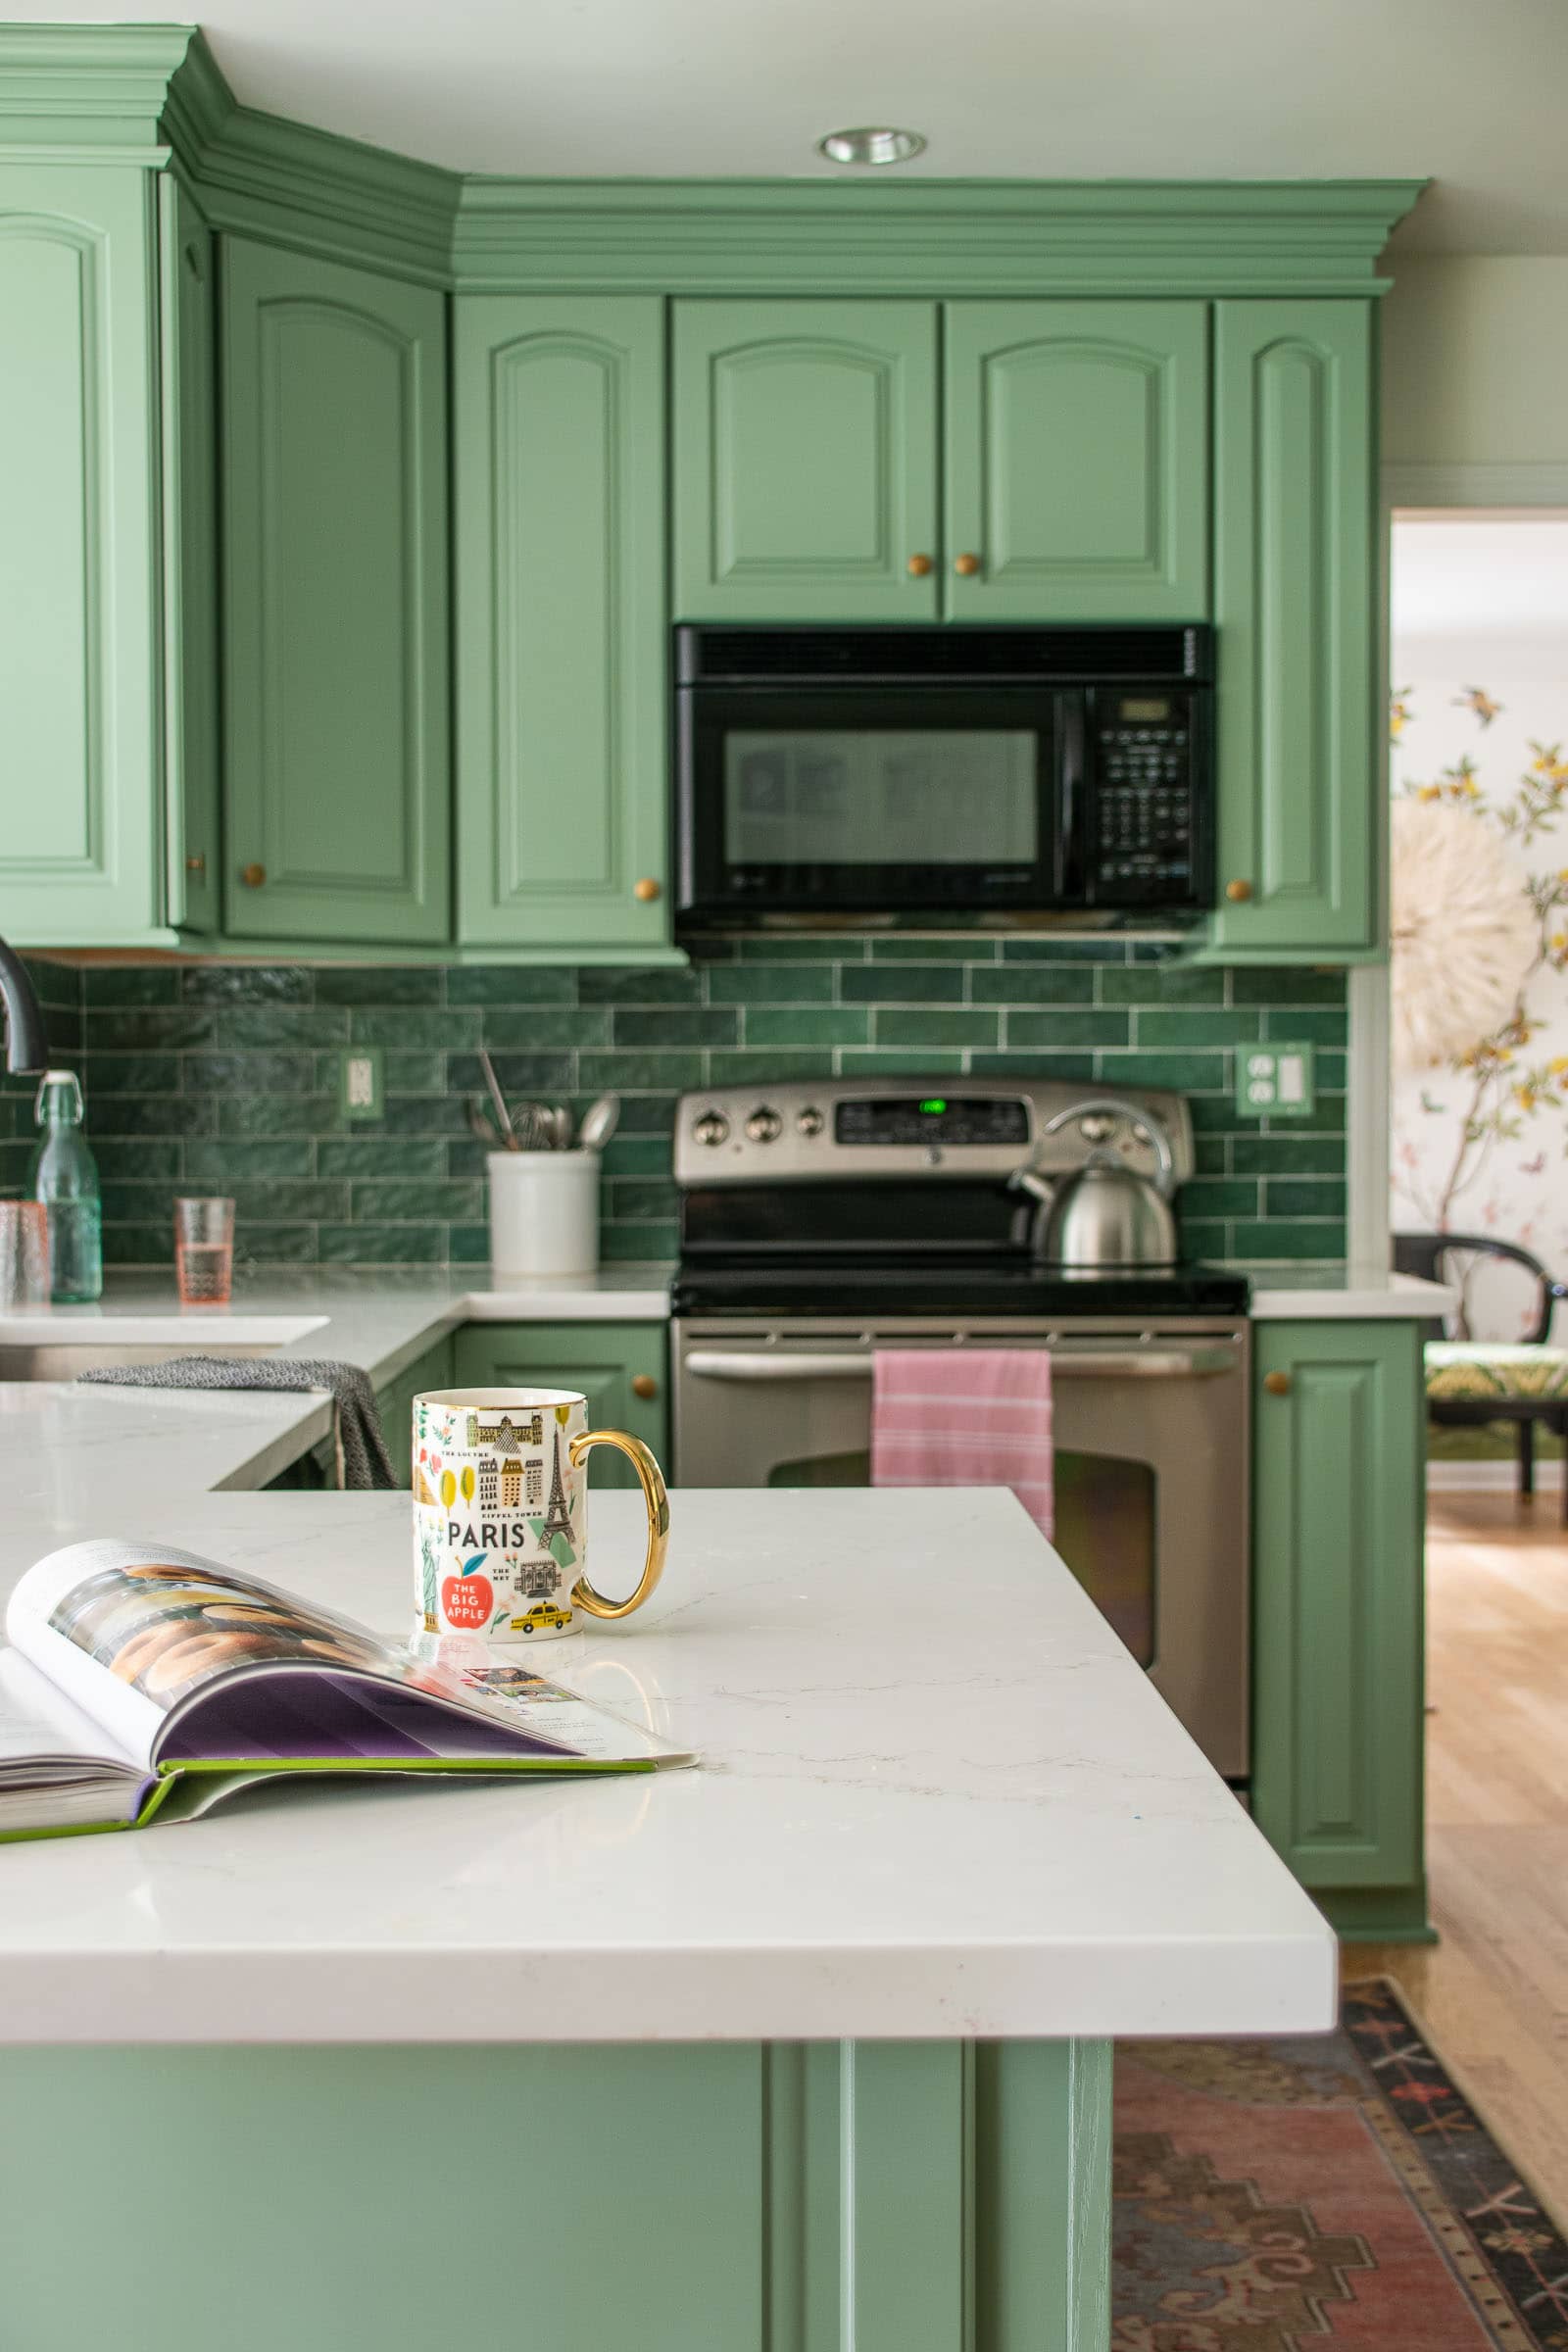
The new and improved aesthetic of not just the counter material but also the counter shape is a true game changer. Just like the HPL, there are many options for the counter profile. I kept this one classic and square (don’t worry… edges are nice and soft so no sharp corners) but you can head over to the Wilsonart site to see all the various profiles.
I owe this kitchen makeover to Wilsonart® as they were really the springboard for the whole space! Counters lead to the new sink lead to the new faucet lead to the newly painted cabinets and backsplash! I used Wilsonart® surfaces for our counters but their collection can be applied to cabinets, walls, and everything in between also! Wilsonart® products are sold through design showrooms, kitchen & bath retailers and major home centers nationwide. (I first learned about them at our local Home Depot!)
Definitely leave me a comment below if you have any counter questions… I’m no expert, but I certainly asked a ton of questions of the Wilsonart® team so hopefully I can be a resource!

We are starting to remodel our kitchen, and this post is super inspirational. We are going through our to-do list and once our dumpster rental gets here next week we will get started!