How To Paint Like A Pro
Psssst… this post *might* contain affiliate links: see my disclosure here.
Let’s talk painting. Painting is a precision game. Just so we’re clear, I am not a precision gamer. I’m a finish line girl. I am NOT good at slowing it down with things like prep work and cleaning. Which means painting and I have a love/ hate relationship.
How to Paint Like a PRO
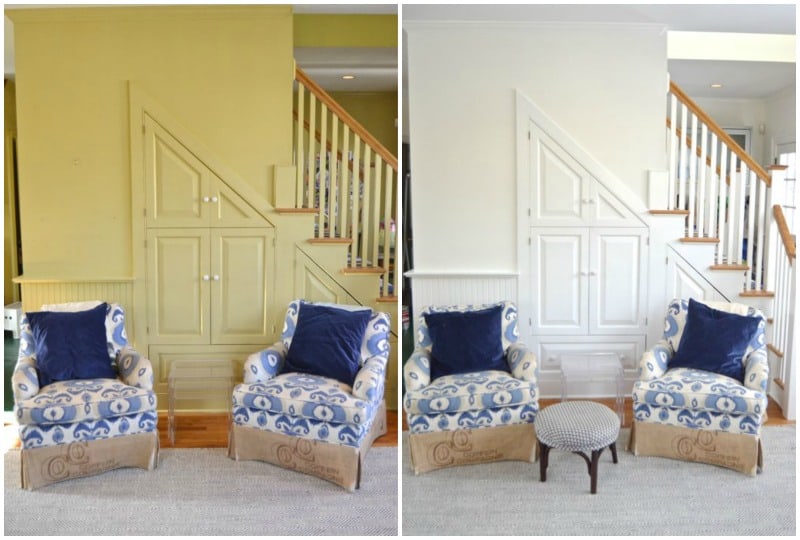
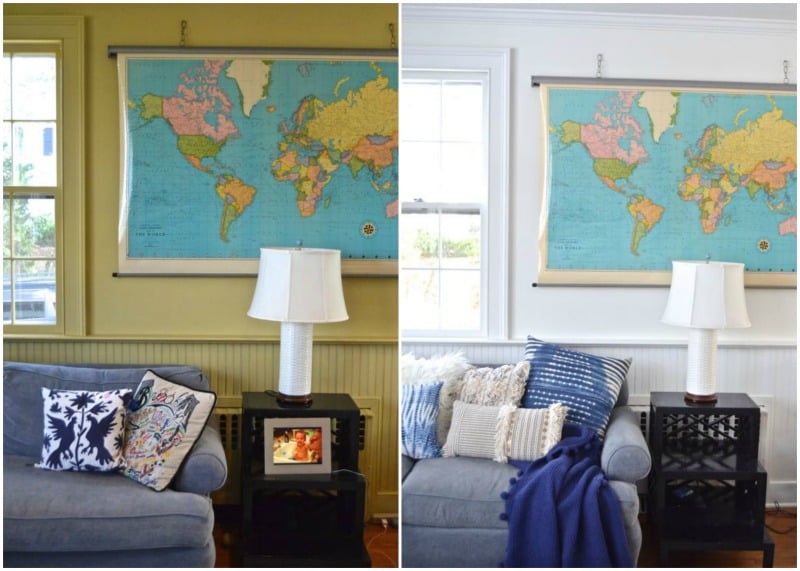
Back in January, we finally brought in the big guns for the mustard wonder that was our family room. You can see how it looked here in our “before” Home Tour of this house. For those of you who don’t believe in the power of paint, I offer up Exhibit A. This space was OPPRESSIVE before. All of our furniture looked dull and drab because the mustard just sucked the life out of everything. Now… bright and sunny for MILES. (Here are links to the full room reveal and source list.)
Shop my favorites!
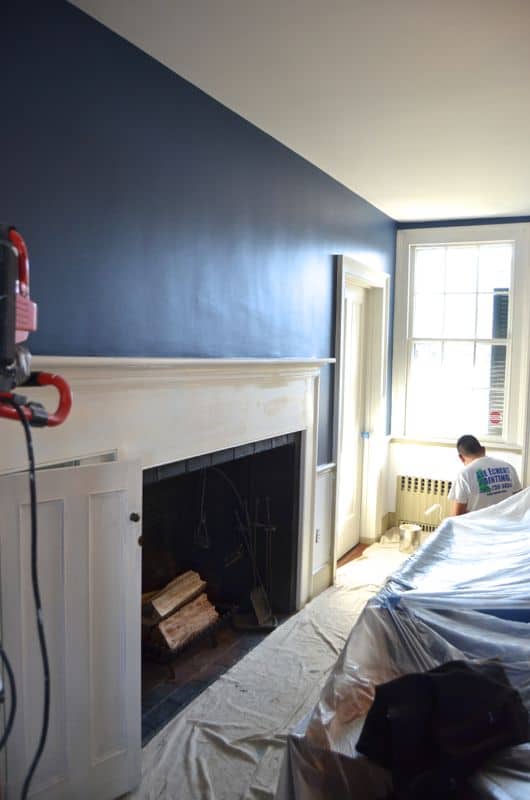
But this post isn’t about the power of paint. It’s about the tips and tricks I learned from the pros watching them tackle our family room and, just recently, the One Room Challenge navy-blue in our dining room.
1. Prep.
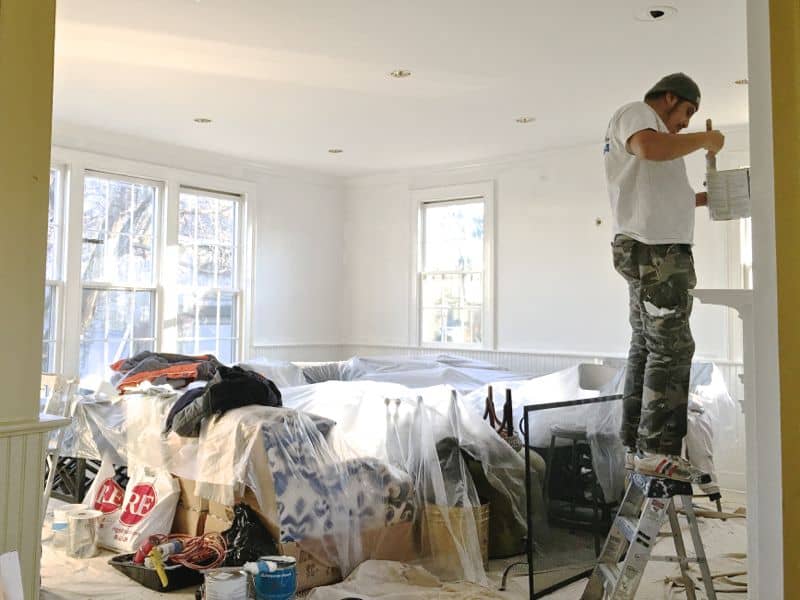
The pros spent an ENTIRE day prepping. (I am NEVER that restrained about putting down the first coat of paint.) They removed ALL hardware, scraped, caulked, filled nail holes, and removed shelves and doors. For both rooms, there was a LOT of trim. Shiny glossy trim. The pros sanded every last shiny surface in the room. By hand. Not a quick cursory hit, actual sanding of every square inch.
Pro tip: use a hair dryer to help dry caulk so you can get around to the sanding and cleaning phase.
2. Clean.
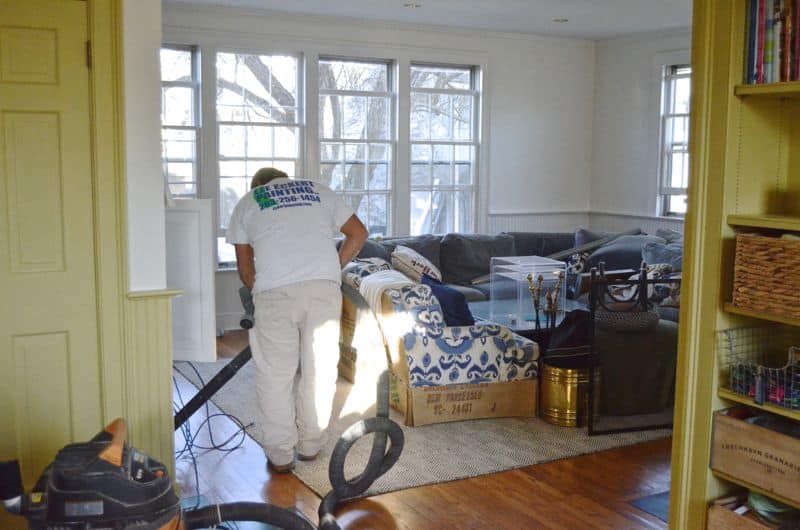
They cleaned and then cleaned some more. With a vacuum and then a tack cloth.
3. First coat.
Here’s what I love about the pros… they don’t use a lick of painter’s tape other than to hold drop cloths in place. I’ve gotten pretty good at cutting in along my edges, but these guys are PRECISION. The trick to edging? THIS brush is the first trick… it’s the only one I use (affiliate). You want to keep the brush parallel to the edge. I know that seems a little counterintuitive, but that’s the trick. I wasn’t organized enough to take pics of this technique, but see this post by YHL for video of the technique.
4. Sand and Clean. Again.
Before the 2nd coat, they sanded. And cleaned again. Same degree of precision and care.
5. Know what materials you’re dealing with.
When it comes to painting, it’s ESSENTIAL that you know what you’re painting. Oil paint cannot go over latex paint. Latex paint won’t adhere to a glossy finish without a primer…. The list goes on.
Speak to your paint store if you have any questions…they’ll know! In our home, oil paint was the best option, but I was worried about the smell and little fingers. The paint store suggested an additive to my painter that was able to cut the smell AND help with drying time. We hung out in the other rooms, but the smell had all but dissipated each morning. Worth it for the needed coverage, in my opinion. These stairs from our old house required primer and porch paint.
6. Be patient.
Let the paint cure. We rushed it with our family room and ended up scraping off some paint in places (shelves mostly)… Read the label on your specific paint, but it can sometimes take up to a week for paint to harden… You just spend all that time and energy painting, the least you can do is preserve your best work but waiting a week to replace things like shelves or cabinet doors.
7. Don’t expect miracles.
We are a VERY busy family of 7 with a poorly behaved dog. Things happen. There WILL be places that chip or peel so have some sandpaper and a sample pot on hand to make the touch ups when necessary!
And there you have it… things I learned watching the pros. I’m still not as thorough as they are, but the power of prep and precision has been drilled into my head watching these guys at work. If you want to see how I’ve done on the One Room Challenge, here’s Week 1 and Week 2.
And… since I’ll tell anyone who will listen, hour house was featured on HOUZZ! Head over there to see the full tour!





Don’t Miss Out
Become An Insider!
Signup for exclusive tips, and tricks from Charlotte’s House!
Let’s chat!
I love comments from you, so feel free to leave your thoughts and ideas below! And don’t forget to follow me on Instagram for even more!