
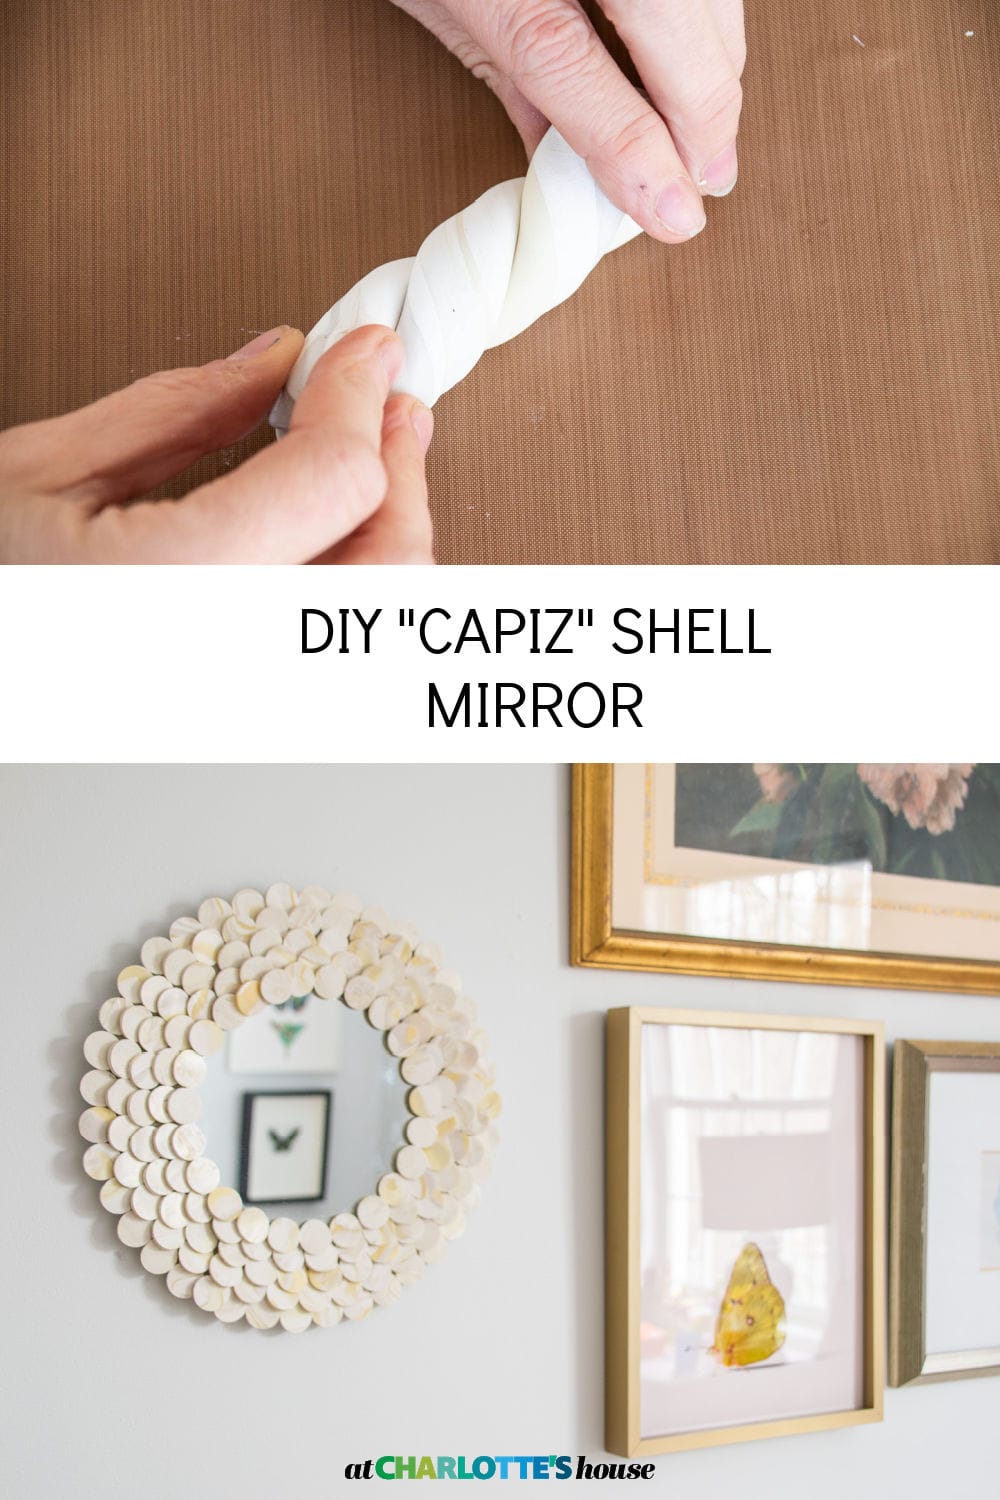
Oven Bake Clay Capiz Shells
Psssst… this post *might* contain affiliate links: see my disclosure here.
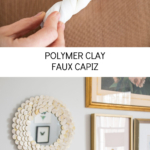
How to Make your own Faux Capiz Shells
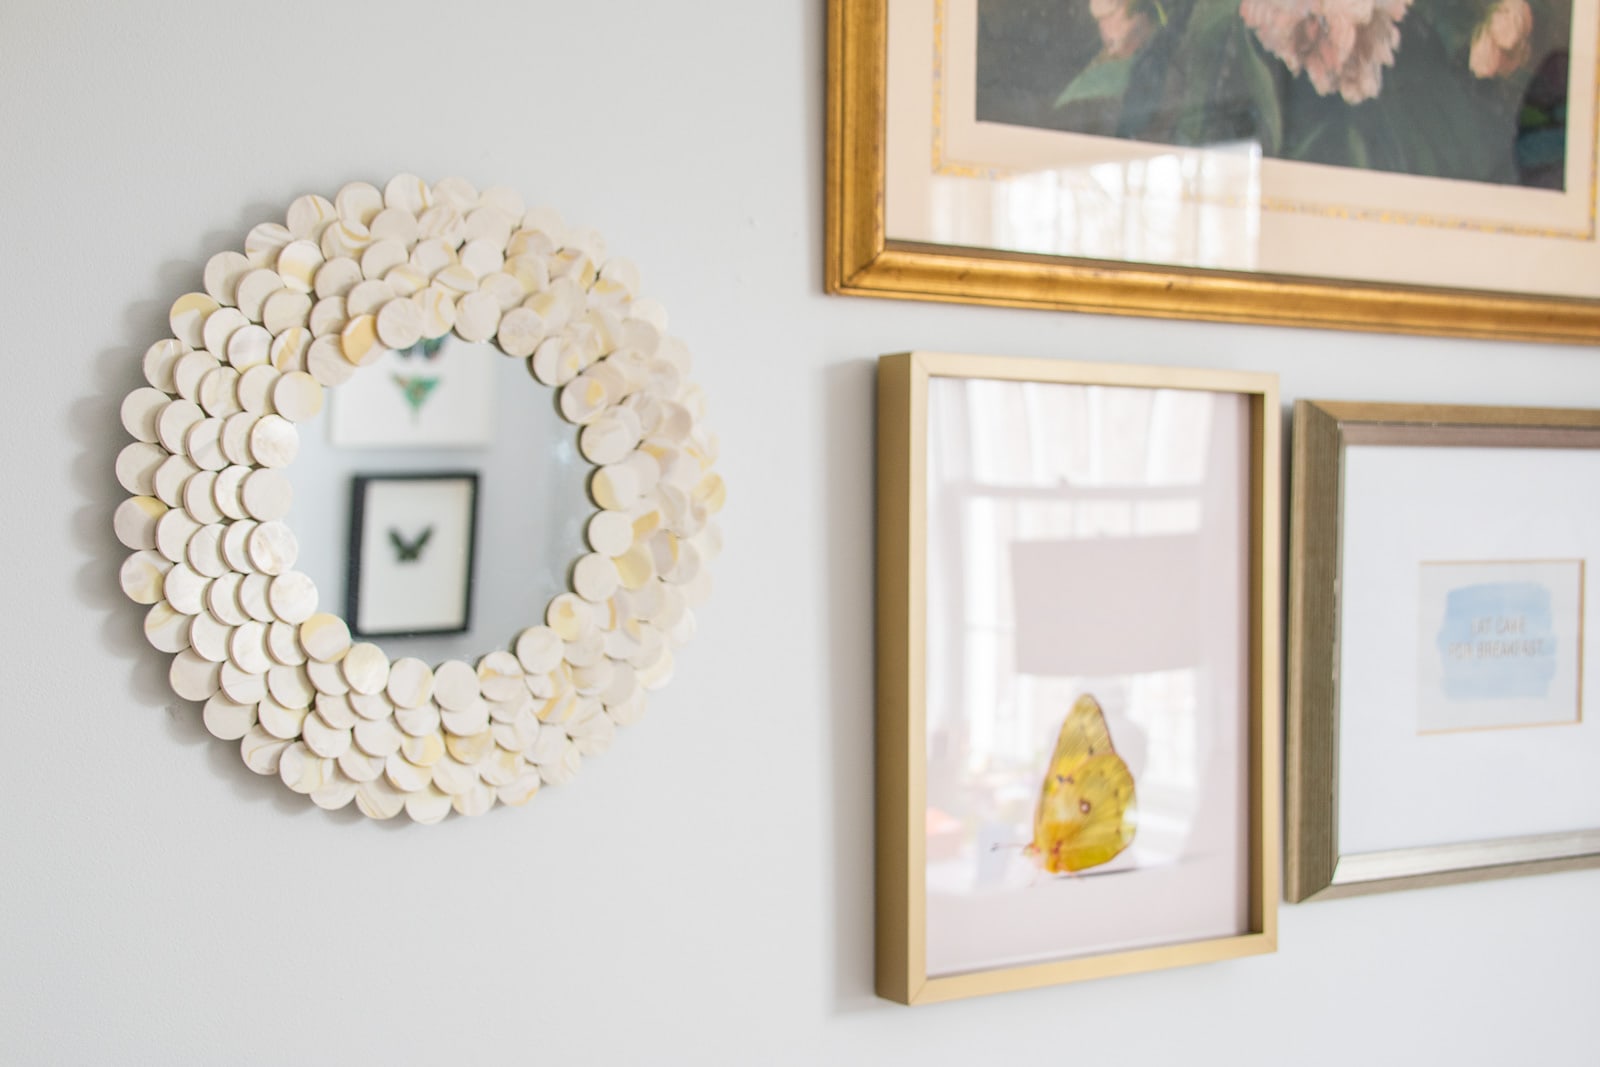
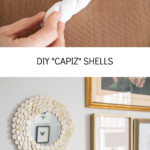
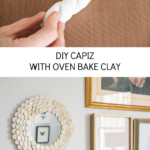
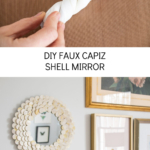
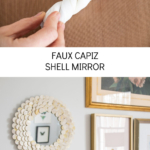
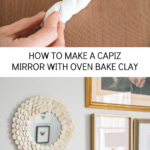
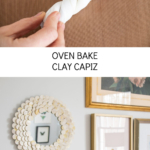
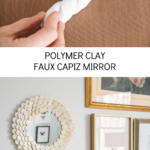
I used oven bake clay to make faux capiz shells and made them into a decorative mirror.
OK, this is a super specific project, but I’m mostly just excited that I pulled it off and it actually looks legit. I did something similar years ago but wanted to try again with a little more precision. Best part? This will cost you under $20 and is definitely something kids could help with! I’ll share the full materials list at the end of the post but essentially you’re using a few blocks of oven baked clay and that’s it!
Shop my favorites!
Step 1. Mix the Clay
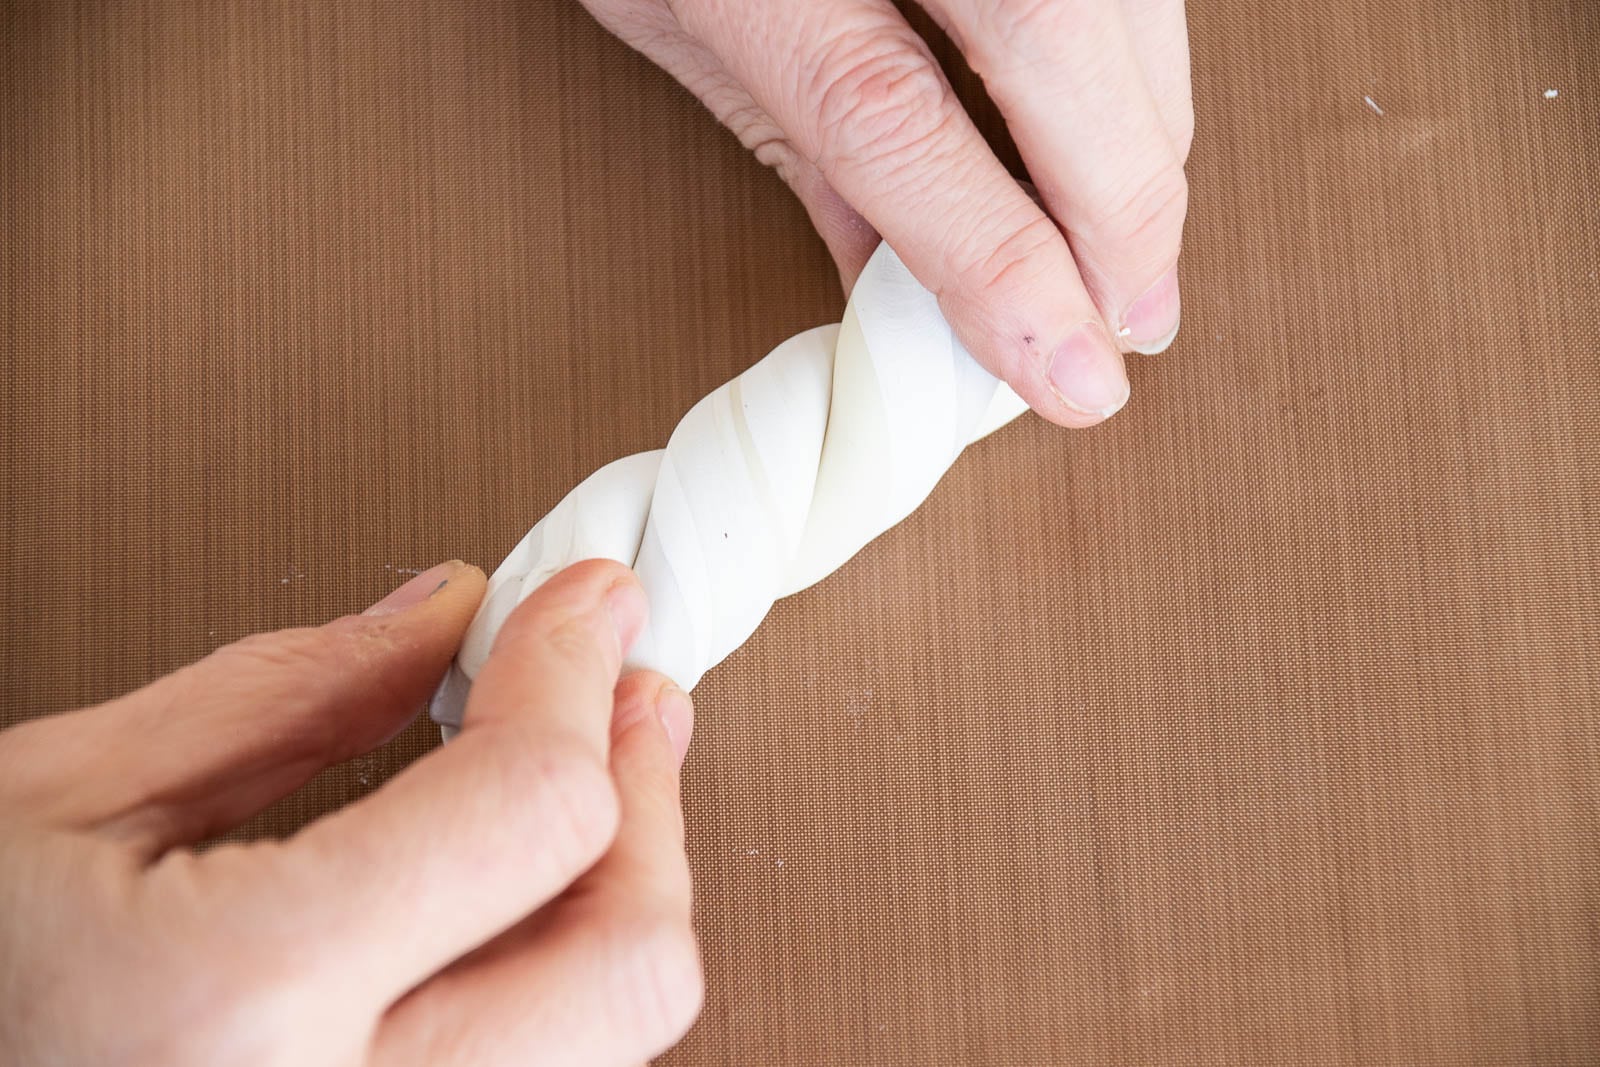
Take equal portions of each shade of white clay and roll them all out into snakes. Place them together, twist them together and roll into one hot dog. (Technical term right there. Ha!) Fold the hot dog in half and twist it again. Roll together. Repeat 3 or 4 times.
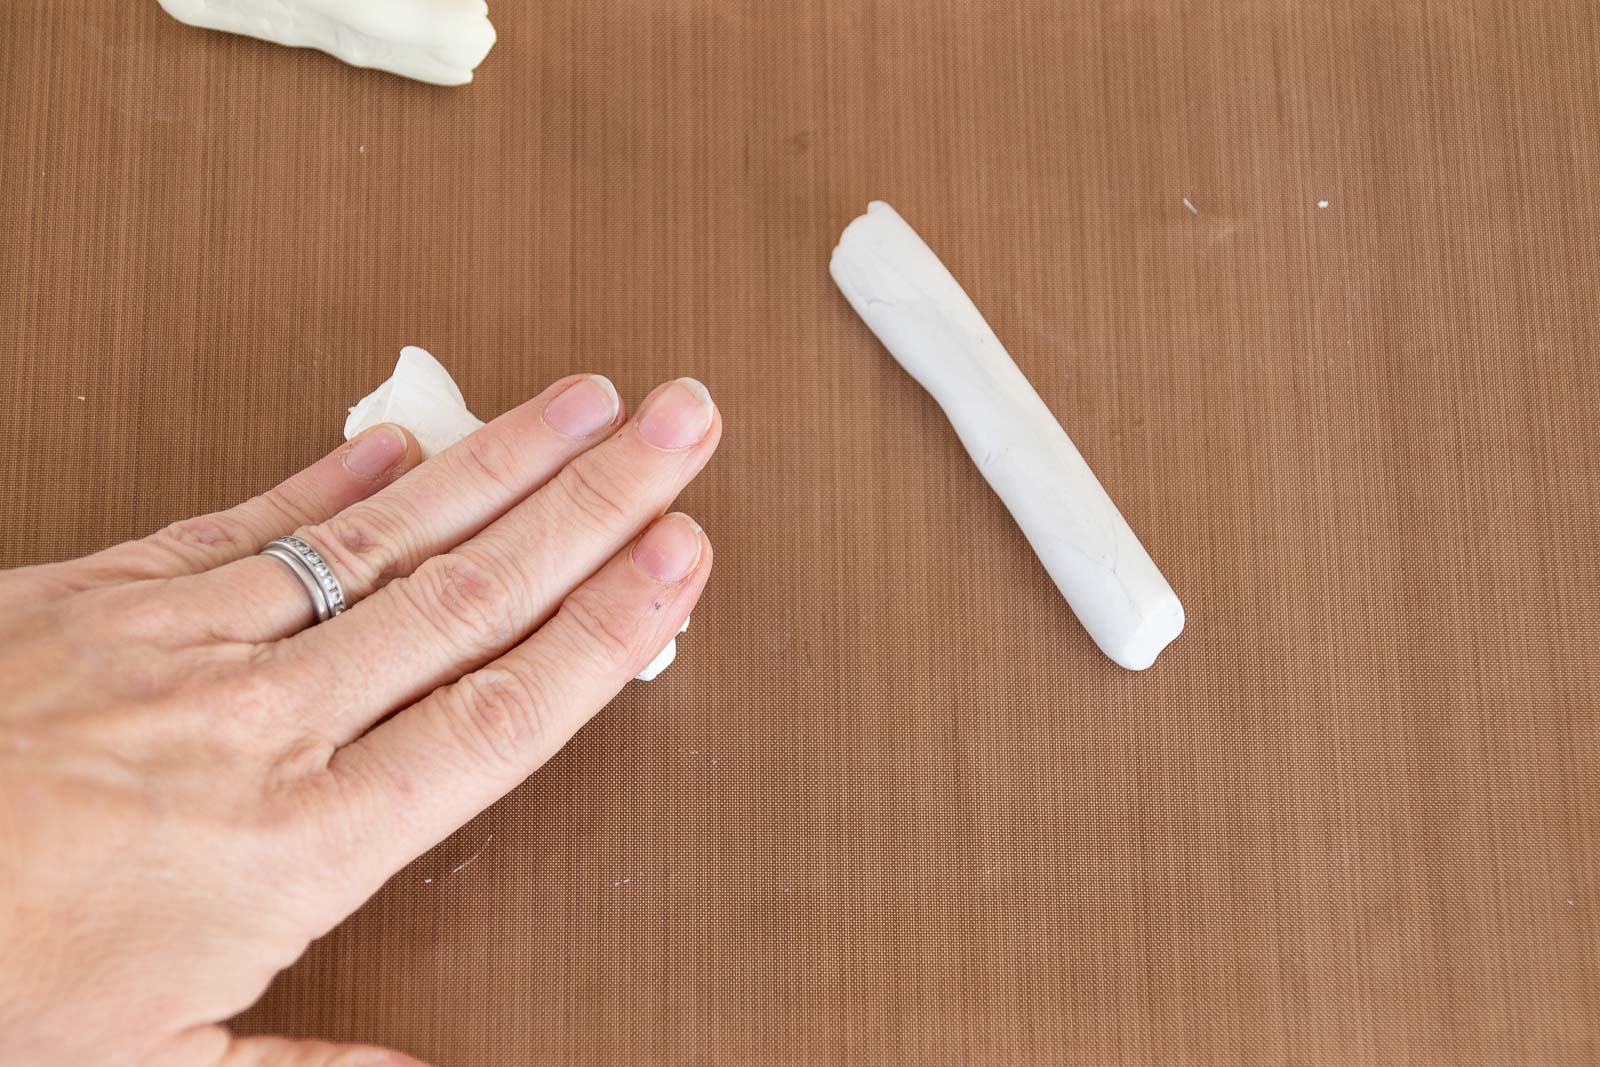
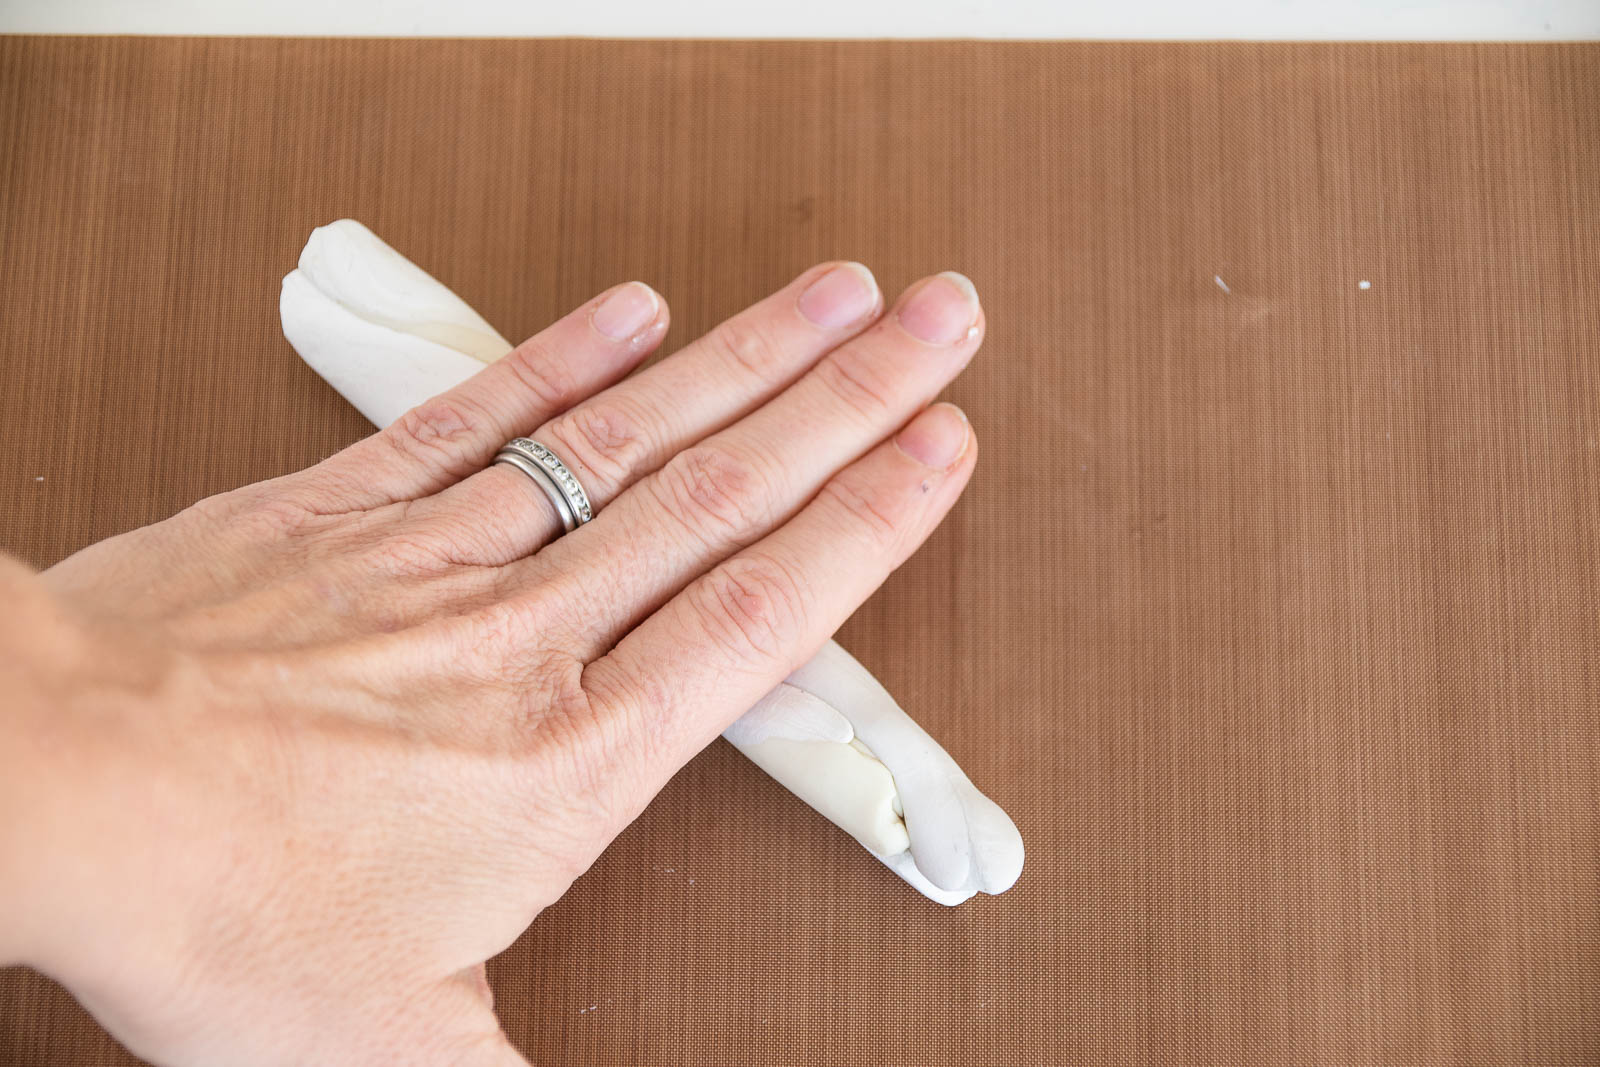
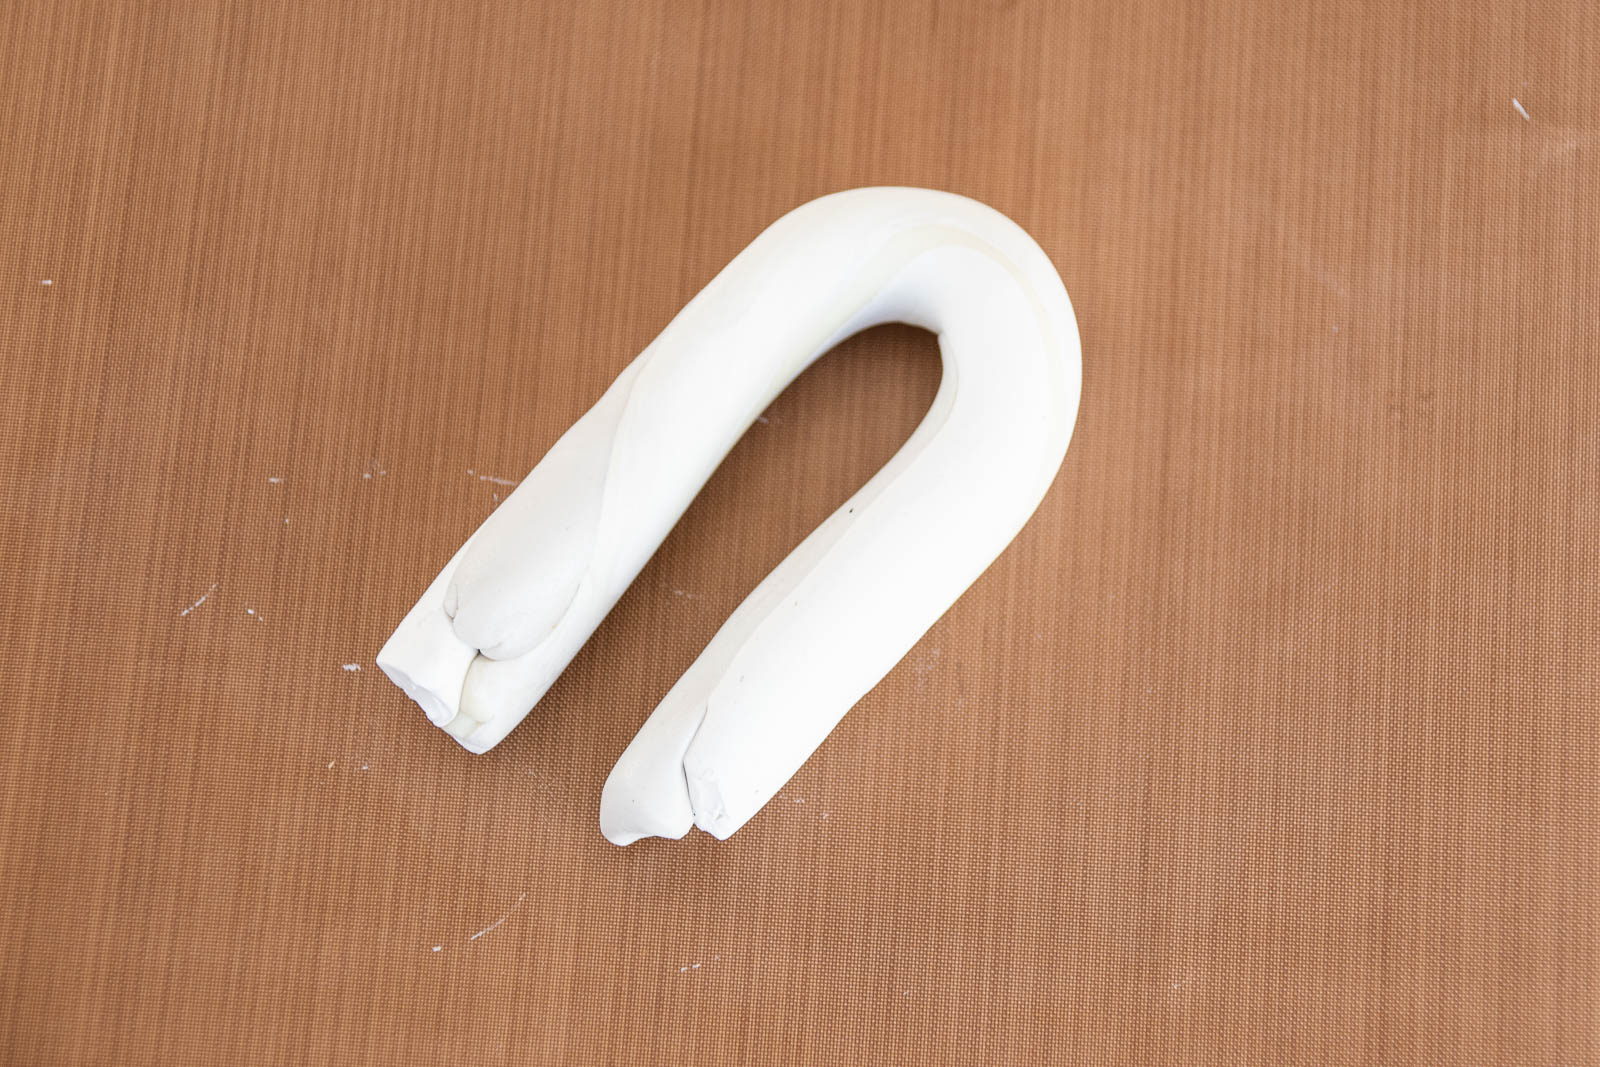
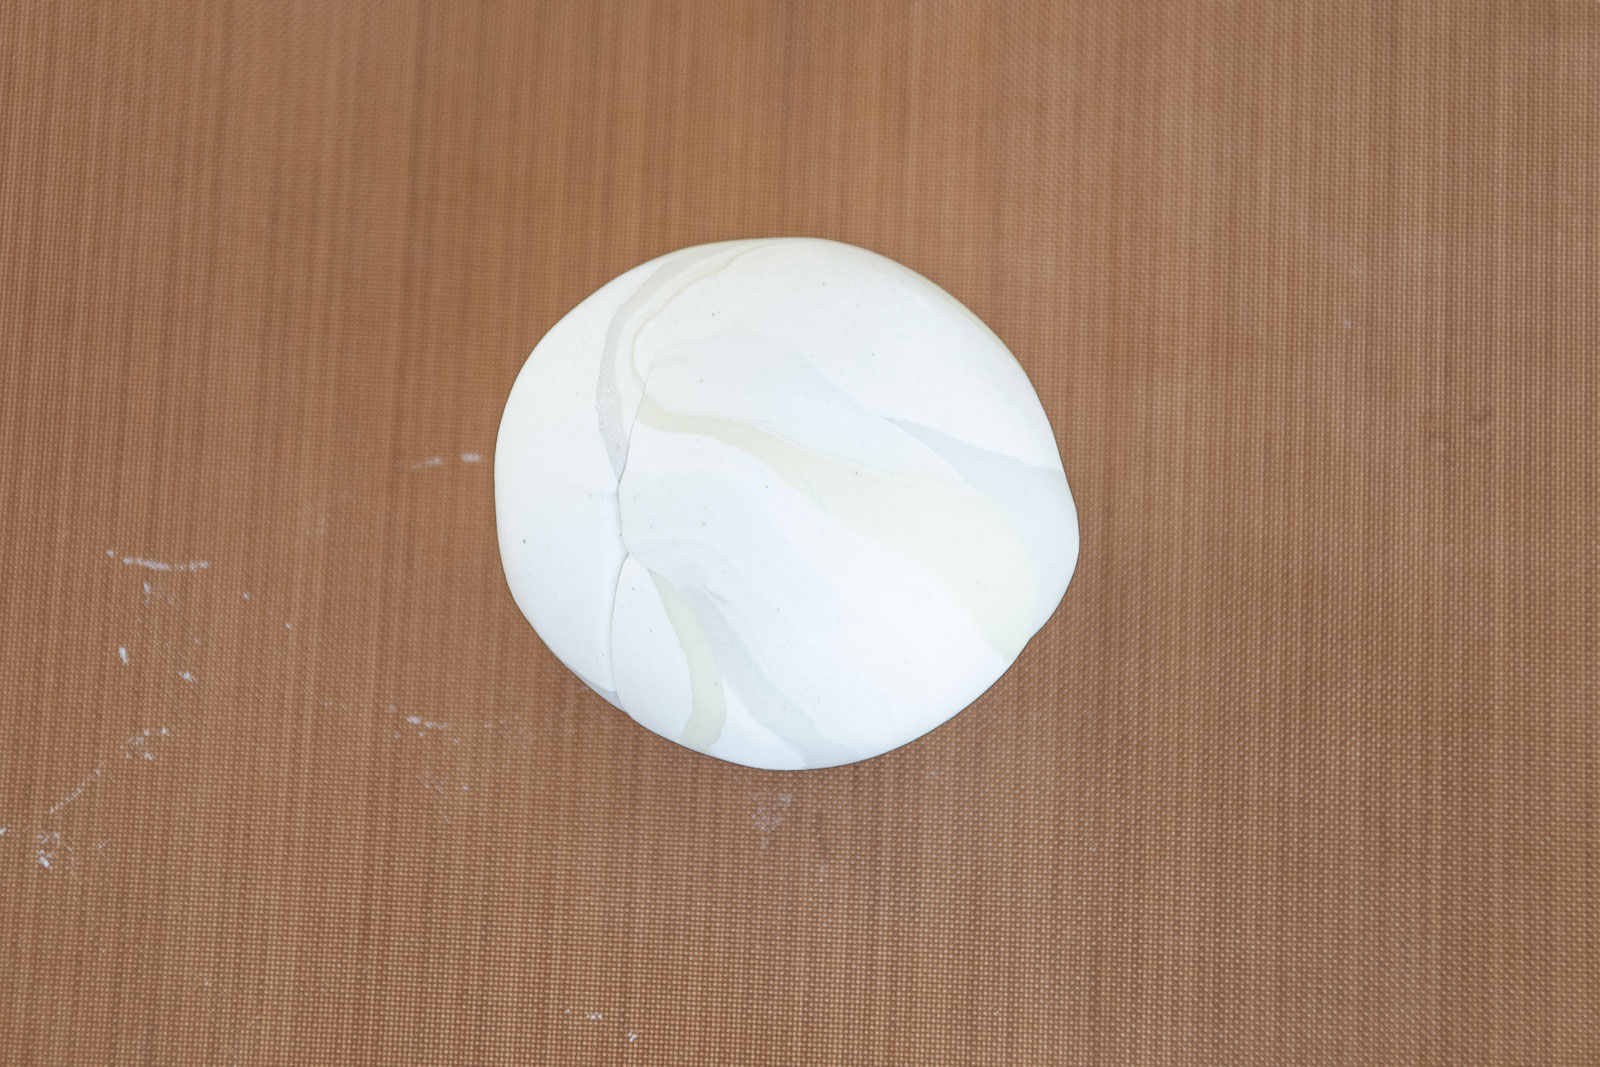
Roll your clay into a ball.
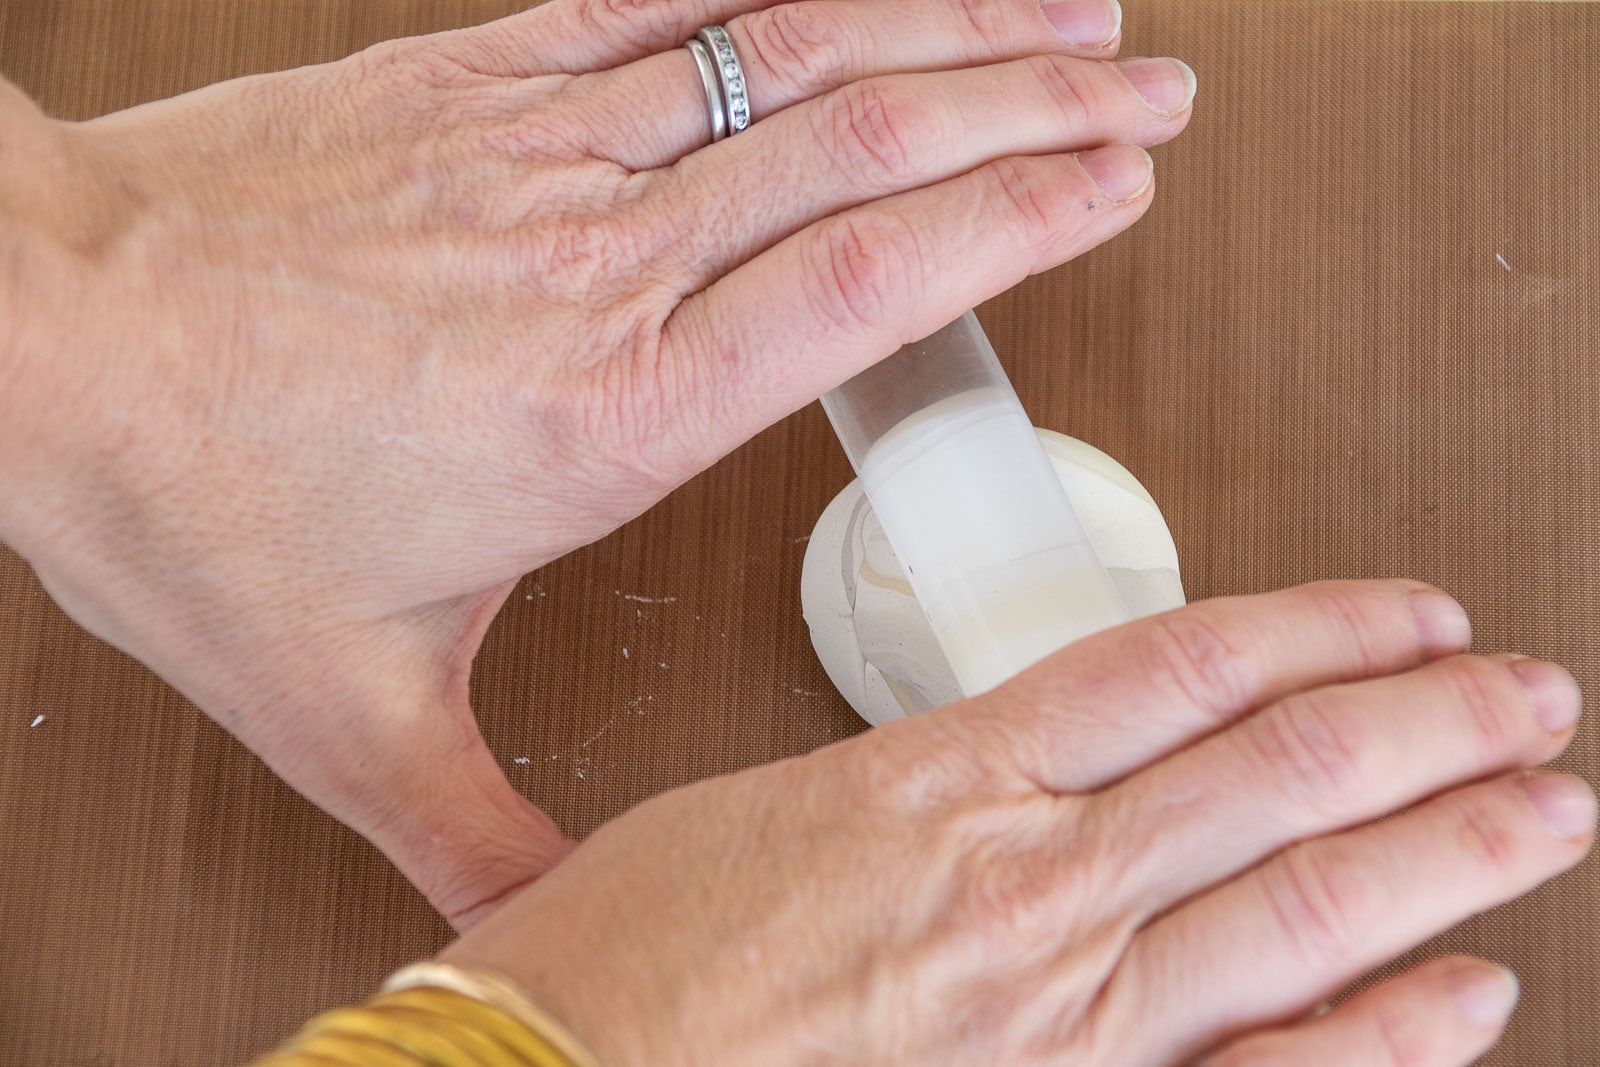
Step 2. Roll Out the Clay
Place the ball of clay onto your work surface and roll it until it’s a couple of millimeters thick. Tip: I rolled my clay out onto an oven proof mat so I wouldn’t have to transfer the clay.
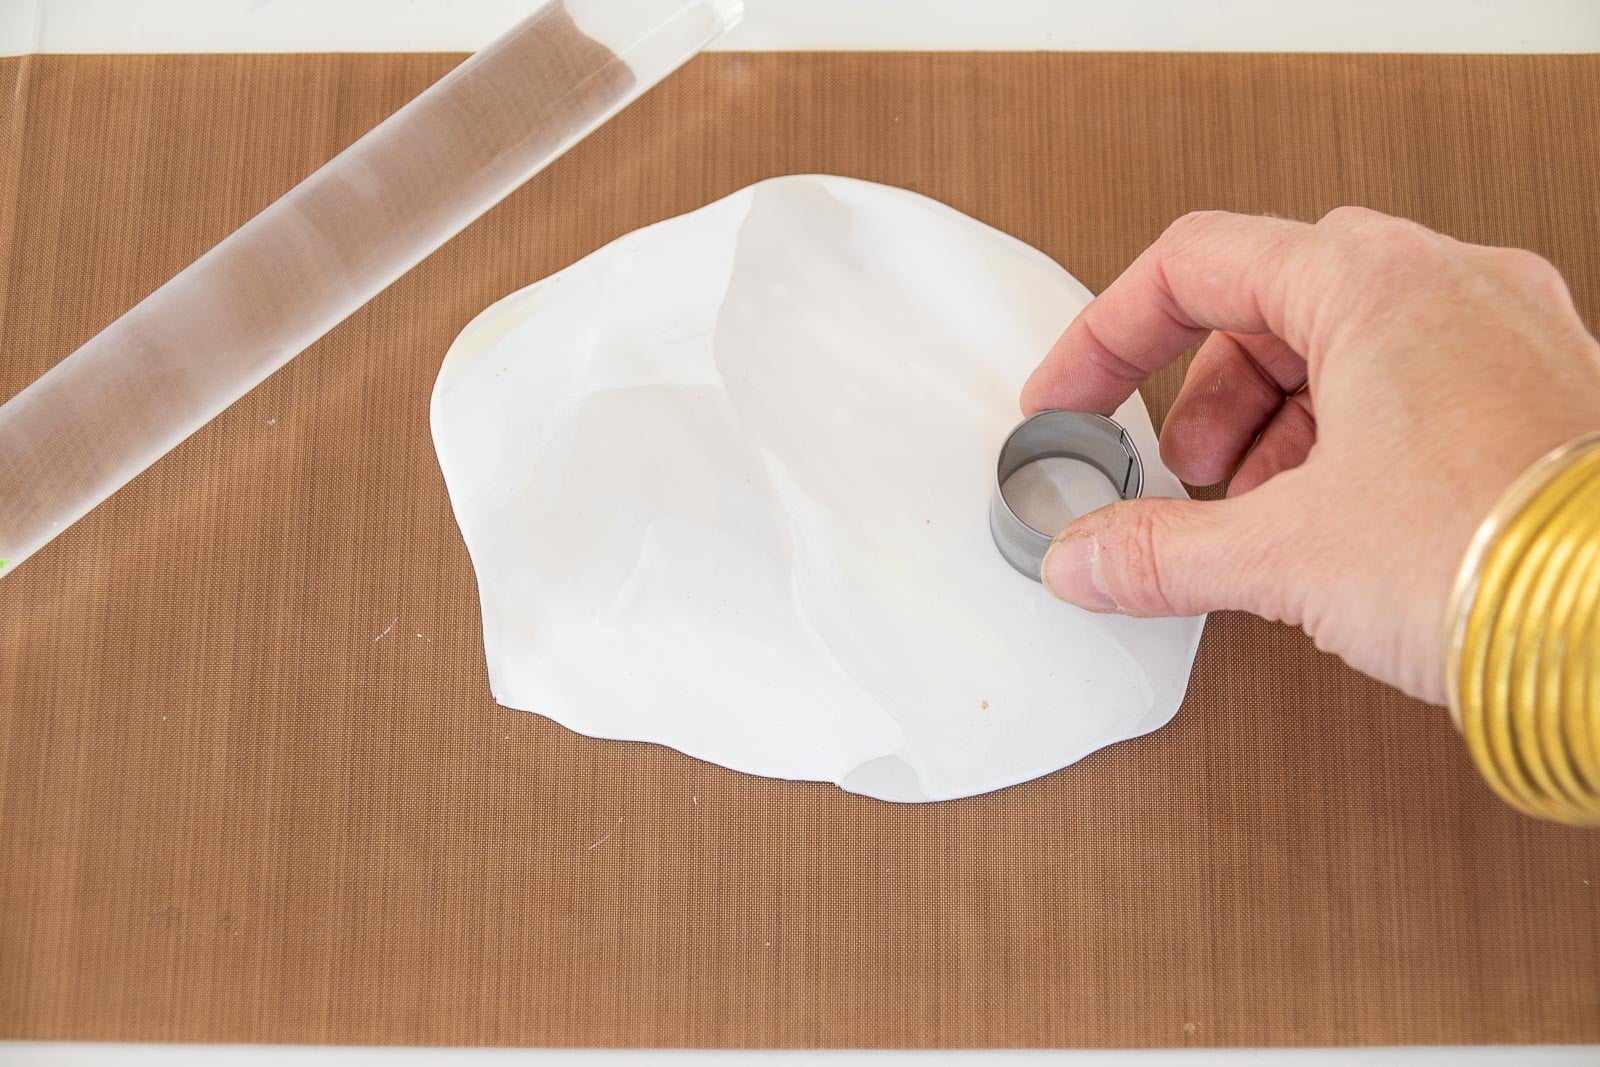
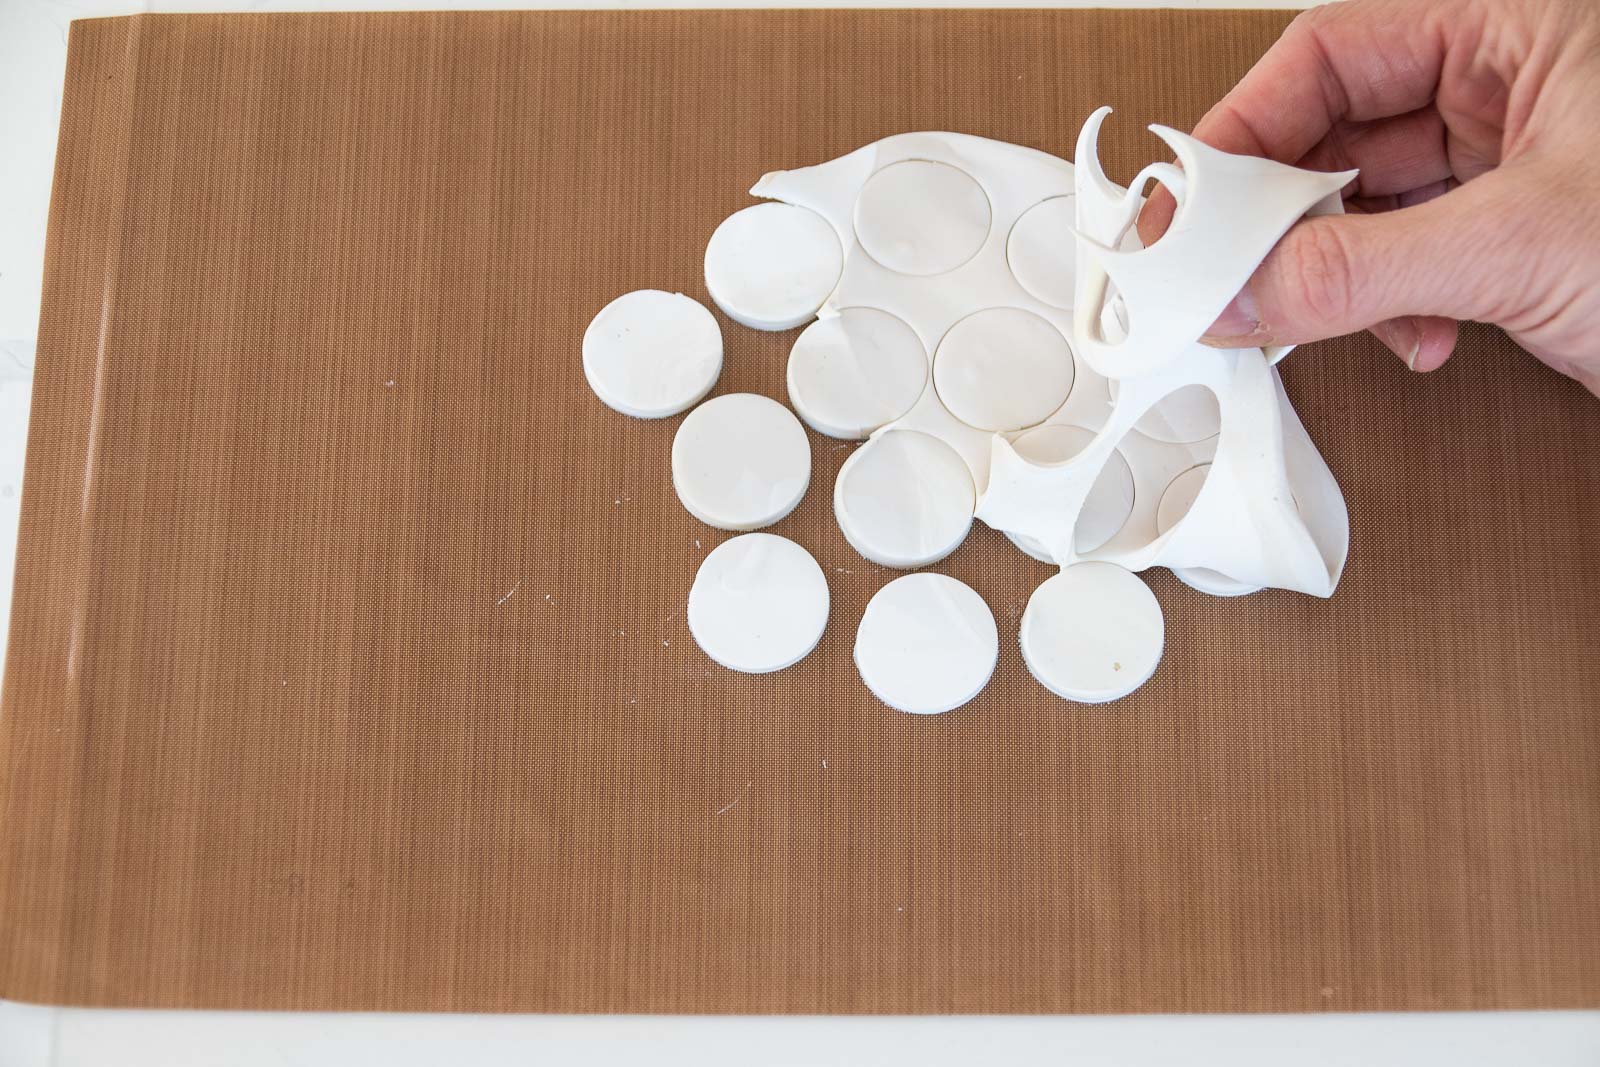
Step 3. Cut the Clay into Circles
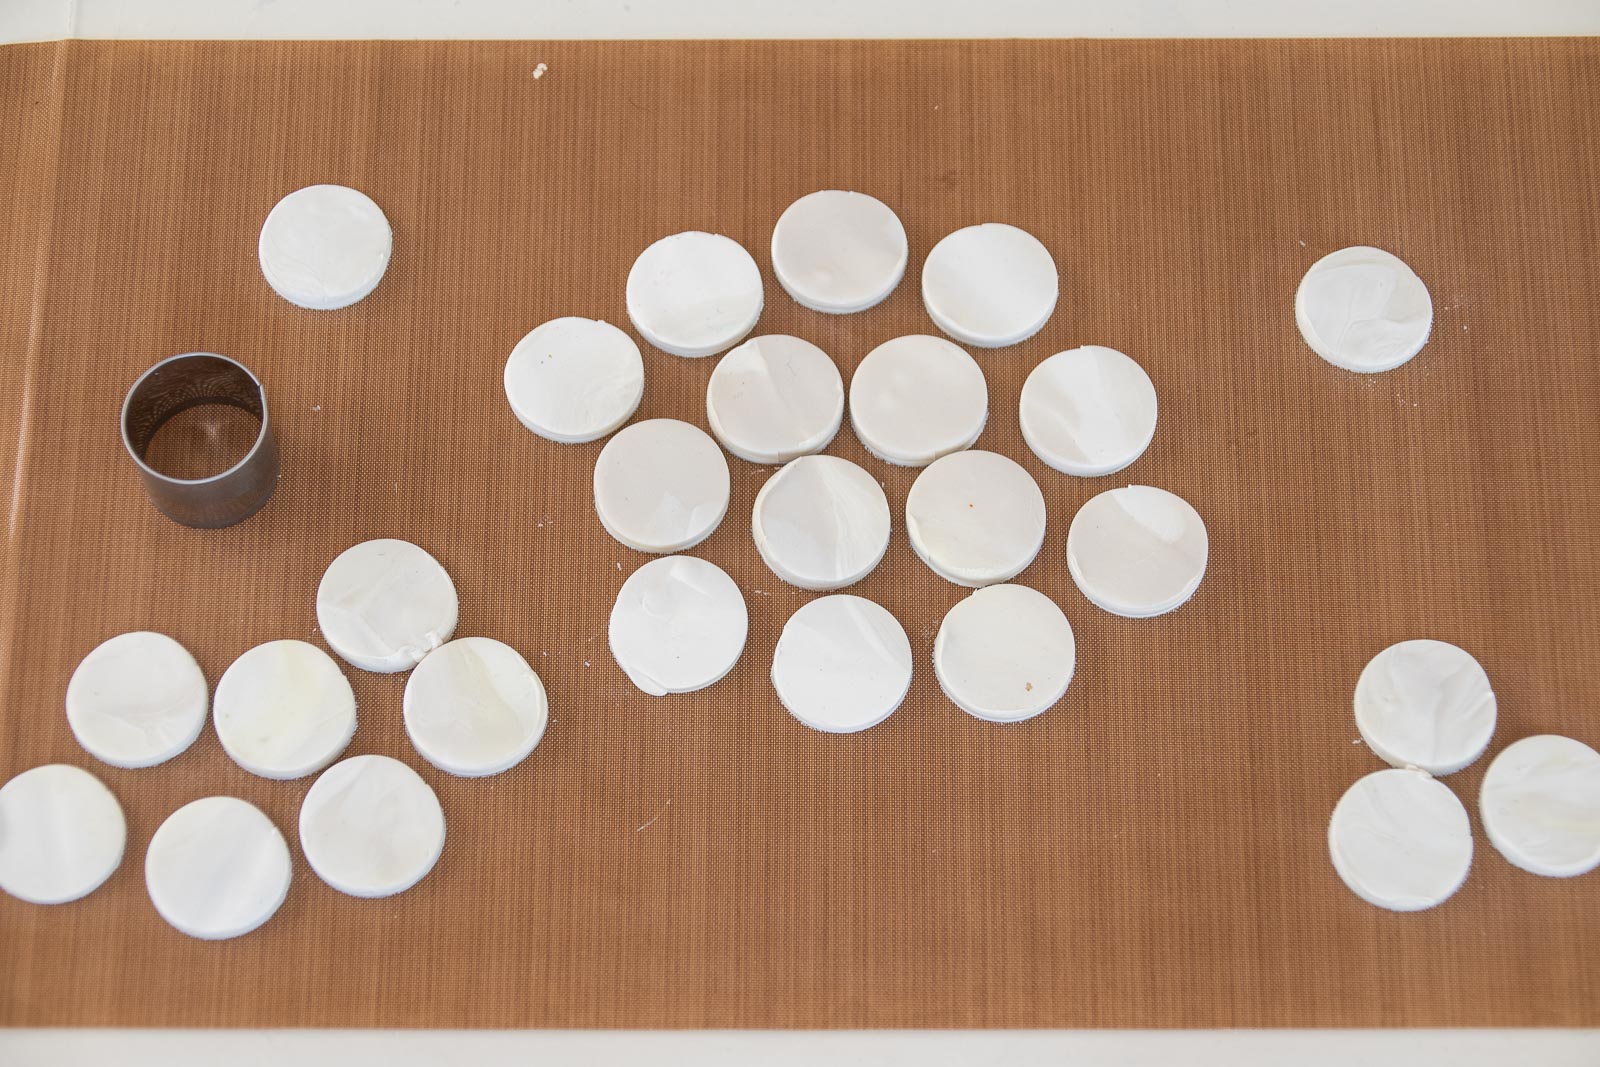
I bought this set of circle cutters and am using the 1-inch cutter to make as many circles as possible out of the rolled out clay. I removed the excess clay, rolled it out again and made more circles.
Step 4. Bake the Clay
Follow the directions on the package, but for my clay I needed to bake it for 10-15 minutes at 275-degrees.
Step 5. Repeat!
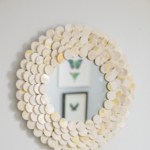
This will depend on how much area you need to cover, but you’ll need to make quite a few circles. My mirror is about 12-inches wide and I used 6 blocks of clay.
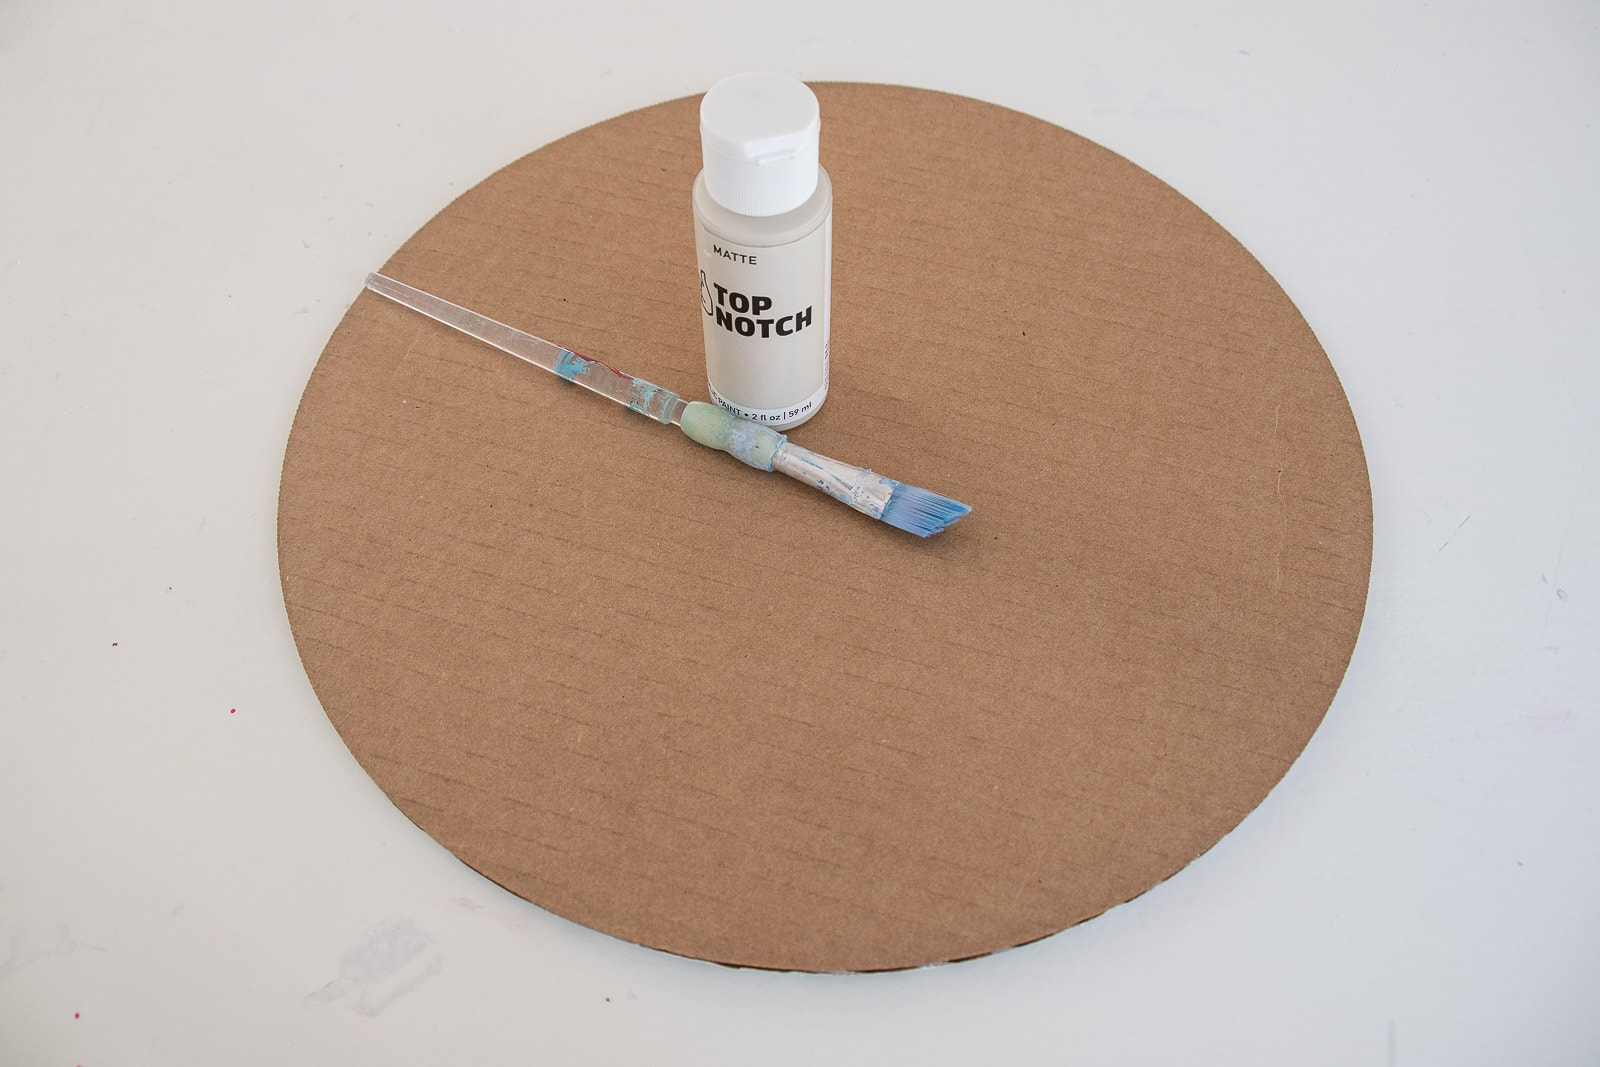
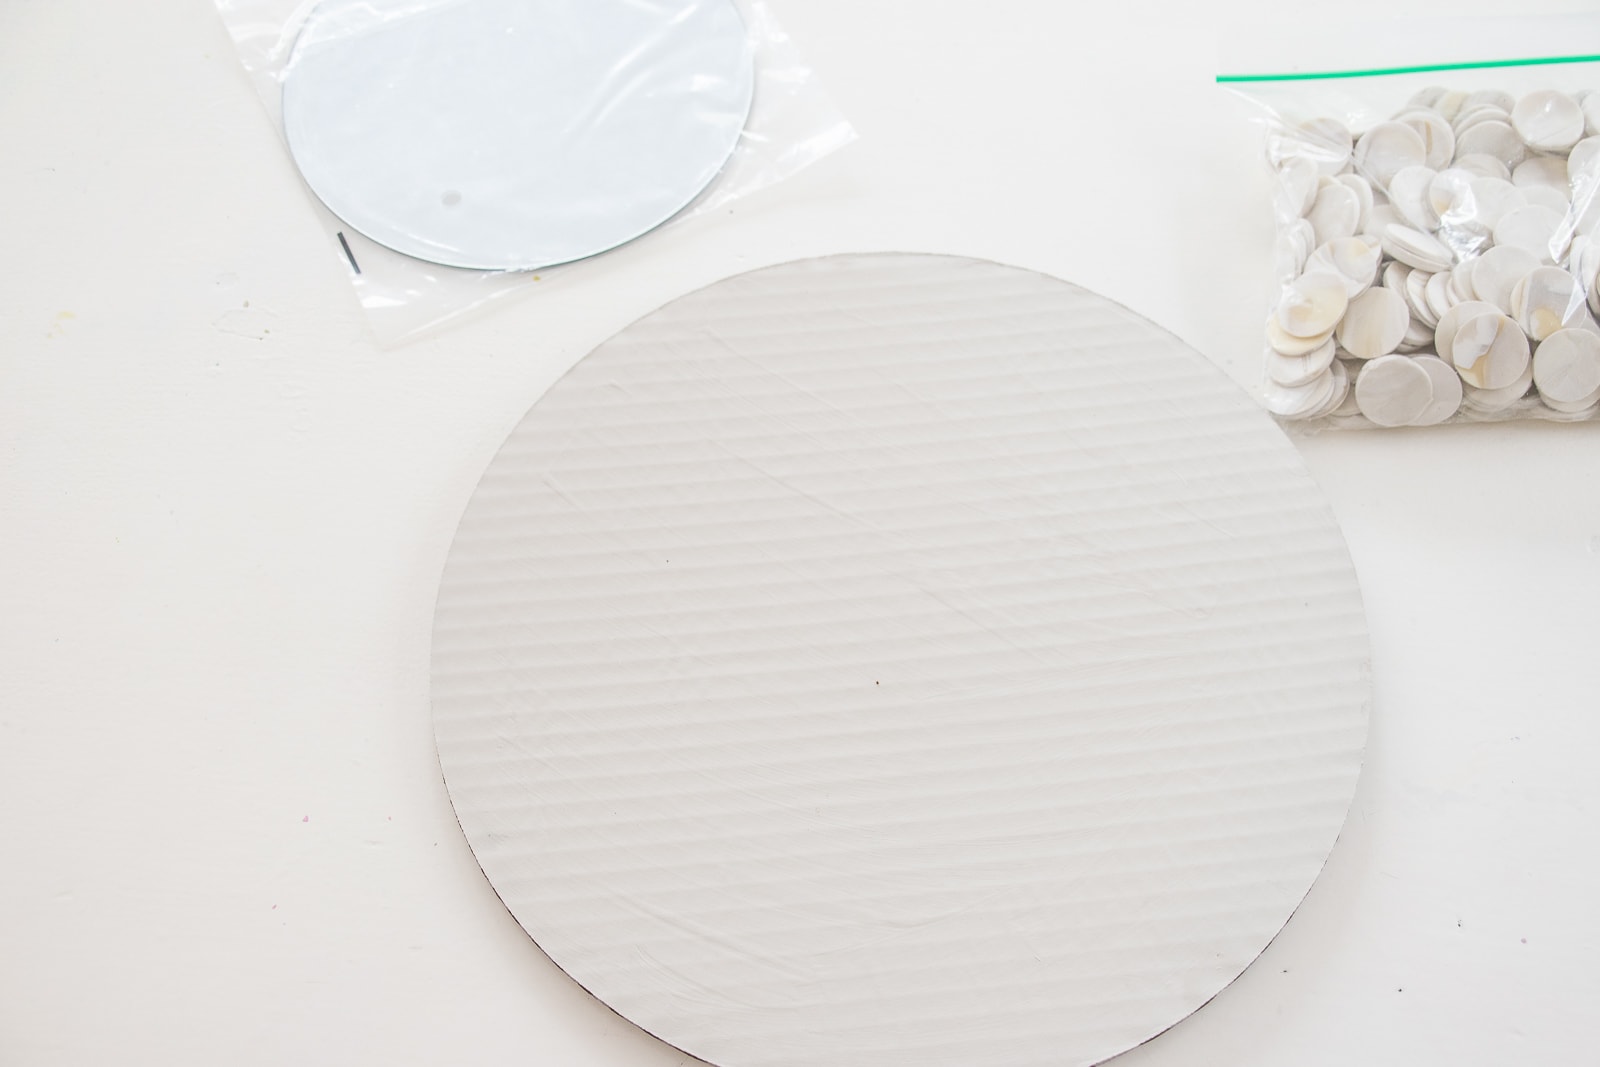
Step 6. Prep the Mirror Base
My mirror is a cardboard cake round! I needed something round and light weight… lots of ways to make this, but why not buy it when you see the perfect foundation?! There will certainly be a handful of areas where you might see the cardboard through the clay circles, so paint it the same color as the clay if you can. I used regular ol’ craft paint.
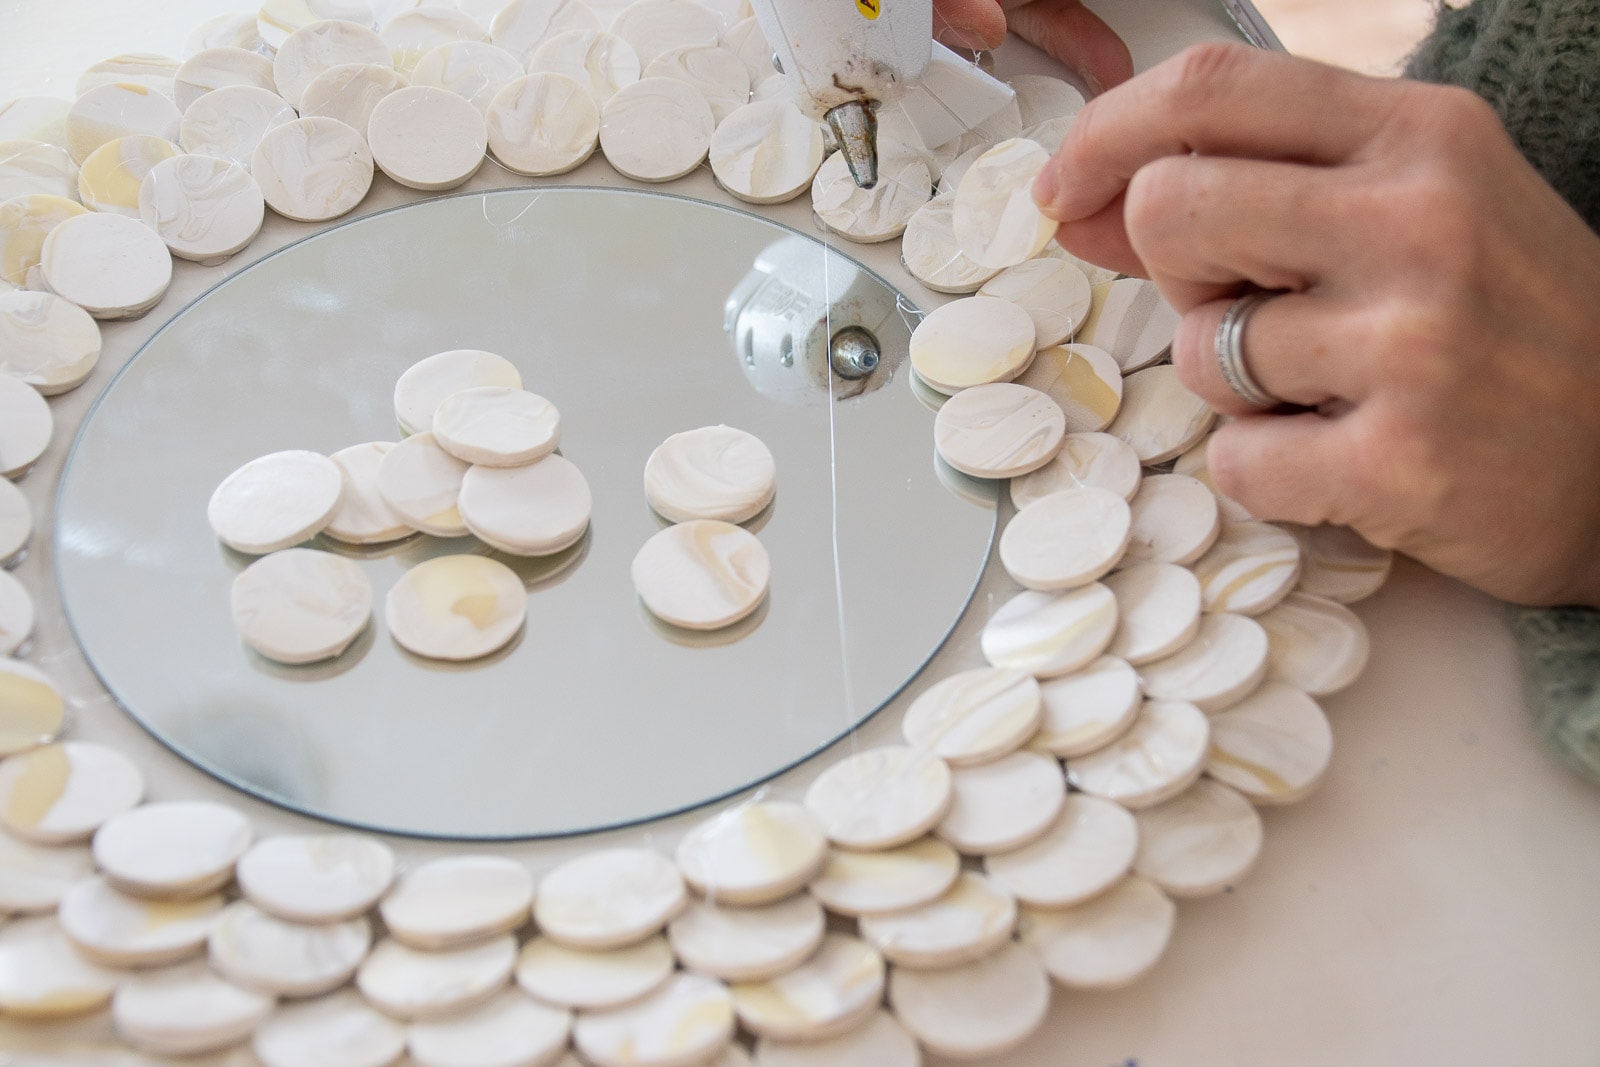
Step 7. Glue the circles in place.
Starting at the outside of your cardboard base, glue the first row of circles in place. Make sure they are hanging over the edge about 50% so that no cardboard is visible directly between each circle. If the circles don’t line up perfectly at the end of a full row, overlap accordingly.
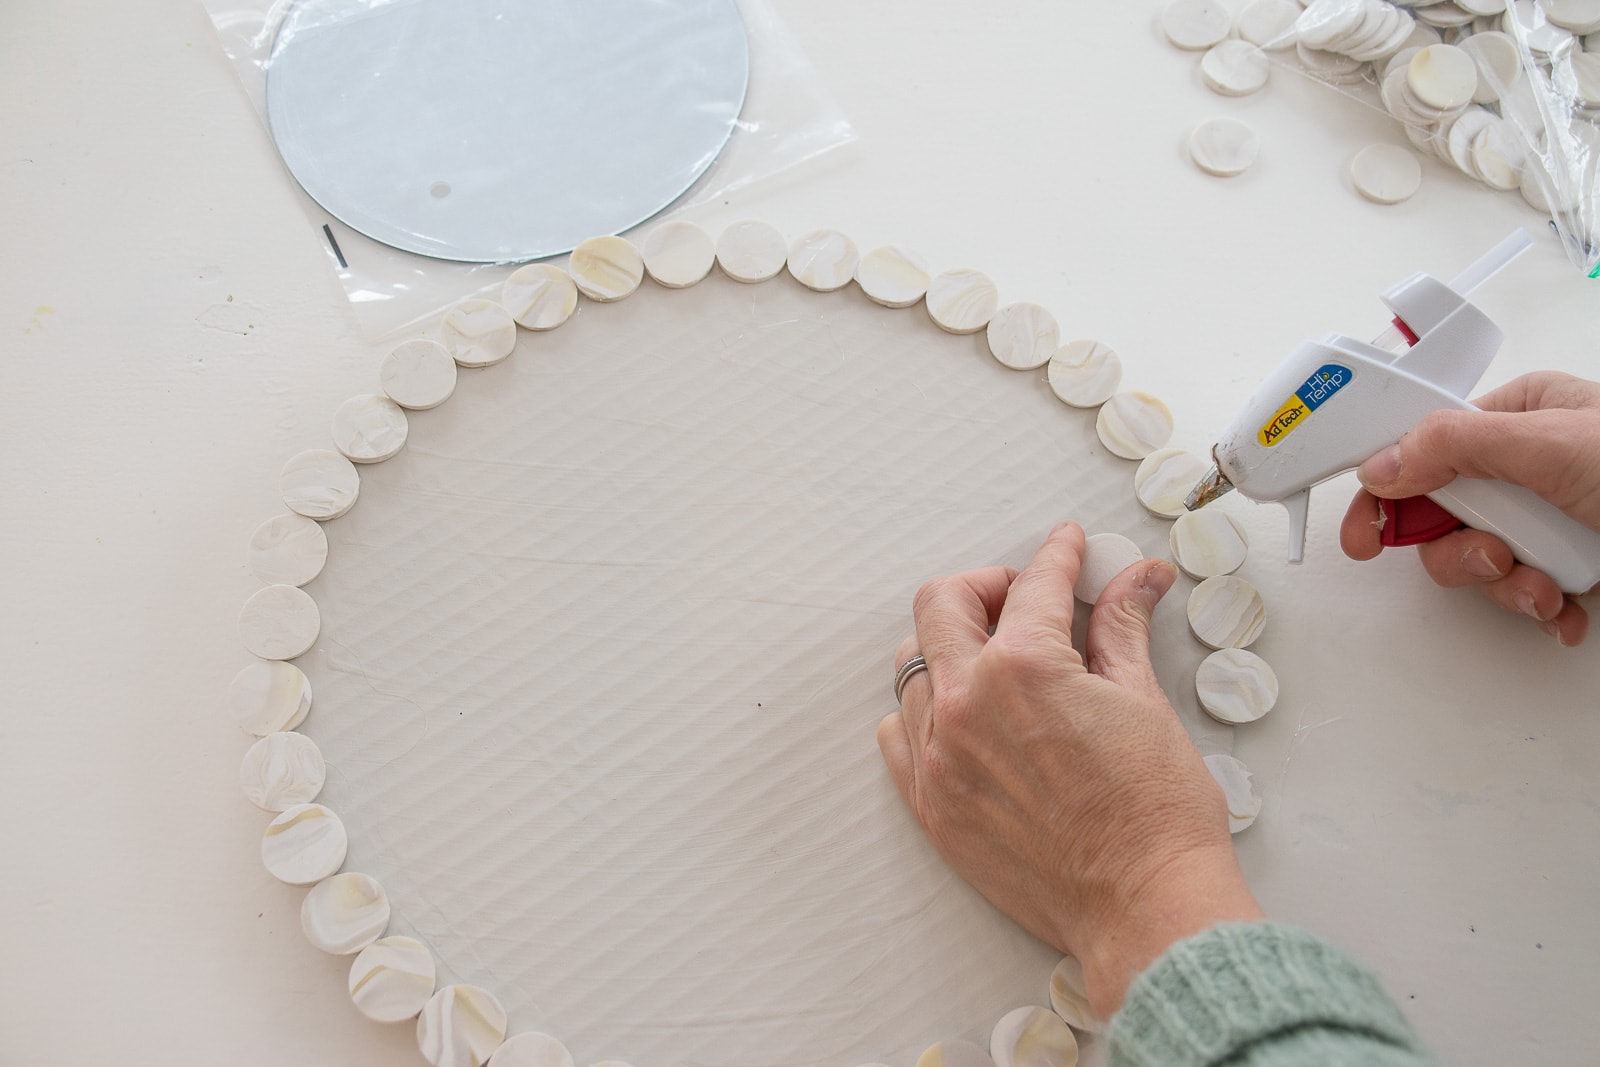
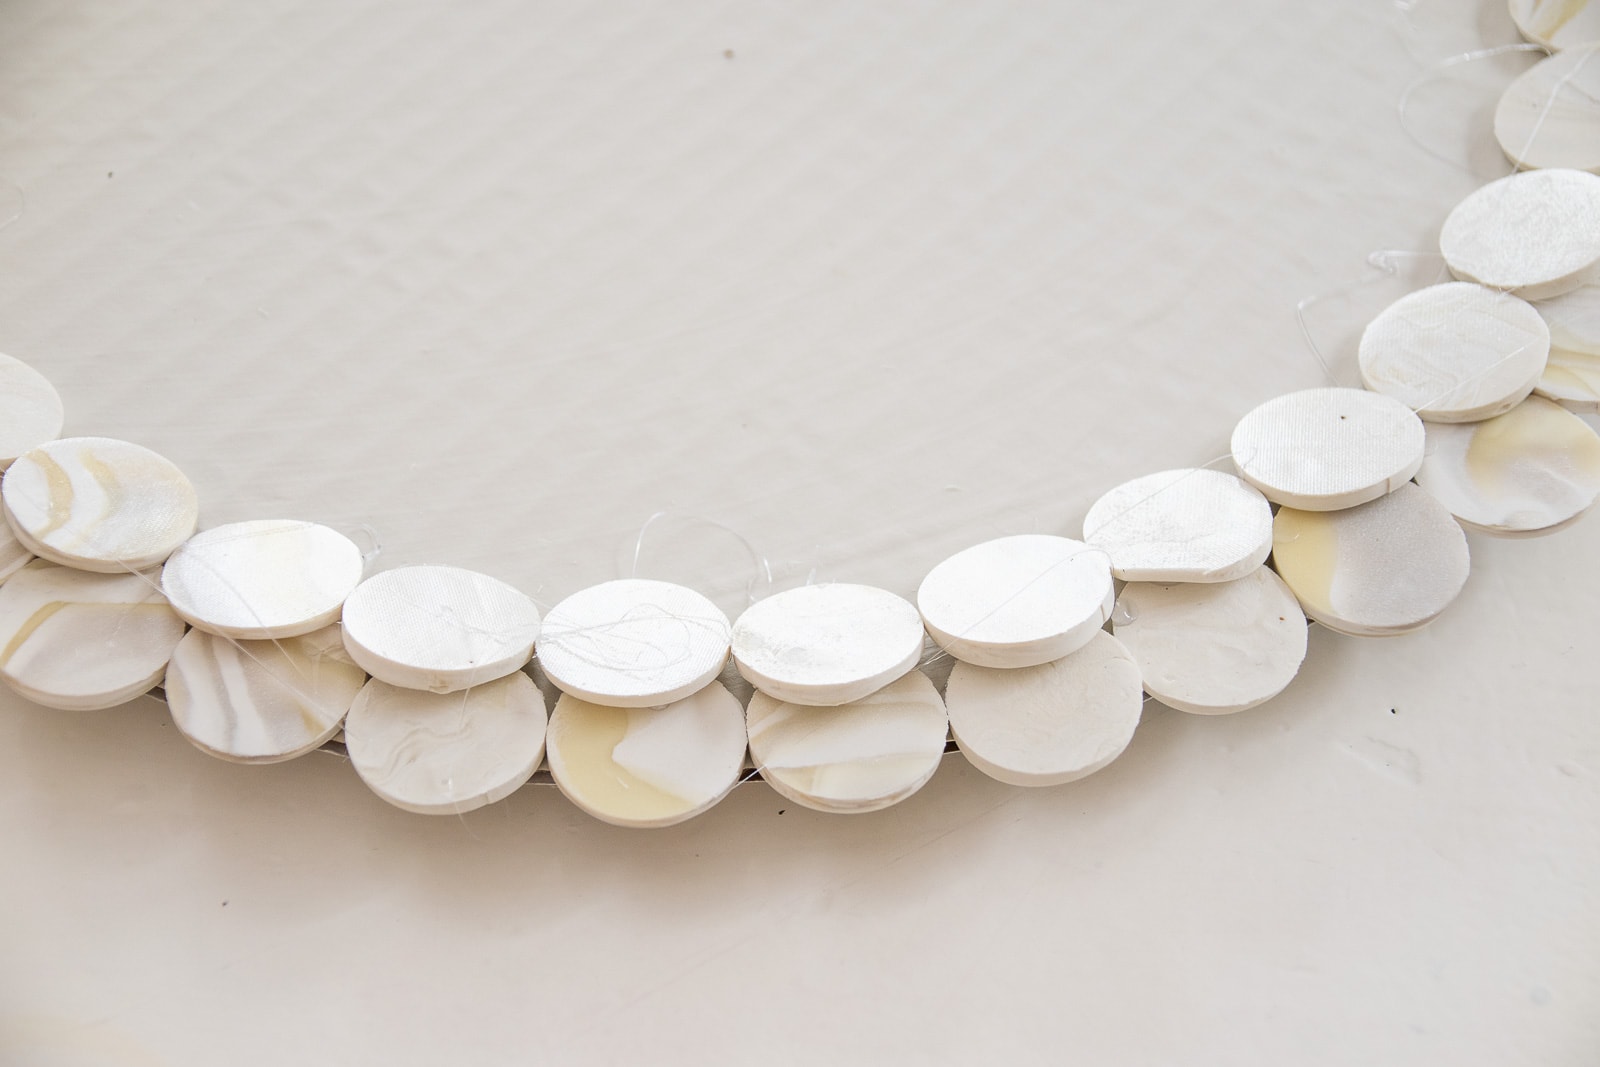
For the second row, overlap the circles on the first row as much as needed to cover the exposed cardboard (about 1/2). The clay circle will be at a bit of an angle so you may need to add a dot of hot glue to the cardboard as well as the clay circles already glued in place. Continue until you’ve completely finished the second row. Repeat each row until you’e worked your way into the middle and reach the mirror.
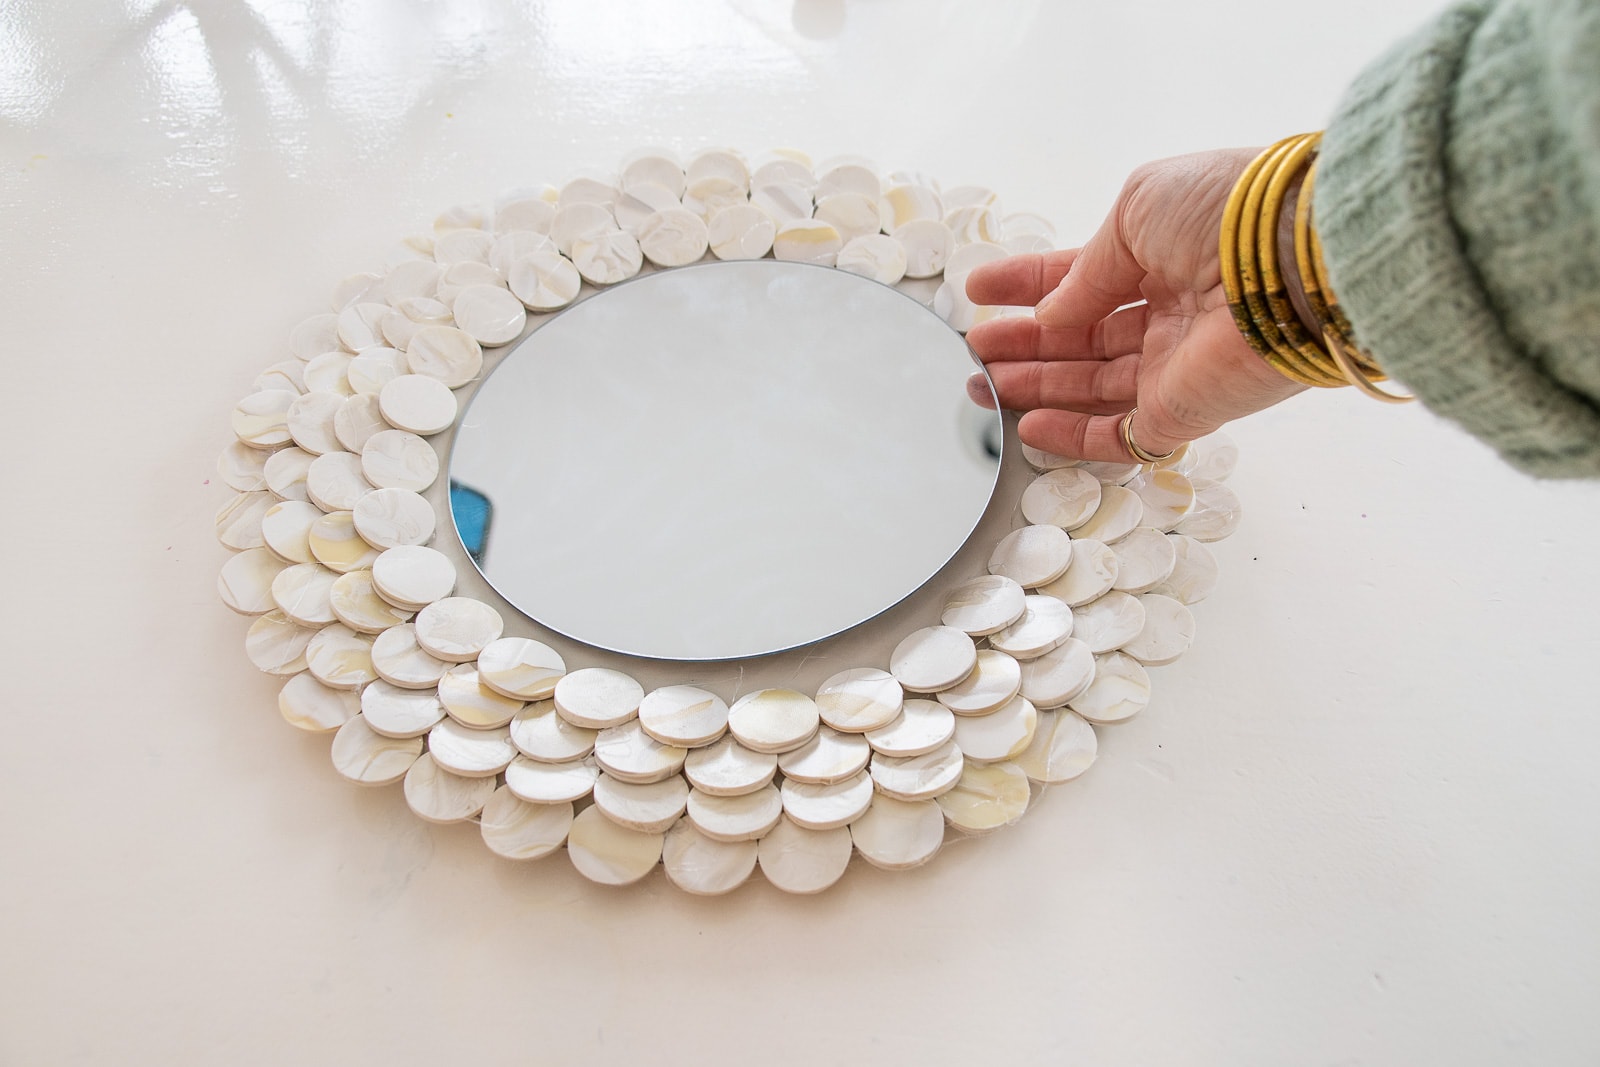
Adhere your mirror to the center of the cardboard with the hot glue gun. The last row of circles should slightly overlap the mirror so that you cover up the edge.
Step 8. Clean up glue threads
Whenever you’re doing a hot glue project like this, there will be lots of whispy threads of hot glue. Using a hot hair dryer or a heat gun, blow across these threads and they should melt away… poof, like magic.
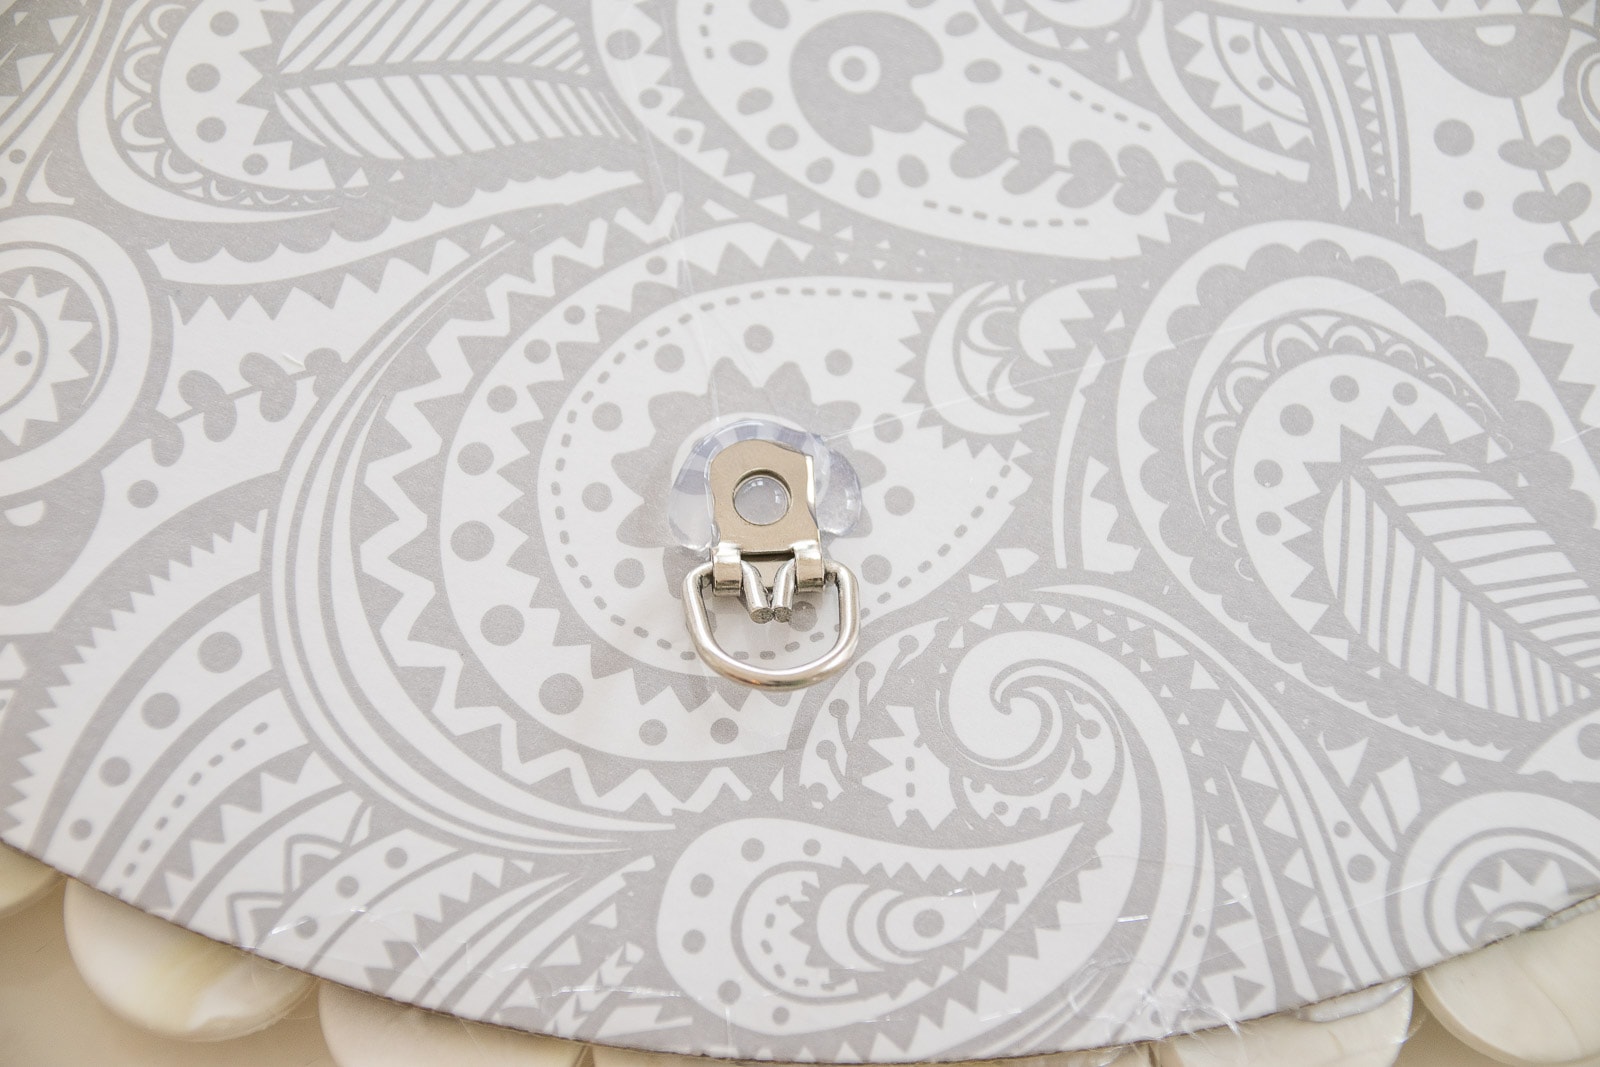
Step 9. Hanging the mirror
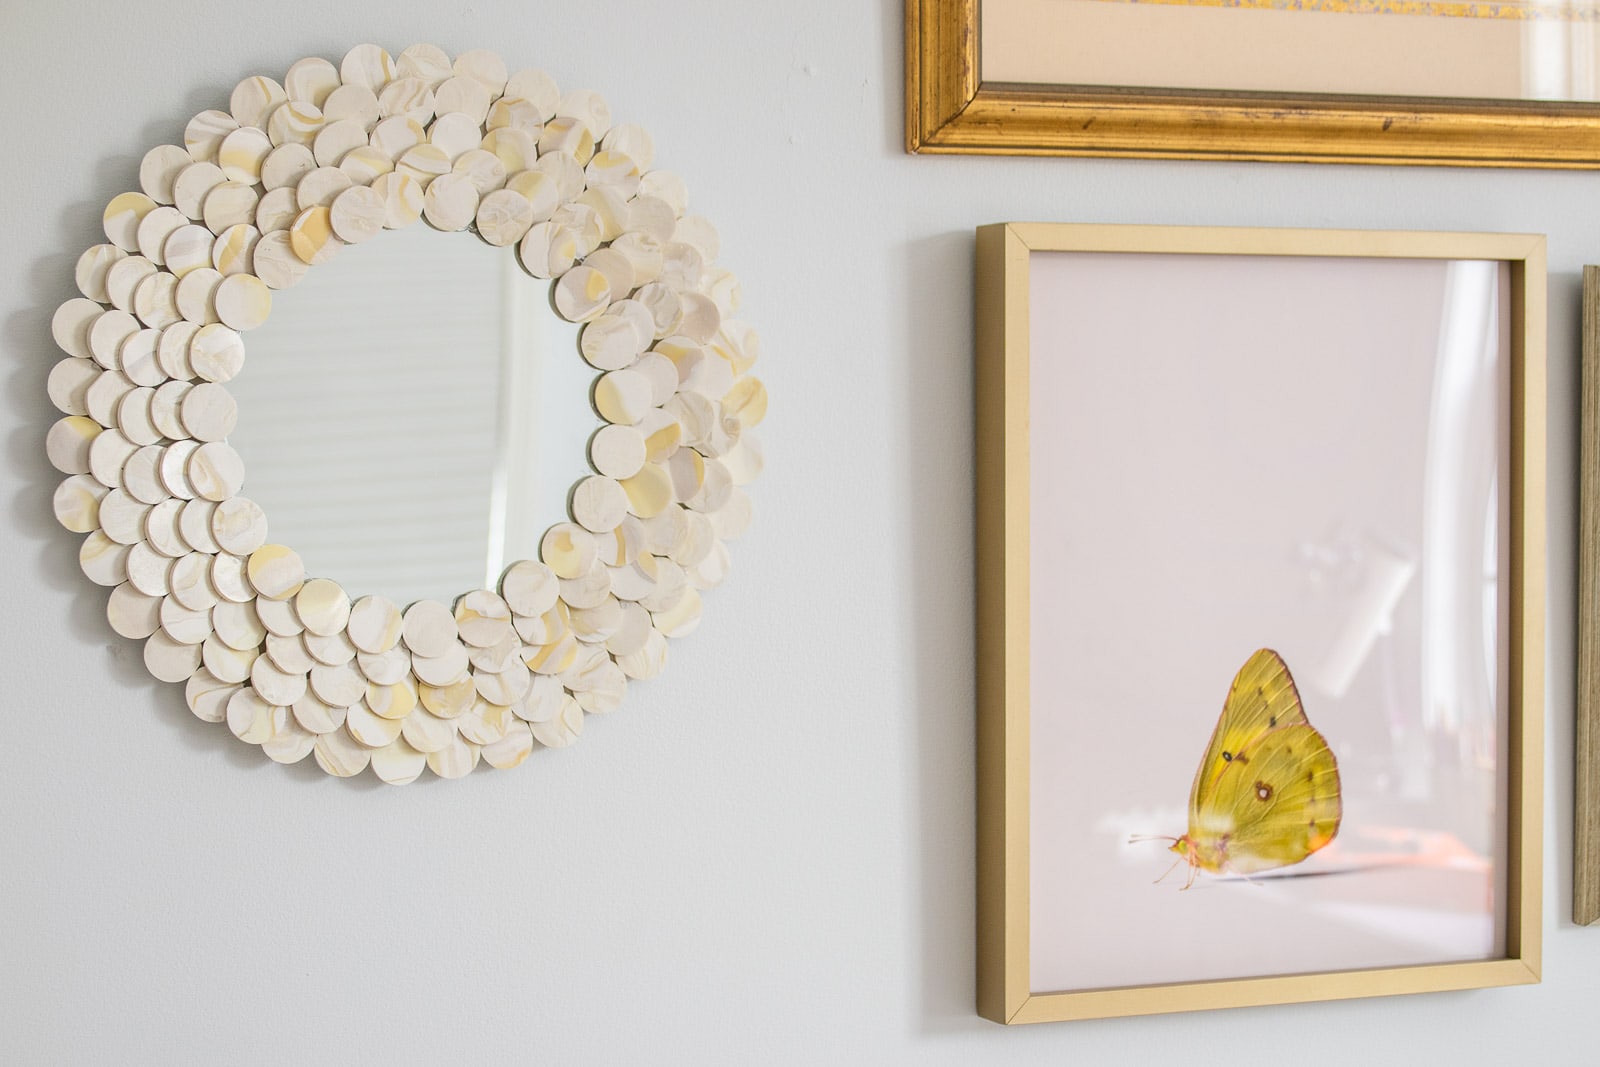
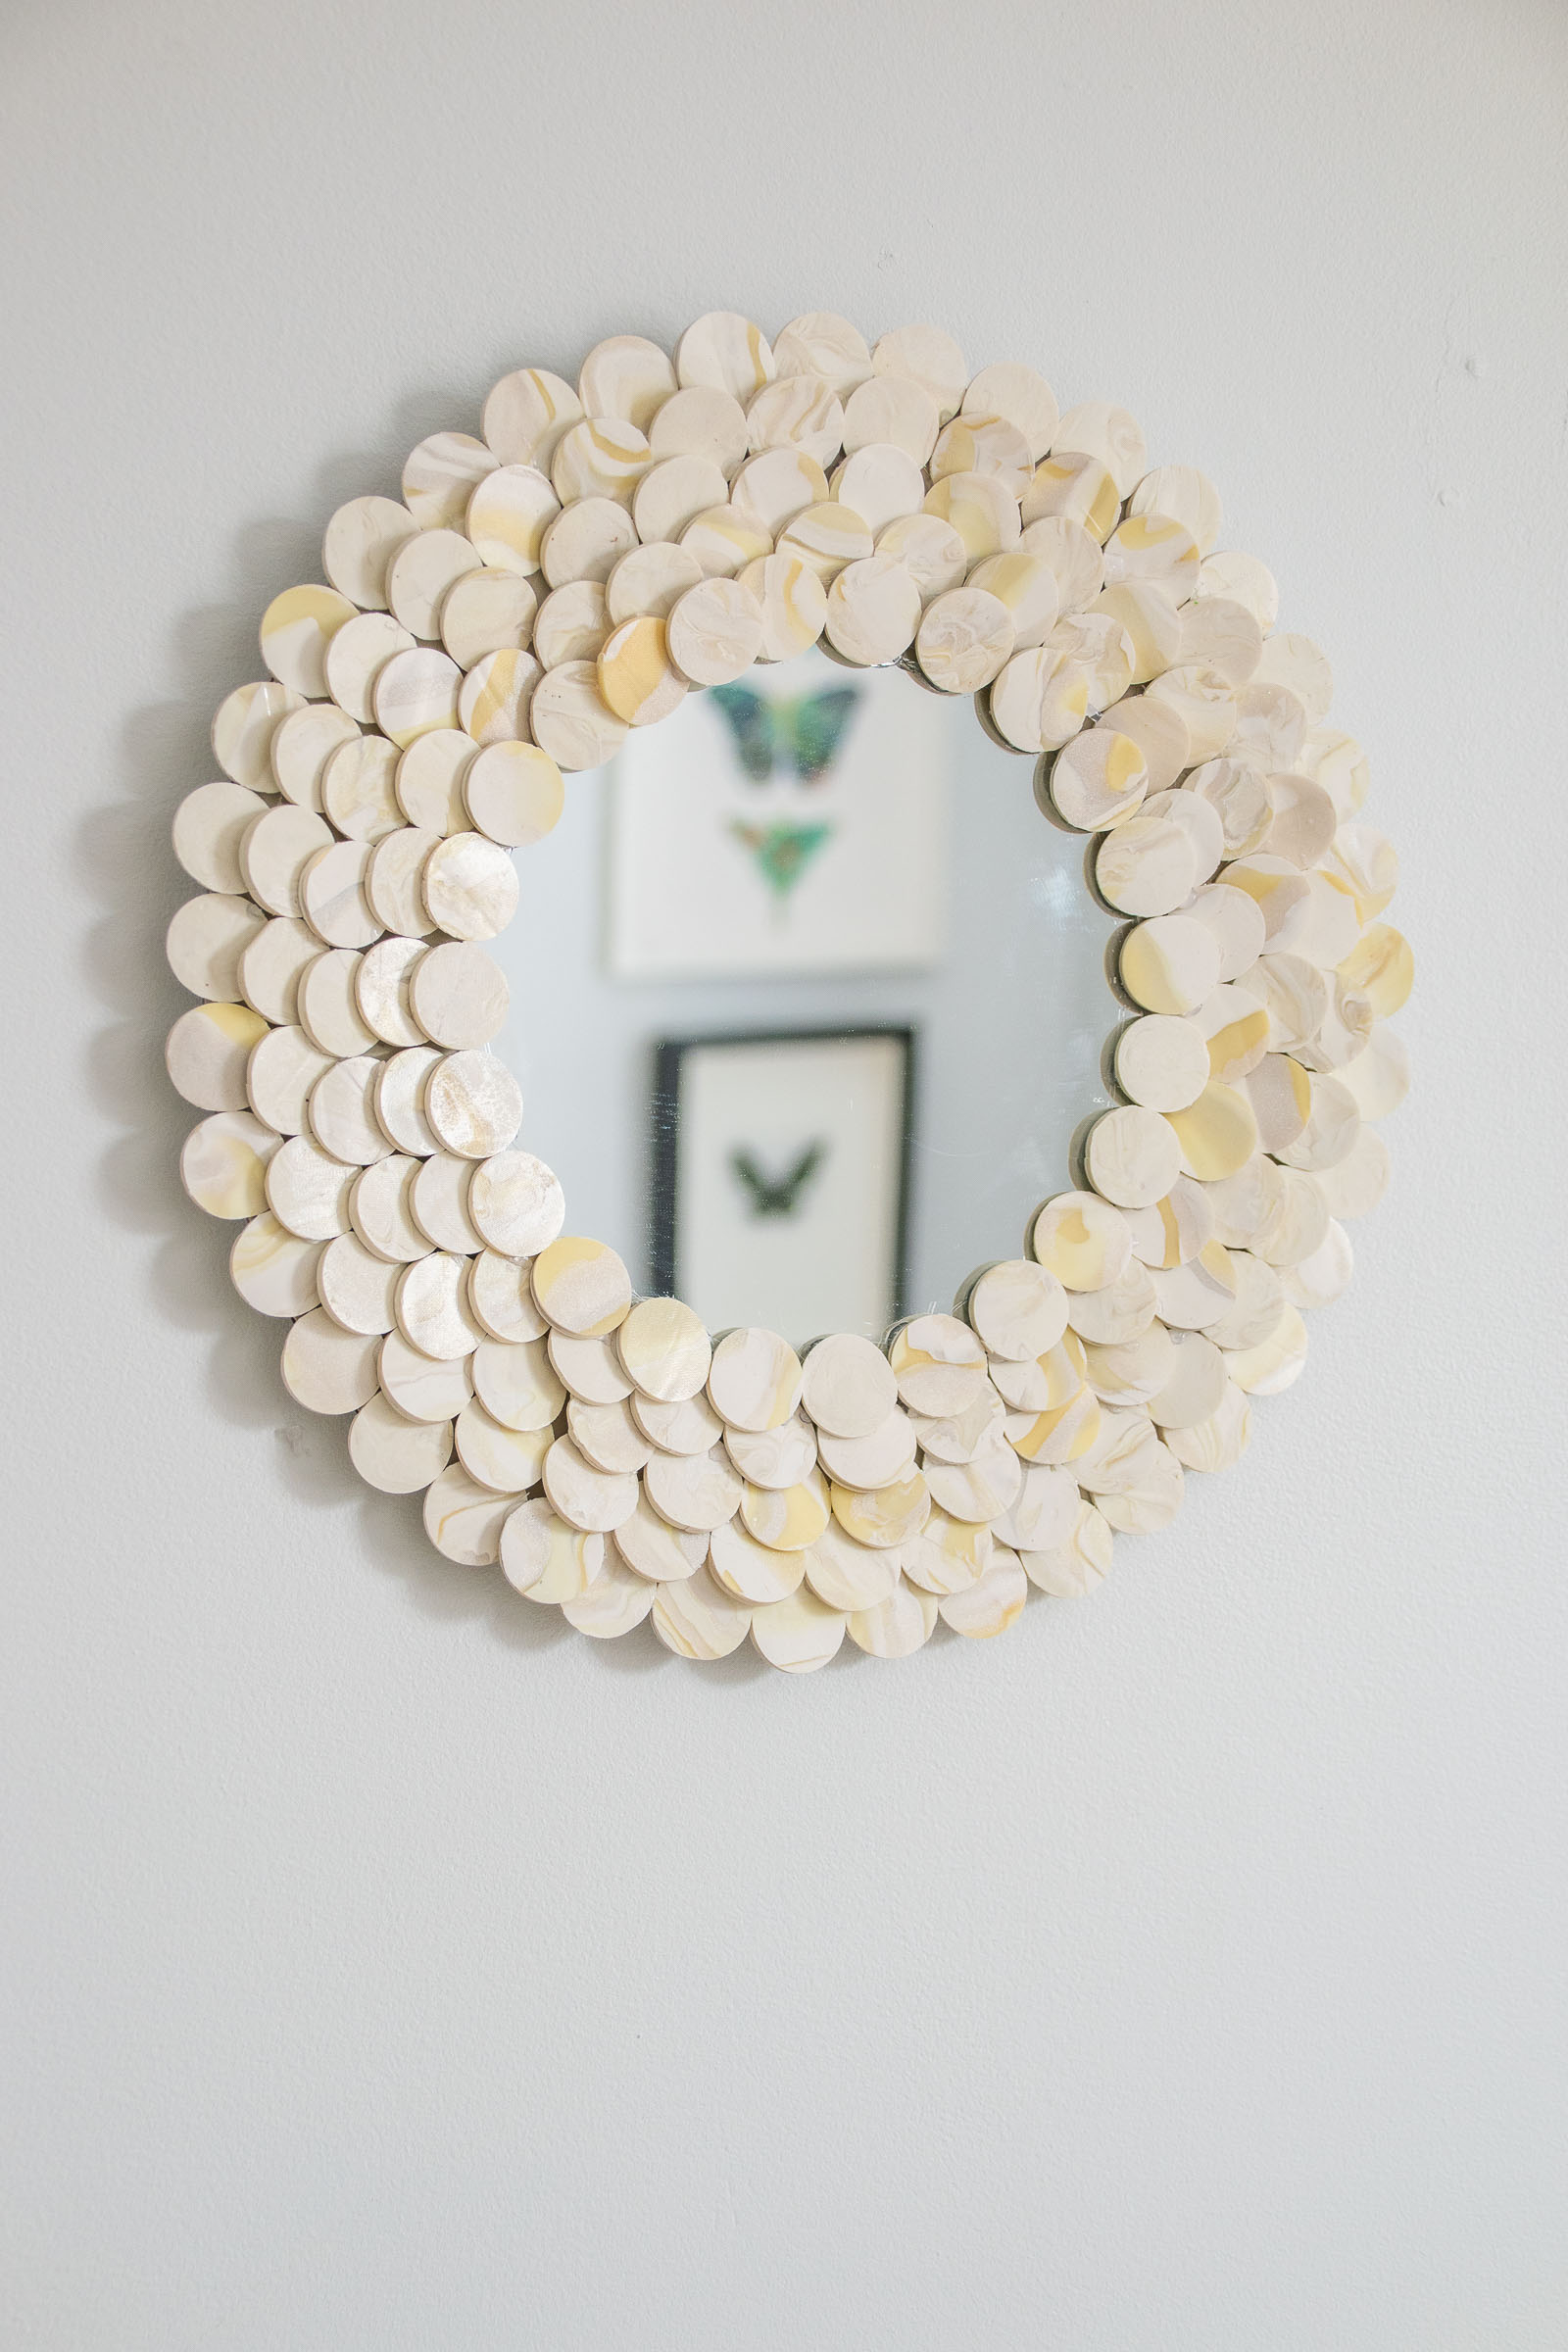
This is a pretty light mirror, so I used my hot glue gun to adhere a D ring to the back so I only needed a small picture hanging hook to hang it in Eleanor’s room. Her old mirror is hanging in our family room so she needed a little something to use in the morning and this is perfect!
We’ve already filled in around it on her growing gallery wall, but I made sure to hang it low enough so she can use it! This would be sweet in a powder room or just as wall decor somewhere around your house! Doesn’t it look just like actual capiz shells?

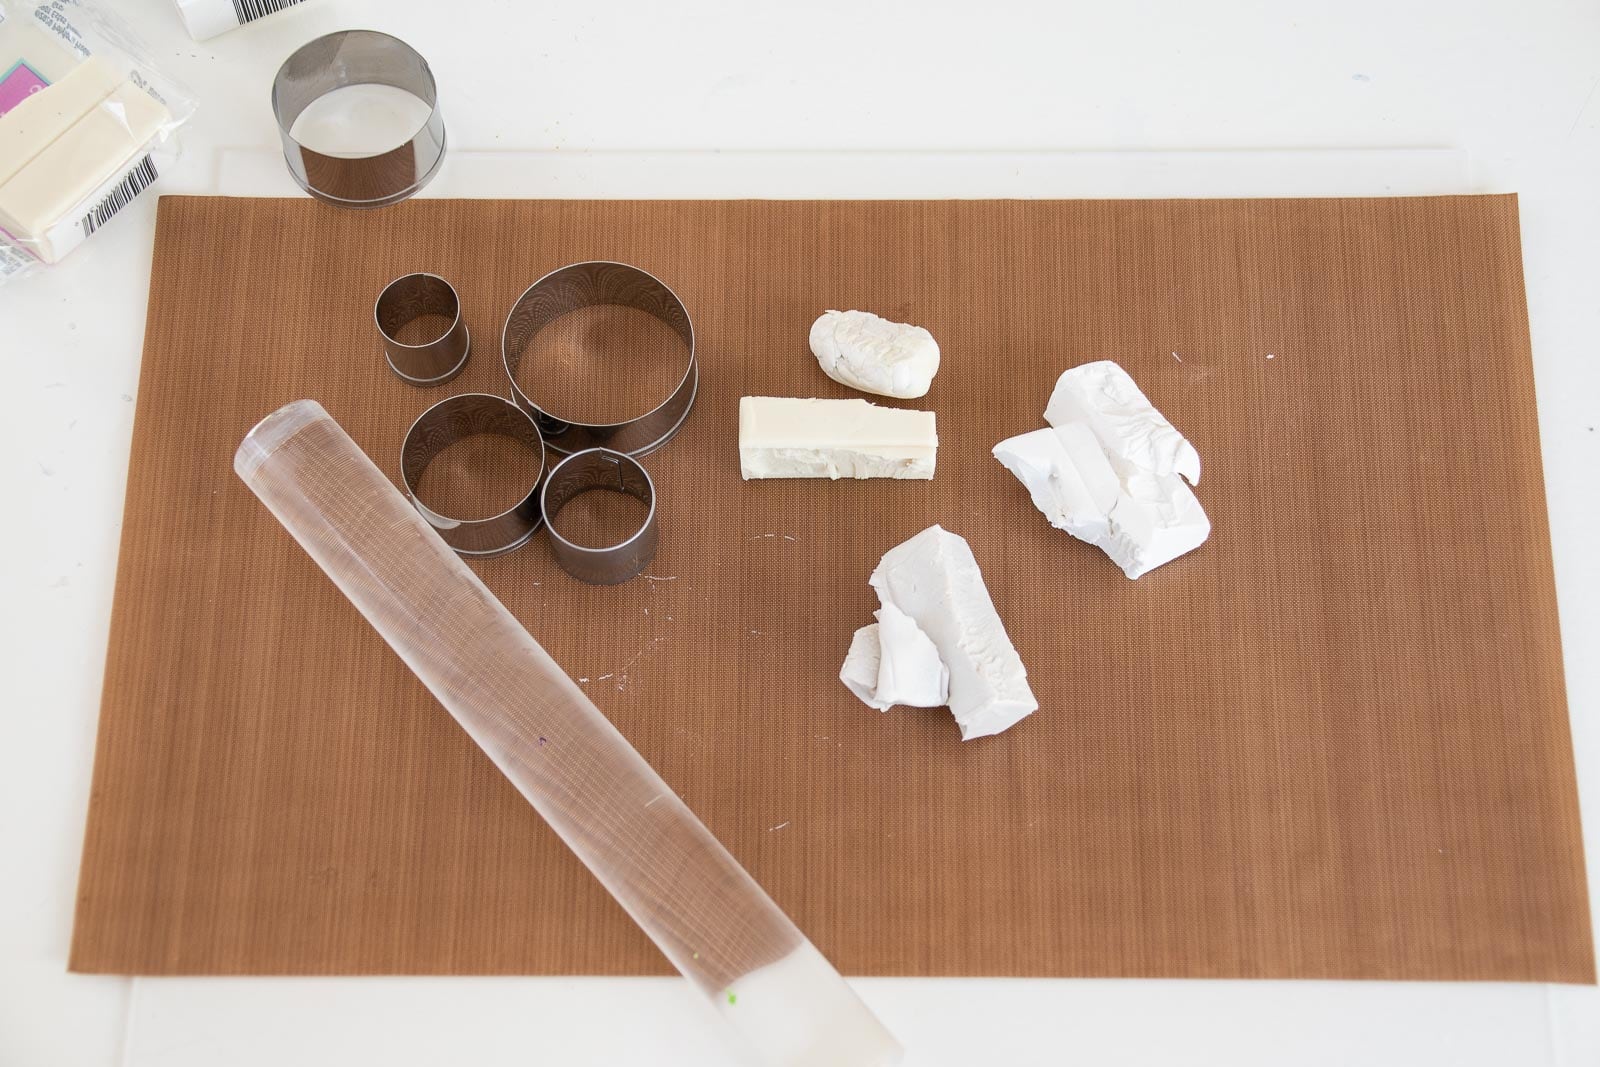
Materials:
- Oven Bake (Polymer) Clay in assorted whites/ pearl/ ivory… probably easier to grab these in store also!
- Heat proof mat is really helpful
- Round cutters
- Roller. I used this acrylic one intended for oven bake clay
- Hot glue gun
- Cardboard (mine are cake stands like this but I found a 4 pack at the craft store for a bit less)
- Mirror
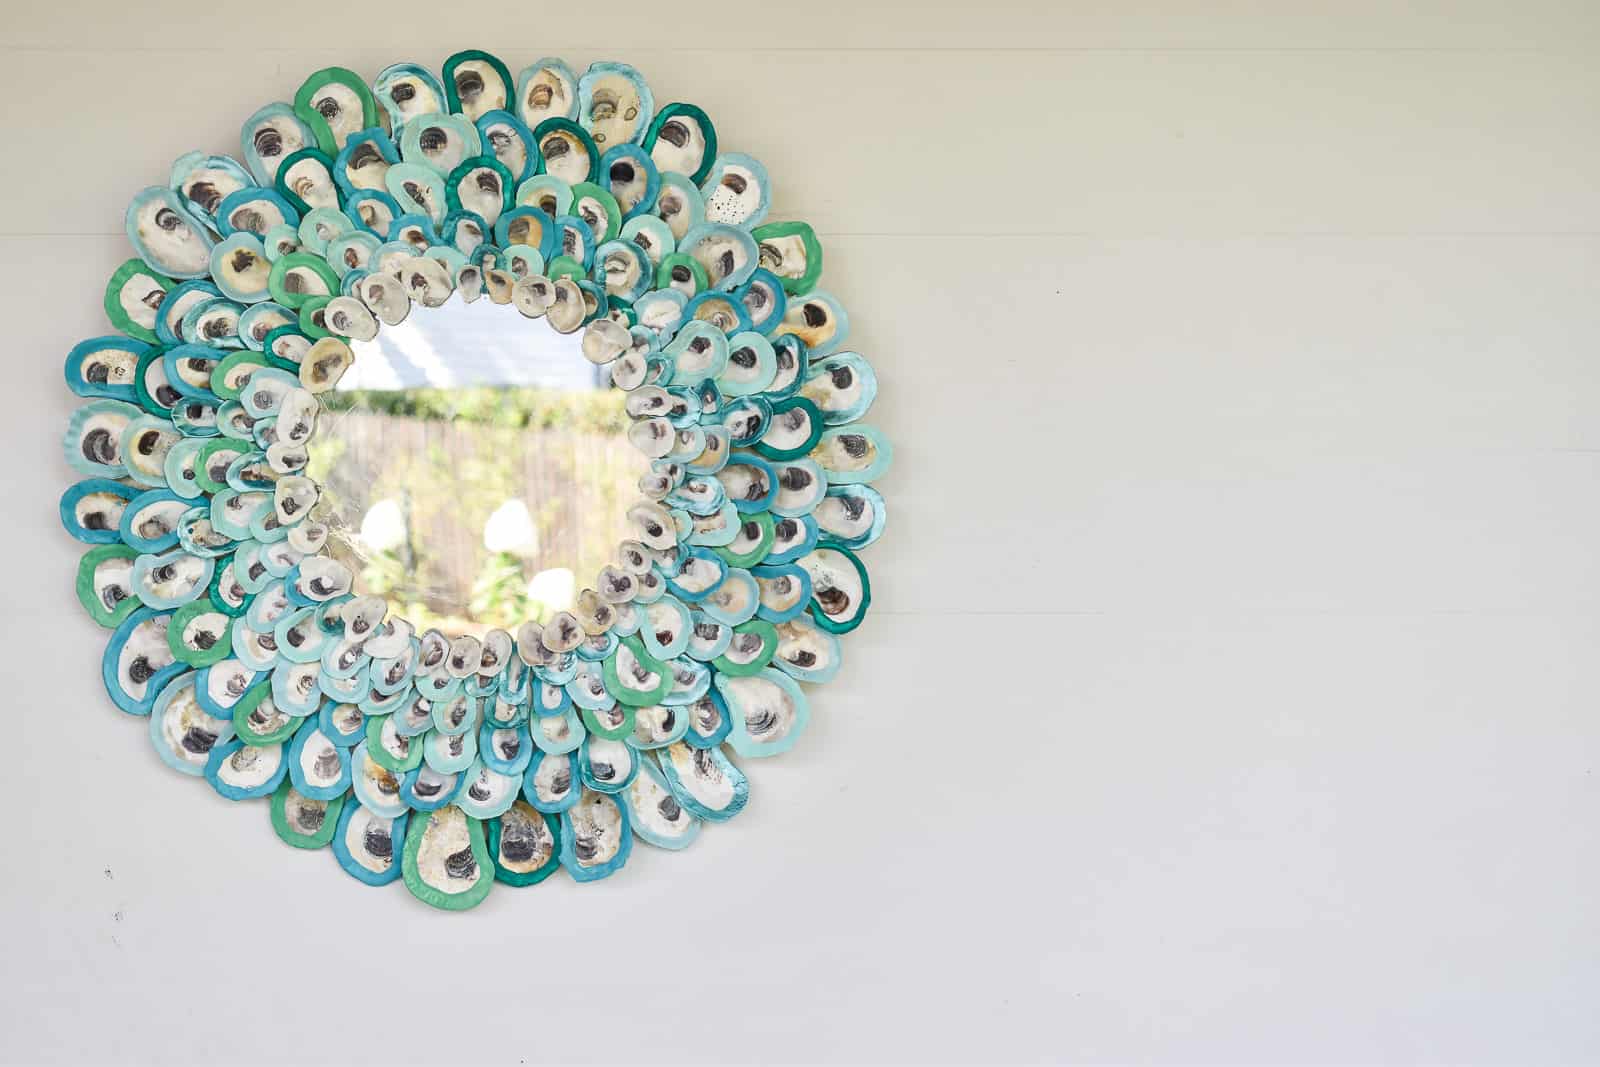
If you like this, you might also like the colorful oyster shell mirror I made. Same process… slightly different spin!


This mirror is so beautiful!! I’ve tRied using clay like this one orher timE to make a fingerprint necklacE. The clay was so hard to work with, even after adding a little water to It. This brand looks like it works really well. I’ve been wanting to paint a mandala on my wall with a mirror in the center of it. Your Beautiful blue mural inspired me!💕
Oh that sounds lovely! I’ve had OK luck with this bran polymer clay but it does harden after a while! Good luck with your mandala!
Wow, looks beautiful!
Thank you, Alia!! I appreciate you stopping by to read!
Love it! This has me wondering, if you rolled it out even thinner, could you make a caPiz shell light fixture??
I don’t see why not?! I don’t know that it would ever have that opaque translucence of real capiz, but it could look amazing!
Amazing! i love it, and now i have to Try it! 😂
Haha! GO for it!! 🙂