Basement Playroom Turned Game Room
Psssst… this post *might* contain affiliate links: see my disclosure here.
Basement Makeover: Arcade Games and Snack/ Beverage Station
I turned our cluttered basement playroom into a fun and organized basement Game Room!
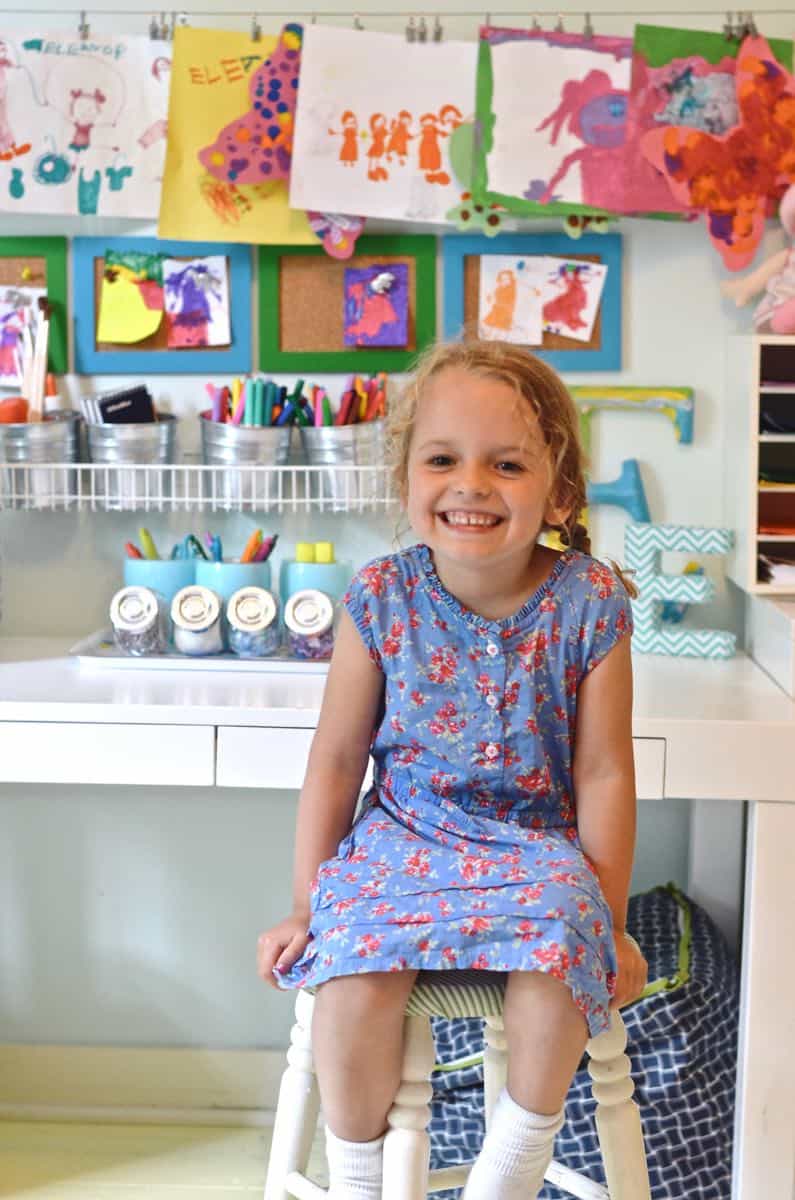
Story time: The first house we ever bought was an older home without a finished basement. We had three kids, ages 3-1 and we needed some sort of a playroom so we set up our third floor as a play area. Granted the kids were young enough that they never really wanted to be up there alone so I spend just about every afternoon between 4 and 6 sitting up there in that space. Our move to the suburbs also meant a new relationship with Craigslist (no Facebook marketplace yet!) so I managed to find a full sized plastic slide along with a small single person trampoline (they must ave another name, but I can’t think of it) and our kids would go to TOWN up there. At some point I added this sweet art center for Eleanor and I still smile just thinking of her big grin! Cut to three houses later and we finally have our first finished basement and this is the story of that makeover!
Shop my favorites!
How Our Basement Looked BEFORE
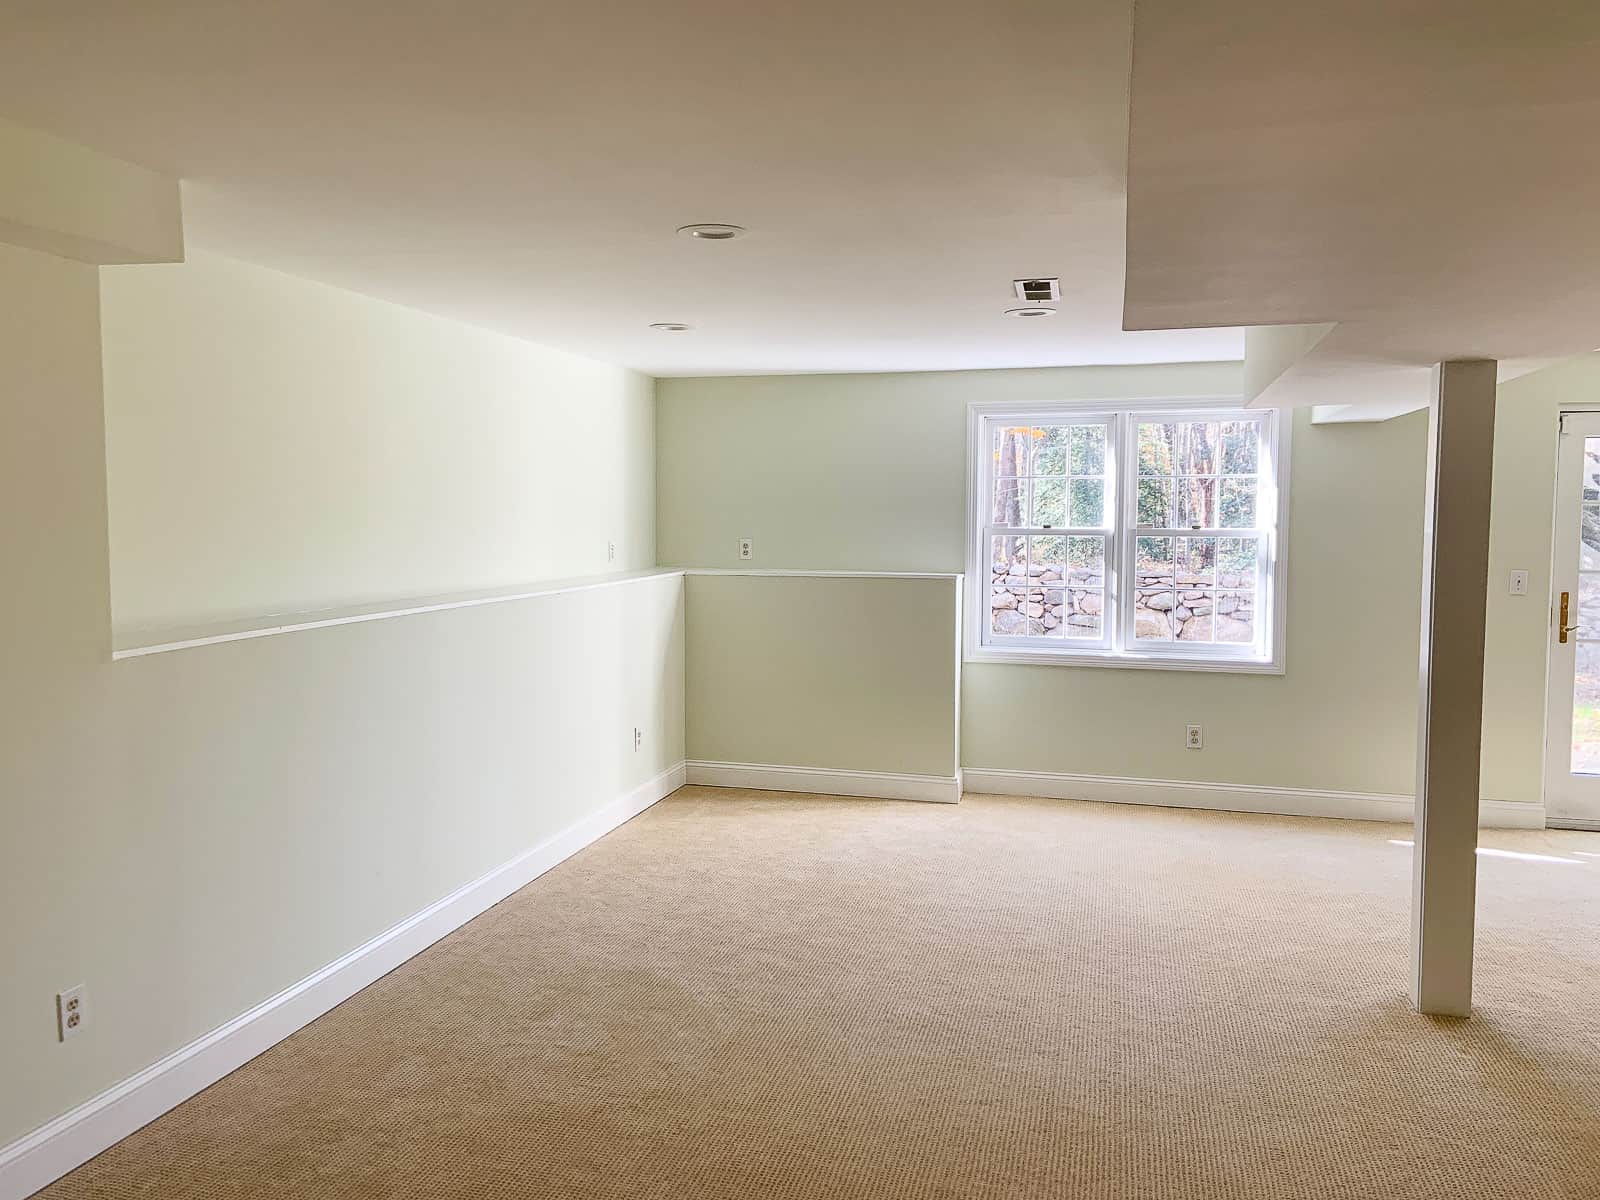
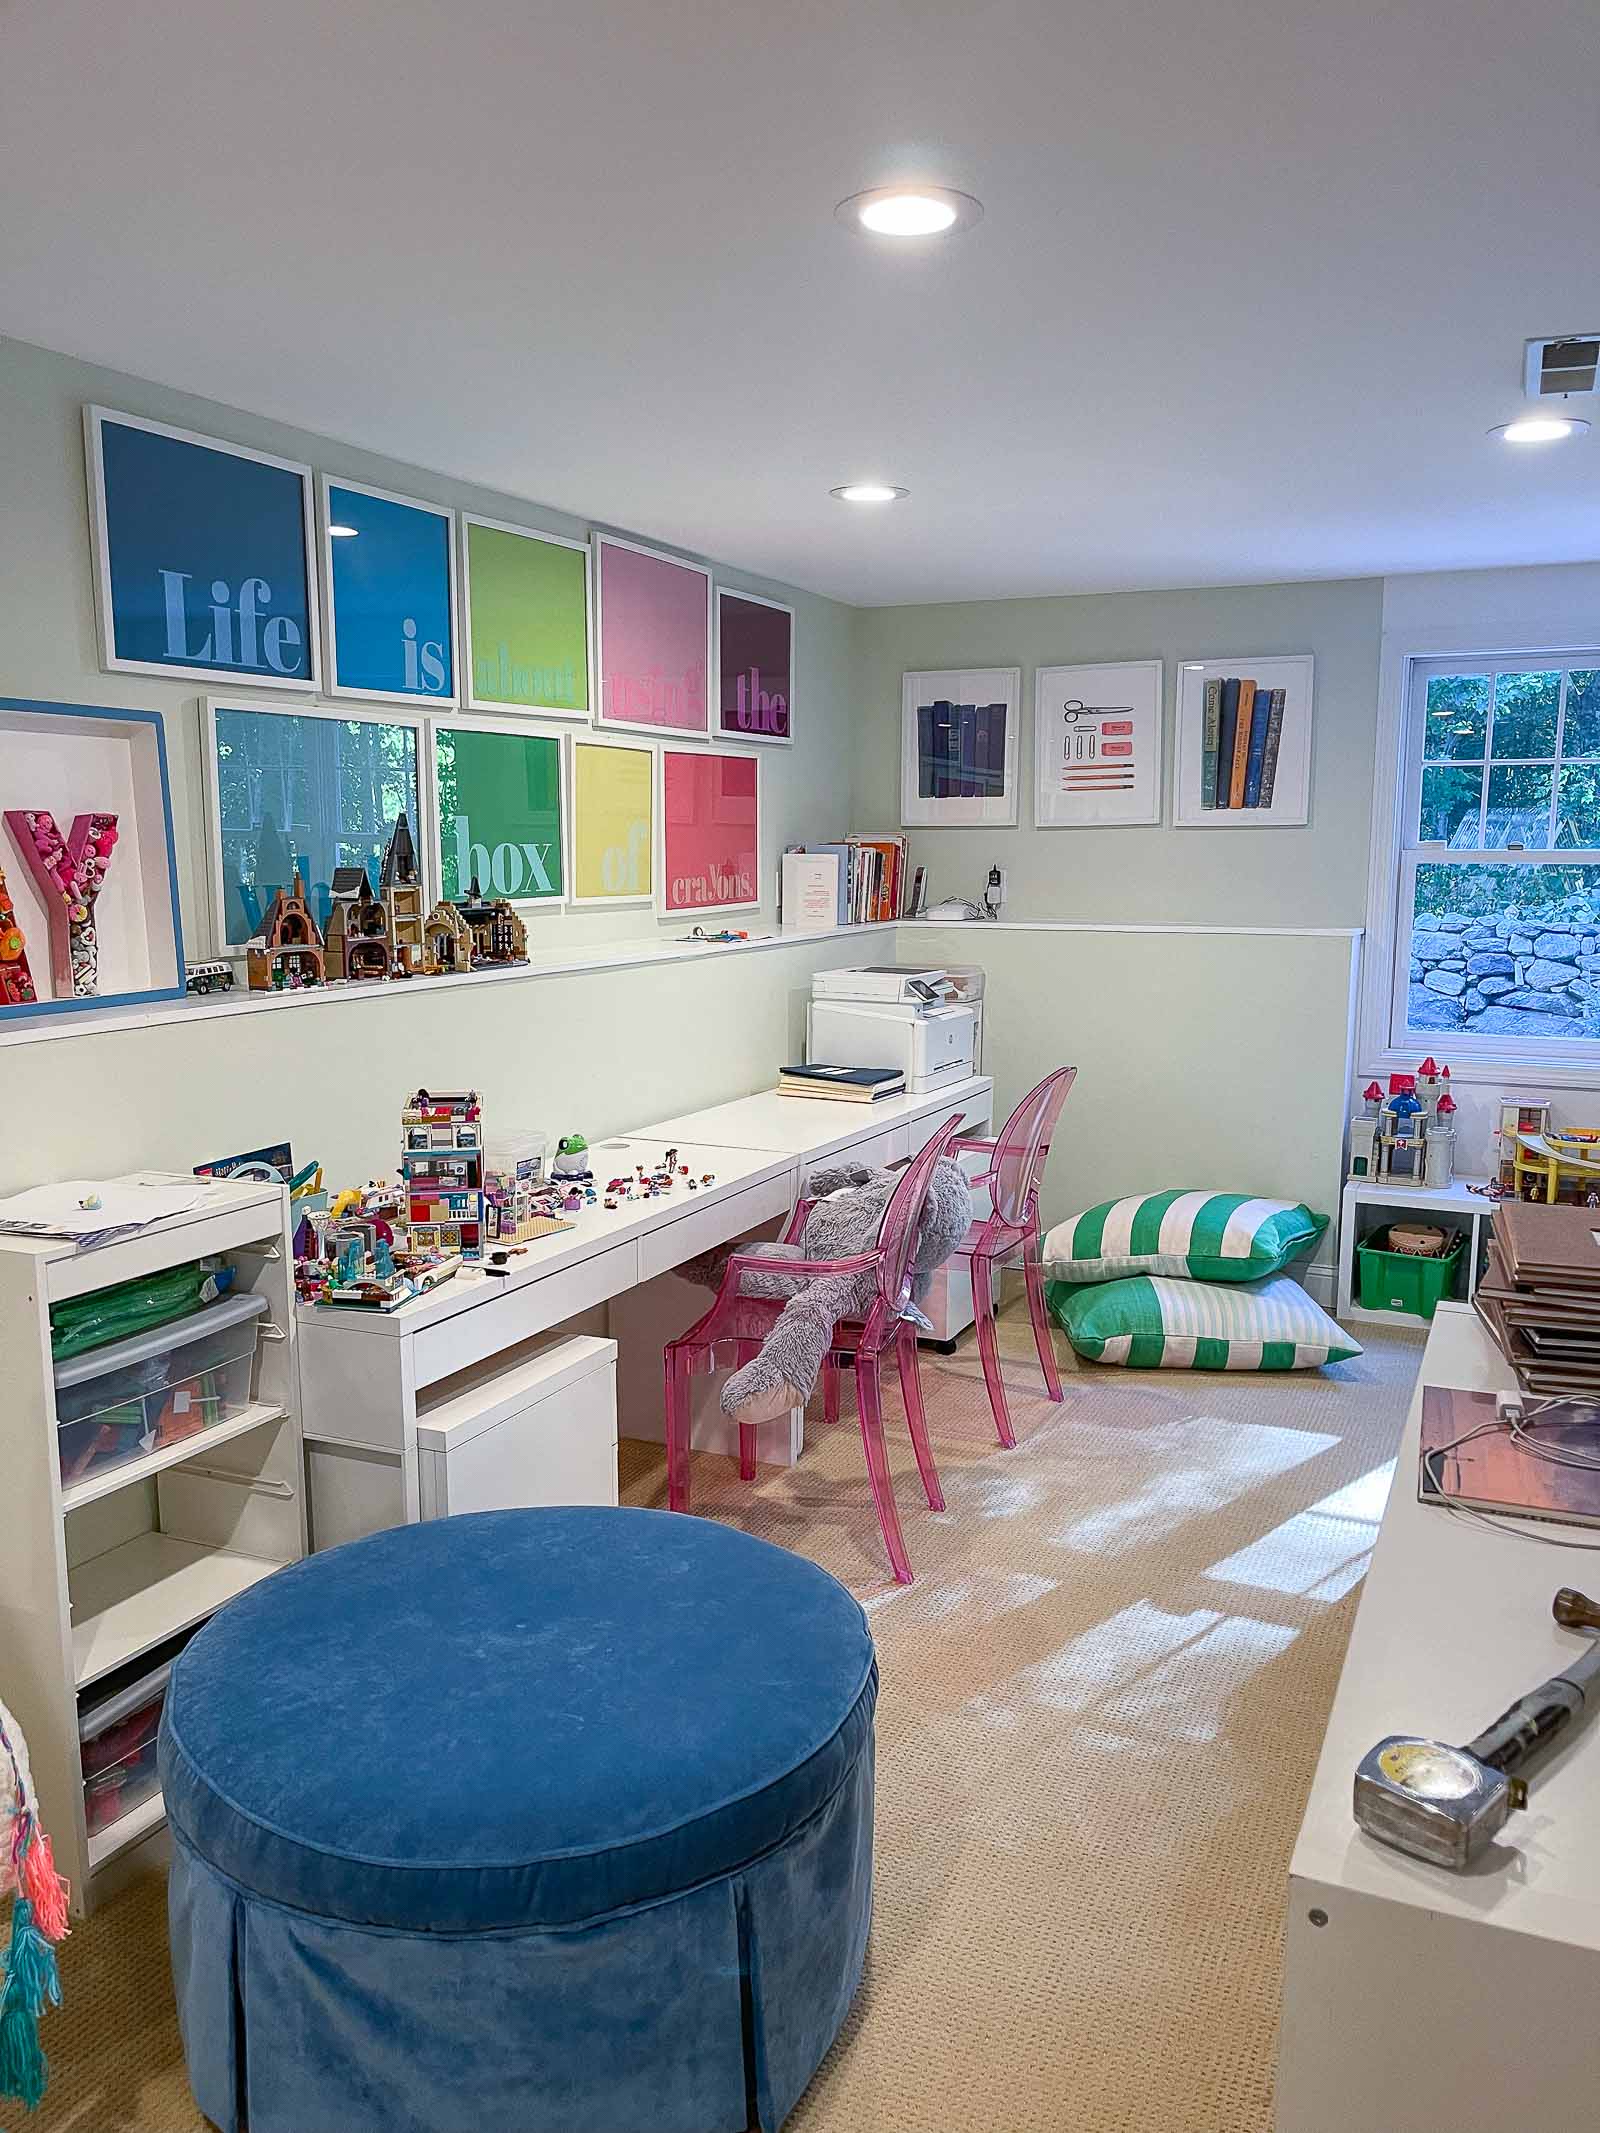
In an ideal world I would have replaced the carpet before we moved in, but I also don’t know that I realized quite how ‘yellow’ it would seem until all of our furniture was set up. Here’s how it looked when we first saw the house:
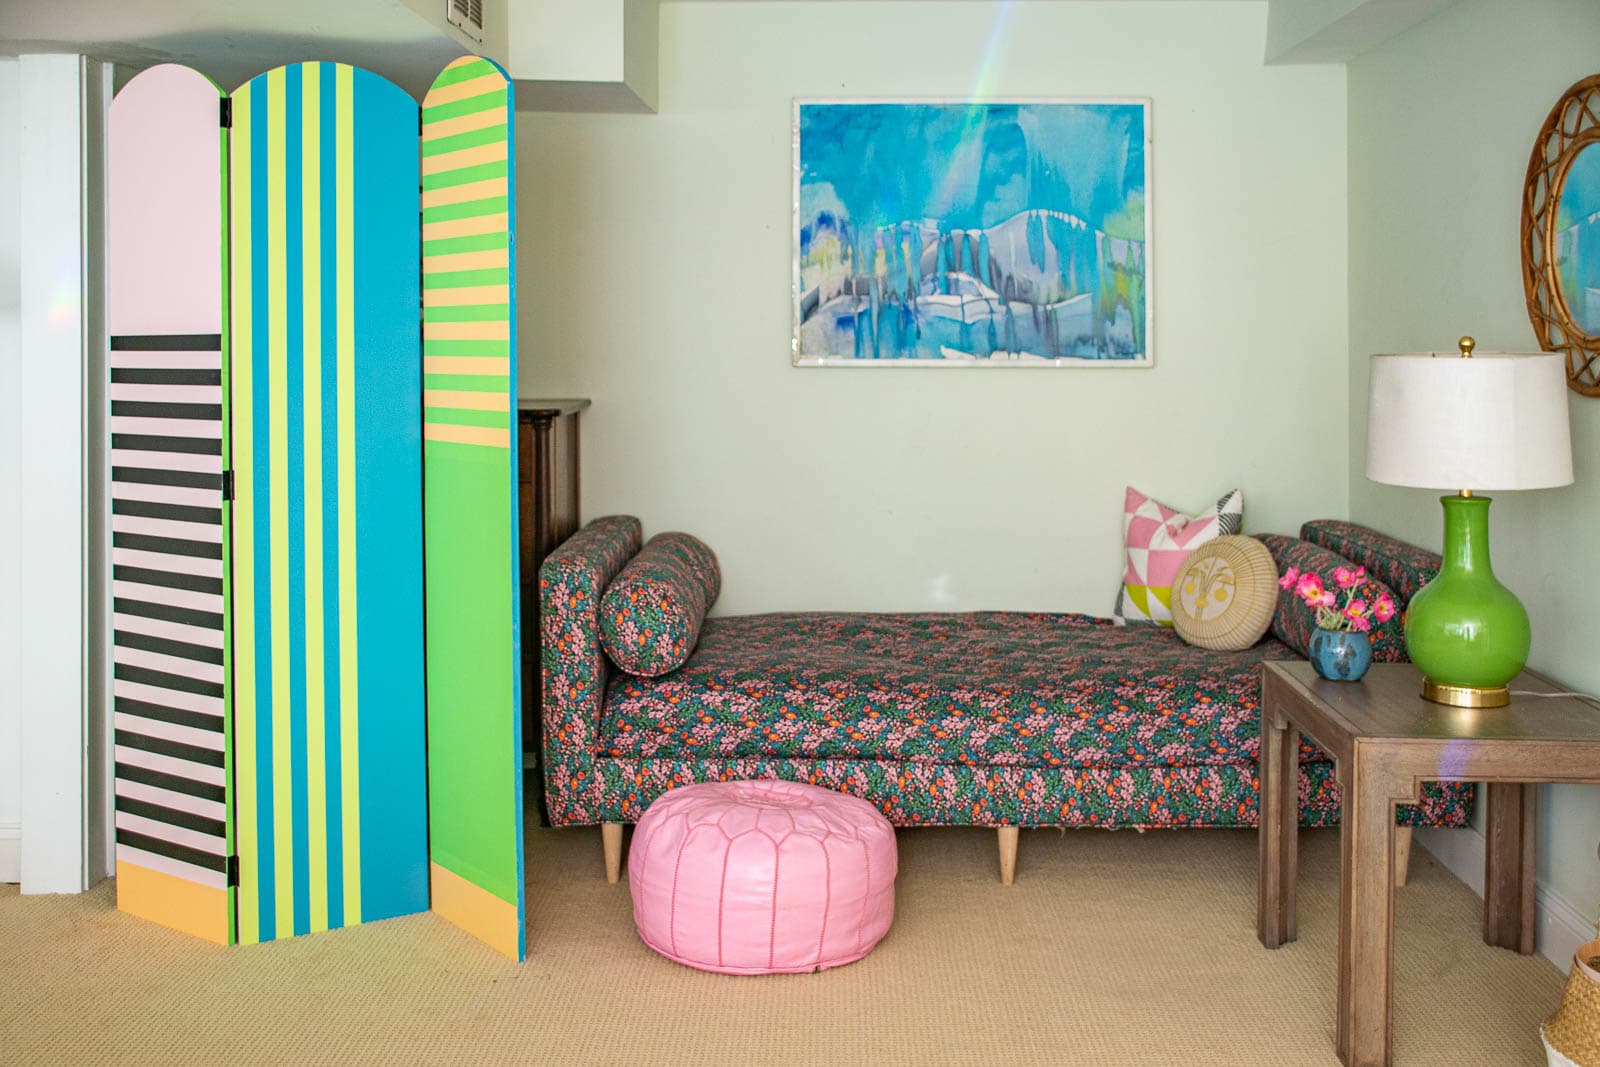
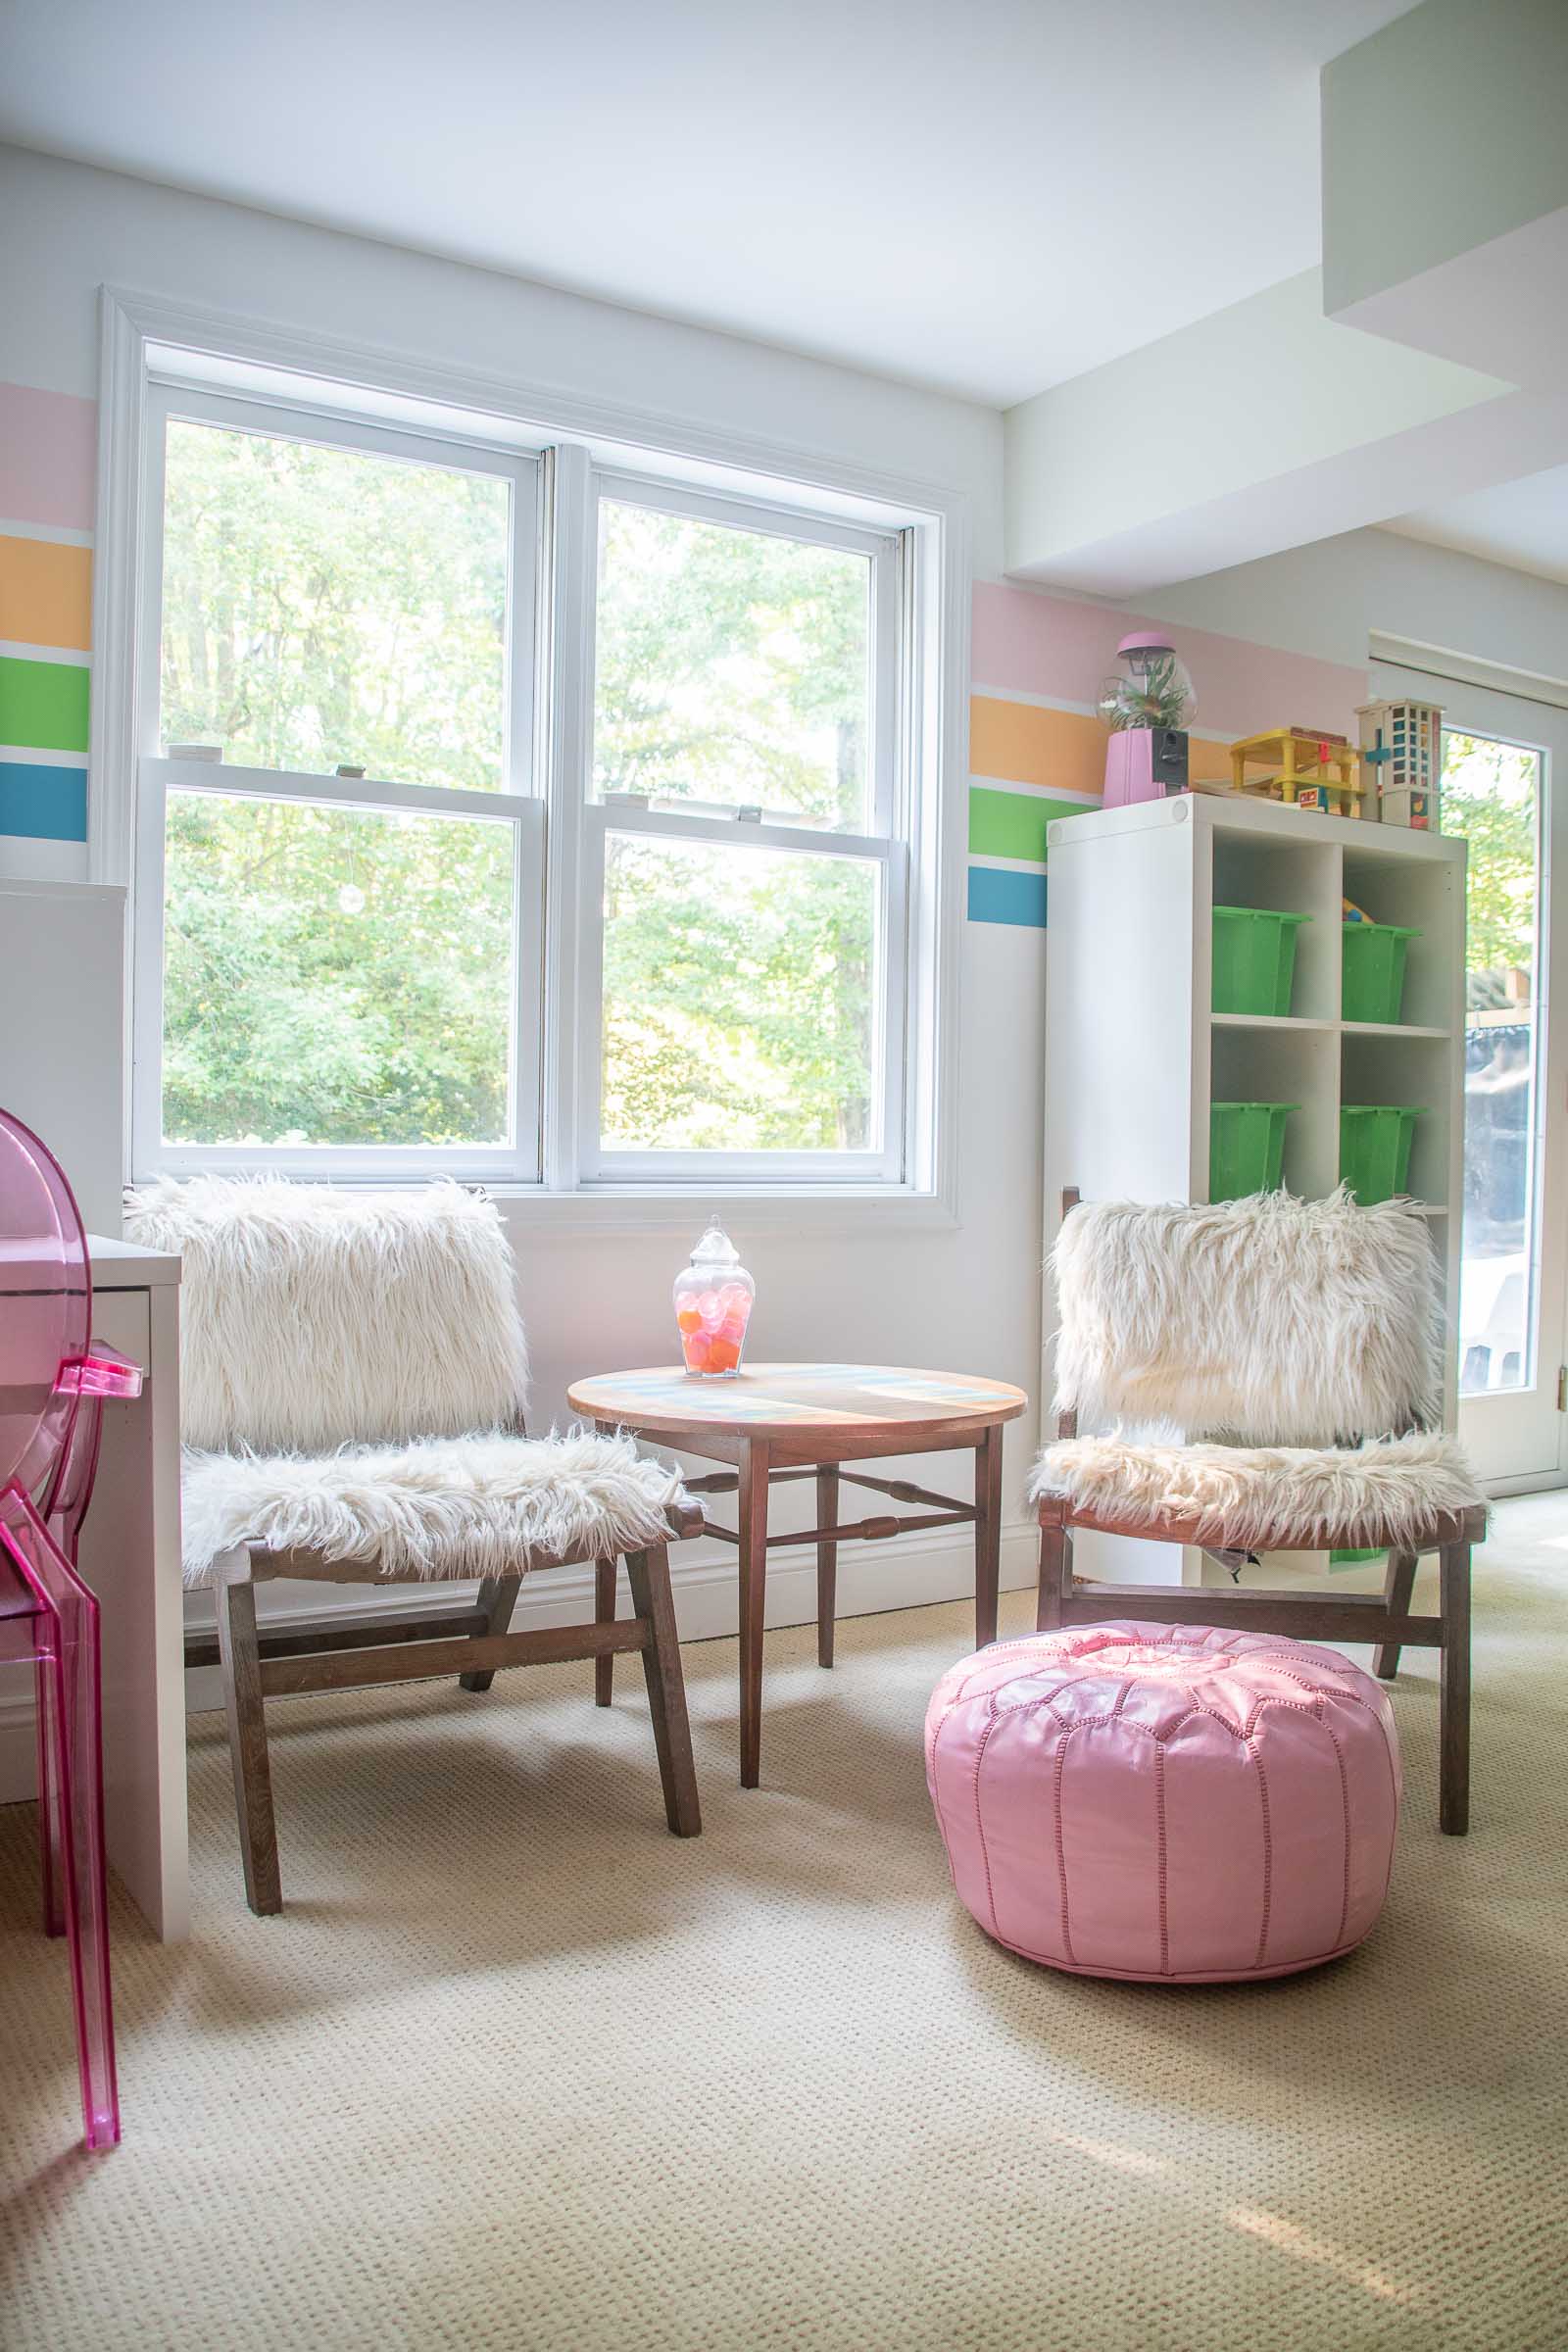
I tried to set up this large room in zones when we first moved in so this back wall held all our desks which until my office was finished were also piled high with boxes. Those two posts meant that the couches had to go around them, but thankfully our larger blue couch fits between the posts so they’re not quite obvious and in the way. It also means they’re nothing the kids can run into because they’re bookending the sofa. Long story short, we used the furniture we had and brought along all the toys so the room was… full. My husband has a Peloton which is an annoying thing to factor in but I gave him a corner by the window. And then the daybed I made fits into this far corner and acts as a ‘guest room’ when we have visitors!
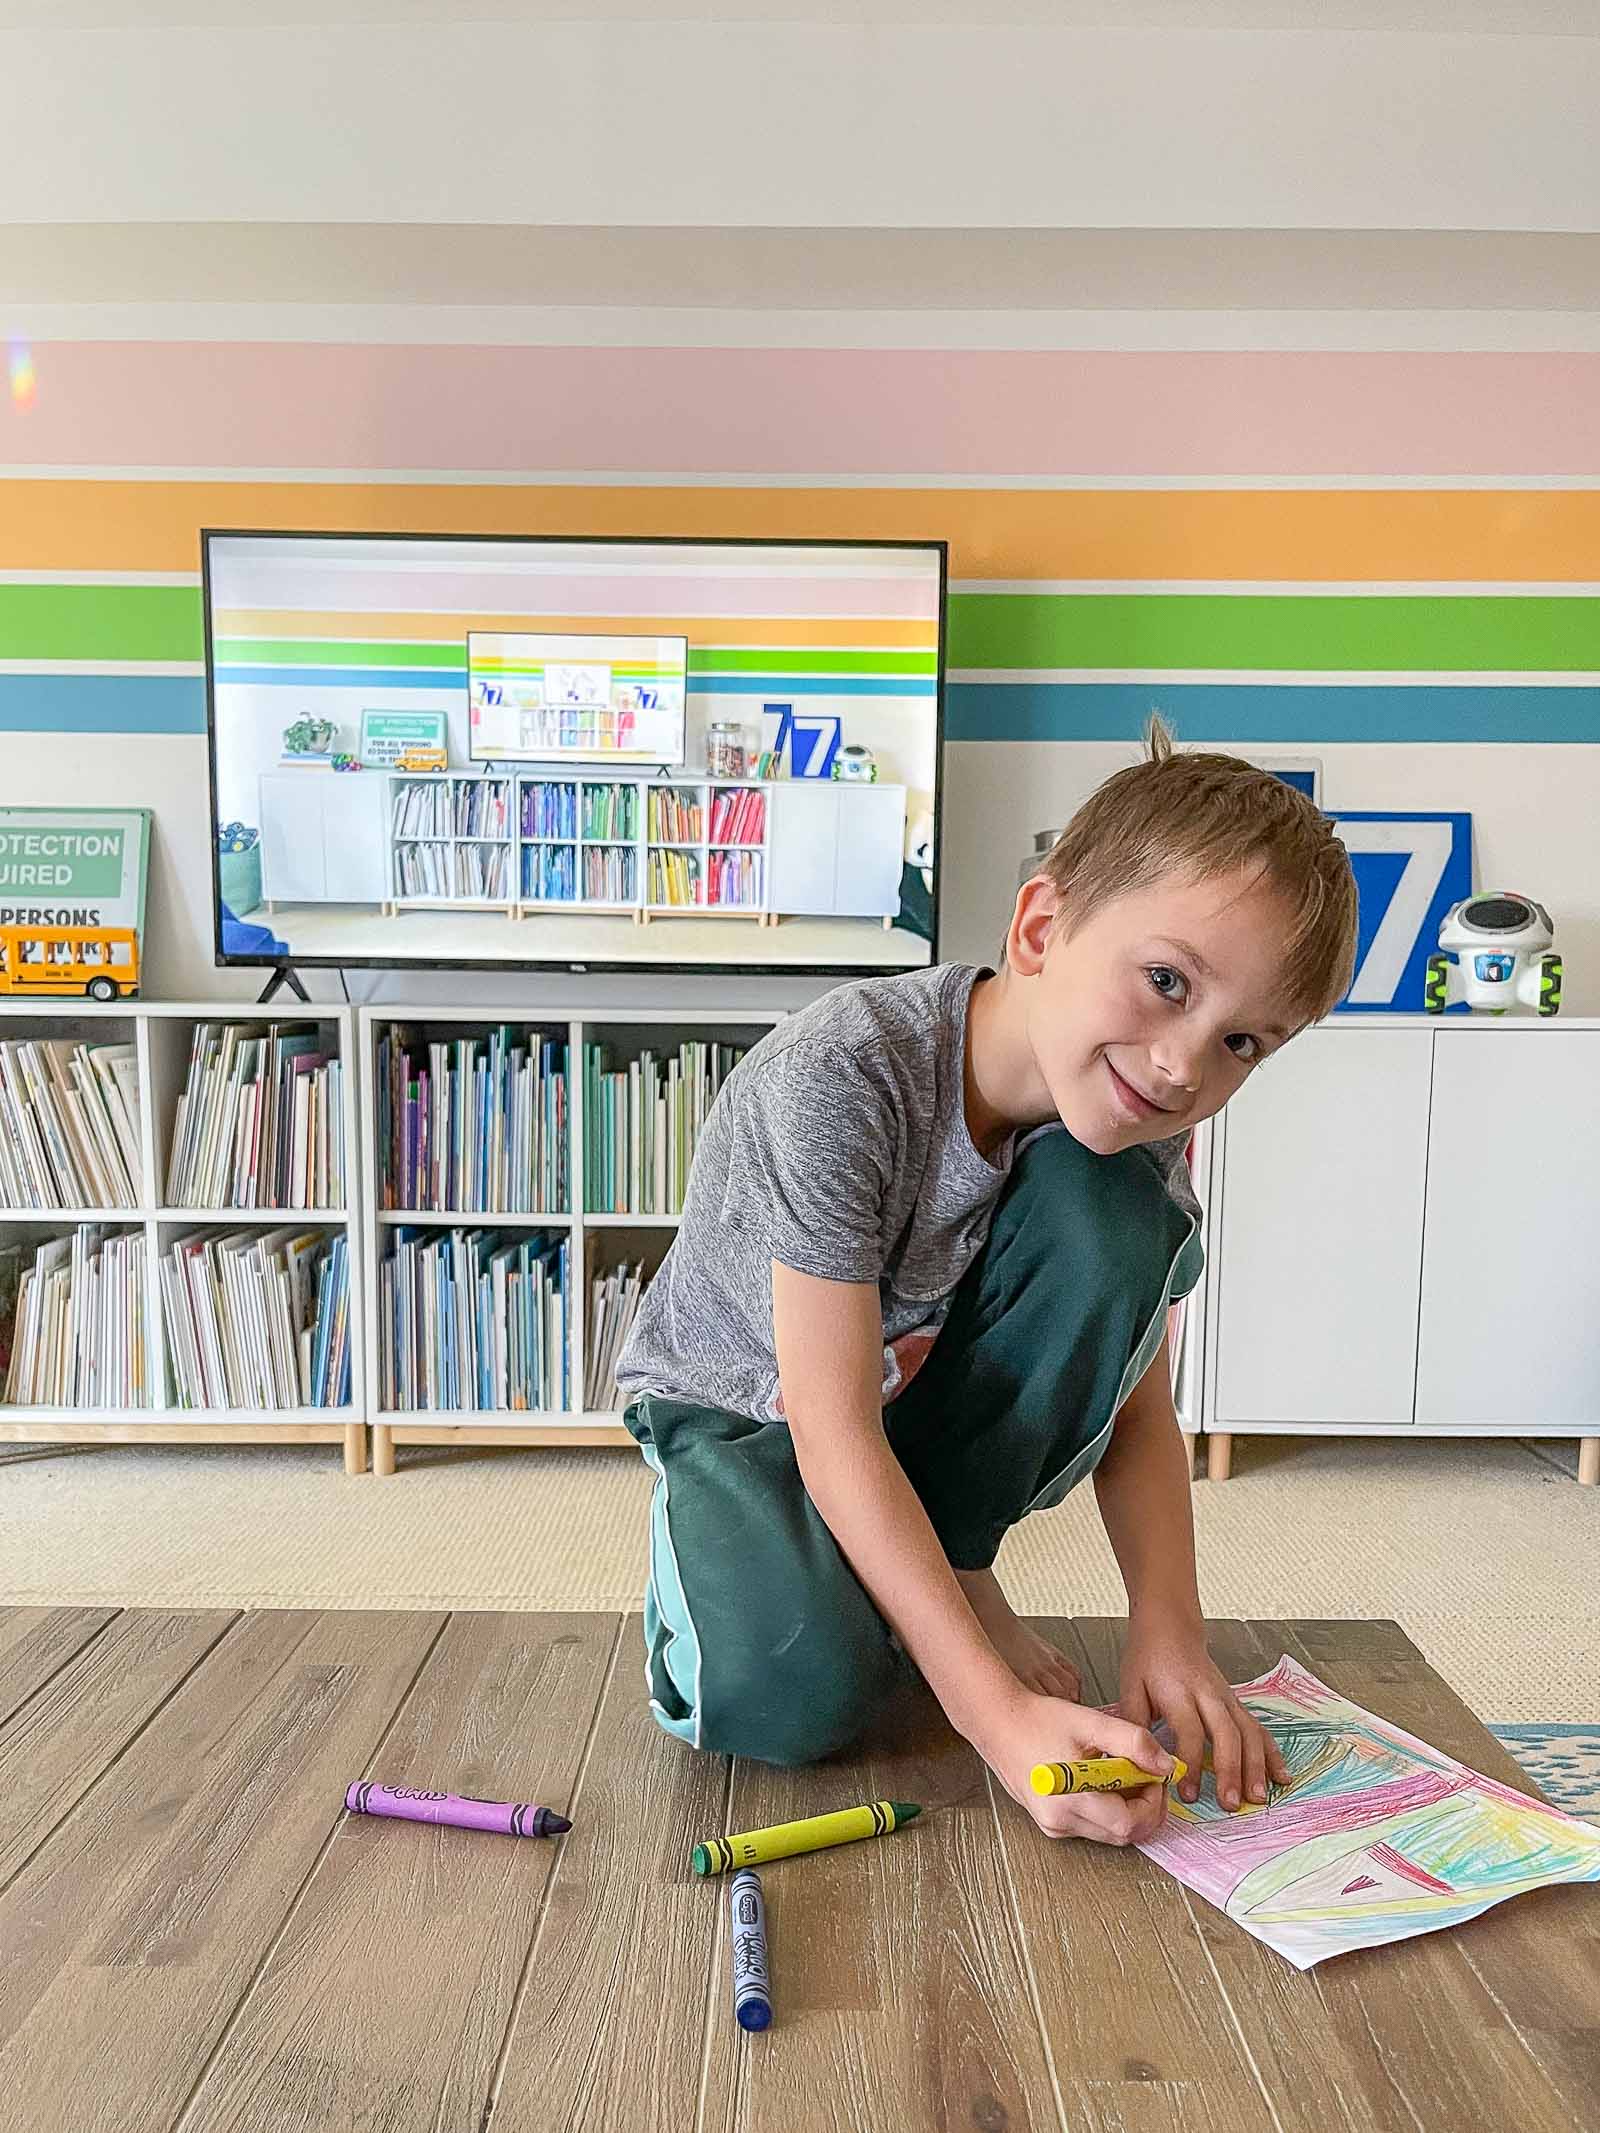
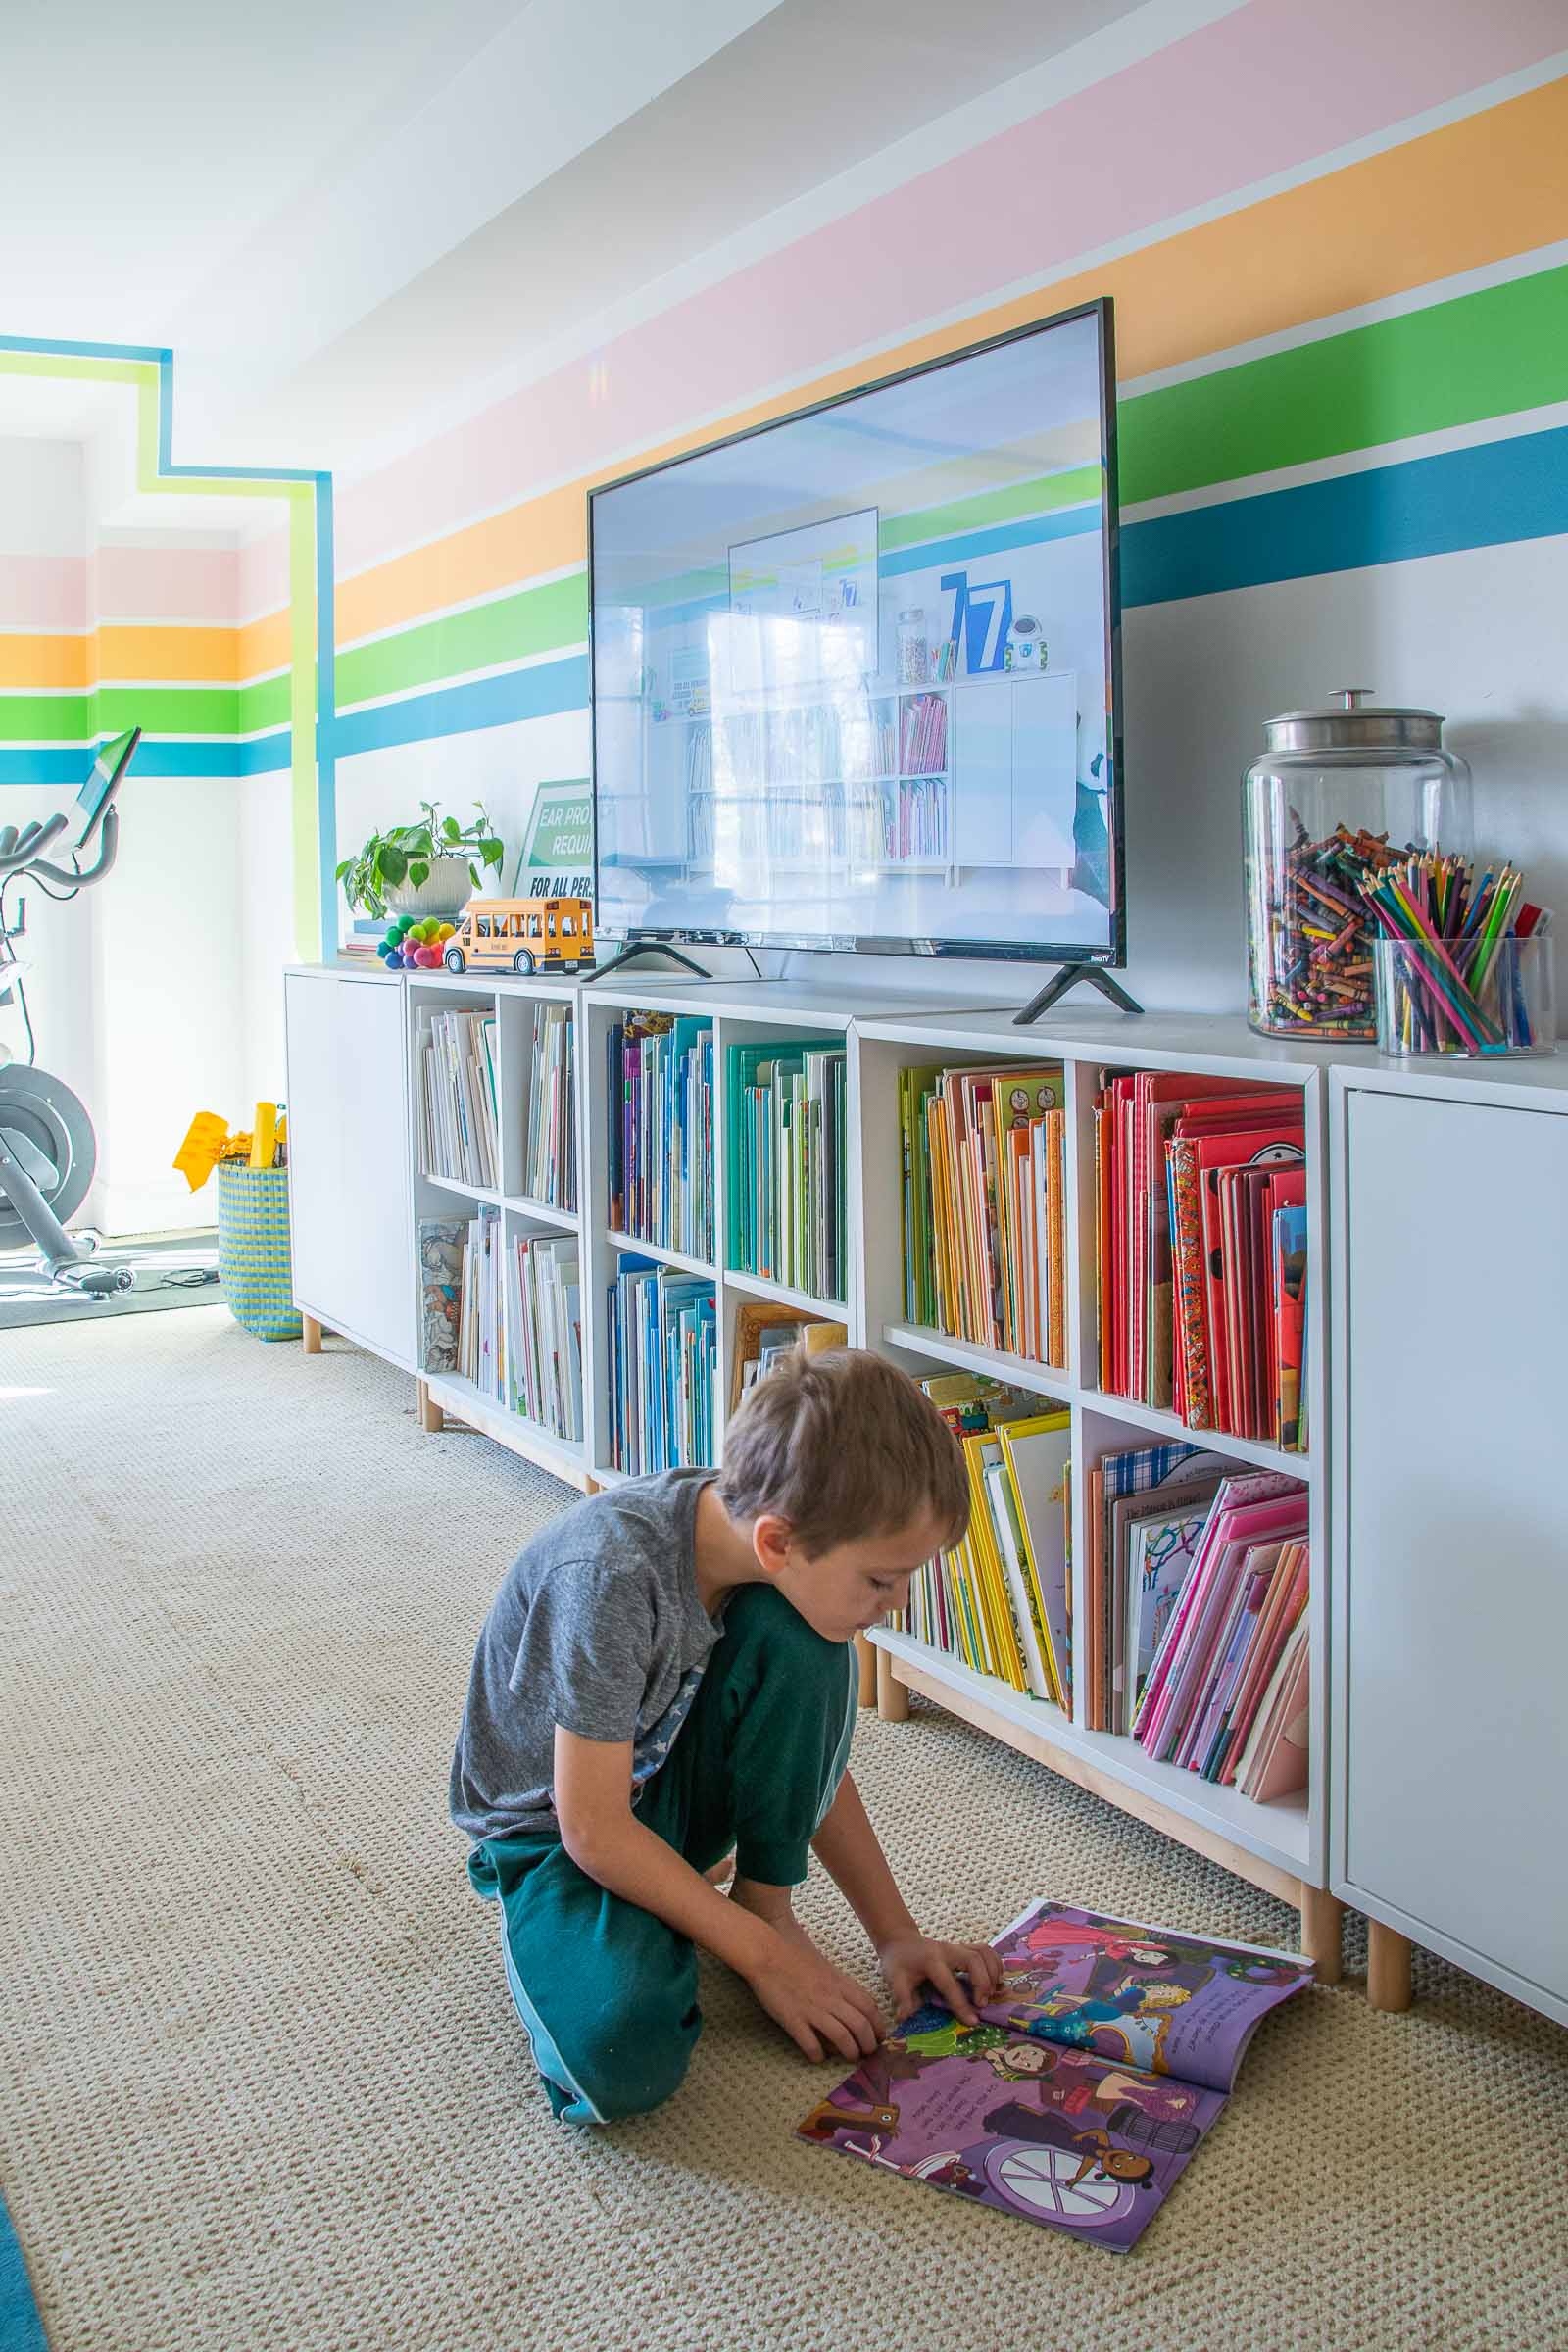
Last year I painted some fun stripes on the front TV wall. At the time, the back was PILED with boxes so I only painted the long wall and then wrapped around the corner by the windows. I list all the colors in my blog post linked above so head over there for more details on the stripes!
Phase 1 of the Game Room Makeover: Organization and Arcade Games
Which brings us to the current project… operation GAME ROOM. First step was to clear out the back part of the basement. We sold the desks on Craigslist, repurposed the bookshelves and removed all the artwork. Time to carry the stripes all around the room. I’ll link to everything we purchased for the game room at the end of the post, but-spoiler- just about *everything* came from Amazon.
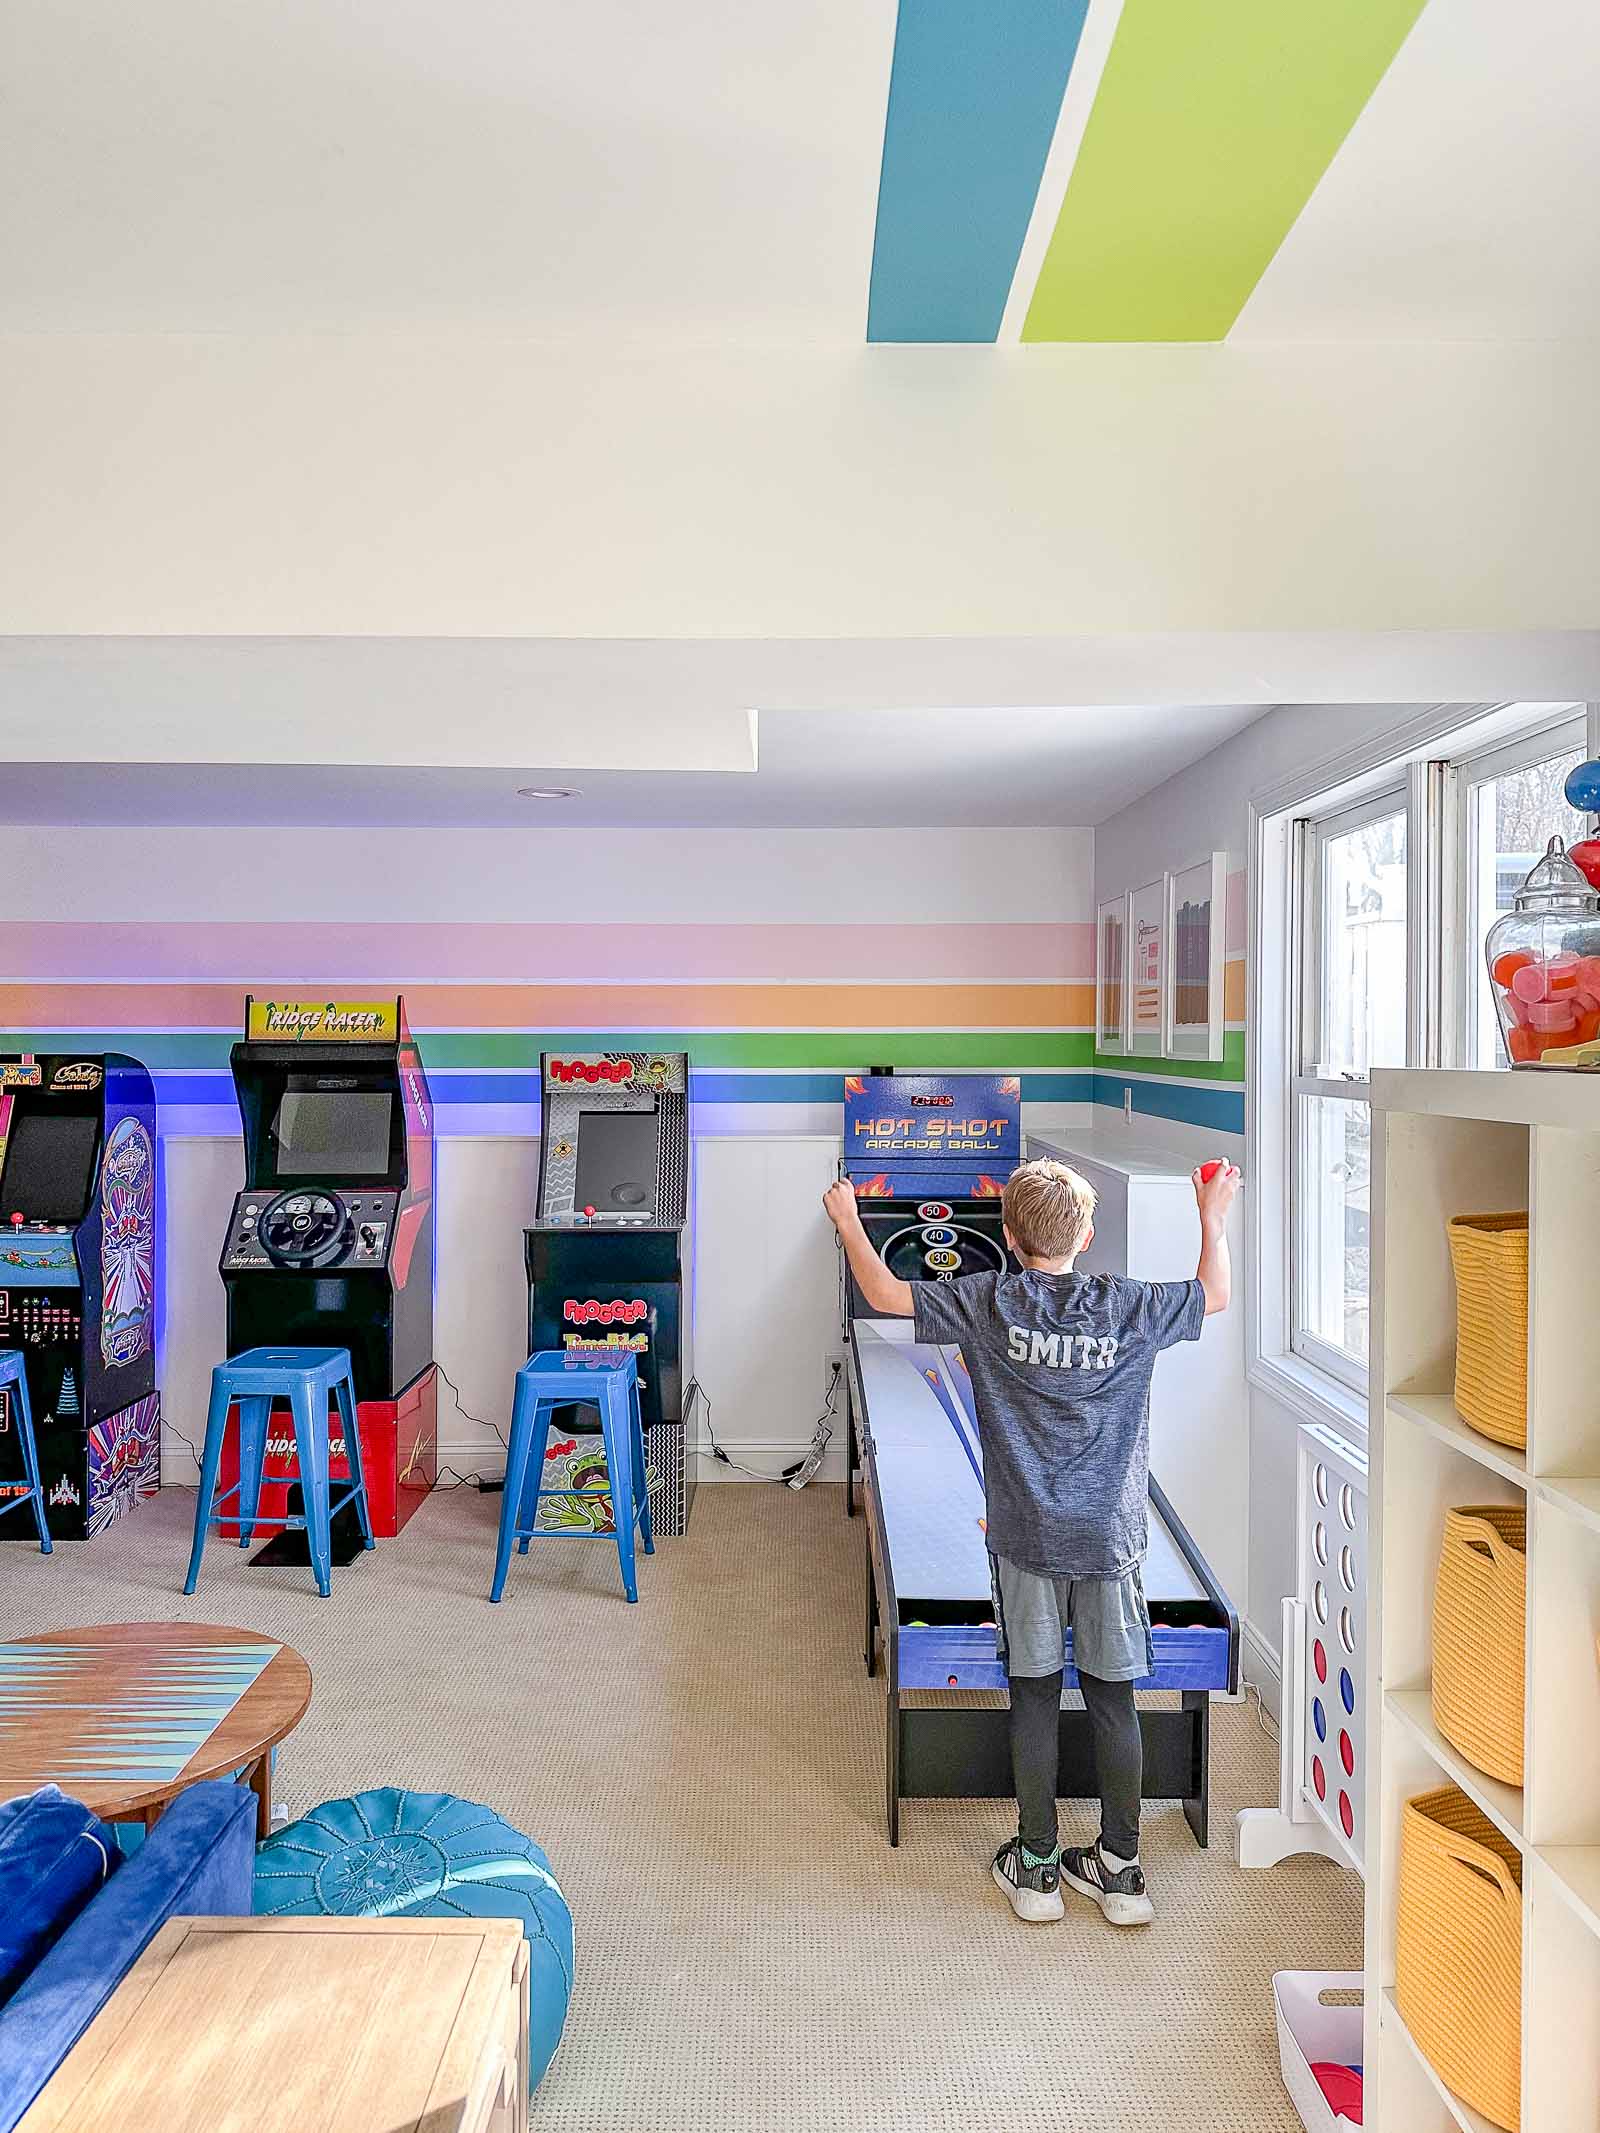
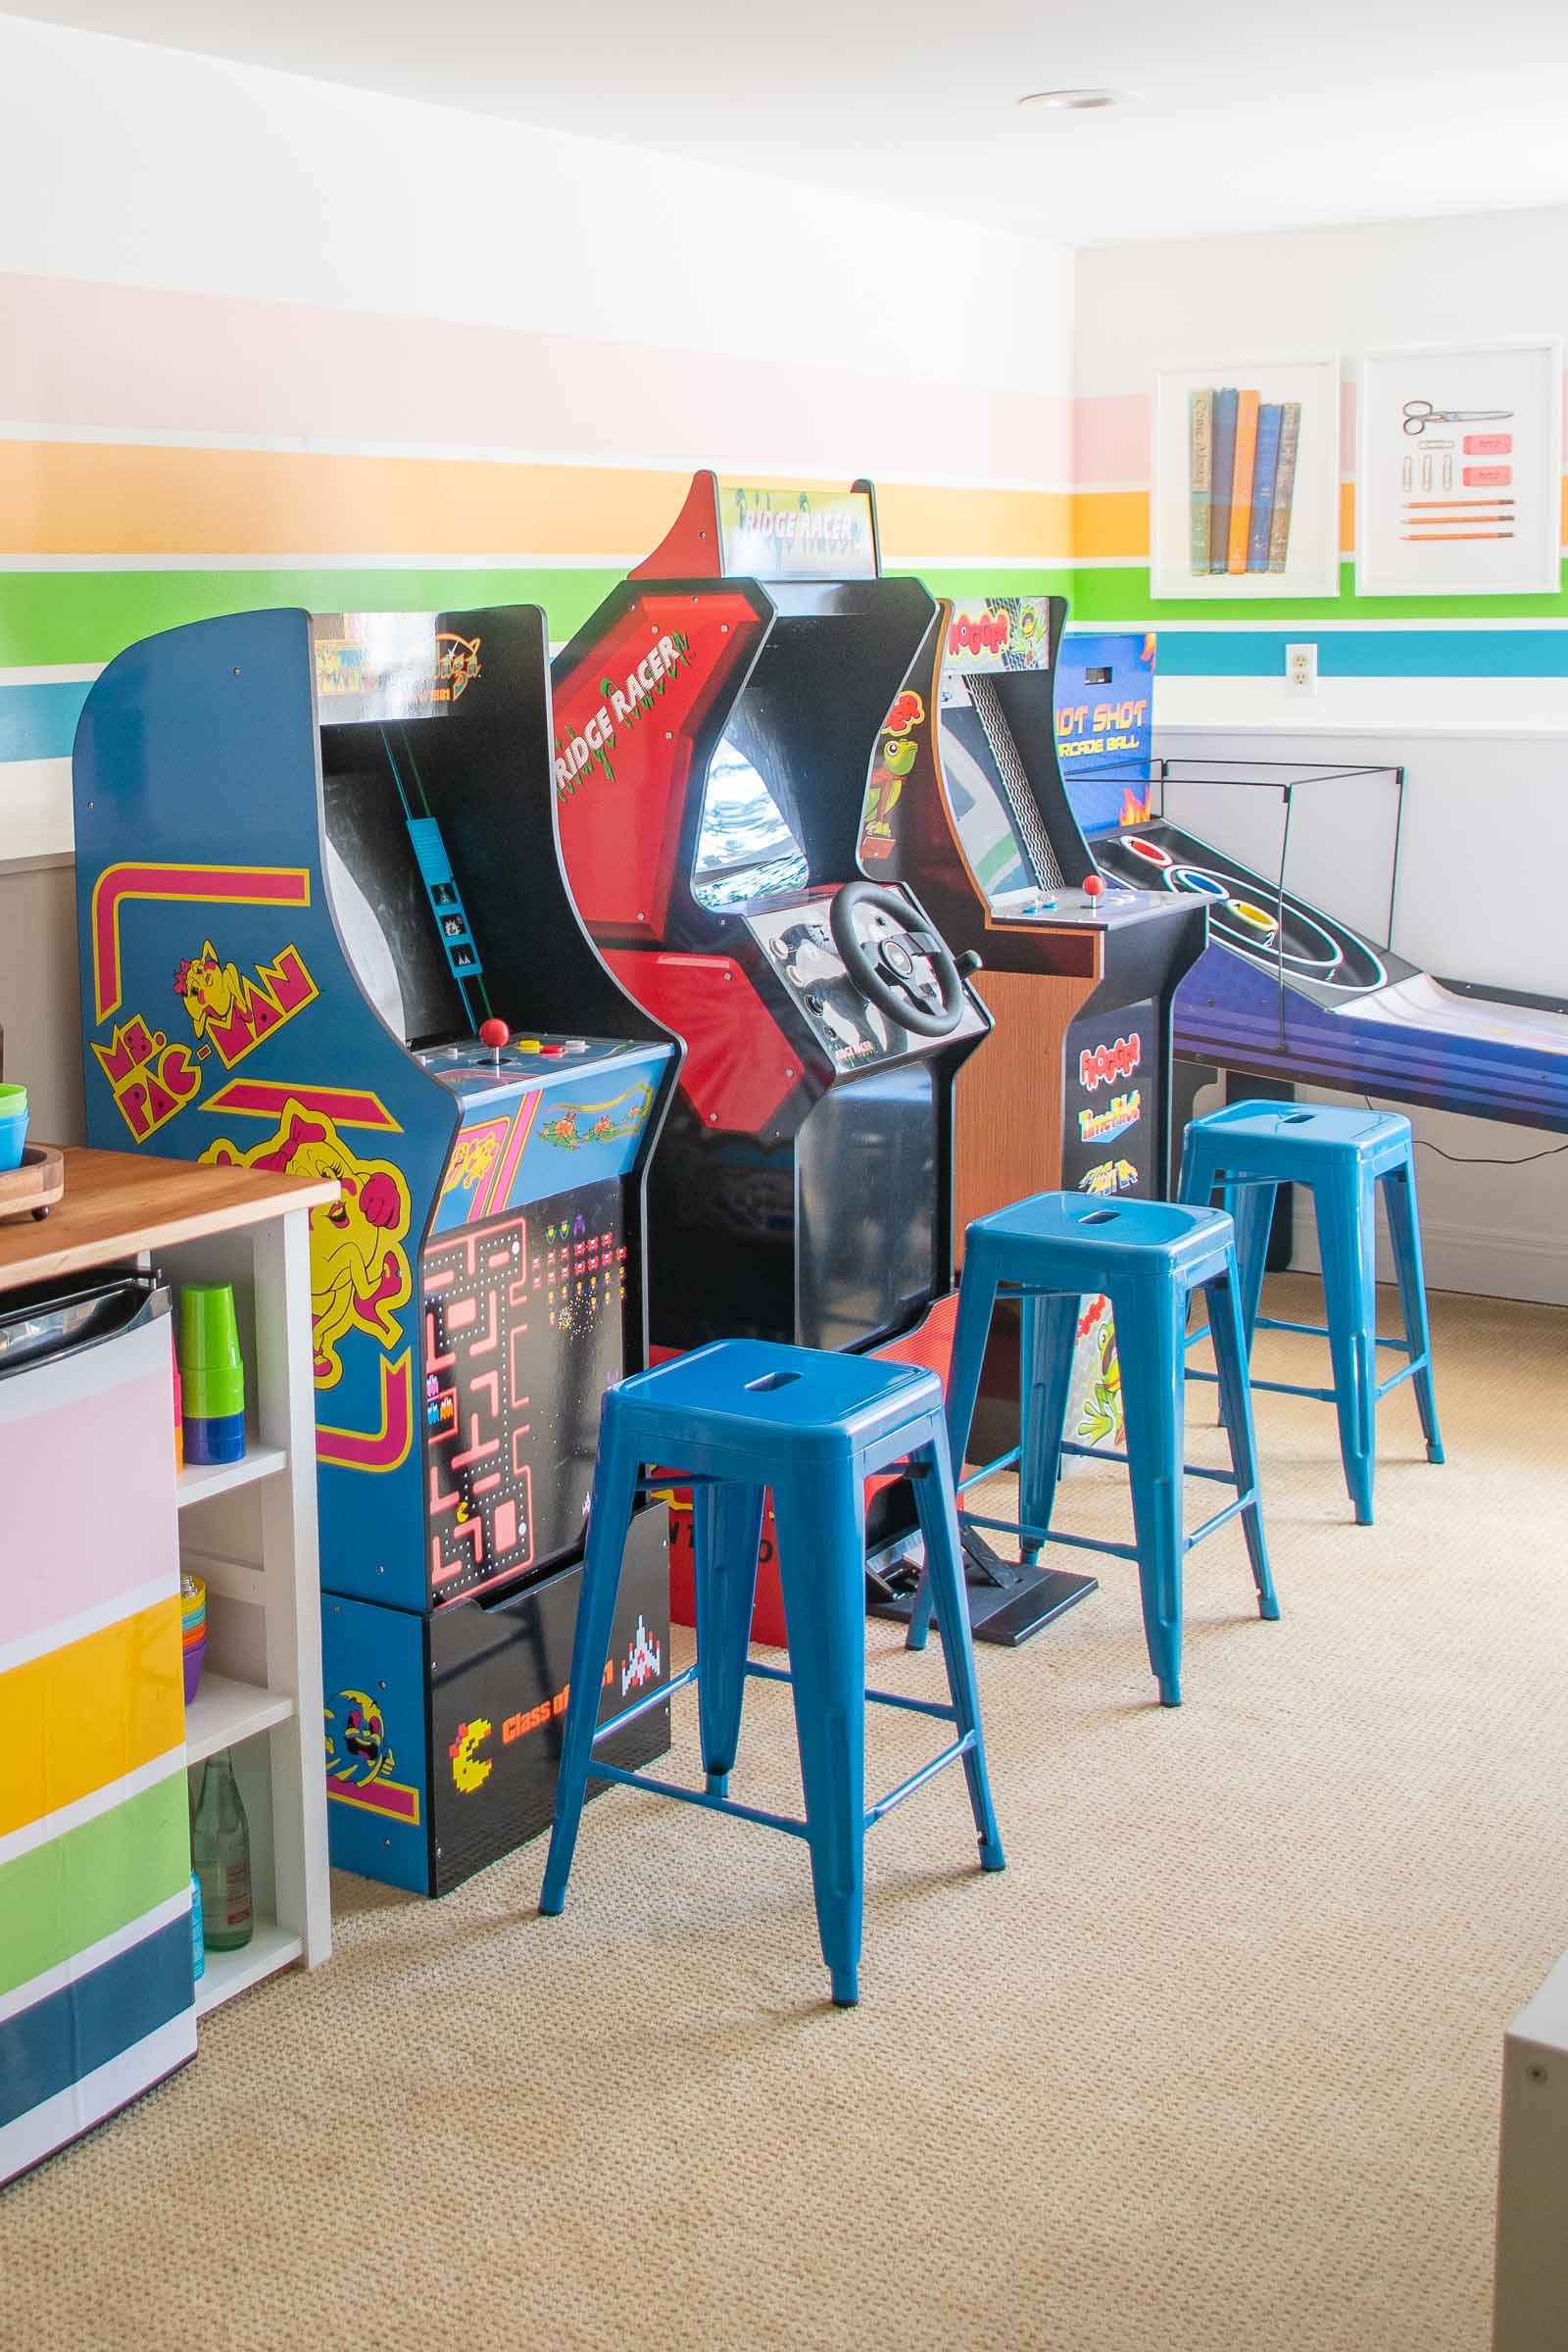
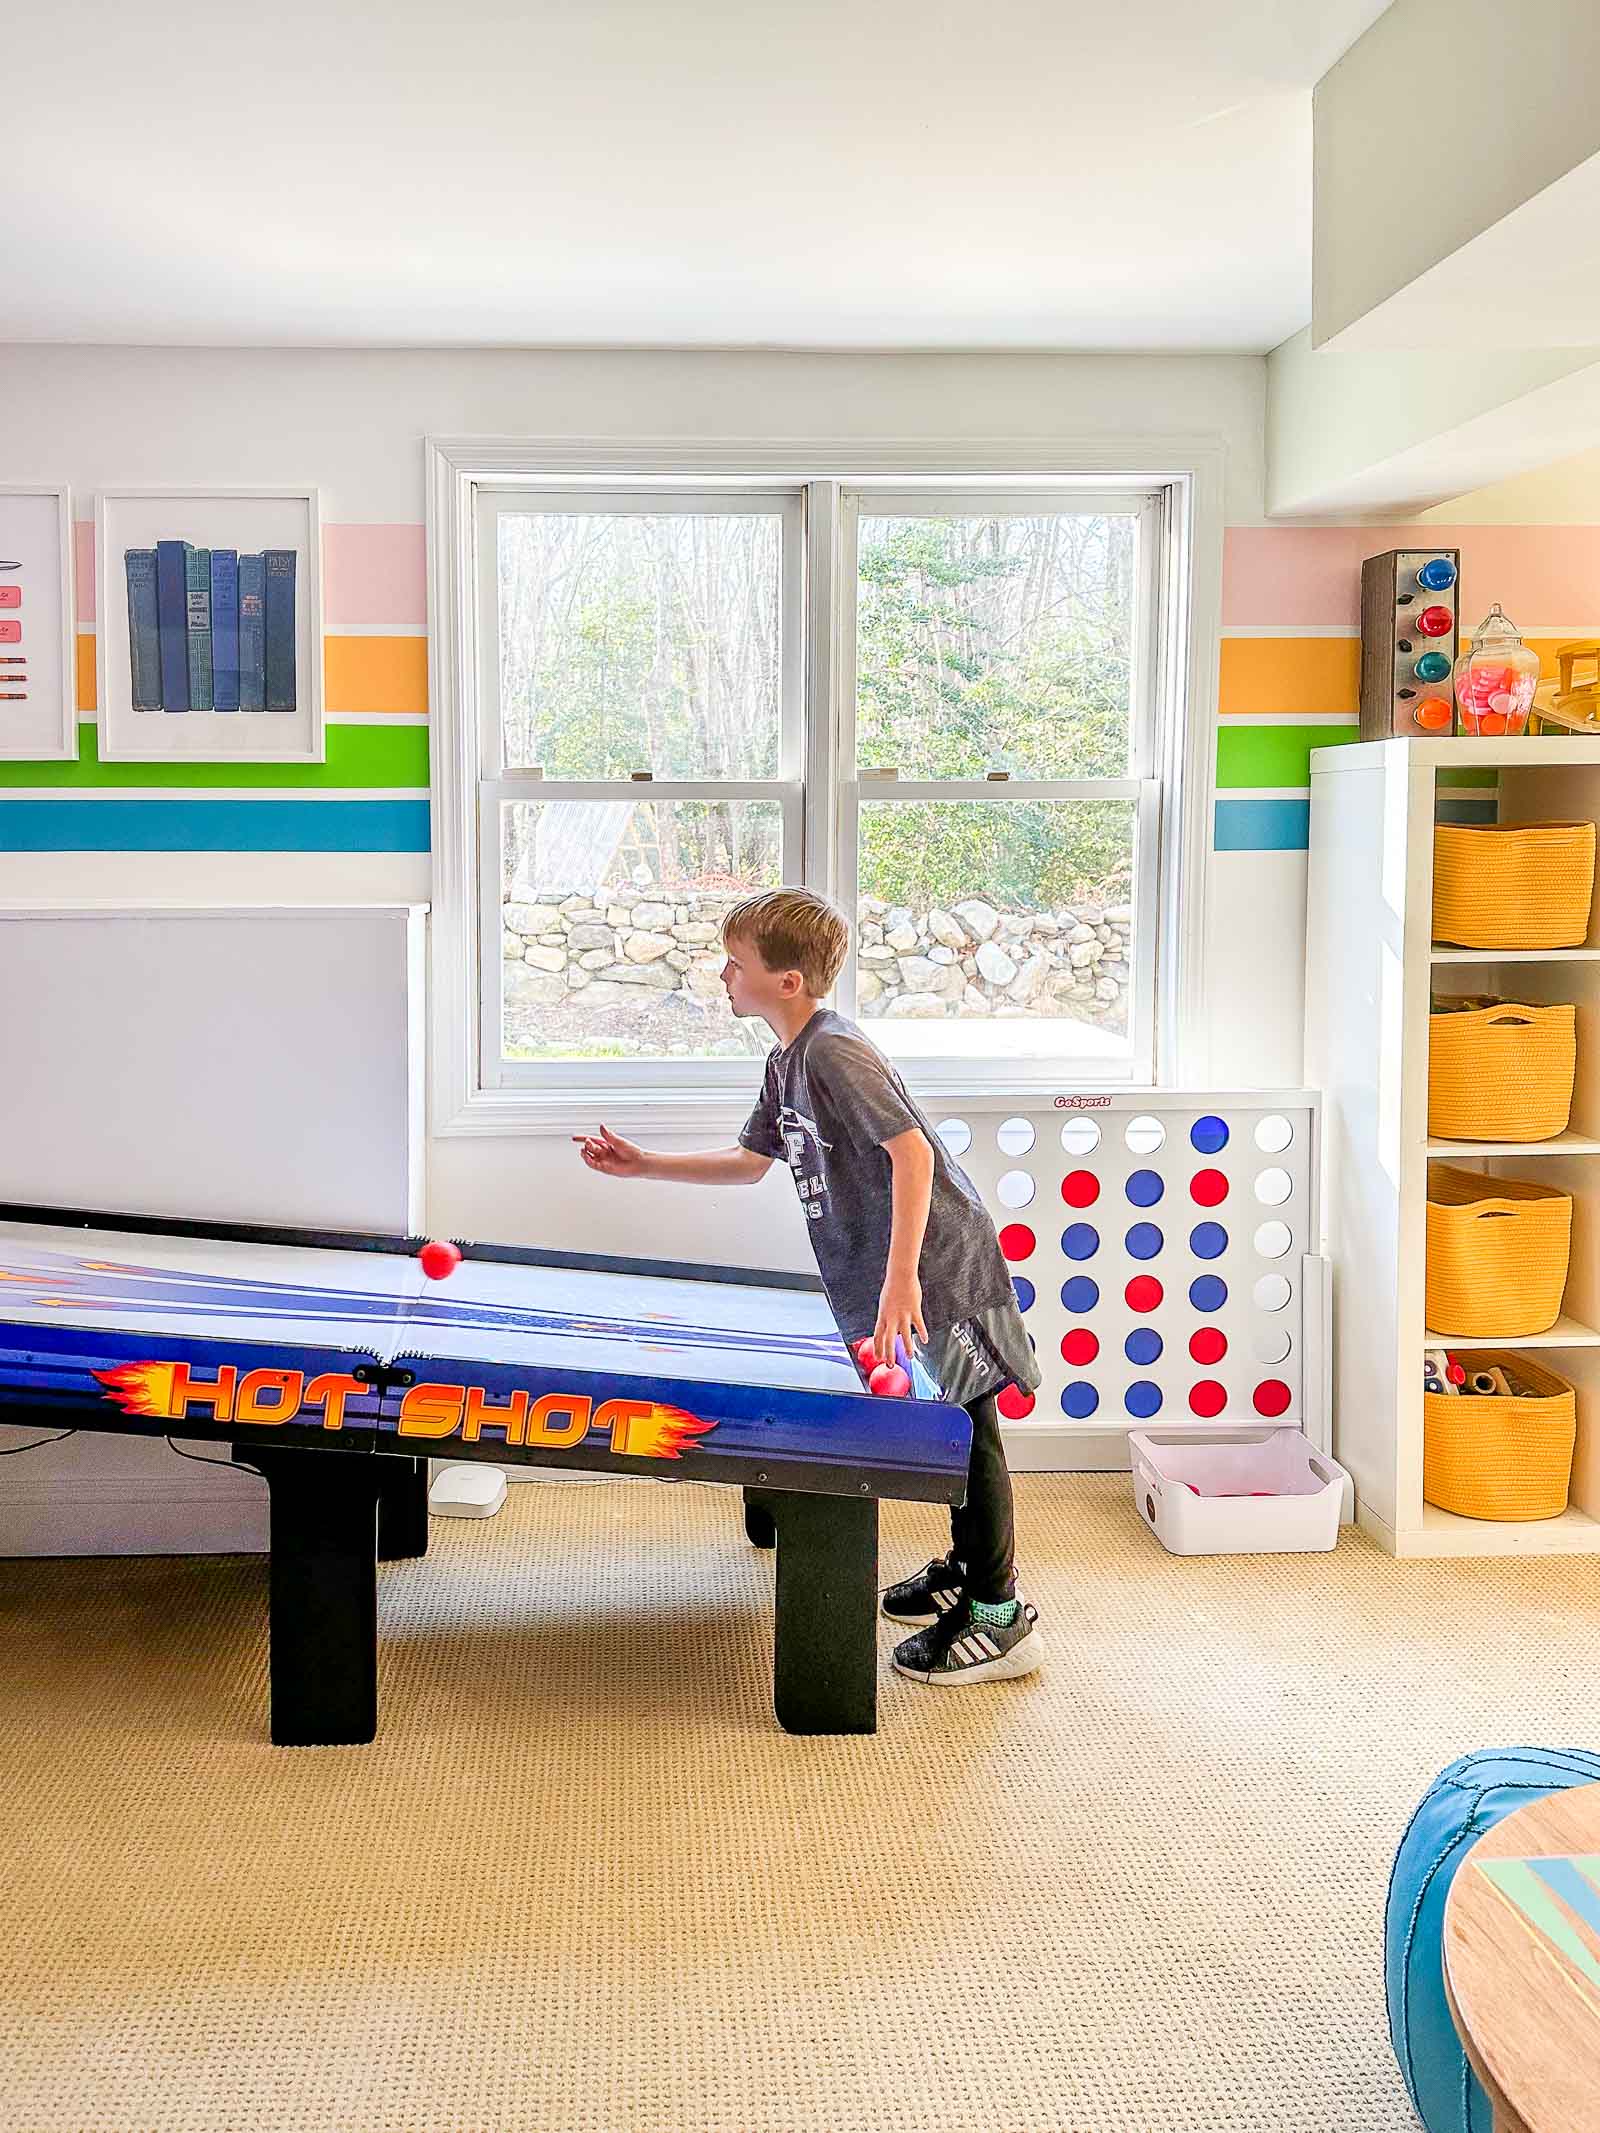
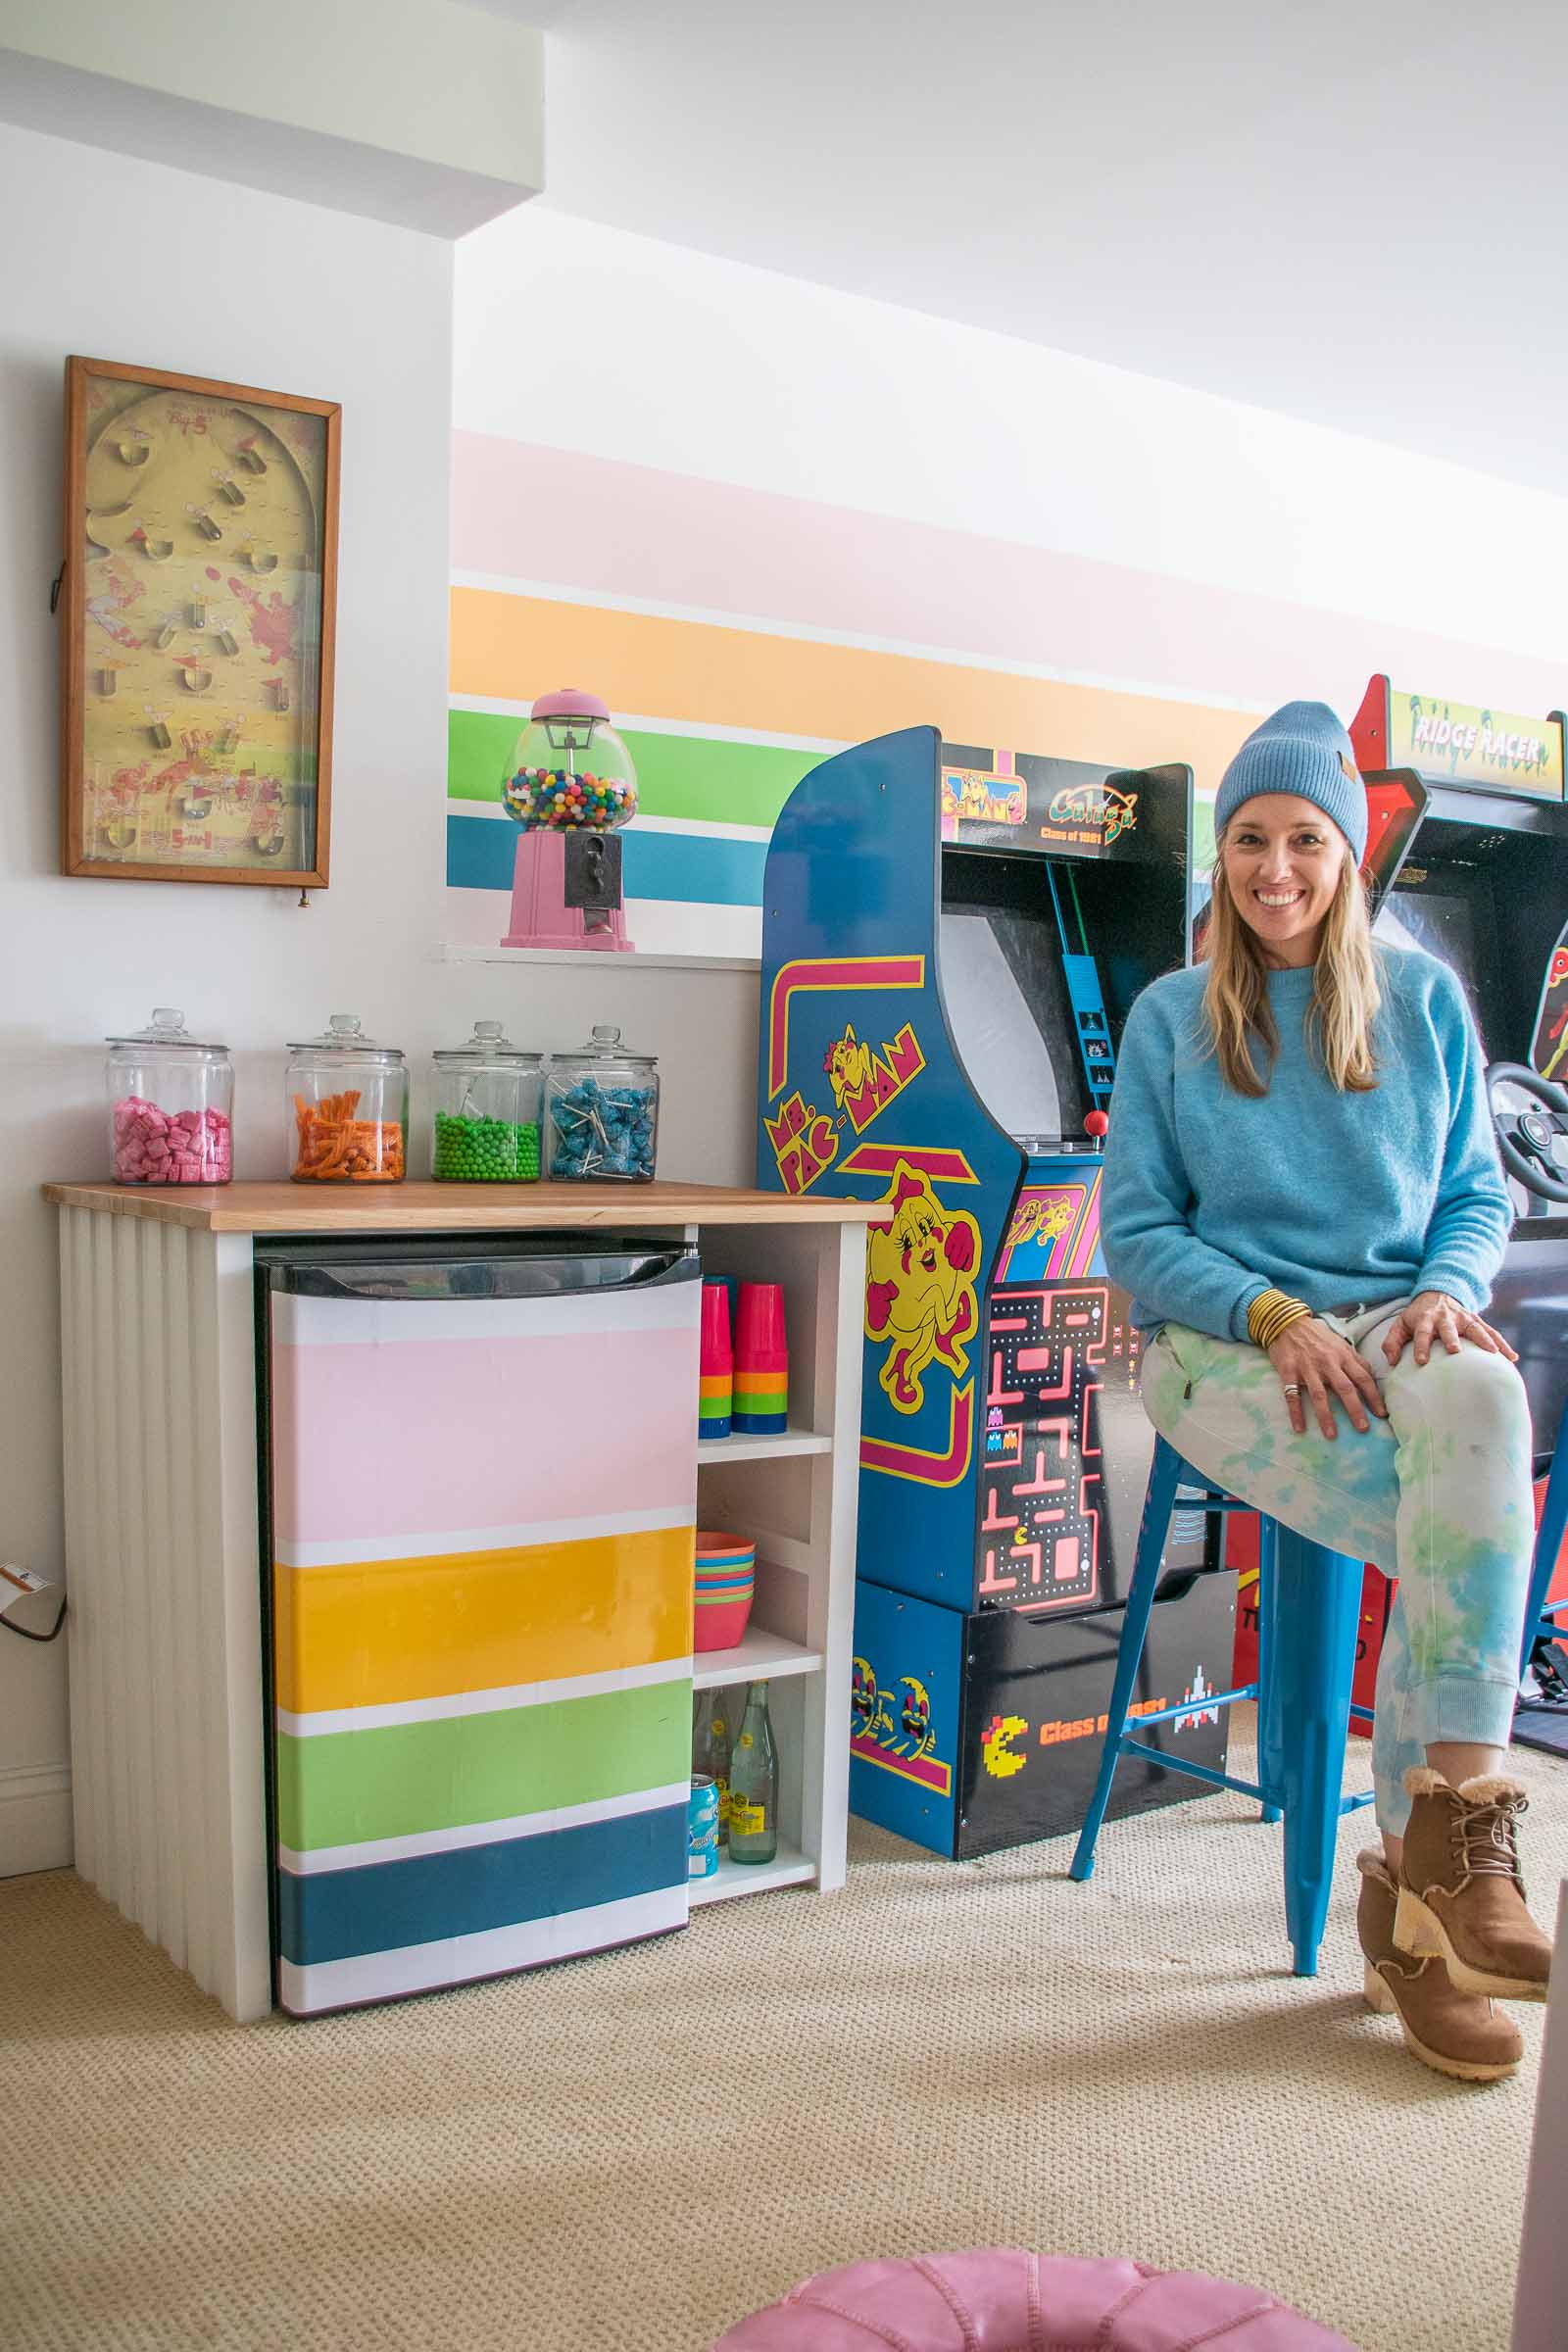
I tried to pick games the kids were into, but I also tried to avoid arcade games that had guns or violence; there are plenty of great options, it was easy enough edit out these two categories! I added some adhesive LED lights to the back of each game to enhance the arcade feeling.
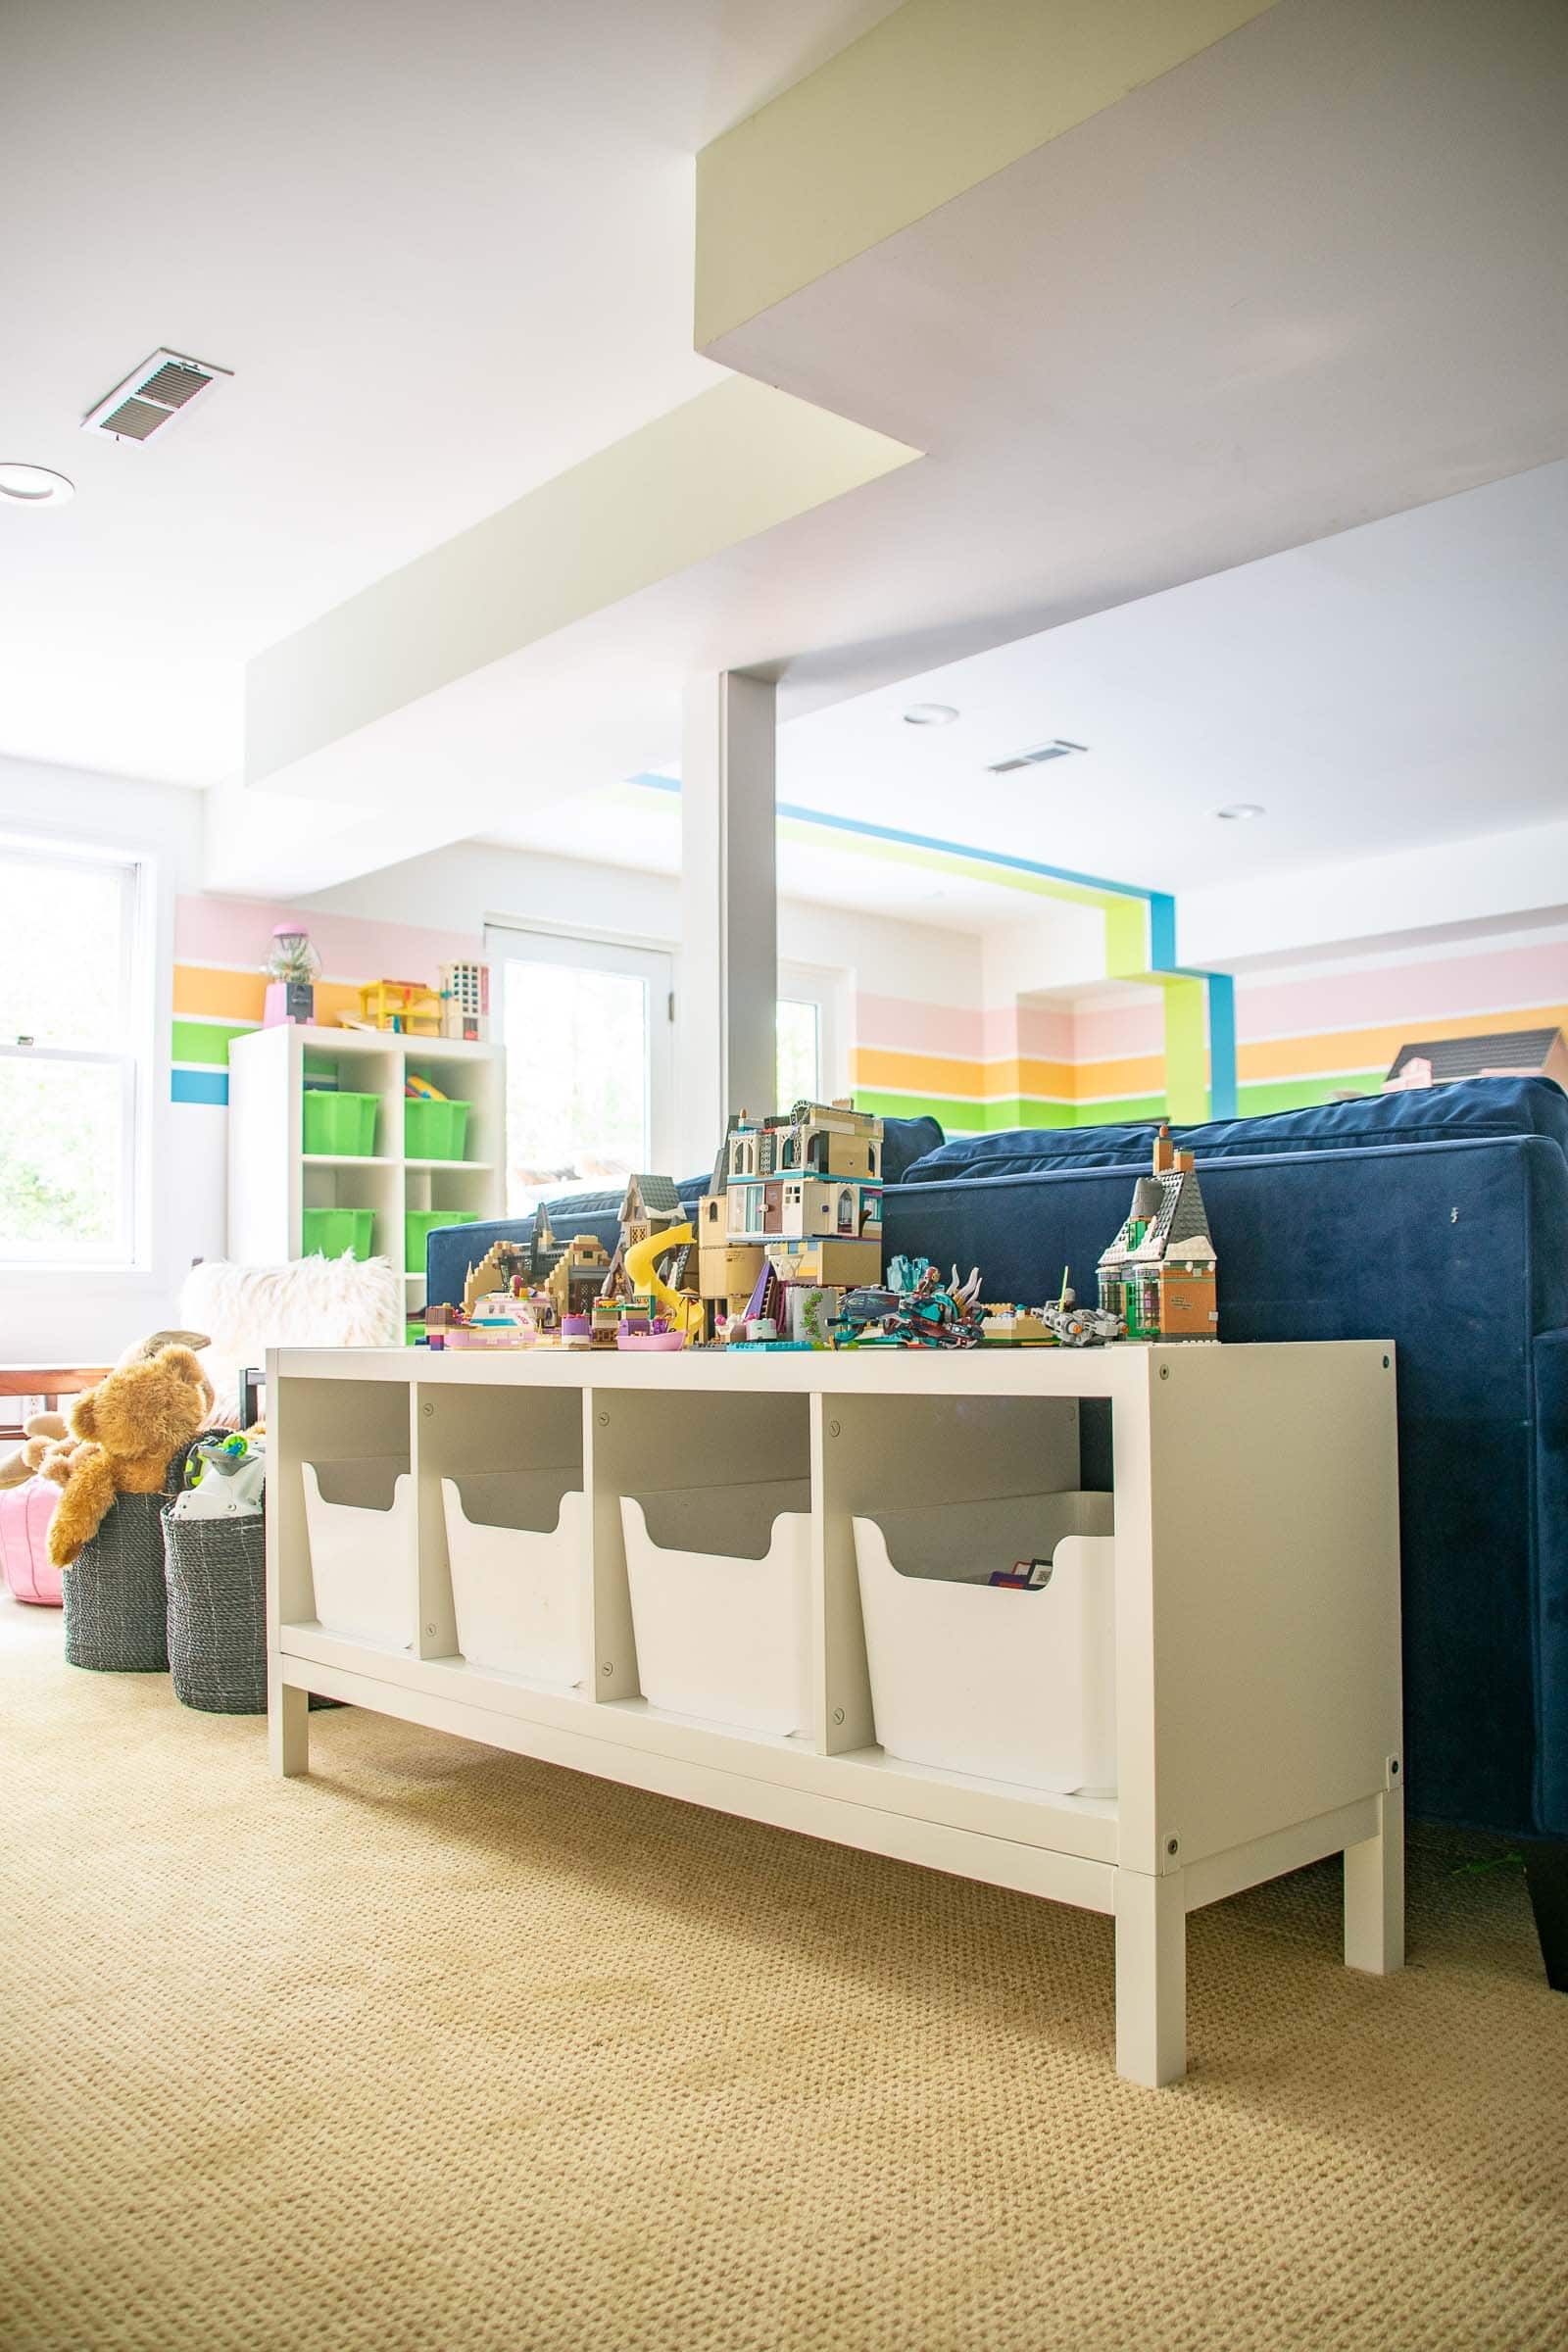
All the white storage pieces are from Ikea, but I did swap out the old toy bins for these soft rope baskets that match the new wall stripes. Part of this room makeover meant going through our old, outgrown toys and donating the excess to Goodwill or friends. With five kids there is *always* something getting outgrown so we need to go through our toys a LOT.
Phase 2 of the Game Room Makeover: Drink and Snack Station
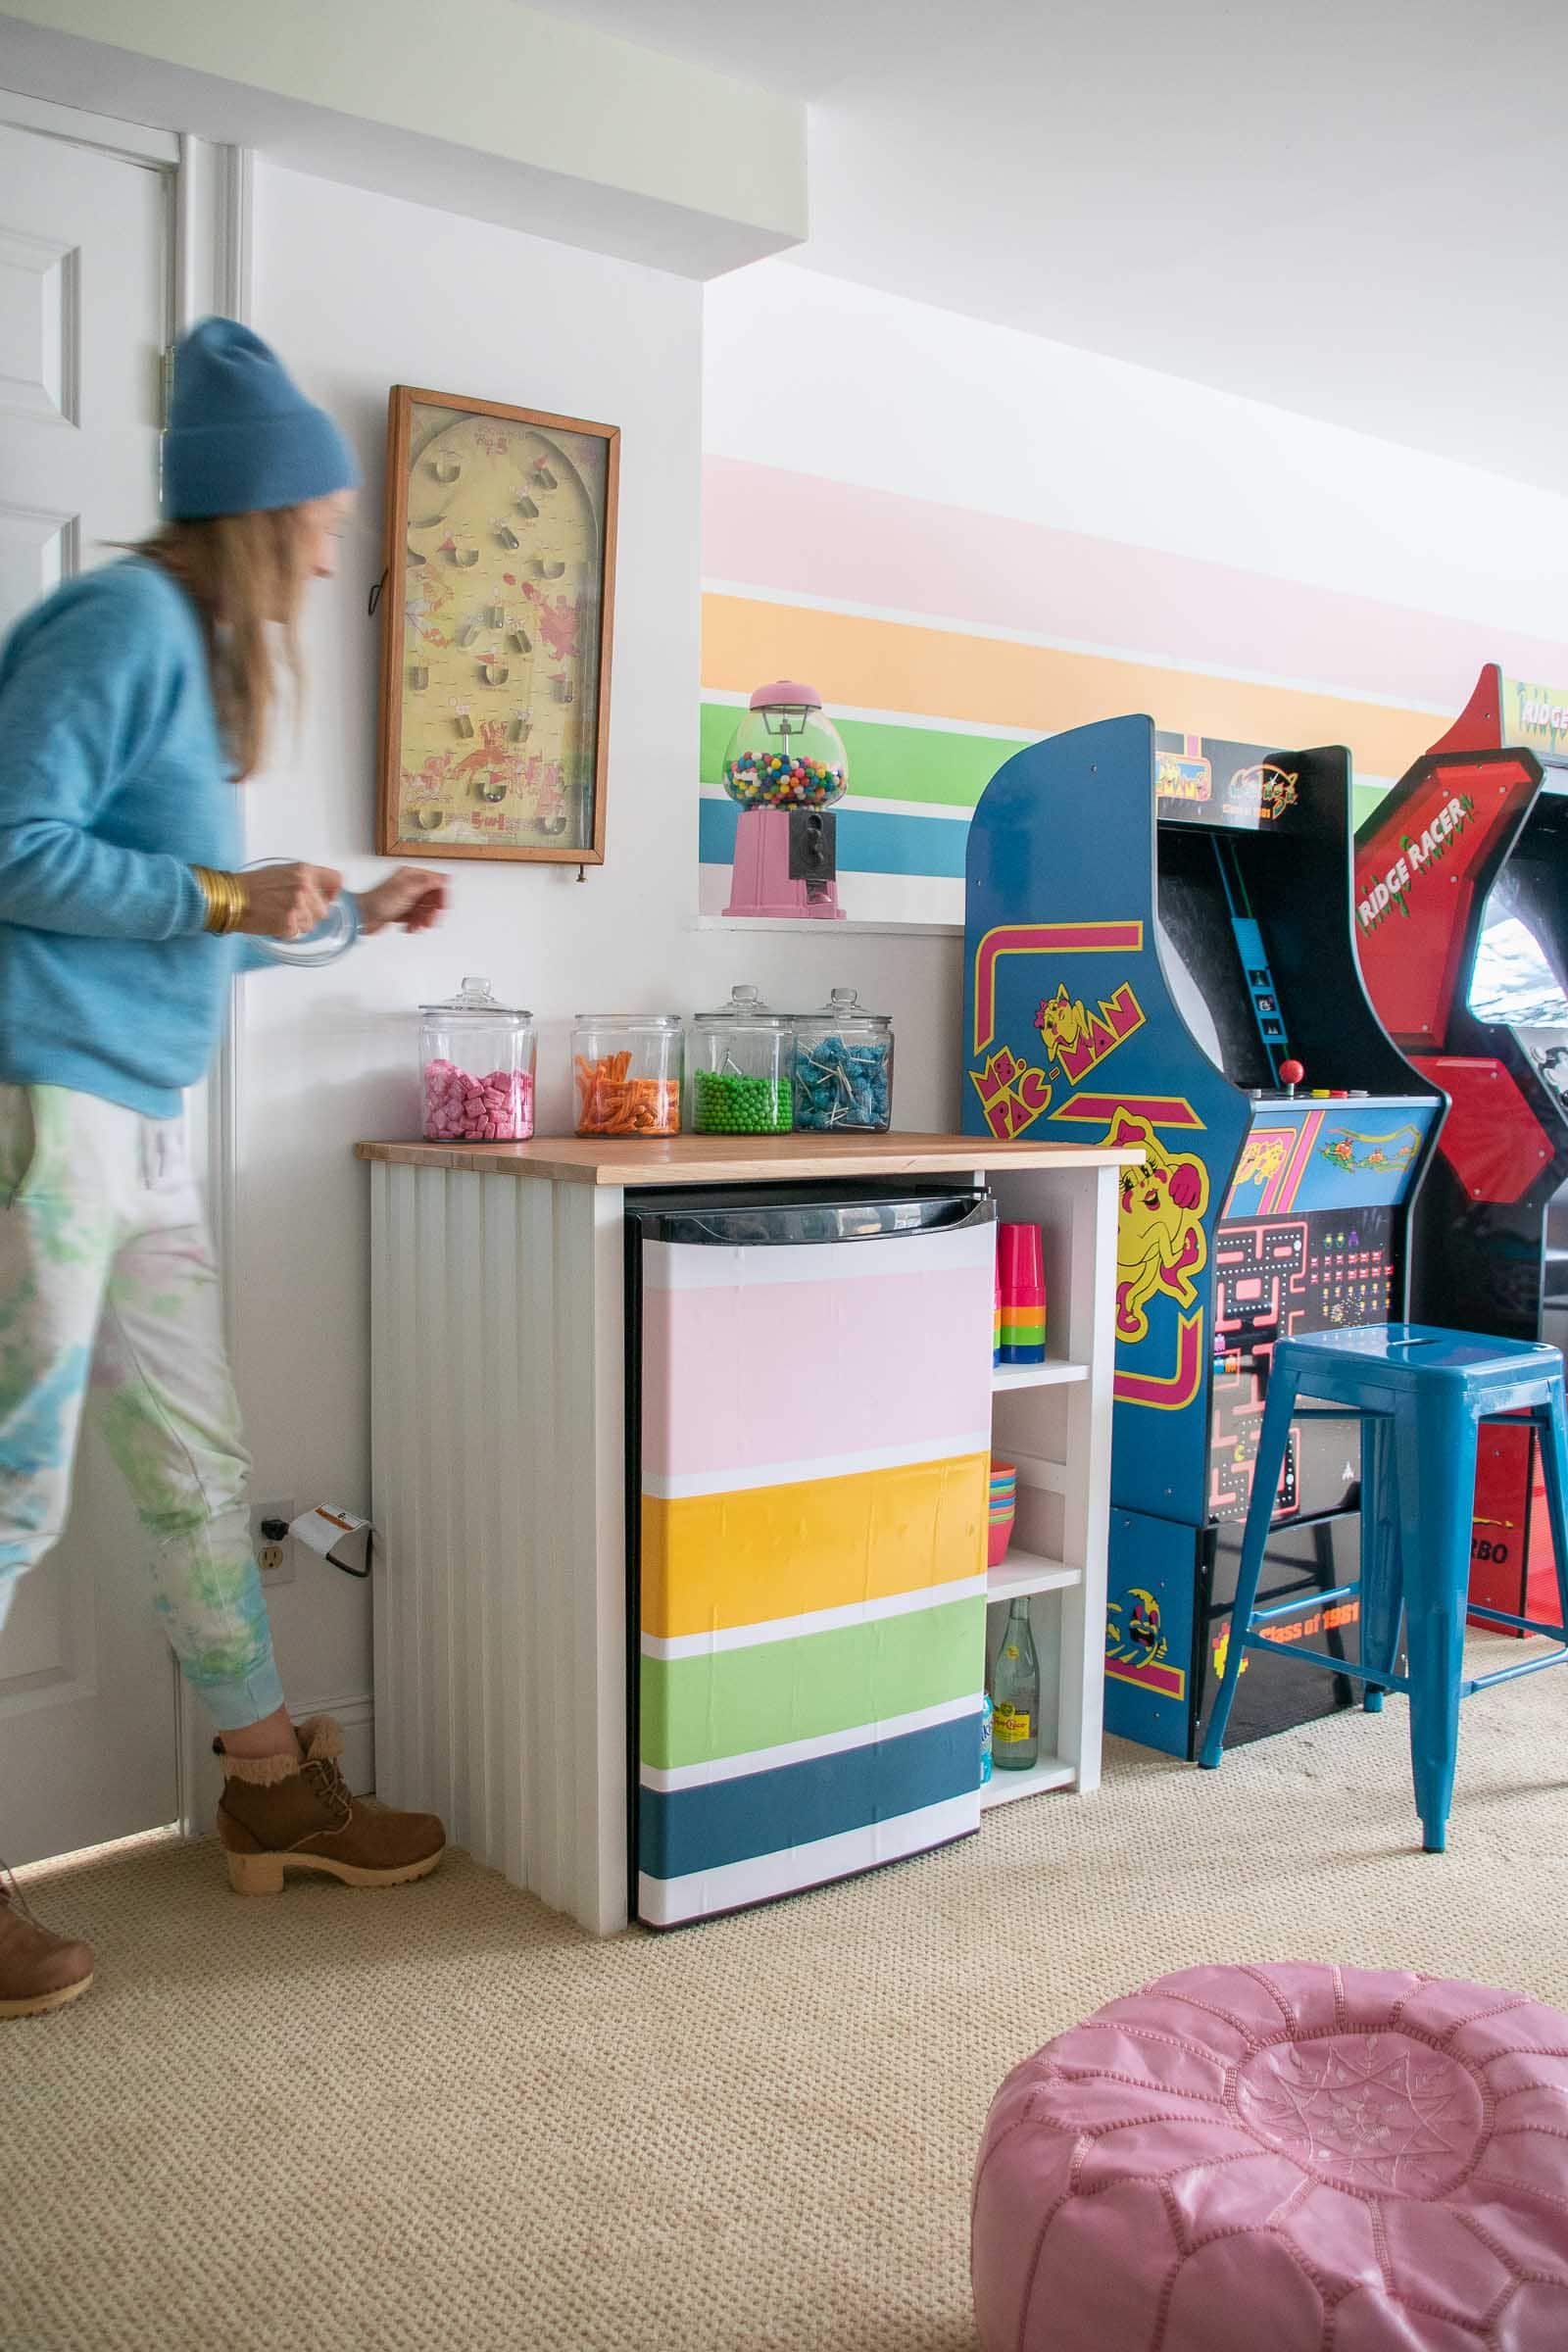
I picked up this mini fridge and build a shelf to go around it out of scrap plywood I had in the workshop. The back is open so nothing is overheating, and the countertop was made from two free table leaves I found at the Restore and sanded down. Adhesive wallpaper was the perfect way to camouflage our mini fridge and it’s one of the kids’ favorite new features down there.
Candy jars and my madeover gumball machine brought this little drink and snack area together. I hung a flea market pinball game over the mini fridge and love the finished results.
Phase 3 of the Game Room Makeover: Finishing Touches
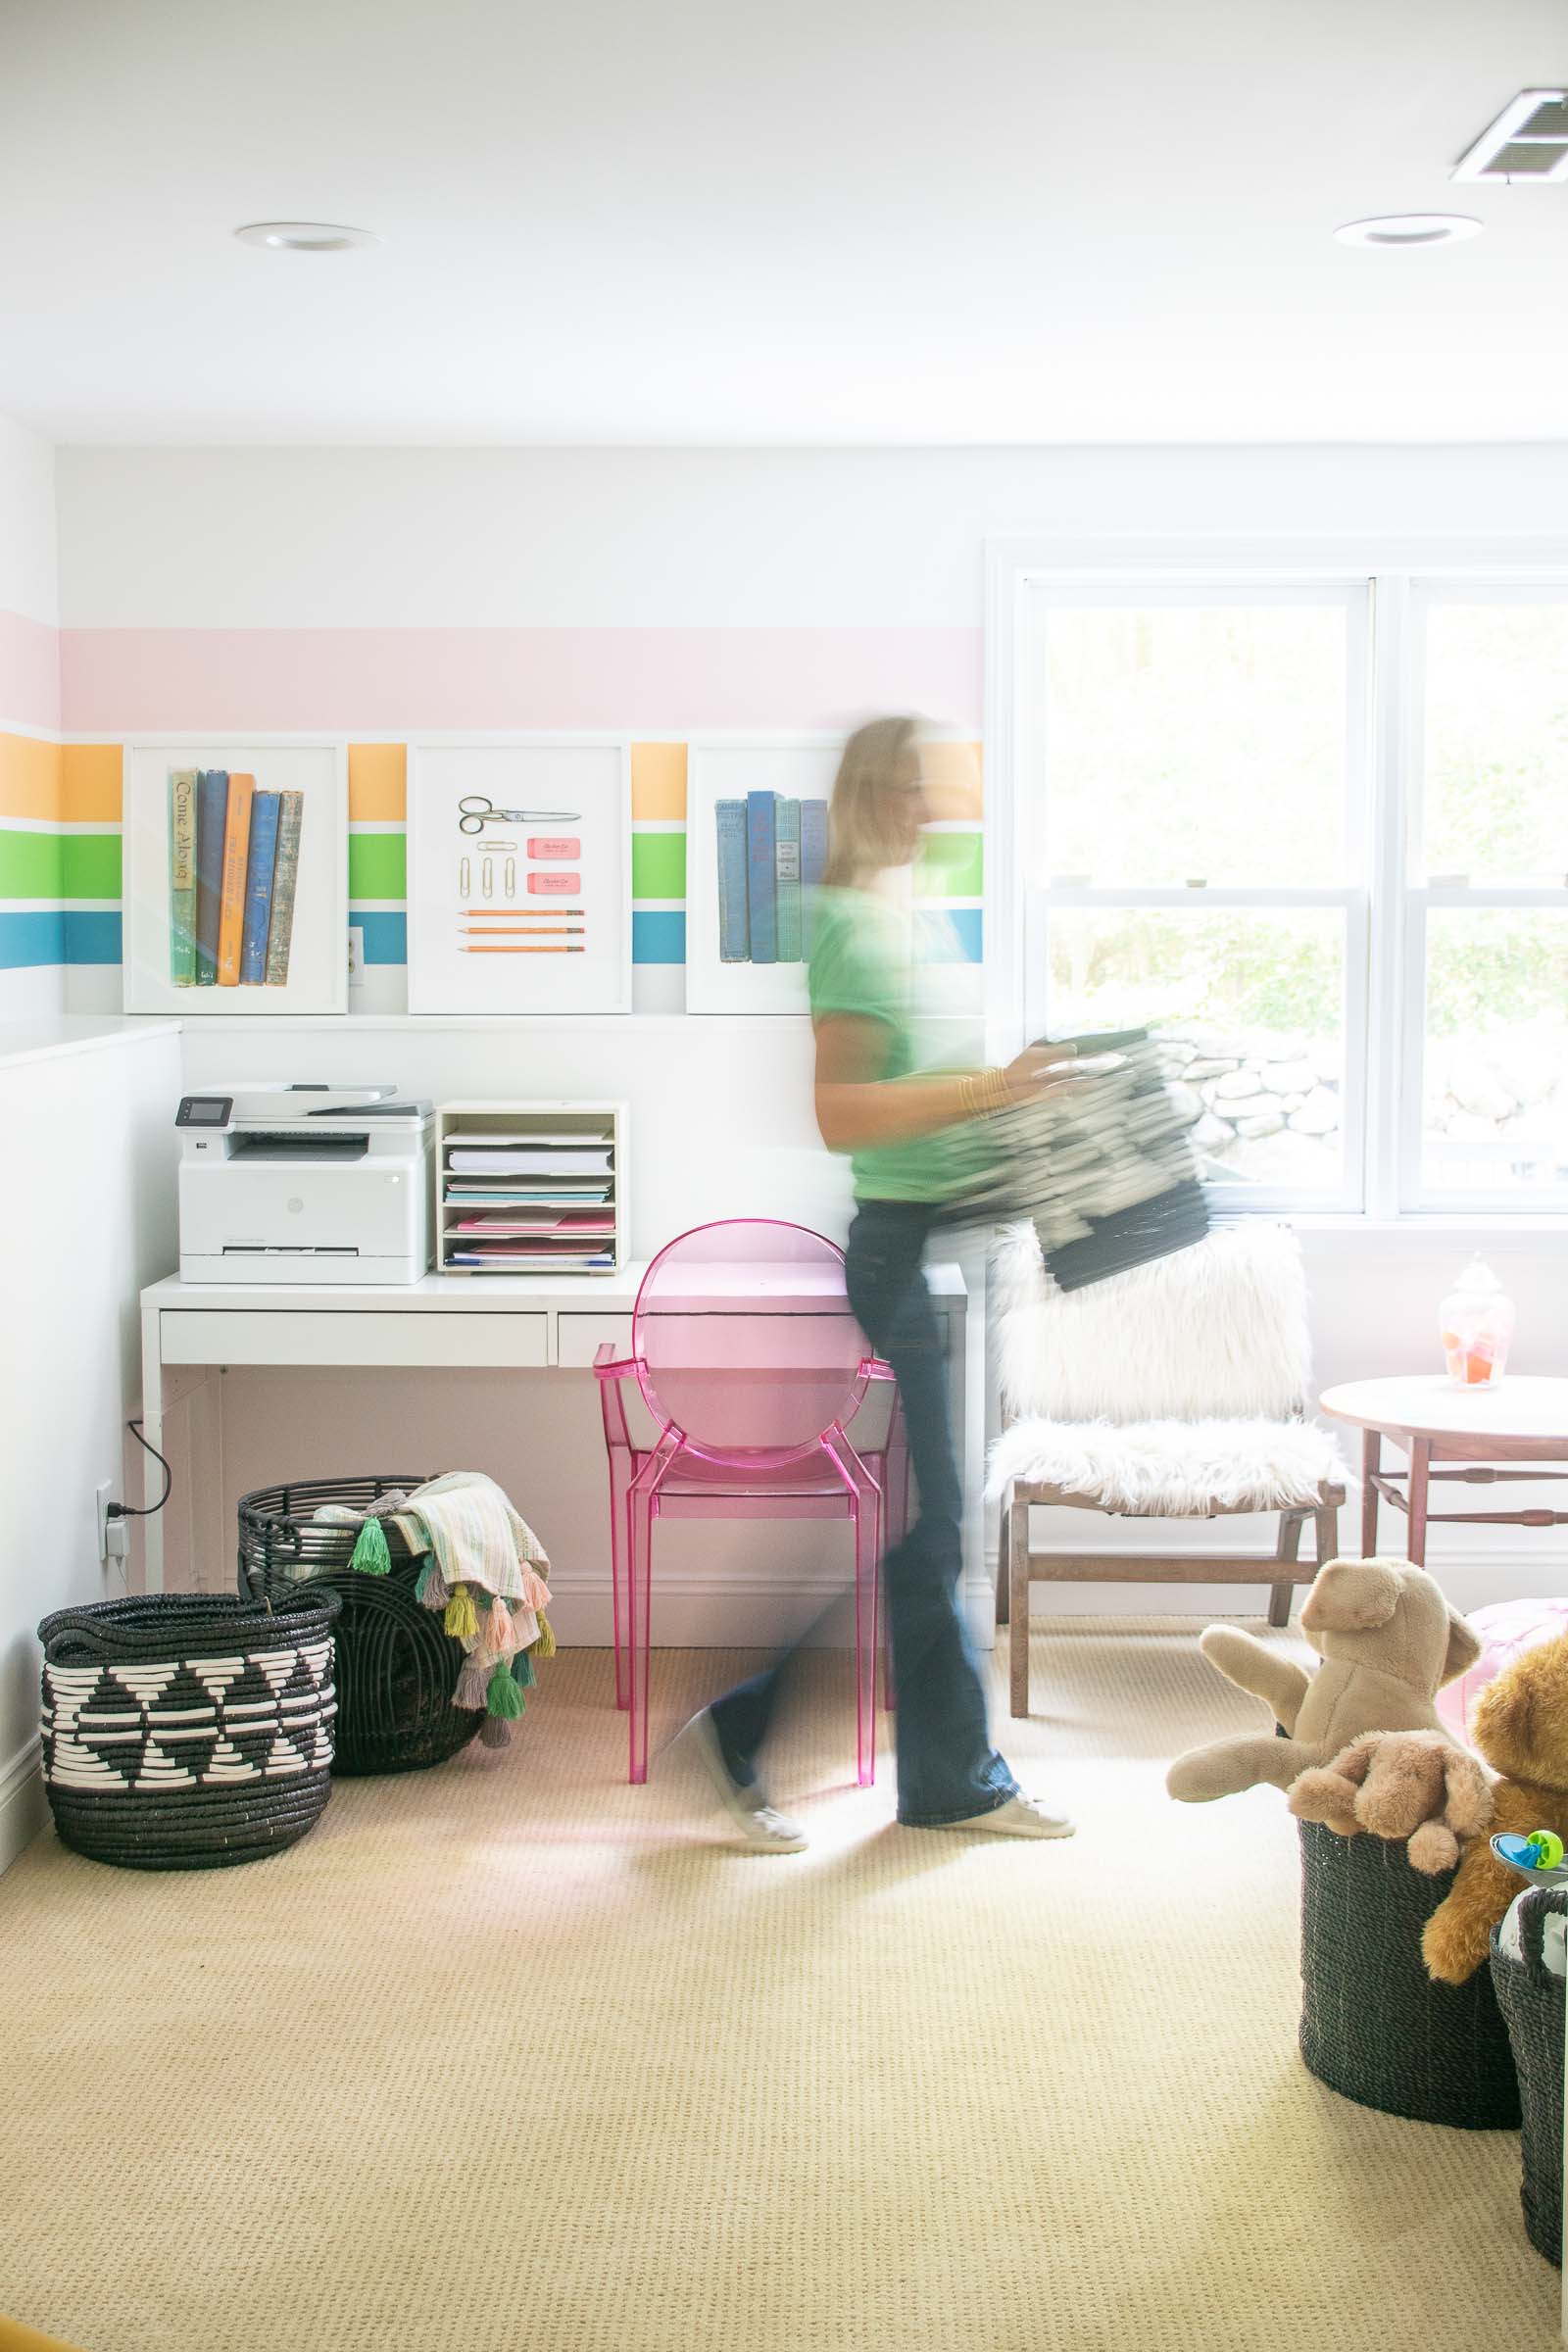
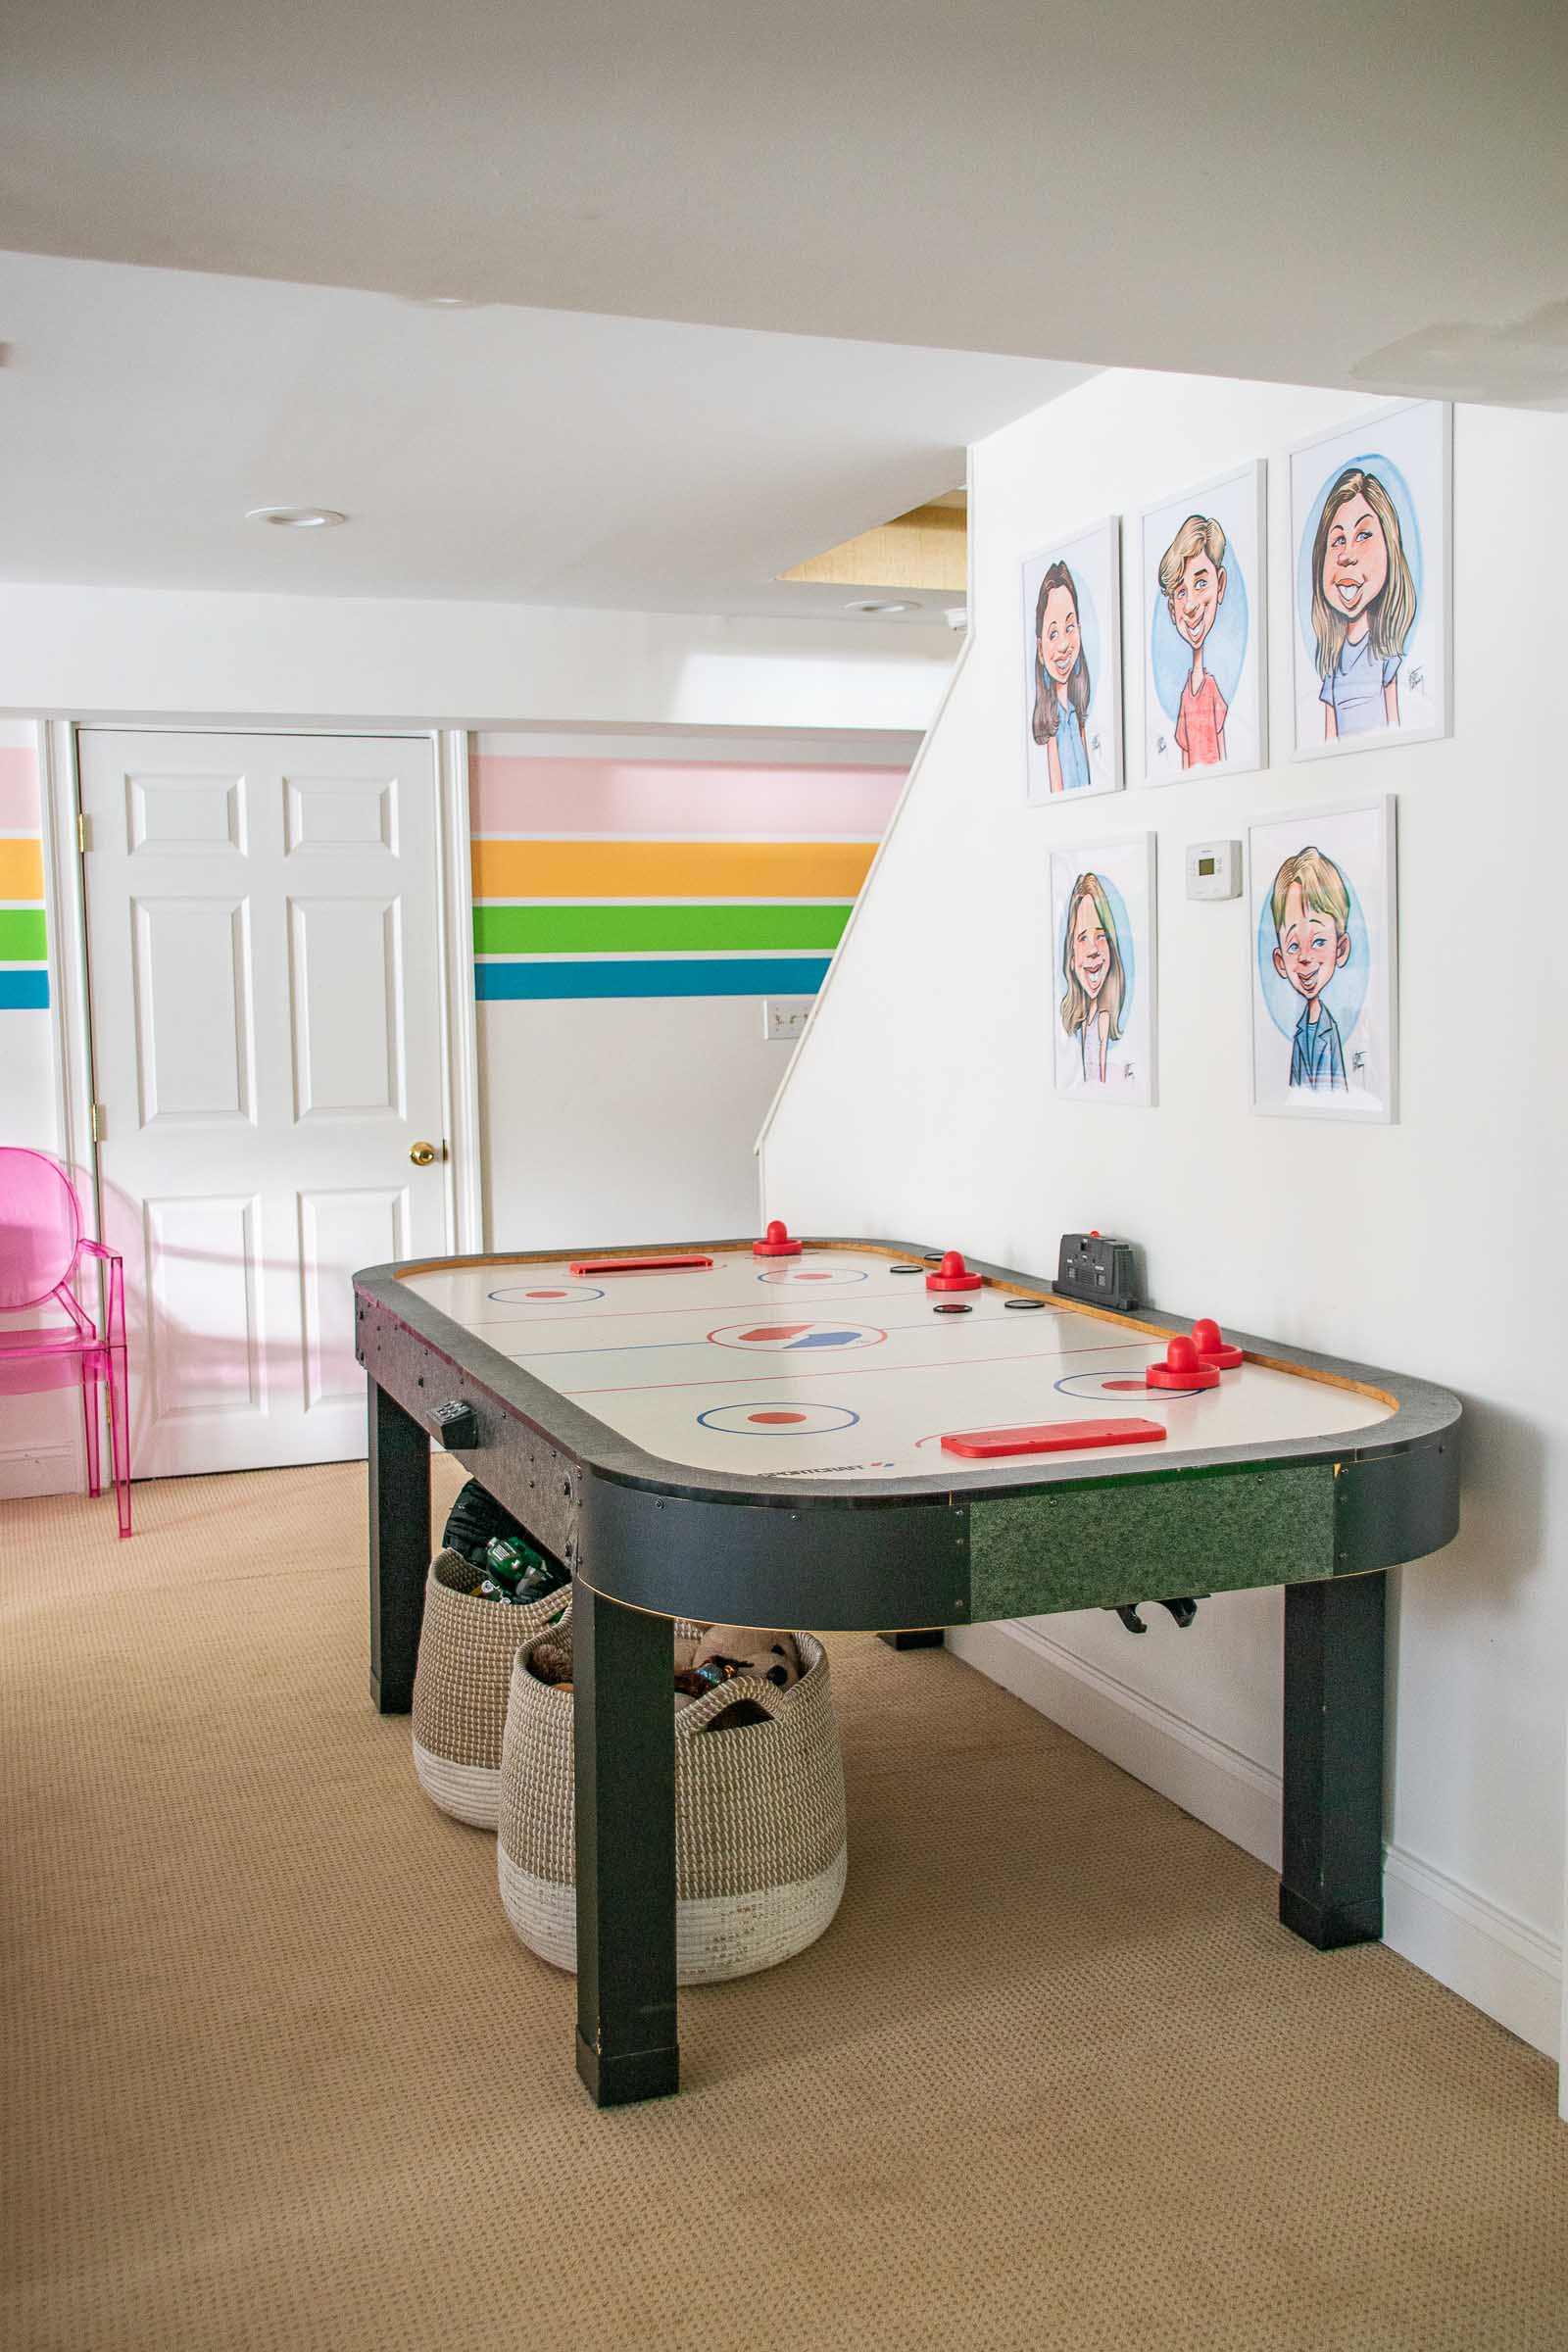
I rehung my Minted prints in the corner and added a few more smaller games to the space, like that giant Connect Four board and a rubber dart set. My painted backgammon table came down here to double as an end table. Above the air hockey table are five caricature drawings of my kids… I love them so much and think they’re the perfect solution for a casual and fun space like a basement game room!
Is this room perfect? Not a bit. We probably don’t need all those sofas, I don’t love the color of the rug, and there are still a few small walls that need a last coat of white paint. As I was typing this, I also realize that there are a few pain points like the area under that coffee table that gets filled with toys, so I need to keep purging and create space for some of these new holiday gift additions. That said, my kids are down there ALL the time and, even better, when they have friends over… they all just go running down and there’s not nearly as much time spent trying to figure out what games to play at the beginning of each playdate!
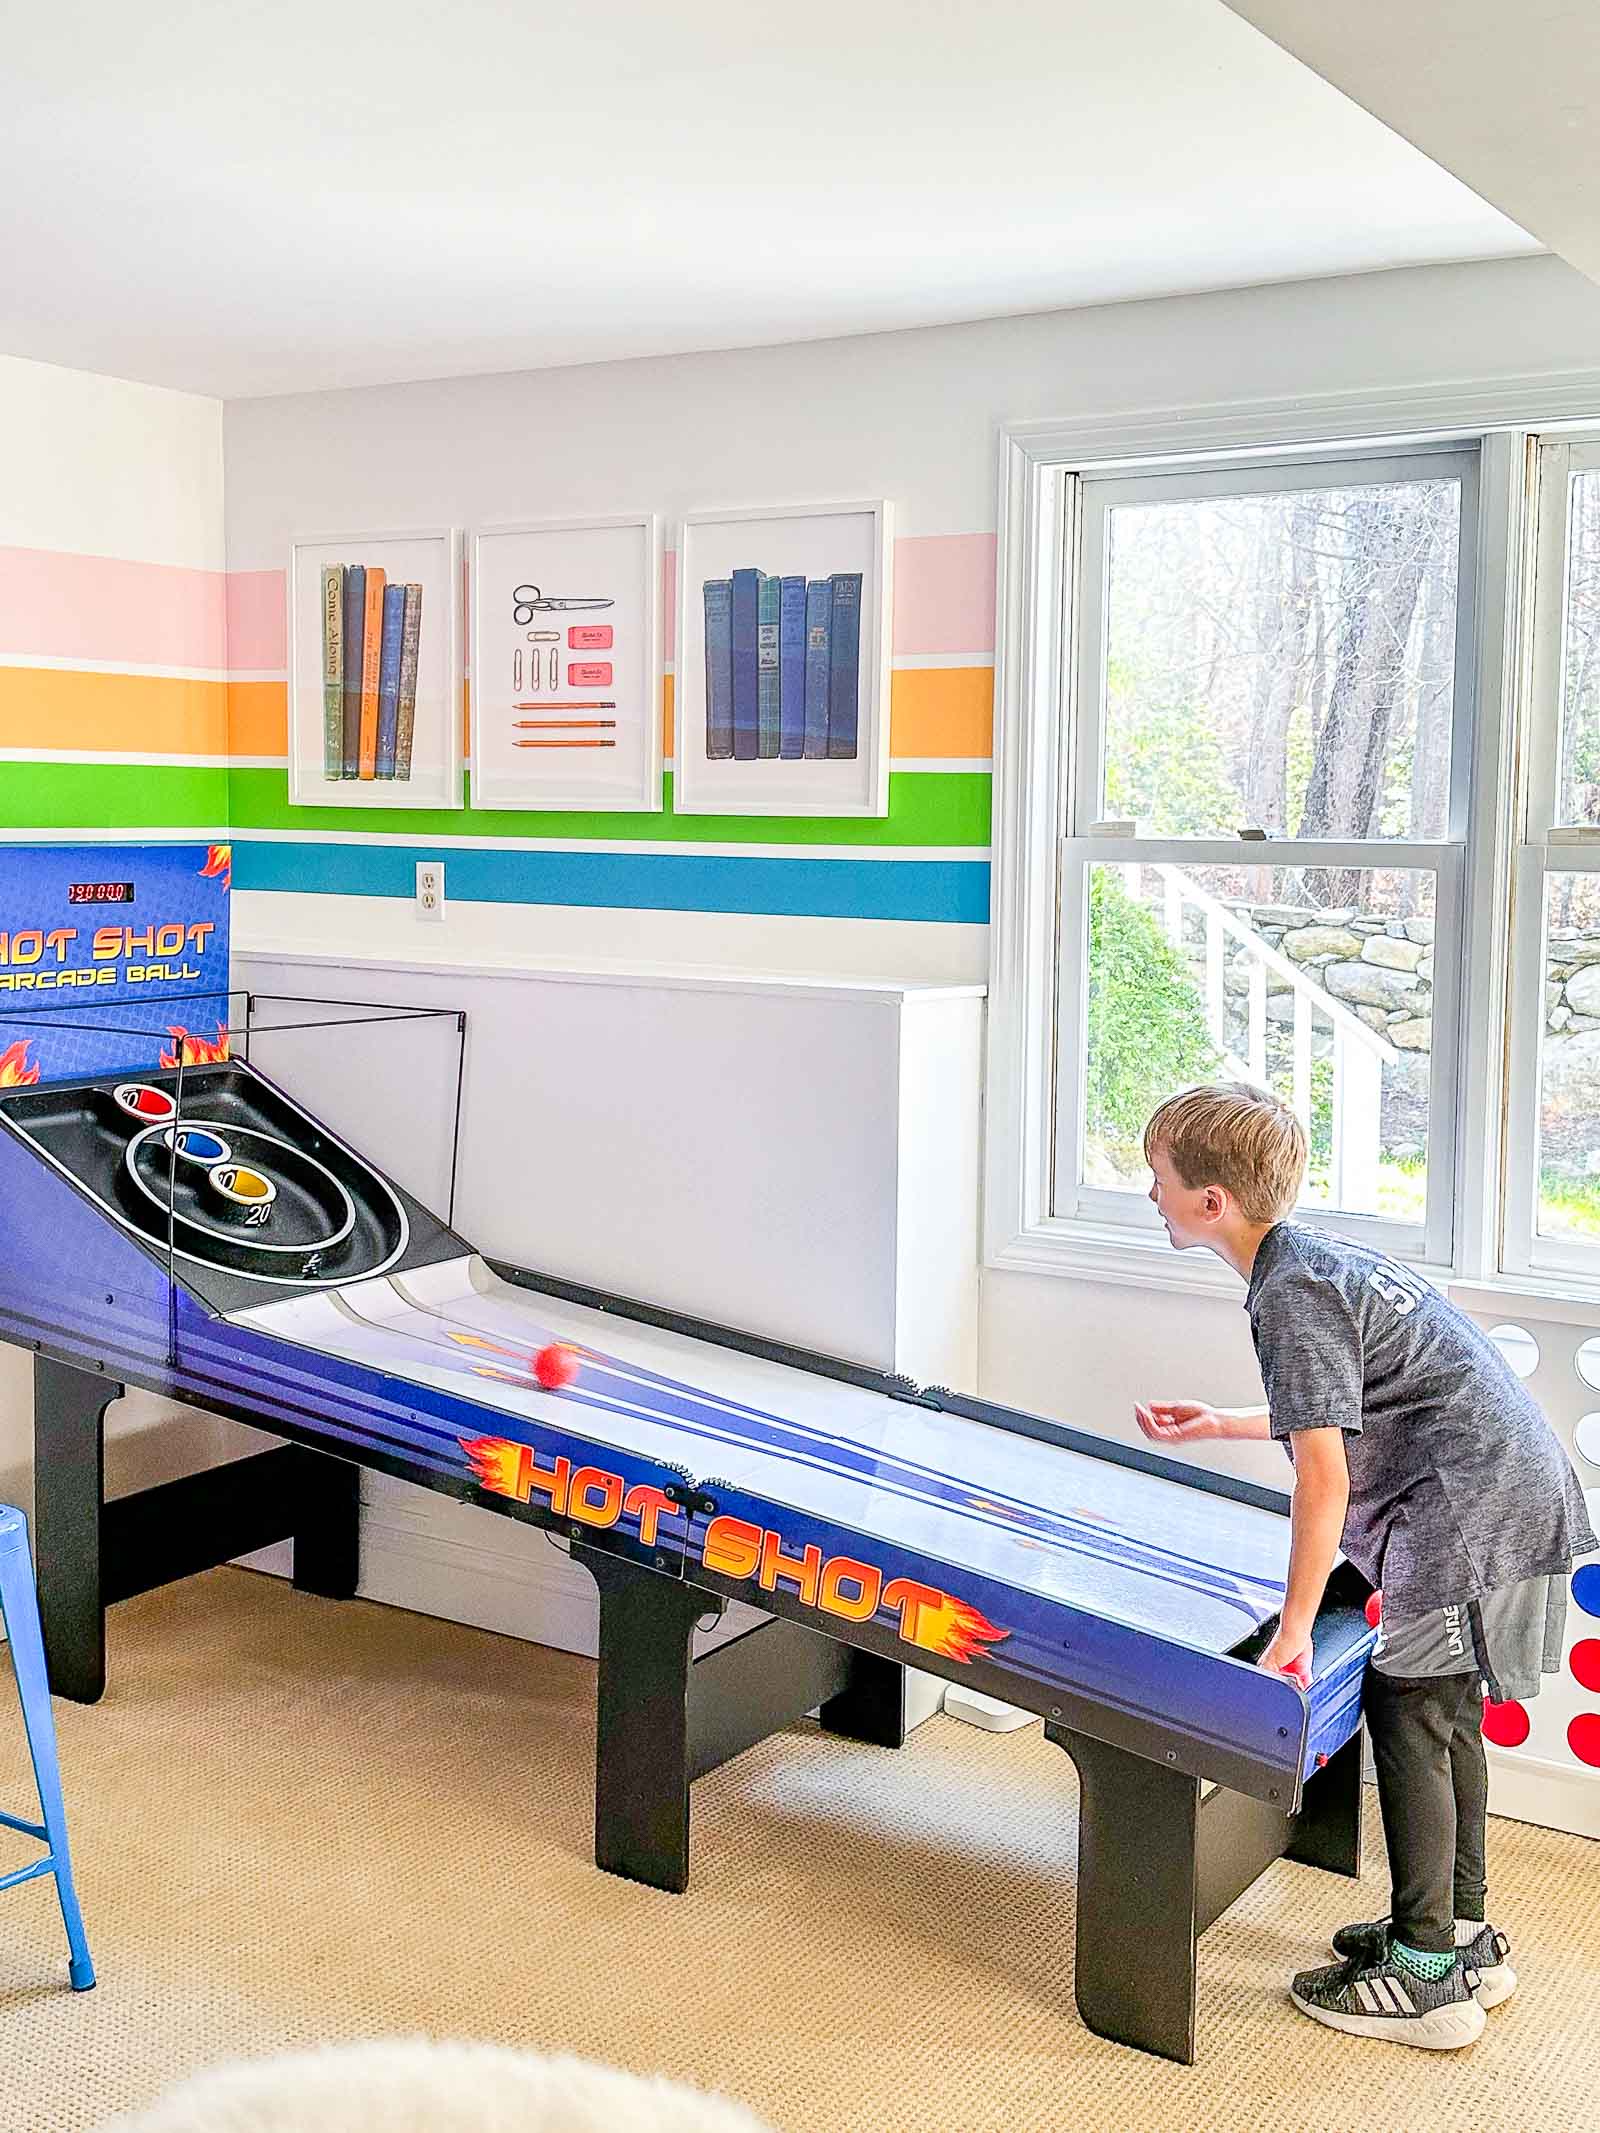
Sources:
- White Bookshelves
- Rope Baskets
- Giant Connect Four
- Blue Leather Poufs
- Skeeball Game (we have this one which shows as no longer available). This one seems similar!
- Frogger Arcade Game
- Ridge Racer Arcade Game
- Ms. Pacman/ Galaga Arcade Game
- Mini Fridge
- Glass Candy Containers
- LED Light Strips
- Blue Stools
- Rubber Darts
- Caricature Portraits
- Air Hockey (ours not available online, but here’s an option)
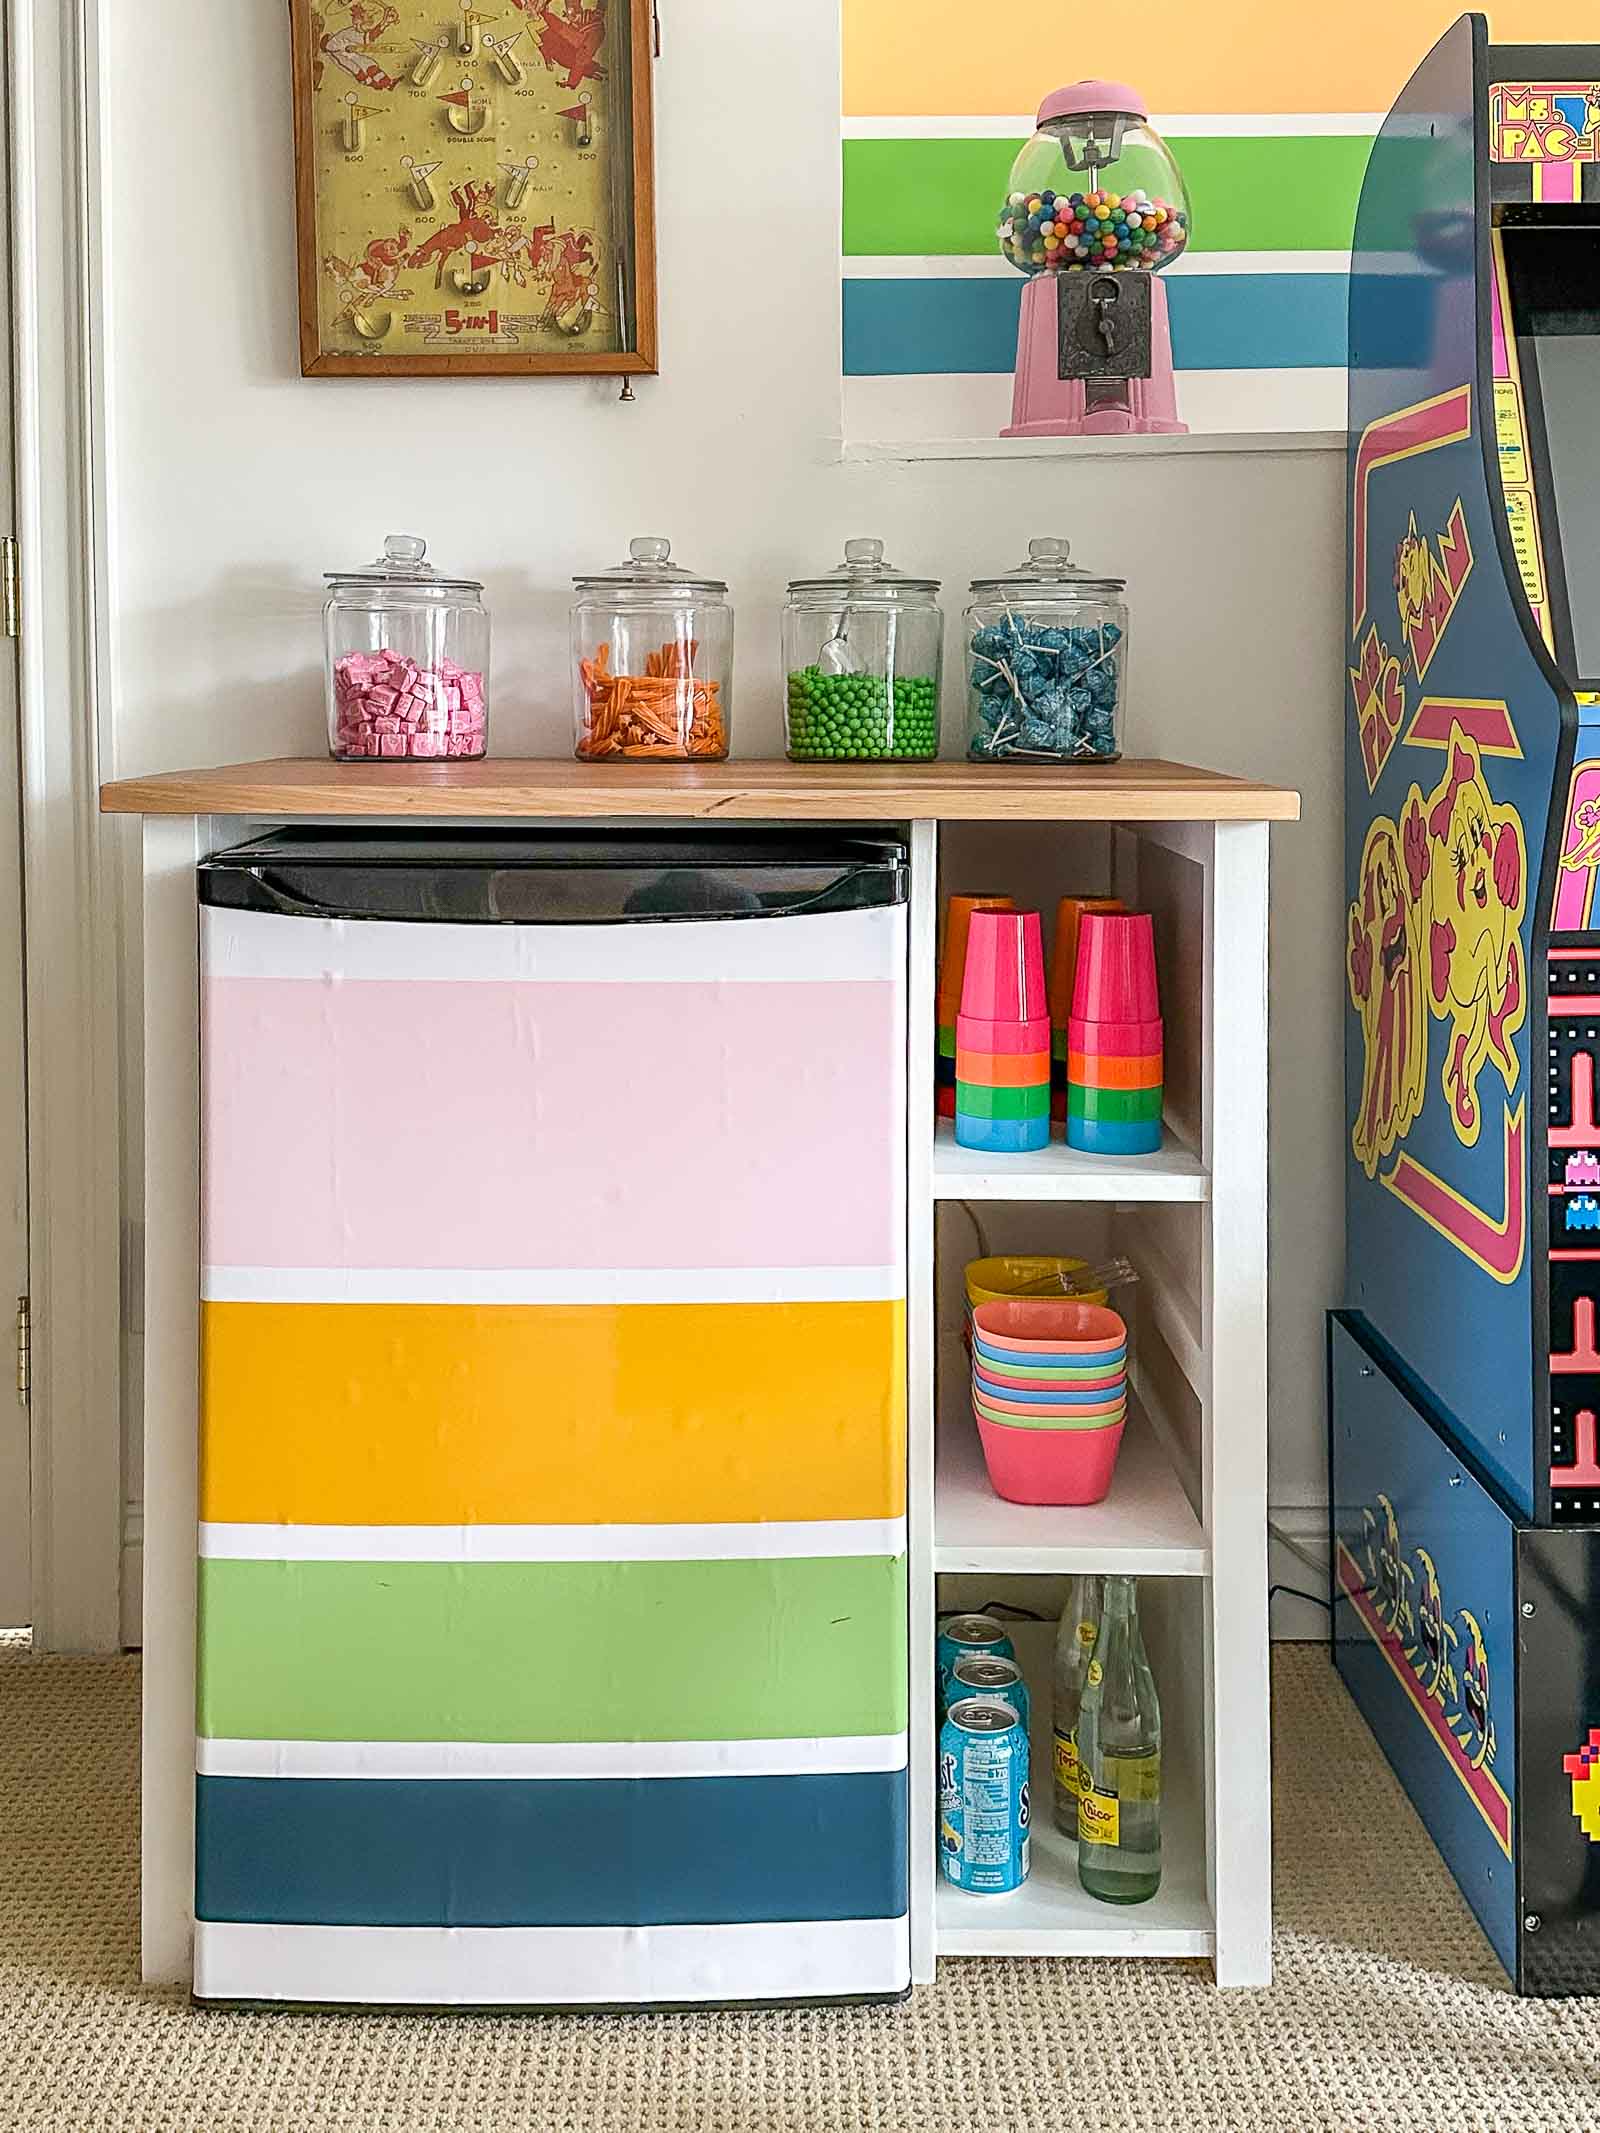


Hi! Loving this post so much! Where did you get the storage cabinet for the mini fridge? Thanks so much!
I built it!