
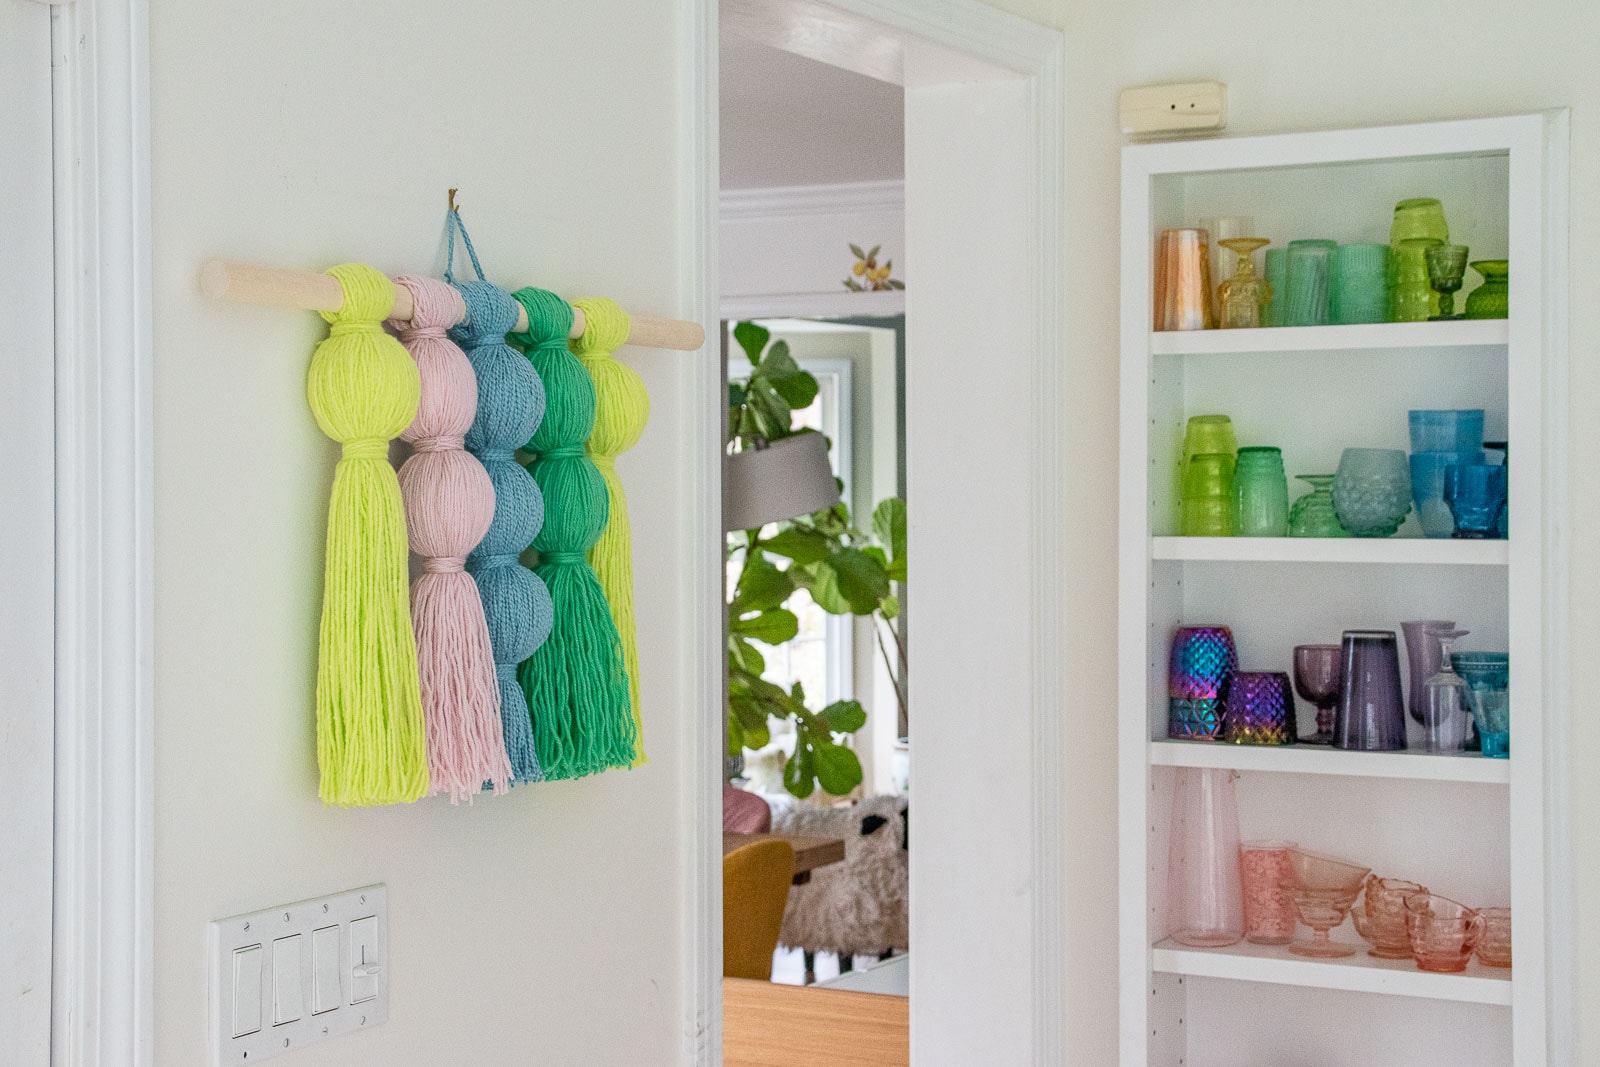
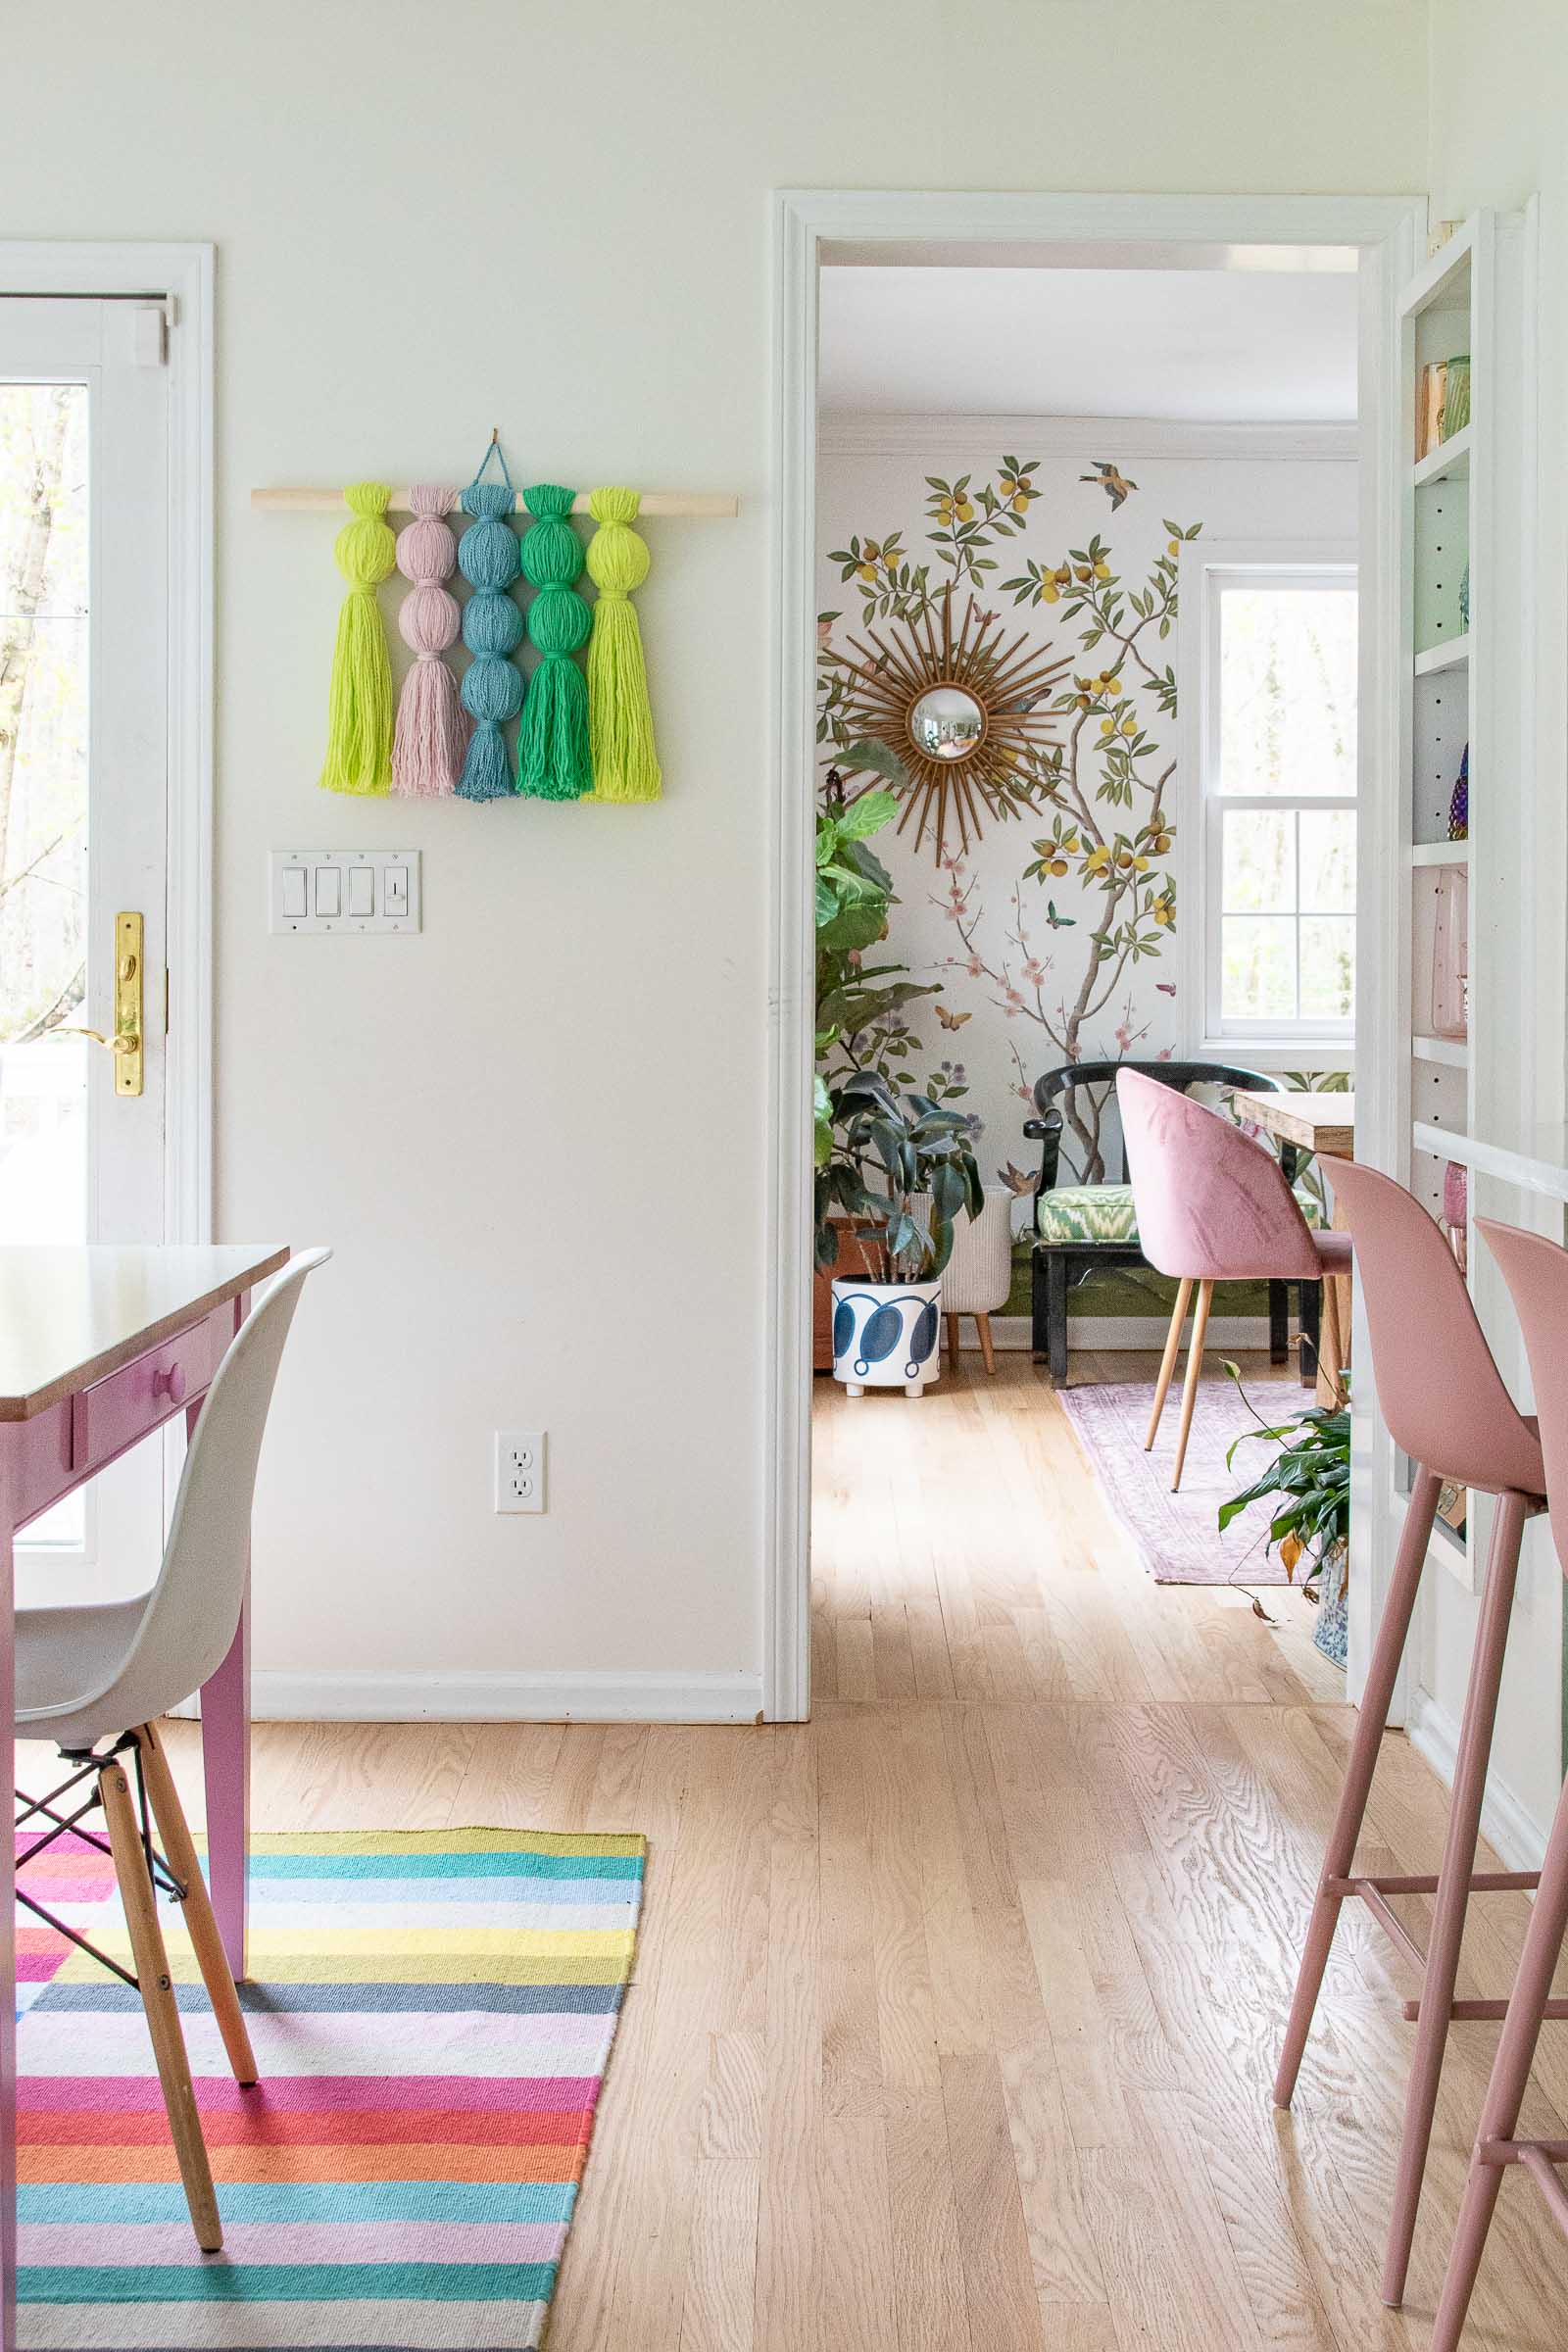
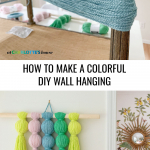
Colorful DIY Yarn Wall Hanging
Psssst… this post *might* contain affiliate links: see my disclosure here.
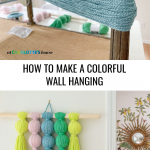
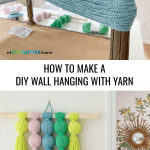
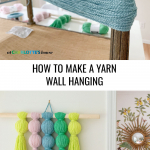
How to Make a Yarn Ball Wall Hanging
I had to make a colorful dupe of an amazing wall hanging I saw in New York City.
Story Time
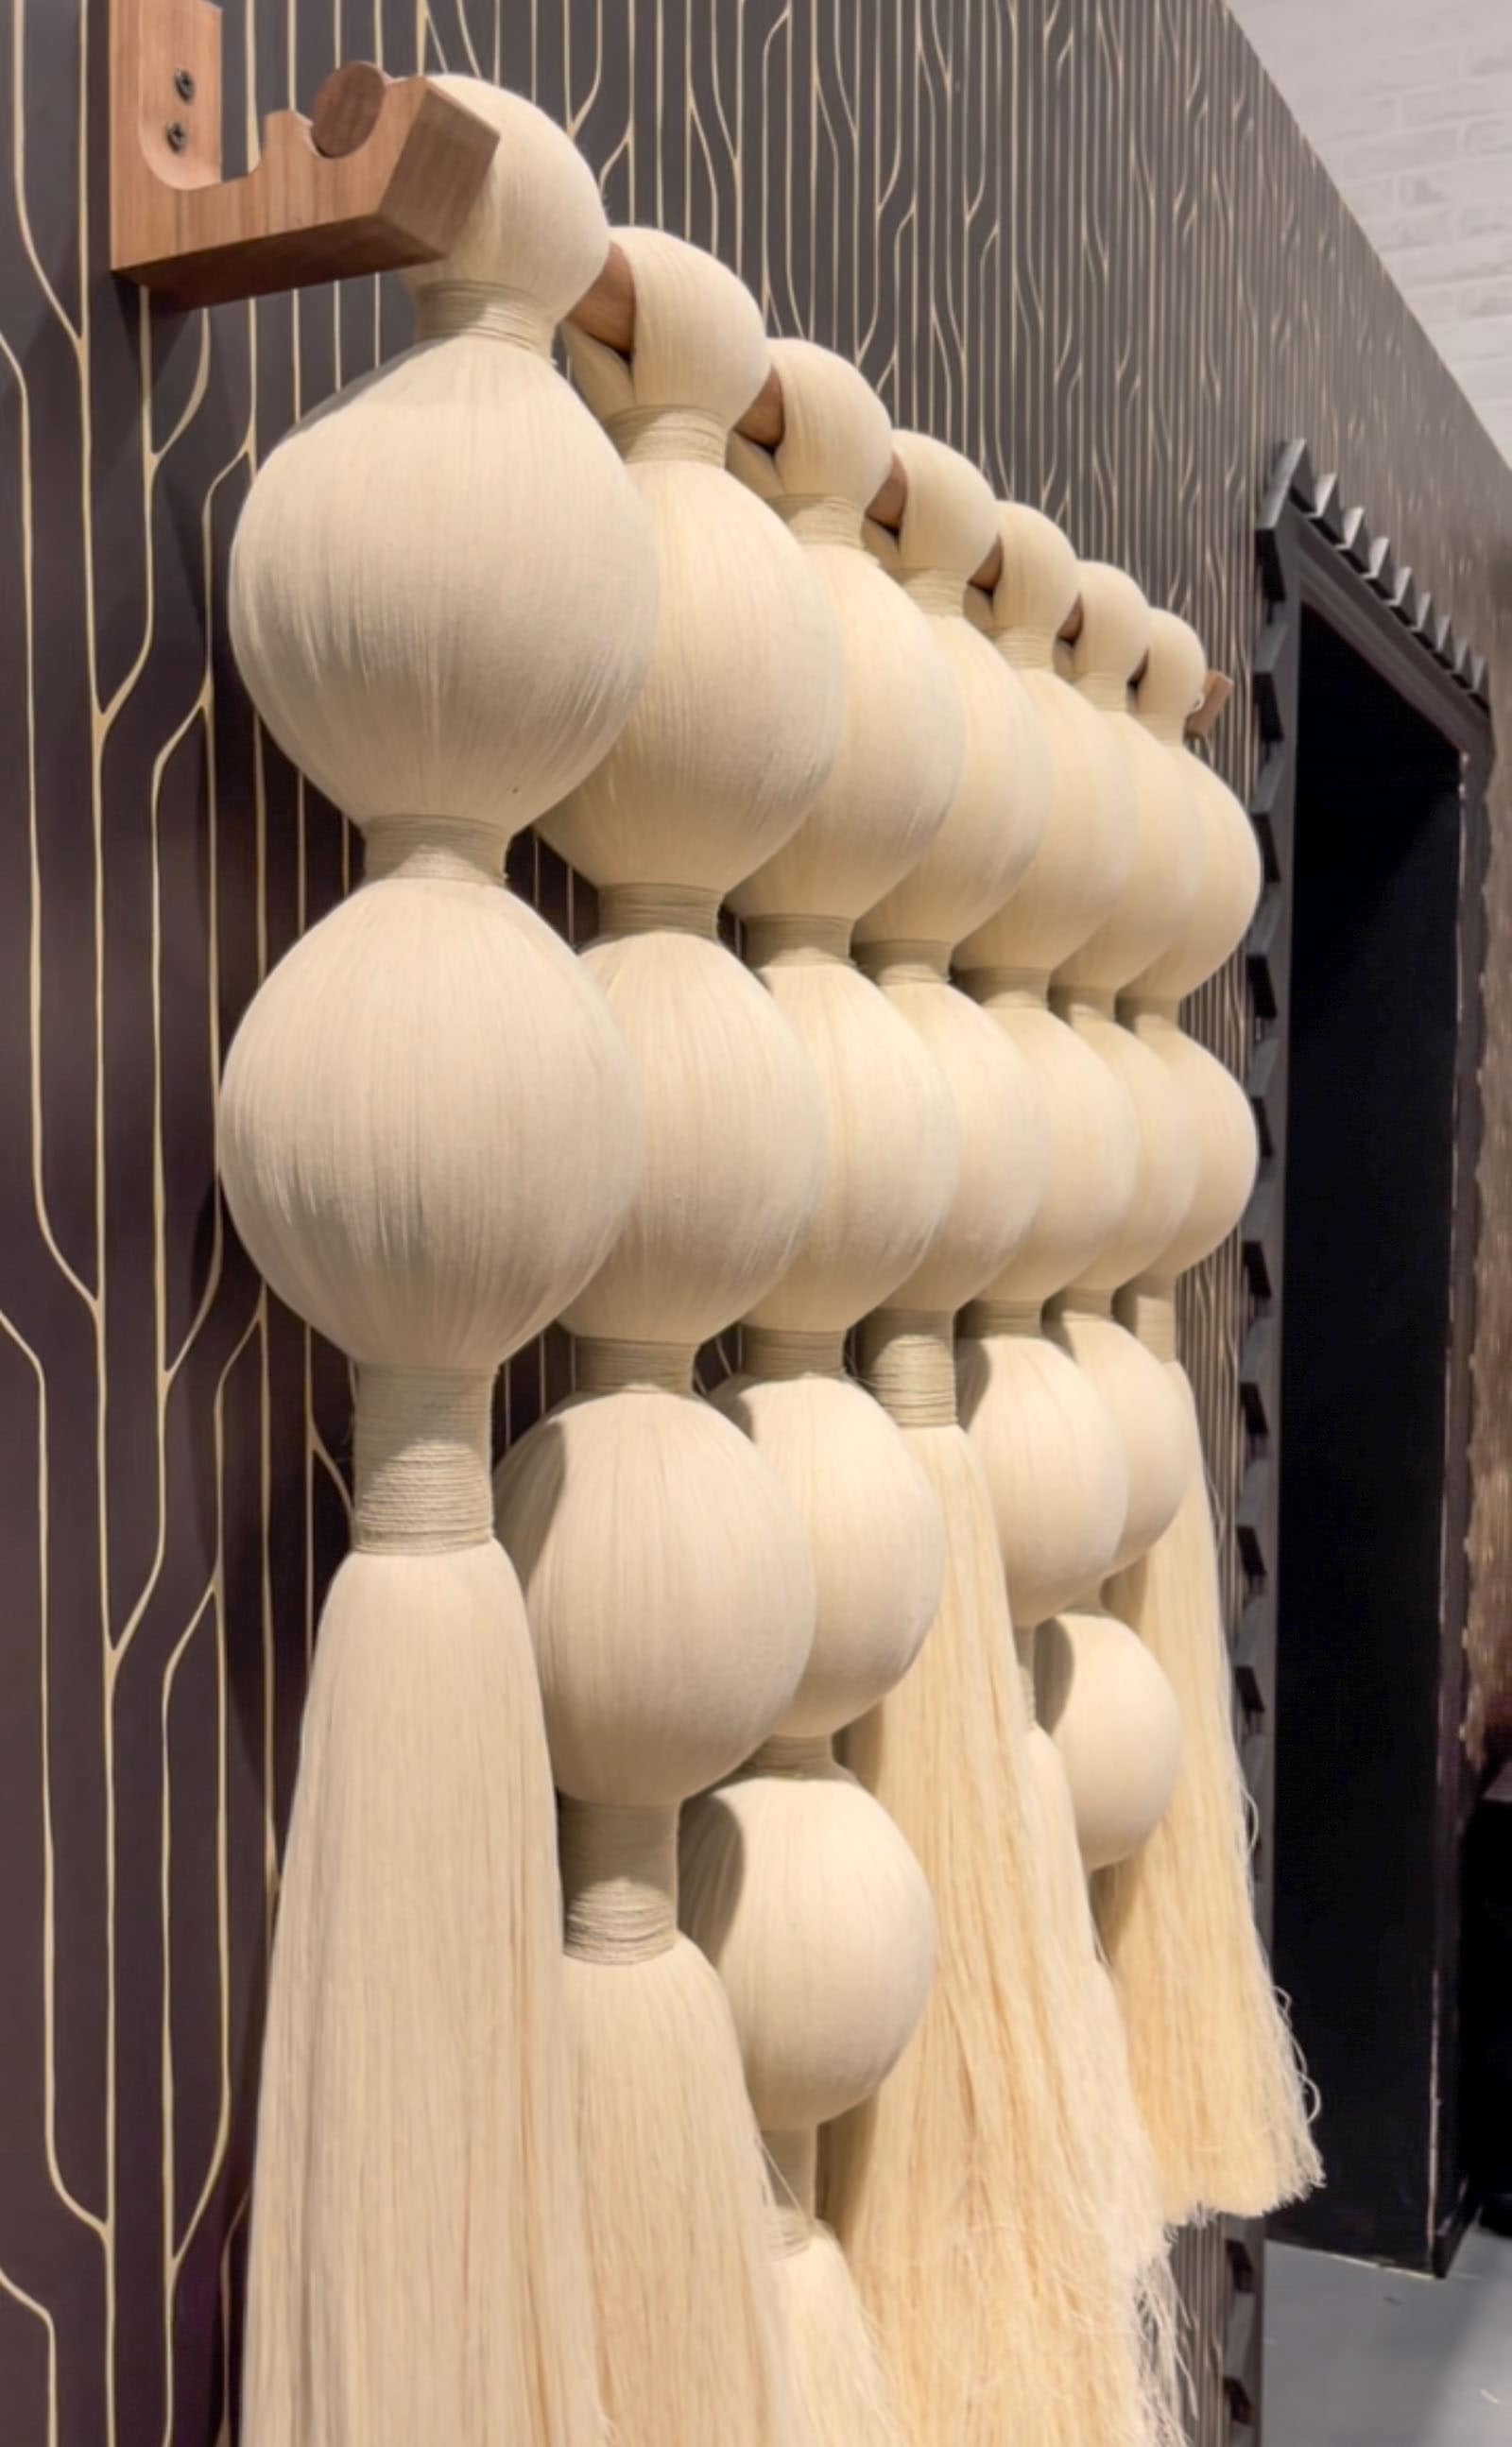
When I first started blogging years ago, “hacks” were a big thing. Anthro hacks. Serena and Lily hacks. Essentially finding a way to DIY a cheaper imitation of something at one of these stores. I admit that finding ways to DIY things I love is still in my blood so I end up with random photos peppered throughout my phone of items I see that might be replicable. Two weeks ago I headed into the city to see my friends’ small space designs for Apartment Therapy. This wall hanging is the Lomas Wall Hanging displayed in Carmeon Hamilton’s space and can be found HERE. Note the price. Well worth it as her piece is a true work of art, but not the investment I want to make right now. DIY it is!
Shop my favorites!
Materials:
- Wooden Dowel
- Yarn (the thinner the better)
- Floral wire/ rubber bands
- Paint brush comb
- Styrofoam Balls
- hanging hardware
Step 1. Layout
Line up the styrofoam balls and see how you want them to hang. I only had 12 so my options were limited… I wish I had purchased another 6-pack for a total of 18. My styrofoam balls are 3-inches diameter, but this is personal preference. I think this would look great with smaller balls, but I wanted to replicate the one above as best I could.
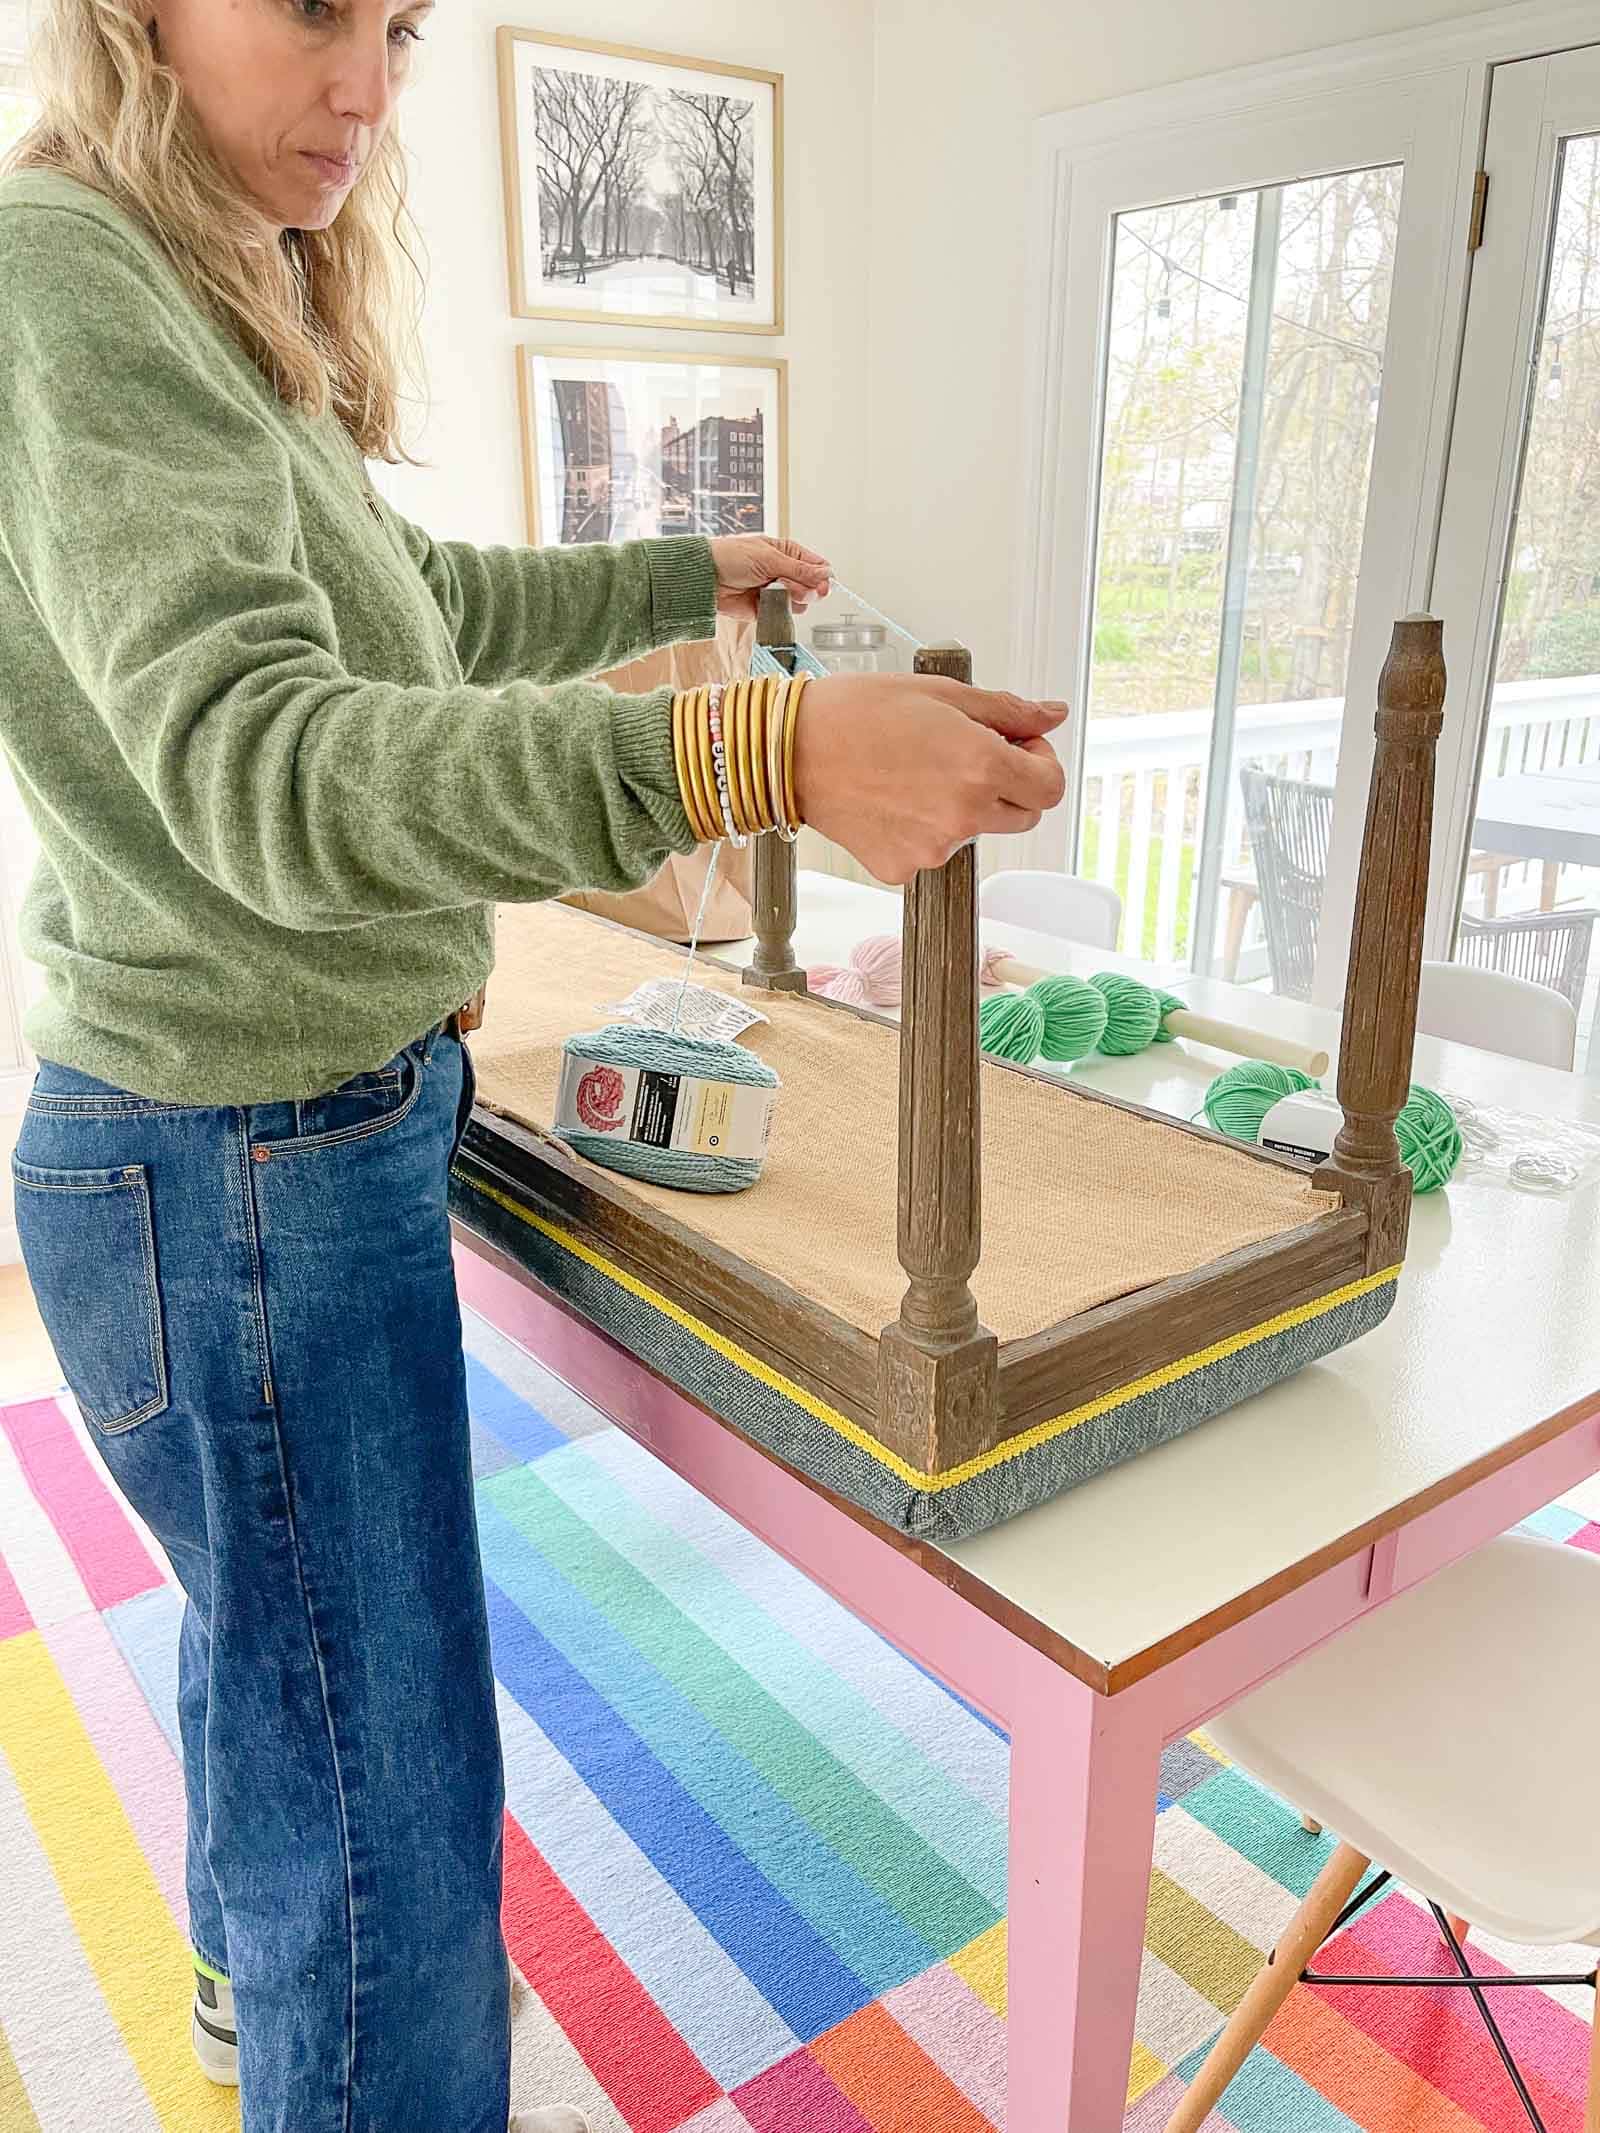
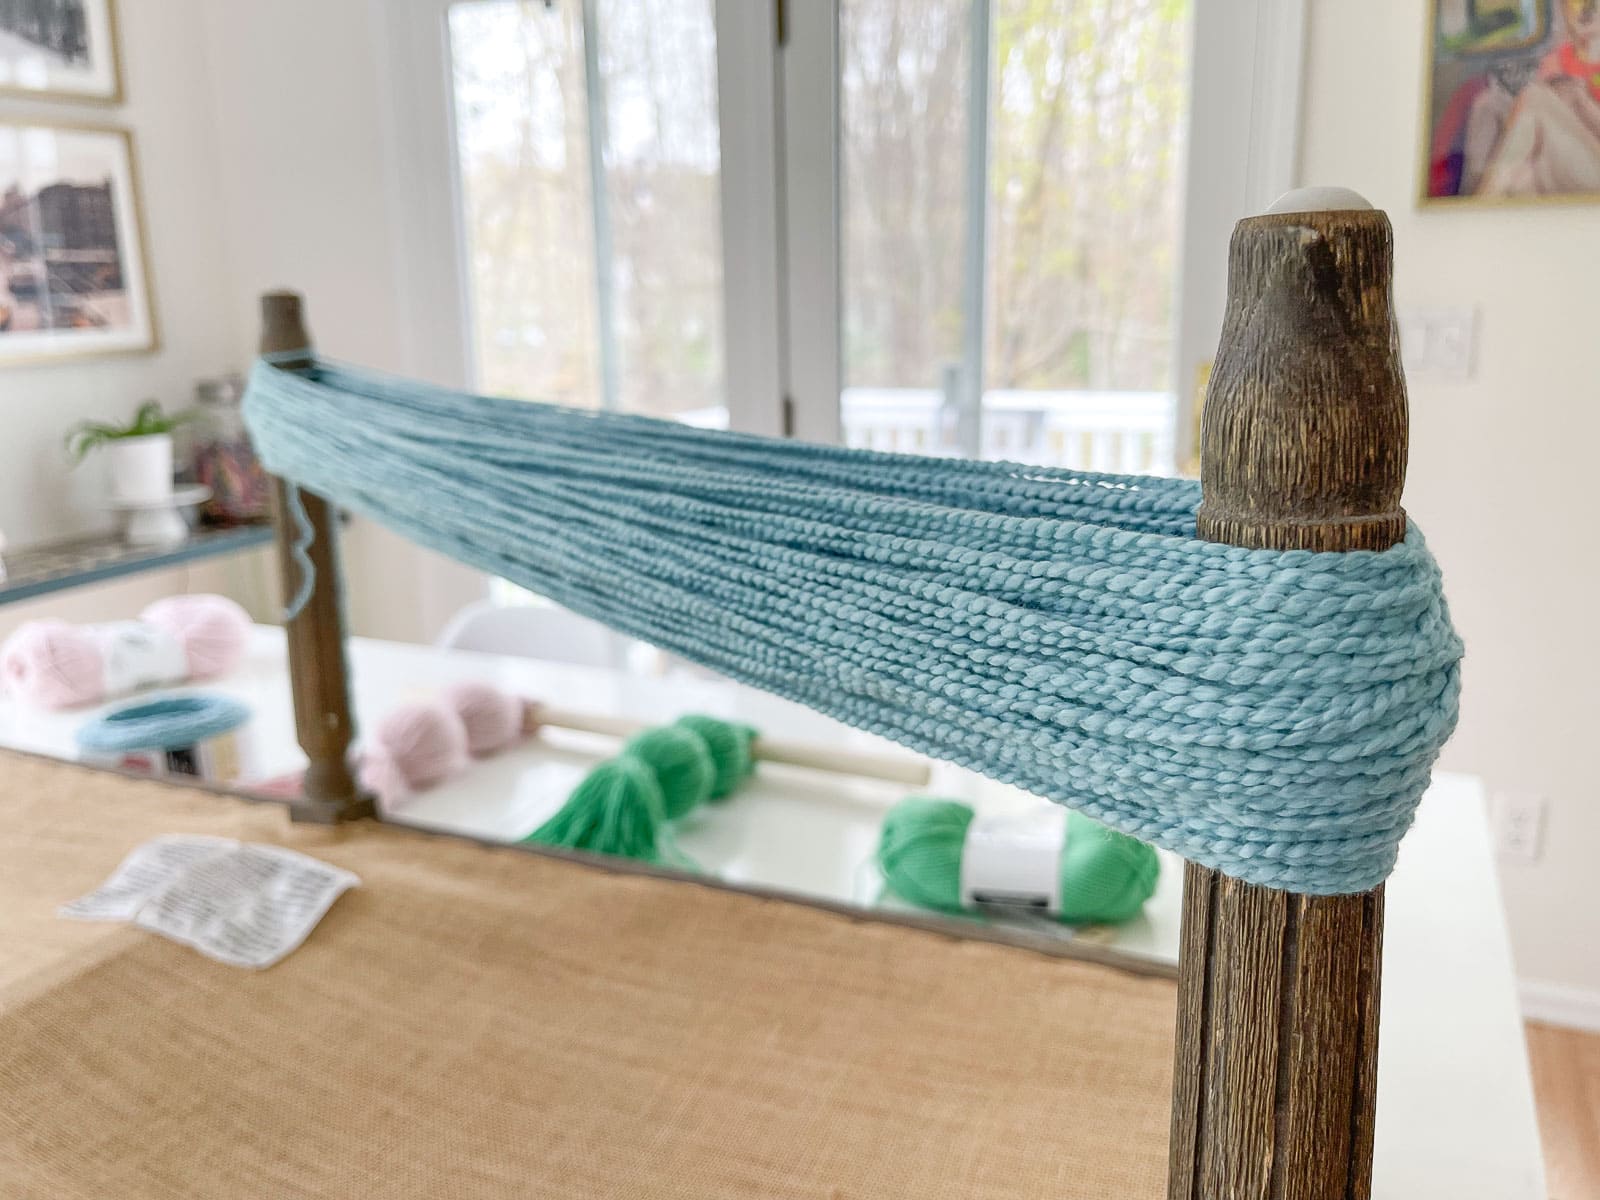
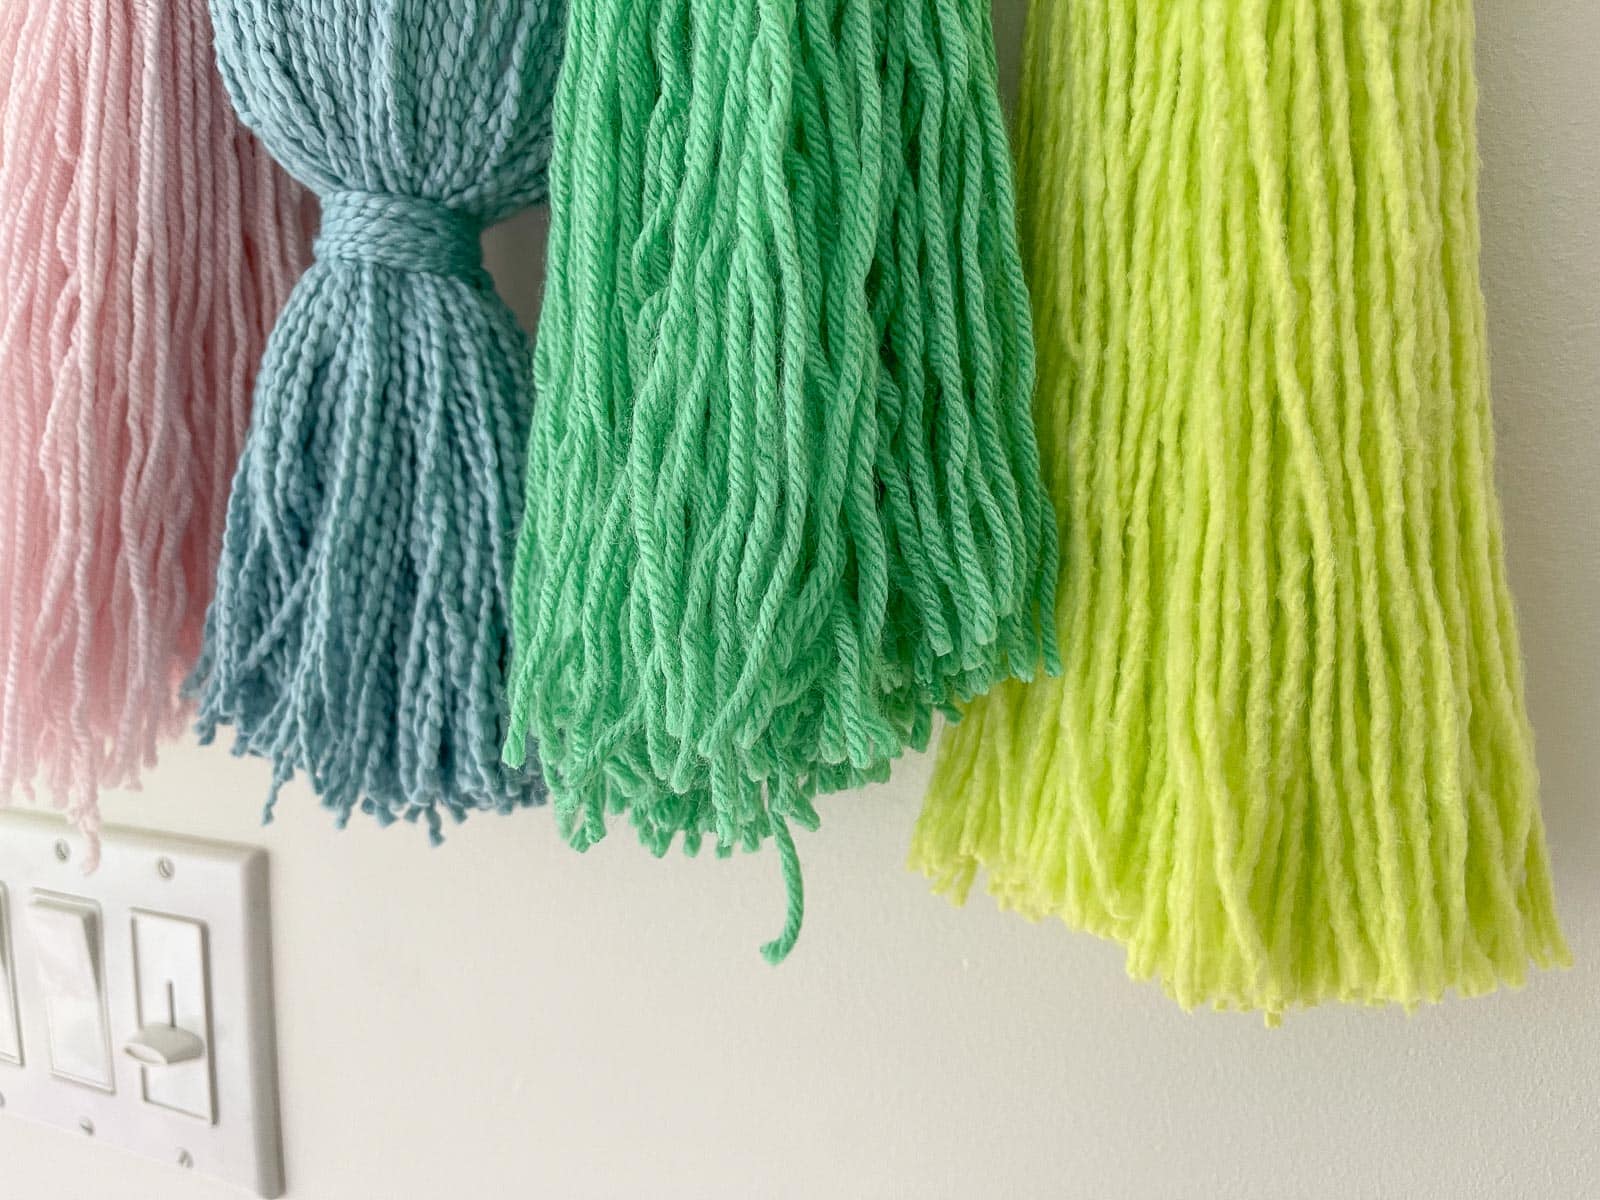
Step 2. Wrap the Yarn
You’ll need to wrap the yarn around two points about as far apart as the length of your wall hanging. I flipped over our family room stool and used the legs which were probably between 20 and 30 inches apart from each other. You can always trim the ends of these tassels but you don’t want to run out of yarn.
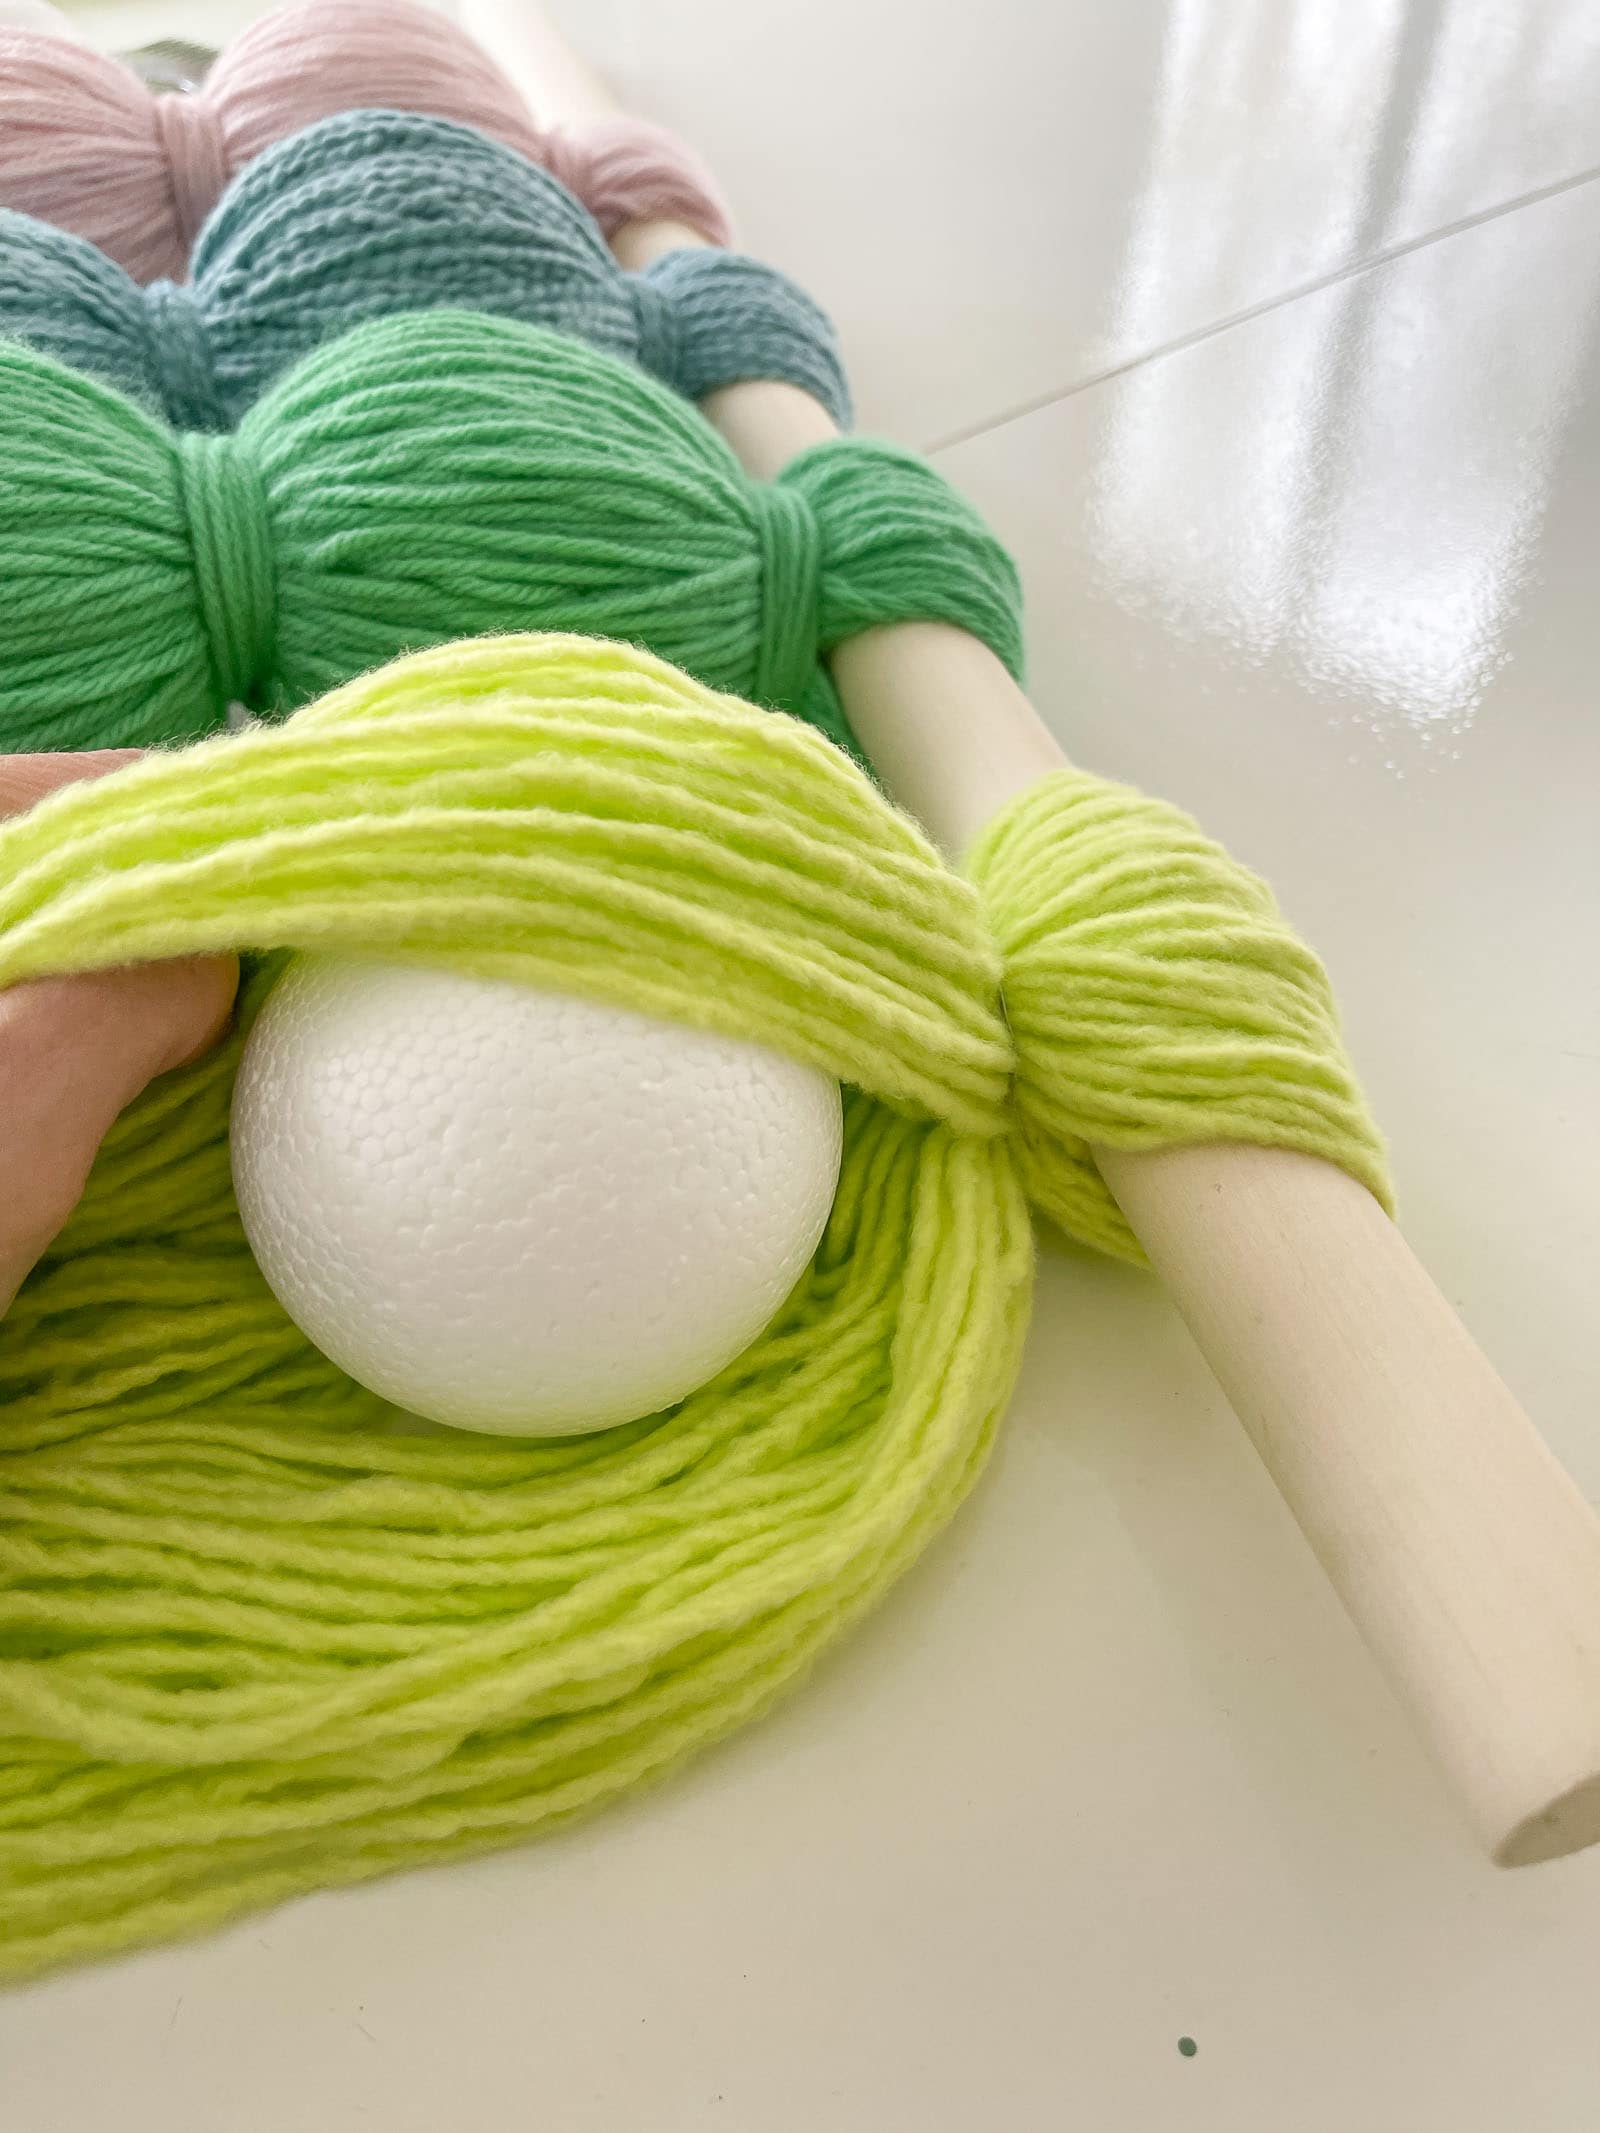
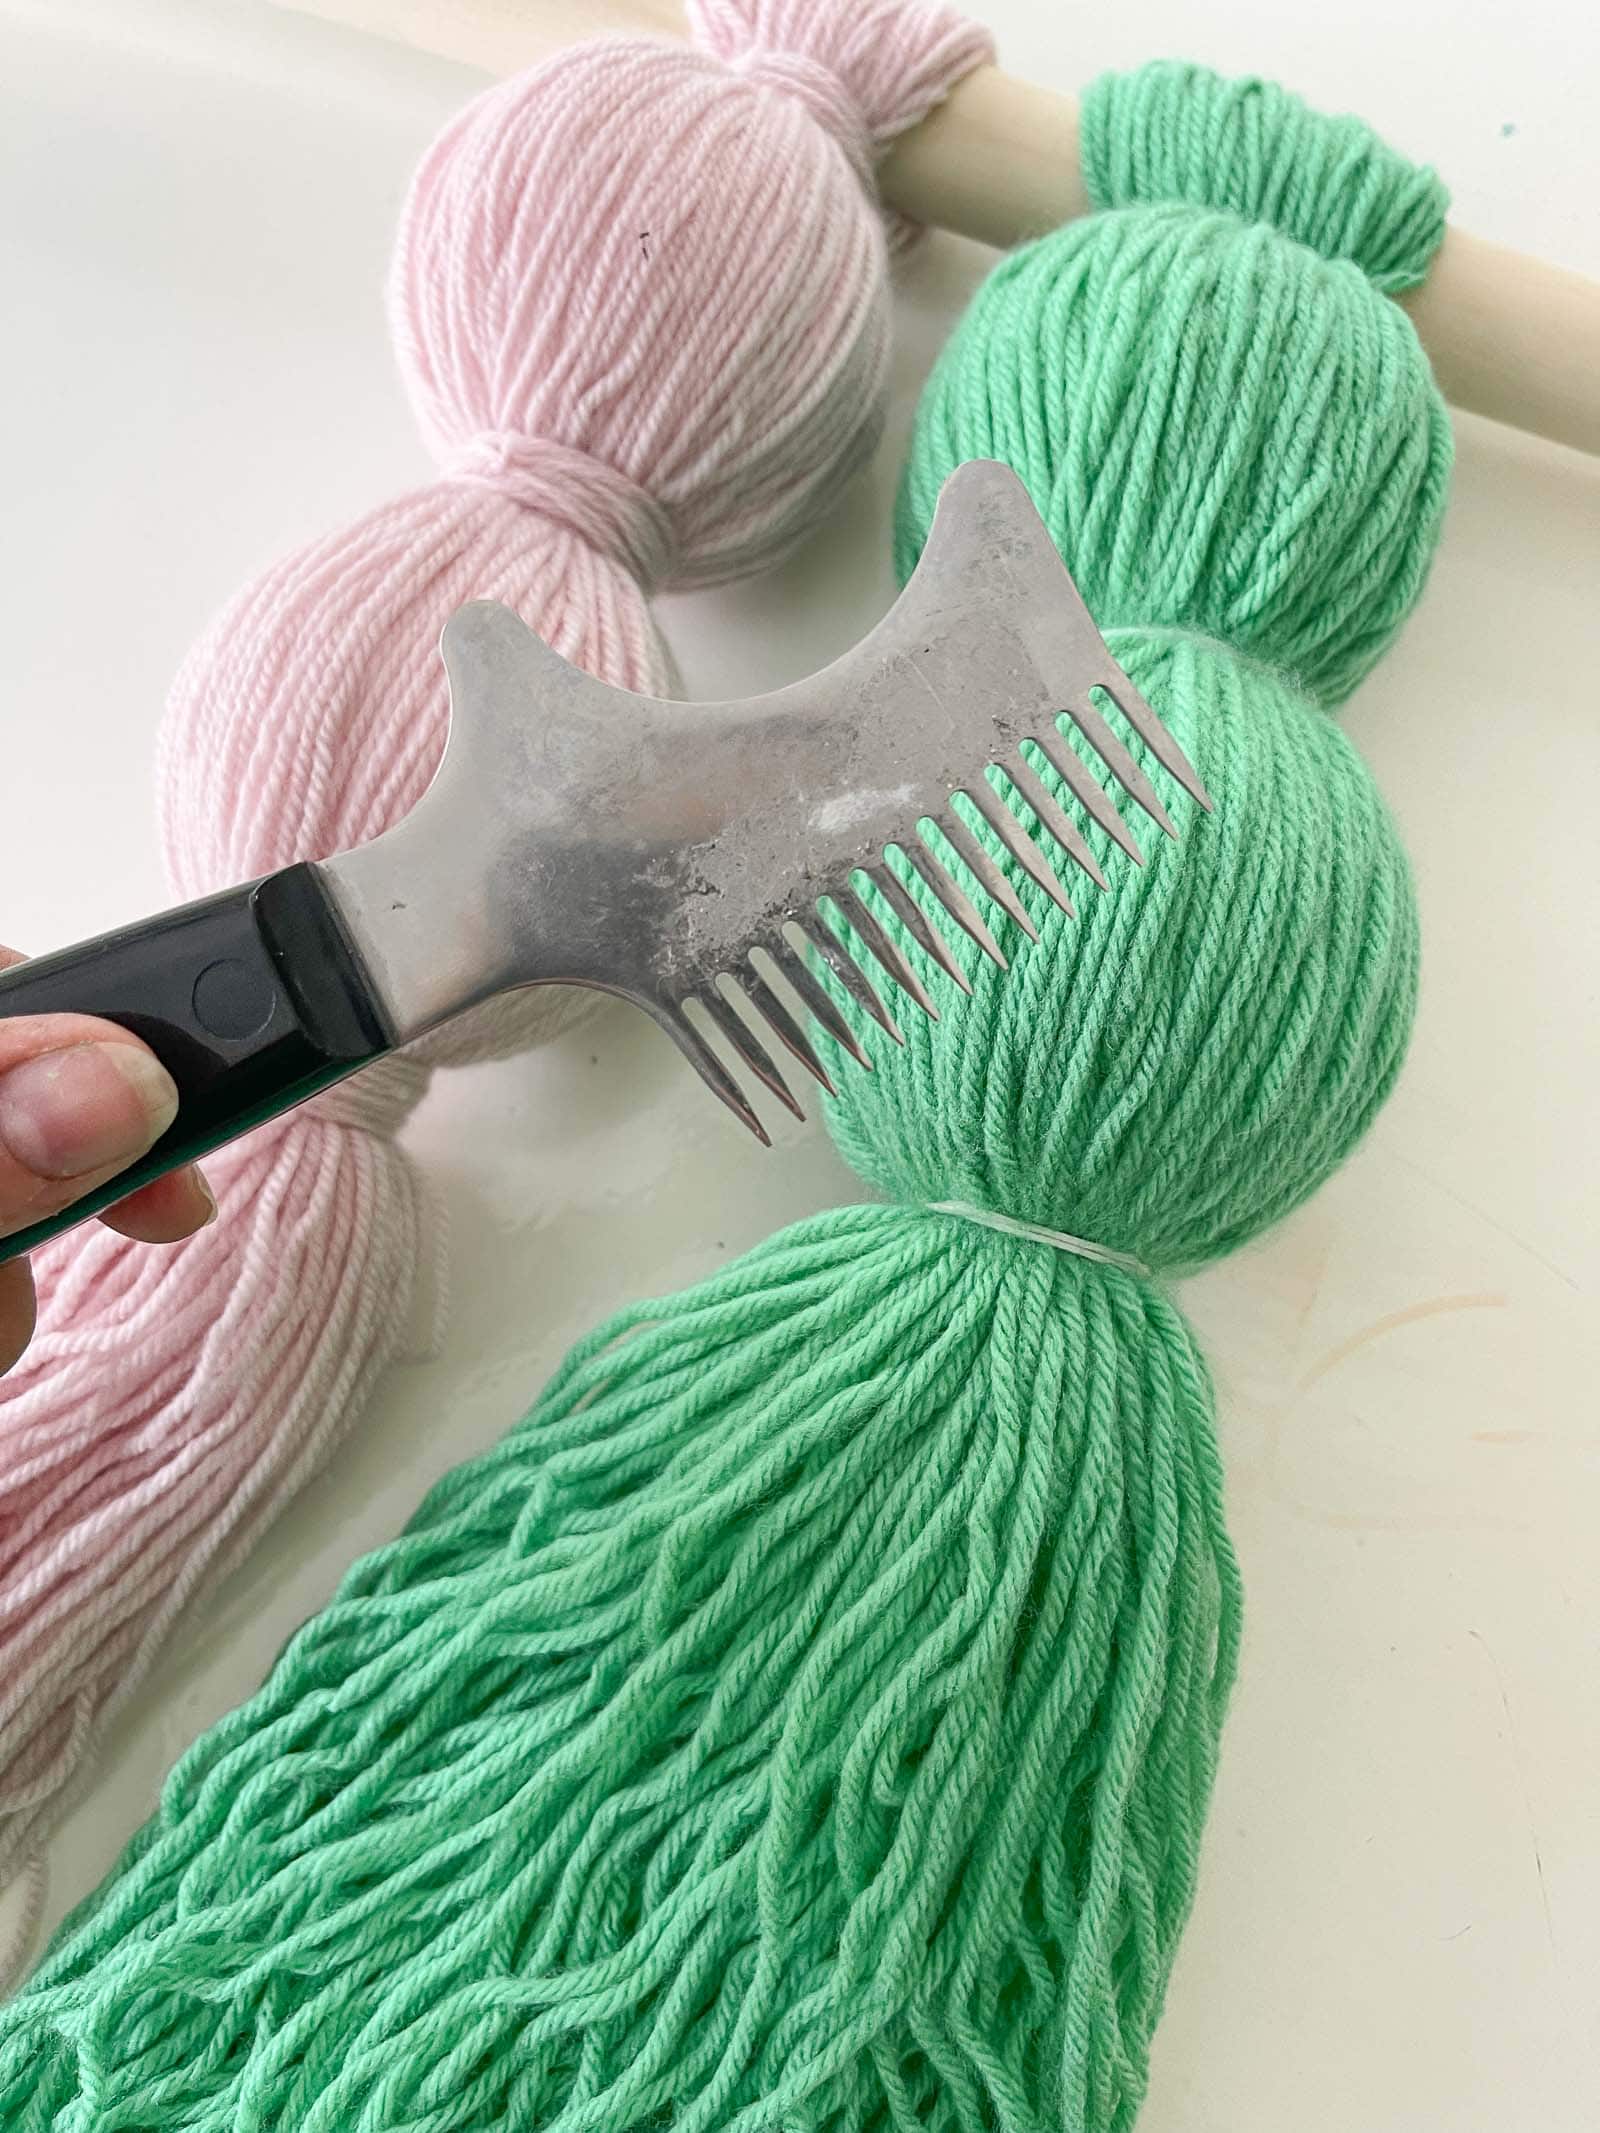
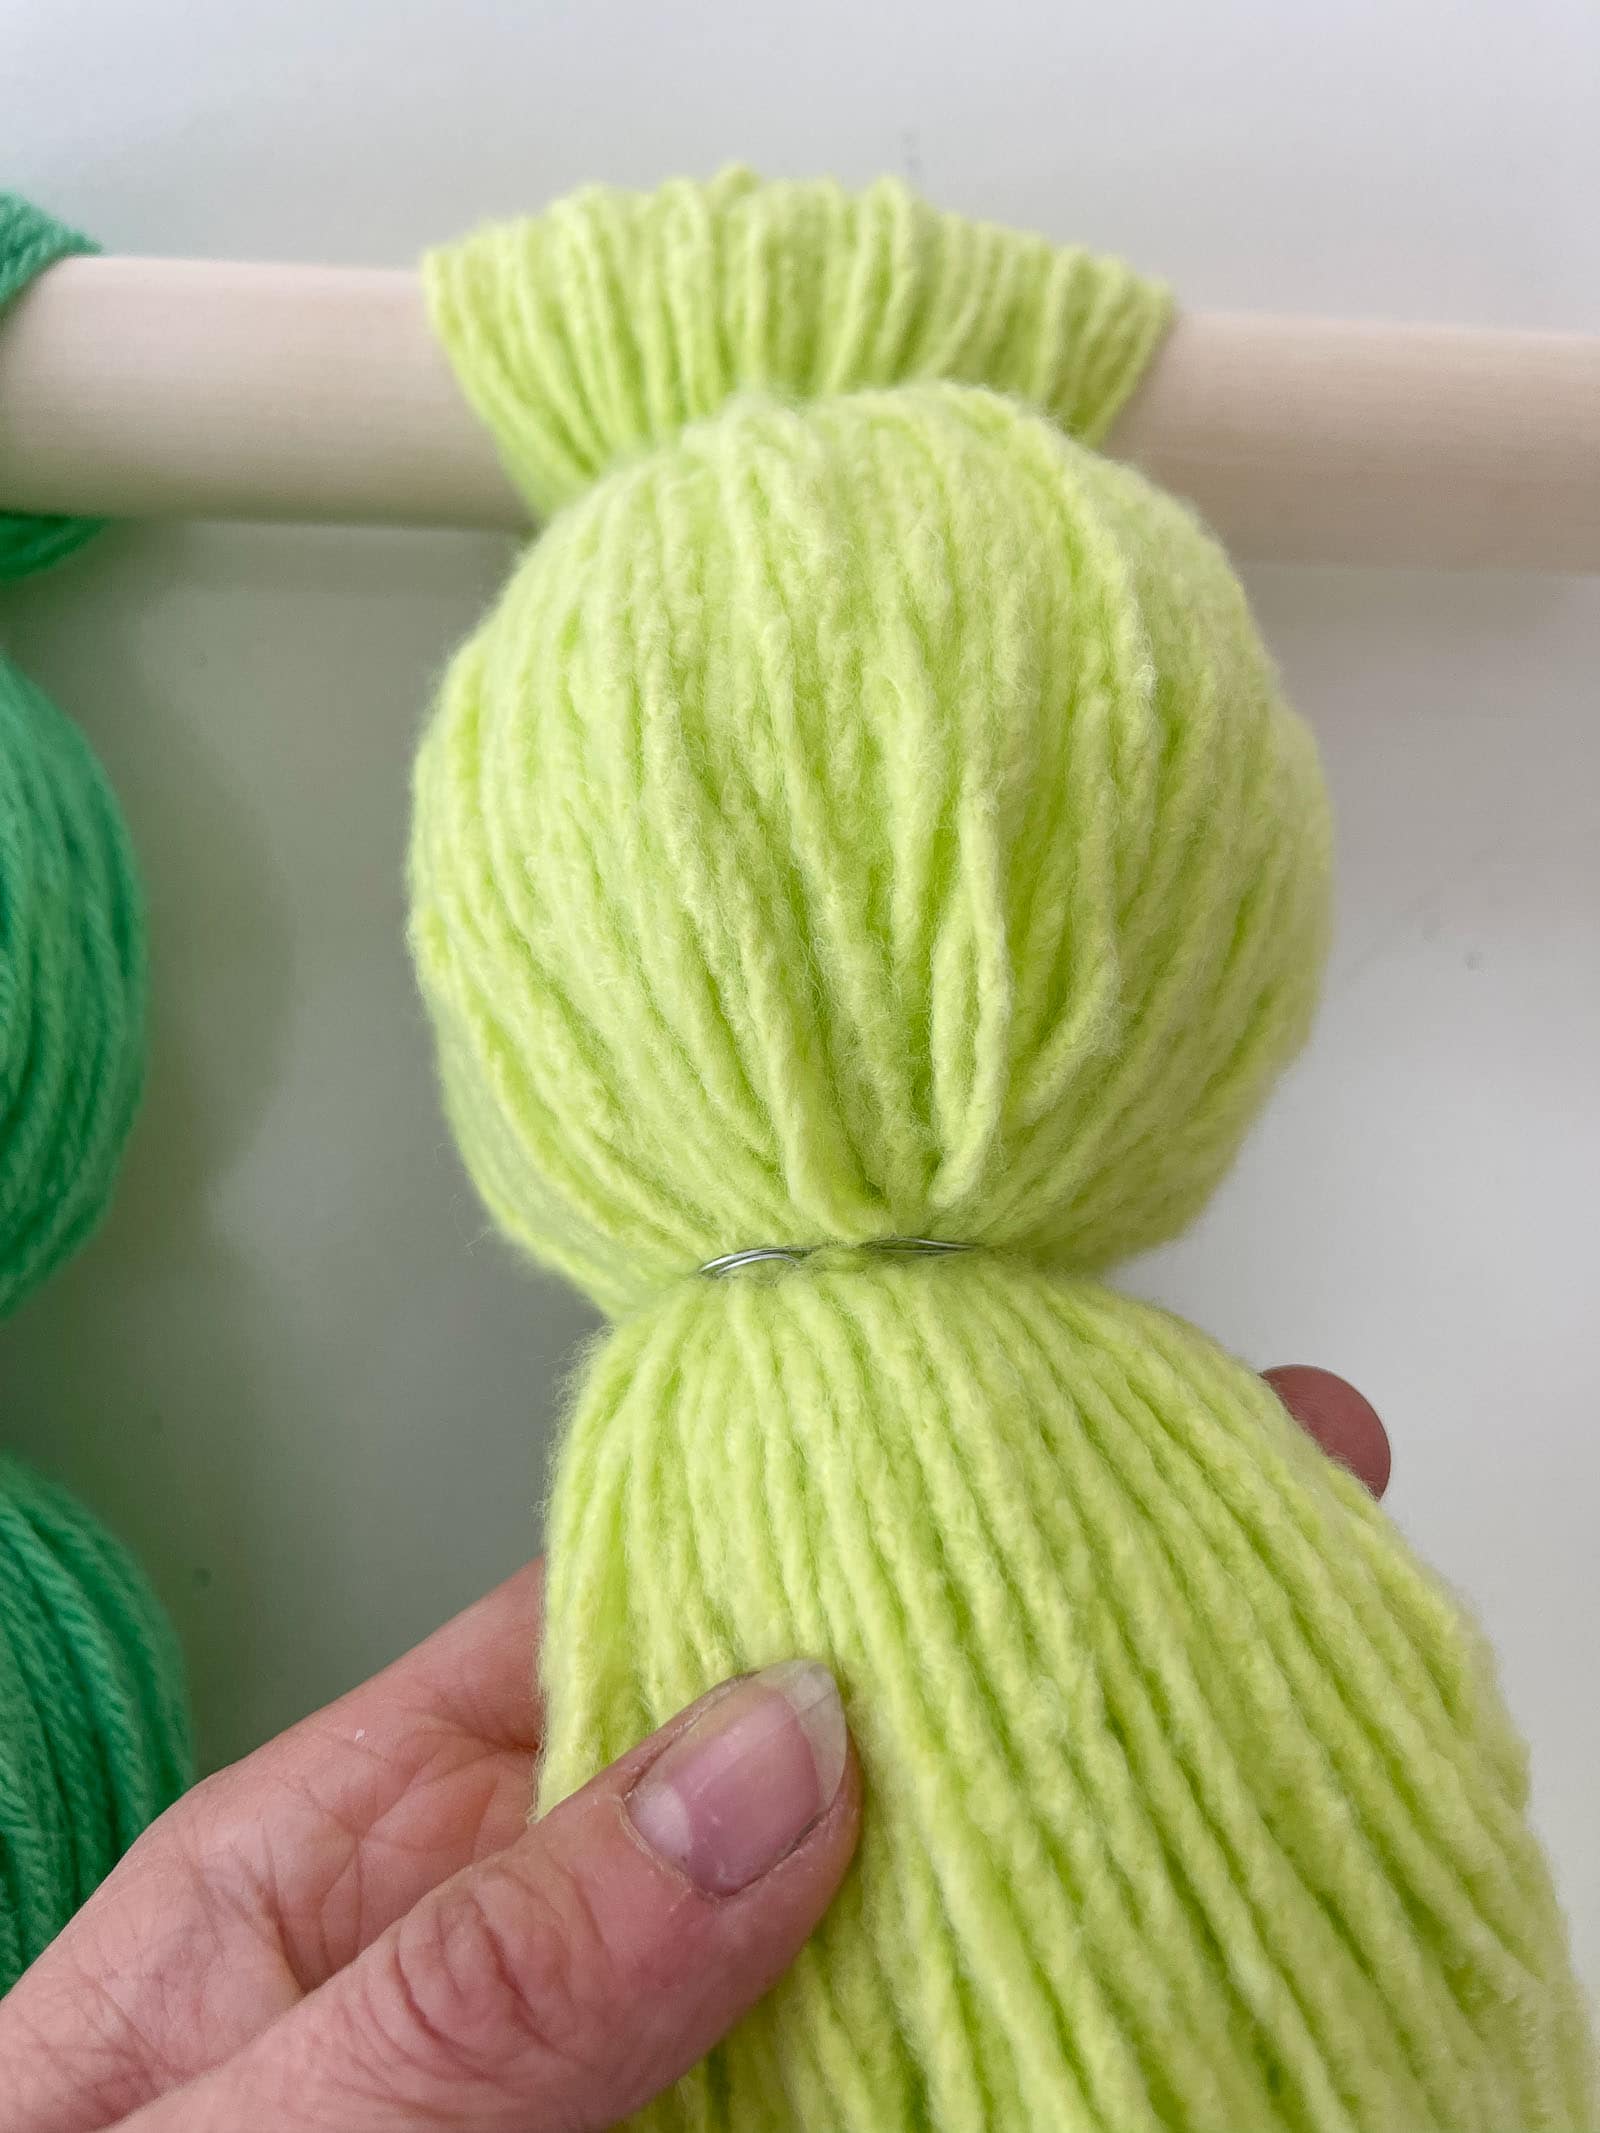
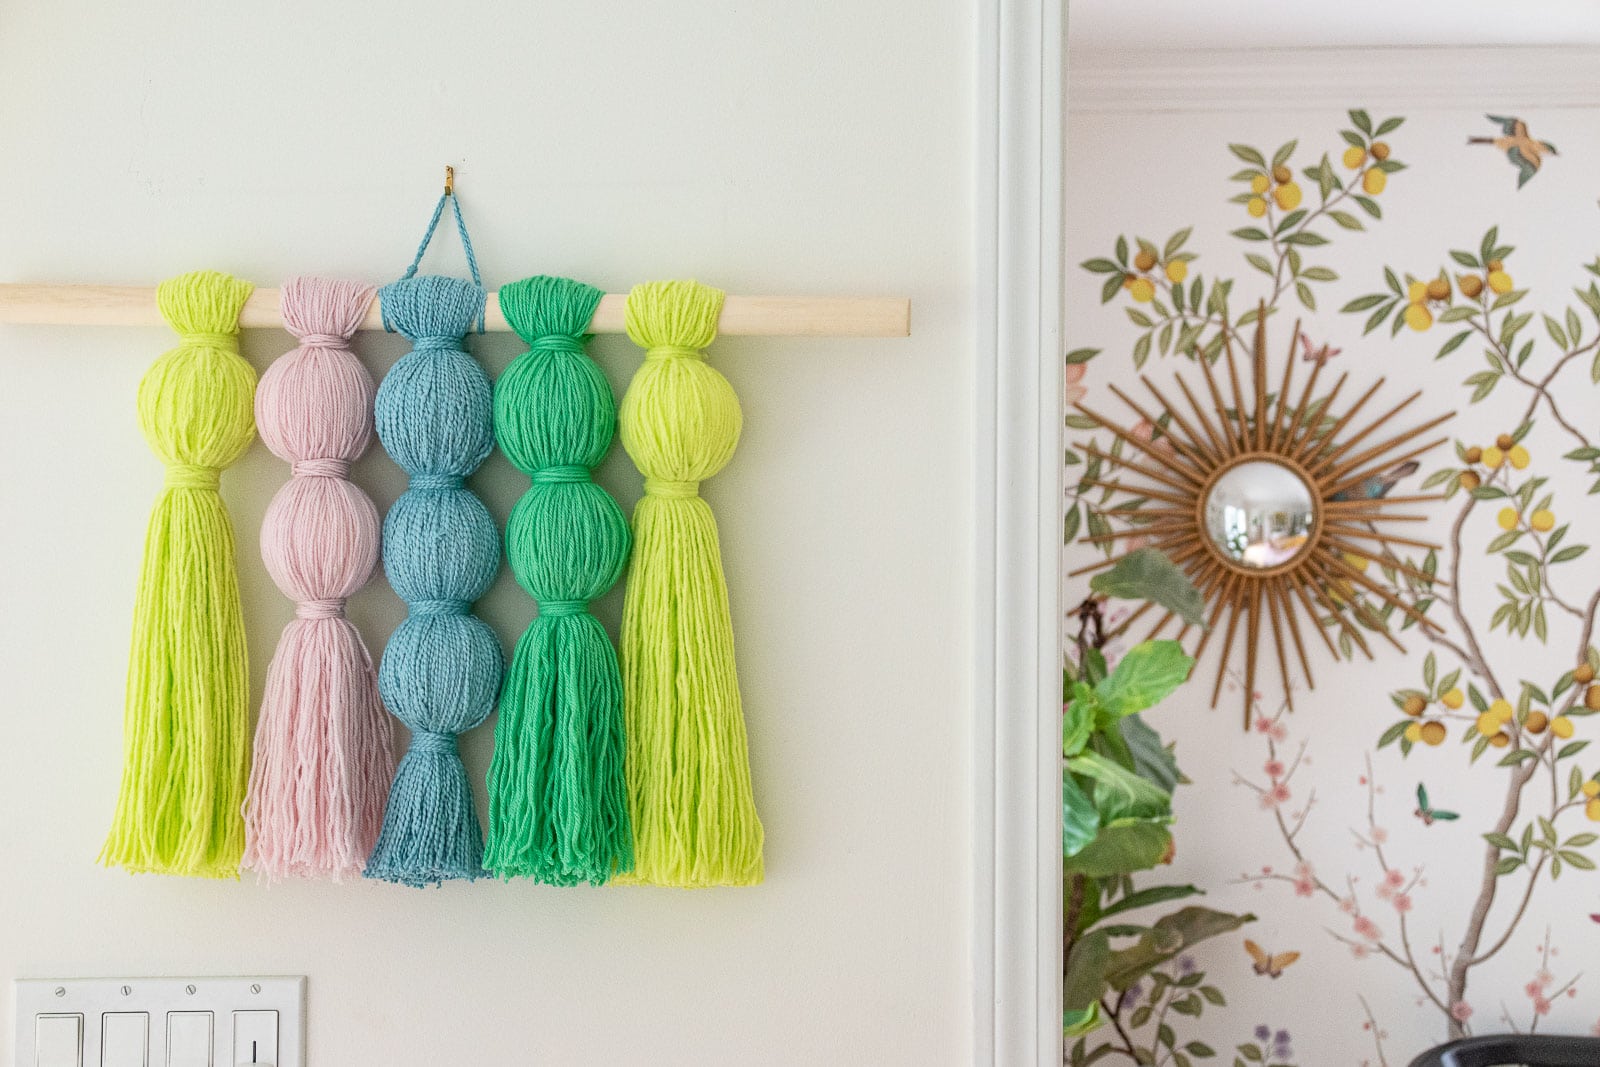
Step 3. Create the “Tassel”
I looped the yarn over the dowel and wrapped a wire around the bundle just below the dowel. Try to keep the yarn around the dowel as neat and straight as possible. Use the paint brush comb to gently straighten and align the yarn. Insert a styrofoam ball inside the yarn and smooth the yarn around the ball as evenly as possible. Again, the paint brush comb will be helpful! Unlike the inspo piece in Carmeon’s space, the yarn won’t lie as neat and clean. Secure the yarn underneath the ball with more wire. (I actually prefer the rubber band, but when there’s a longer ‘tail’ of yarn… the rubber band was too fussy so the wire worked better.)
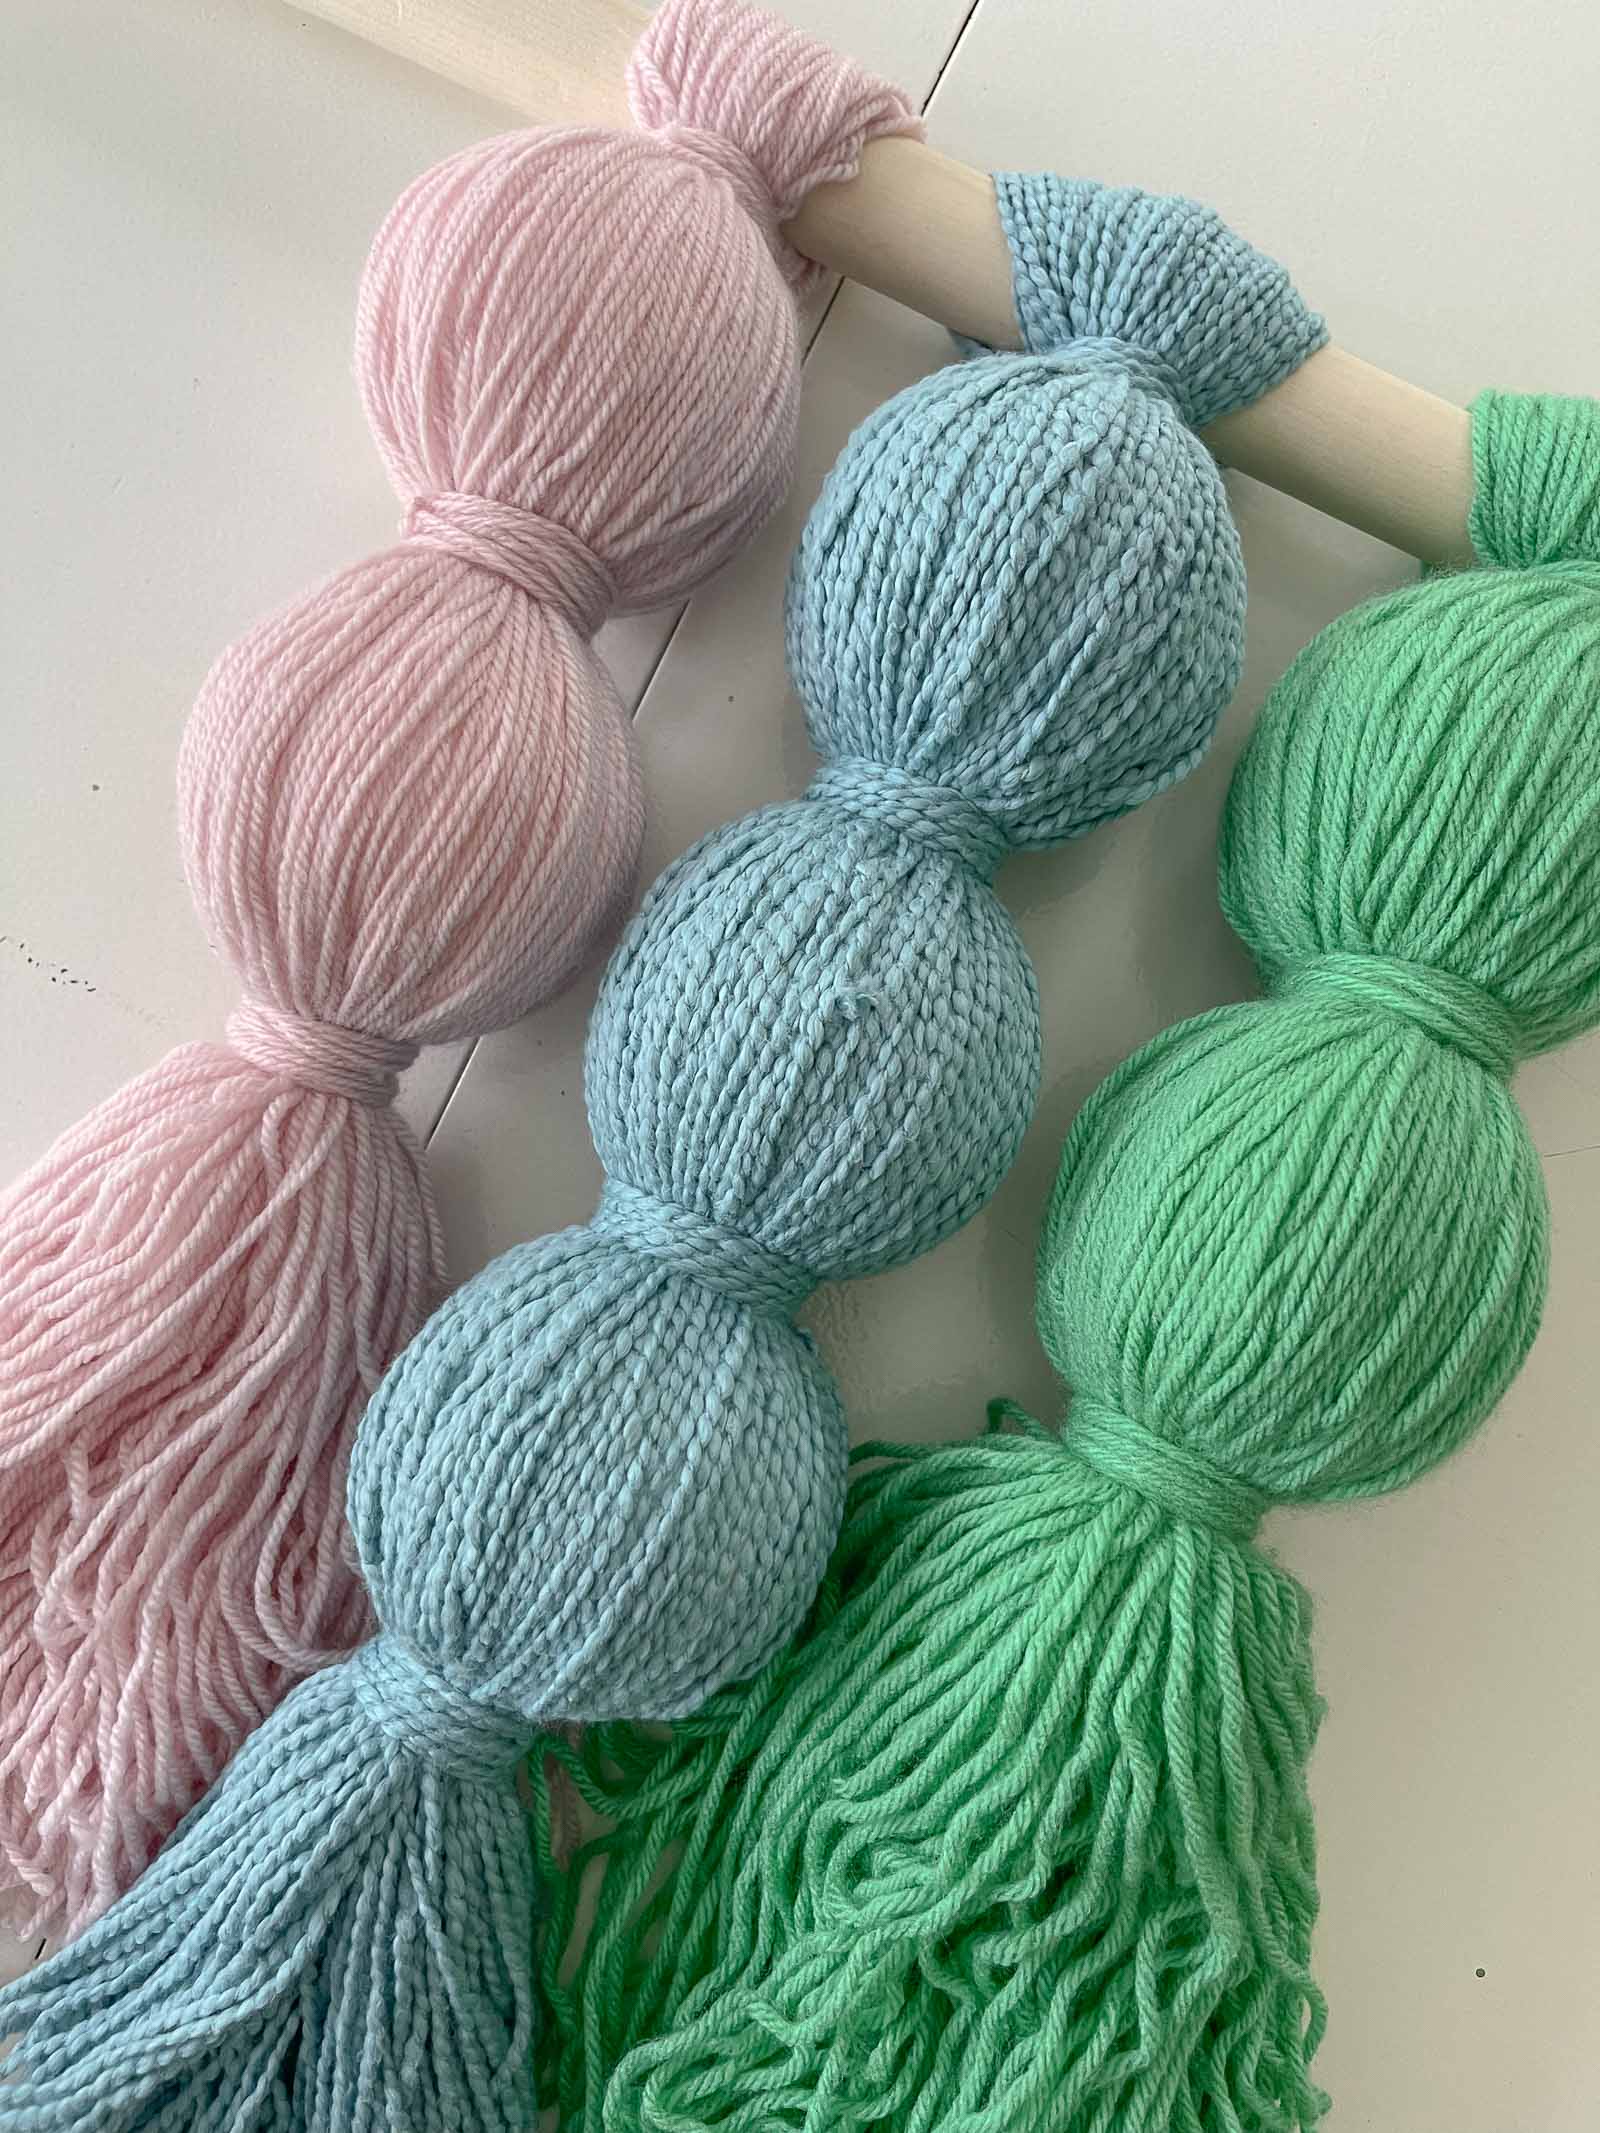
Step 4. Repeat
Keep adding styrofoam balls until you have the length you need. Wrap a second strand of yarn and repeat.
Step 5. Cover Wire/ Rubber Band
To finish off each tassel, wrap yarn around the wire/ rubber bands. Mine are about 1/2″ thick and I made sure to keep the yarn fairly straight as I wrapped it. Secure on the back of the wall hanging.
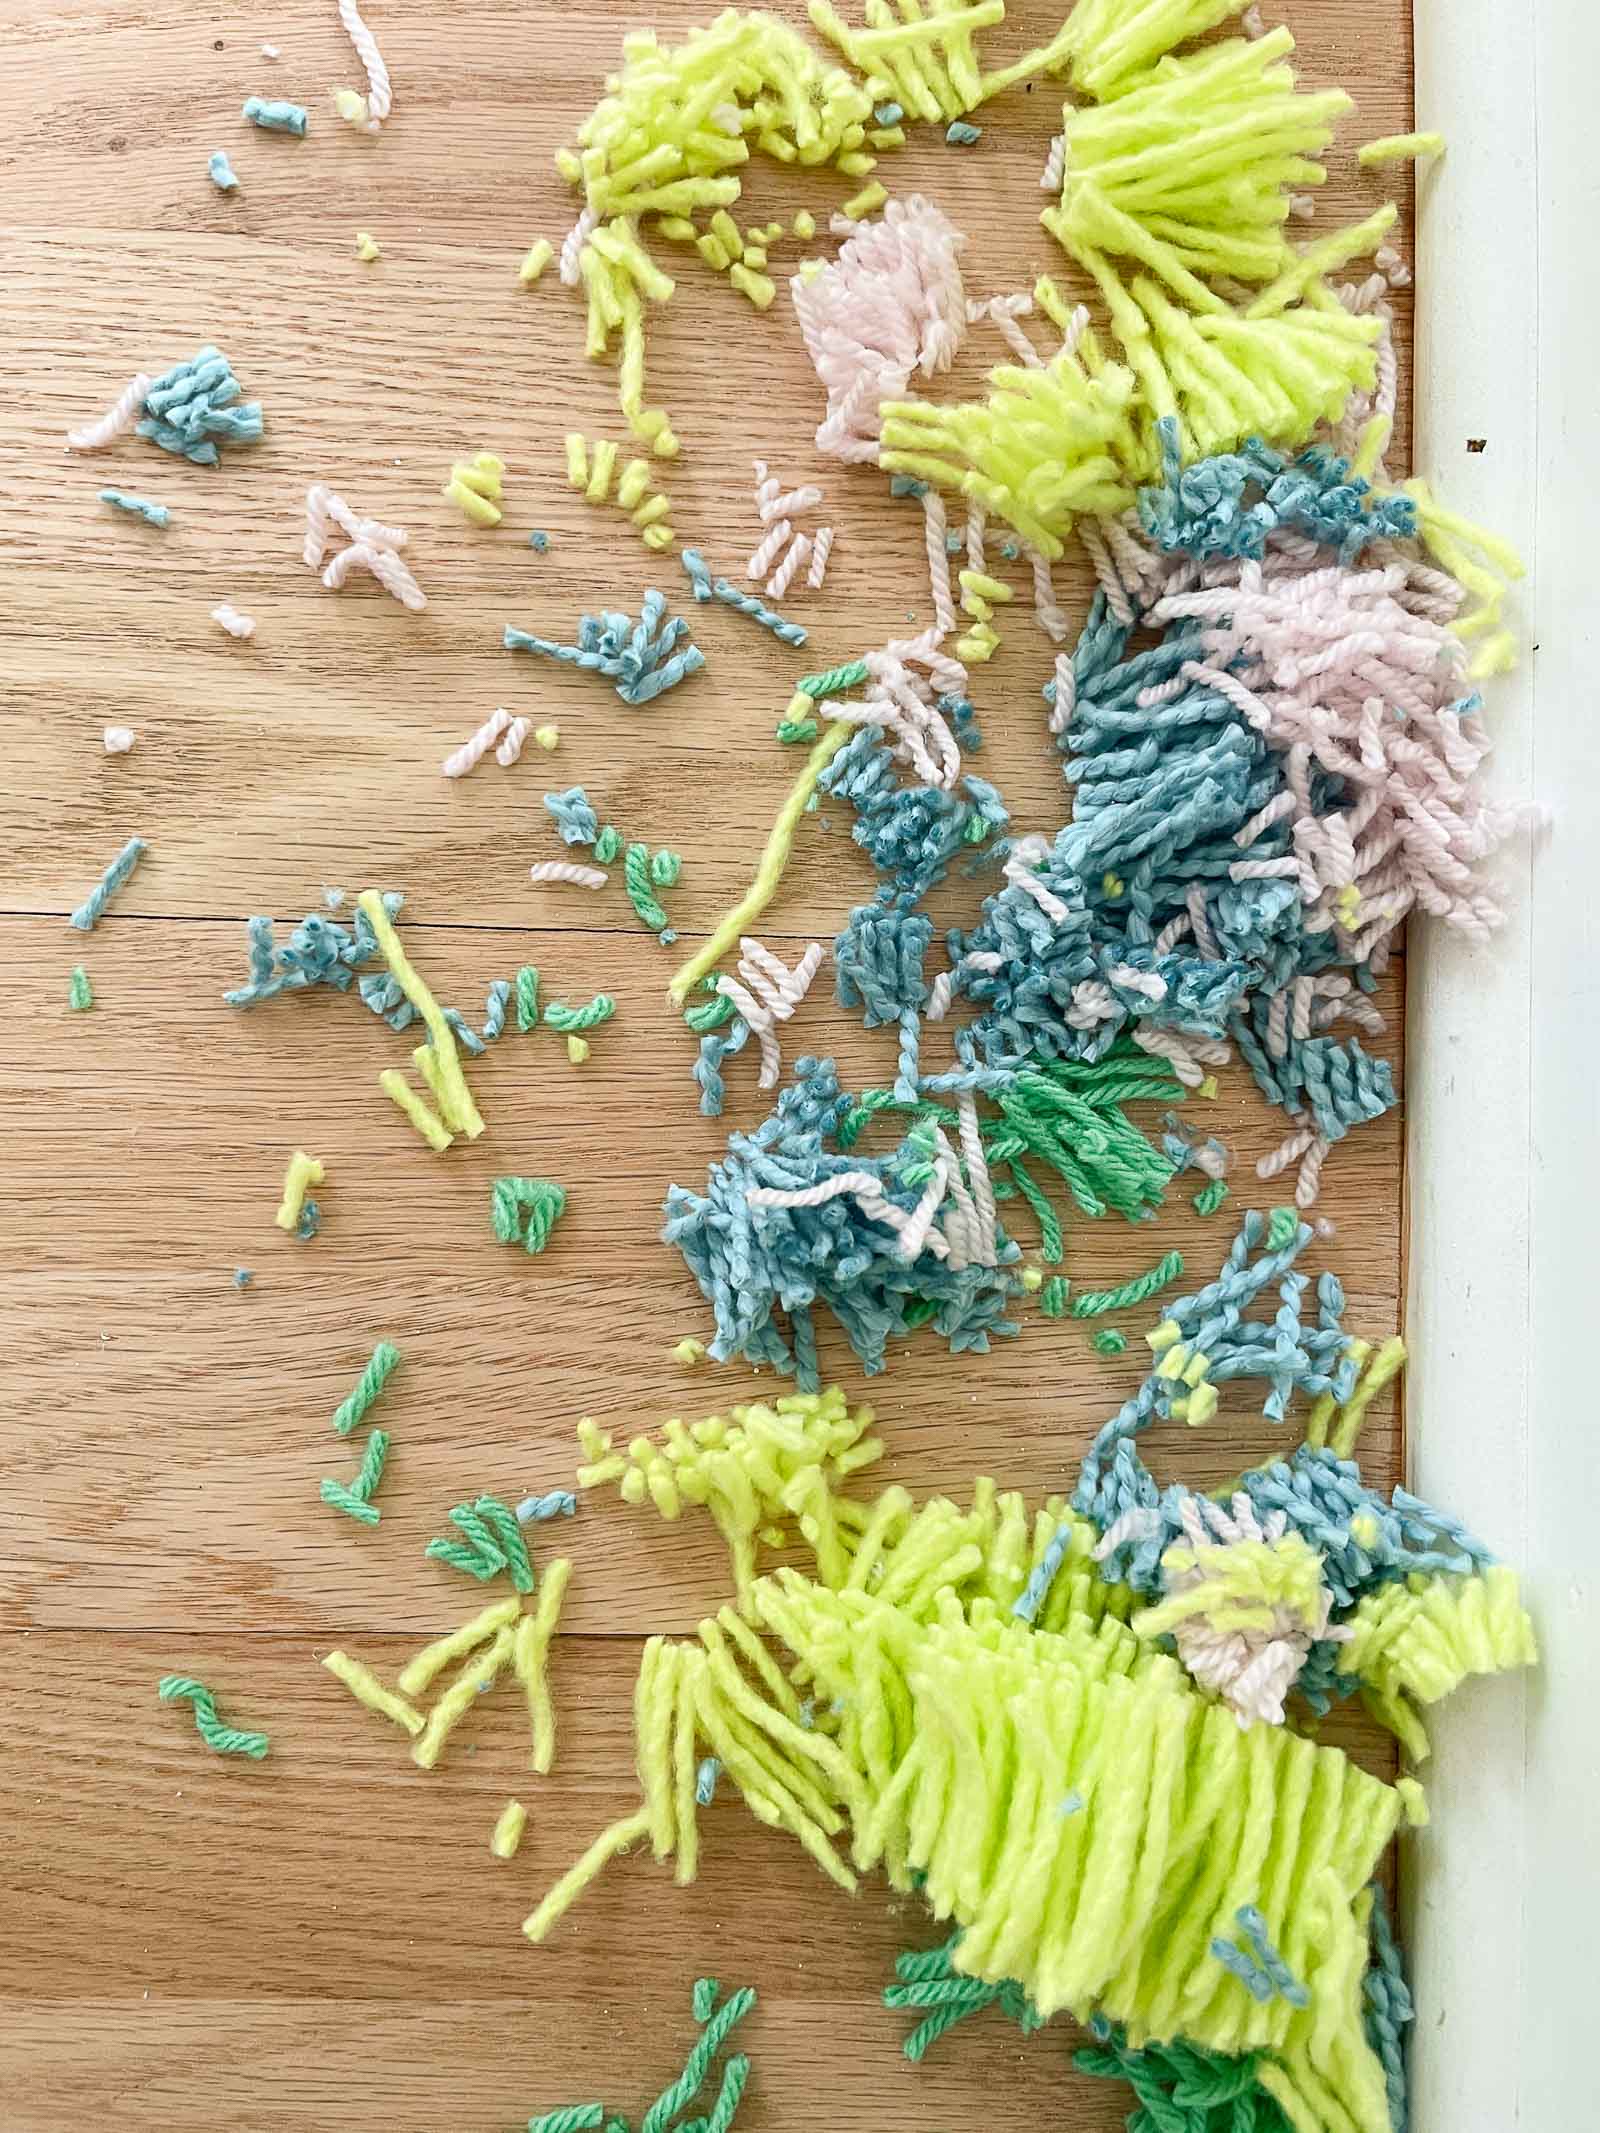
Step 6. Trim
With a SHARP set of scissors, trim the bottom of your tassels as straight as possible. Again, I think this precision is what will help this DIY dupe most closely remember the one in Carmeon’s space!
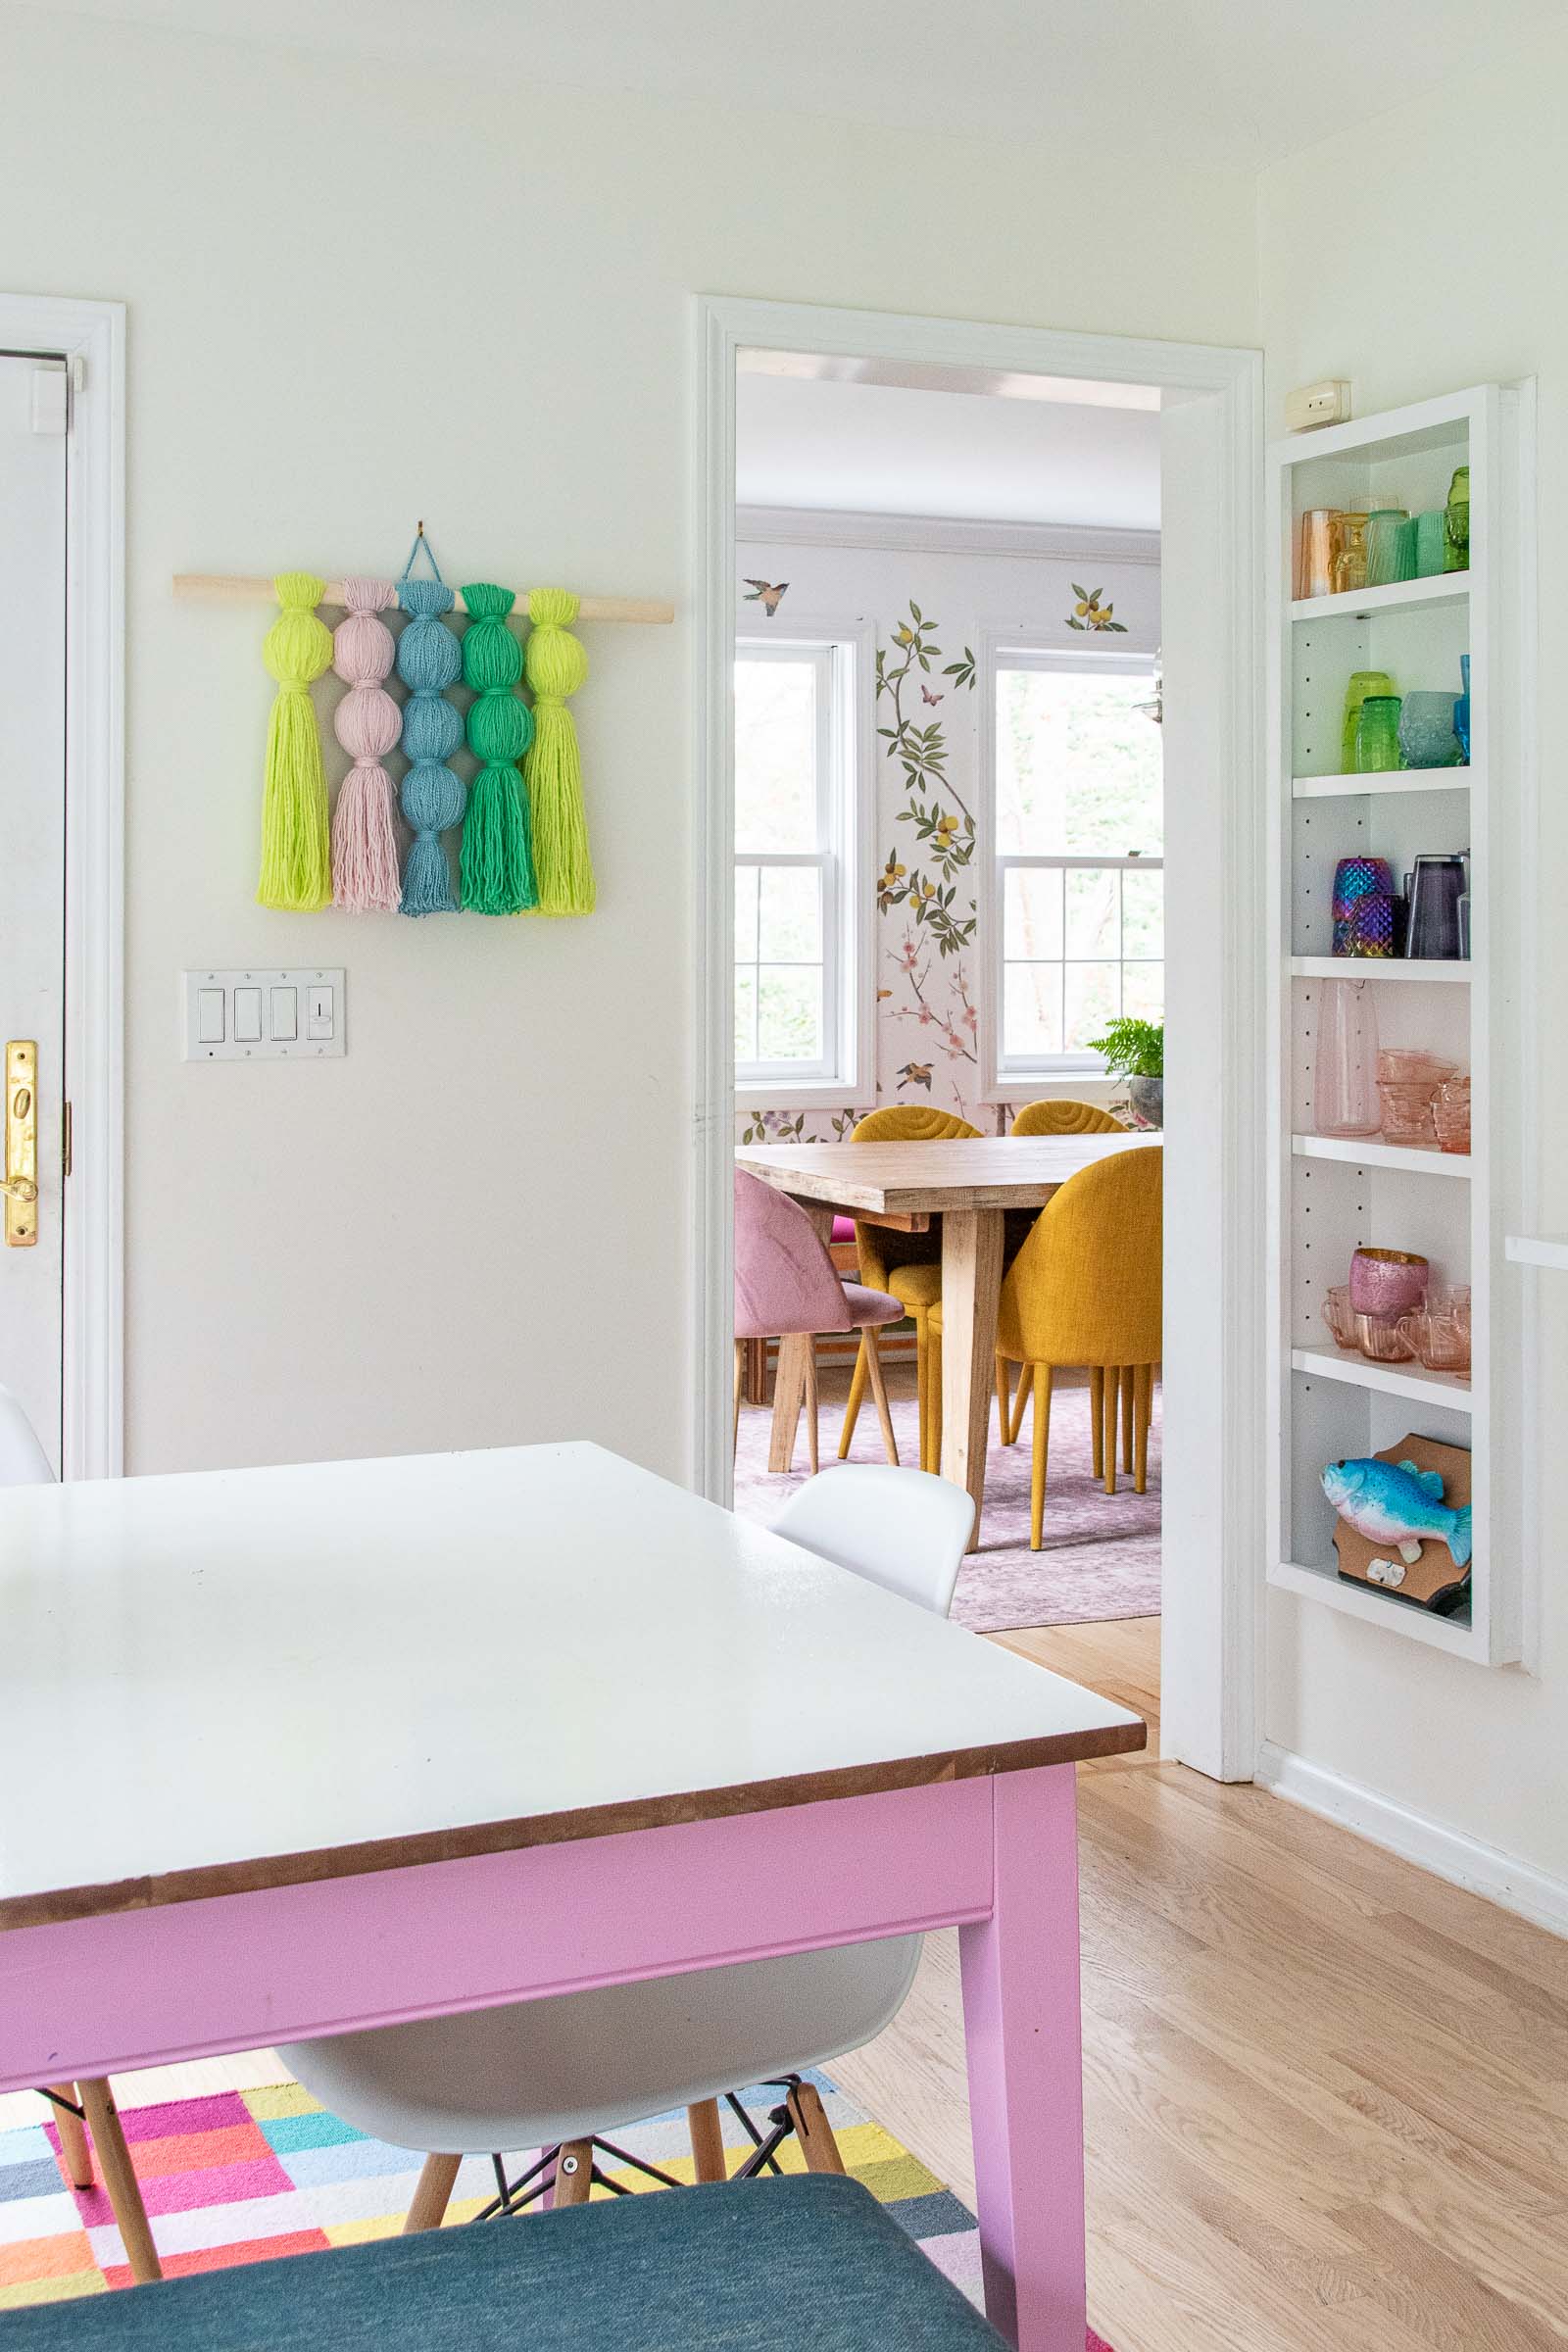
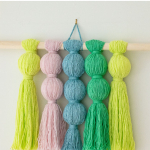
I just hung this on the wall with my go-to OOK hanging hardware shown below. Overall, this was a totally easy project, and I think the finished results are definitely similar to my inspo piece. The thinner the yarn the better and keeping everything nice and neat makes a big difference too. There’s definitely a learning curve… my first one took a while but the later ones went pretty fast. I like the length on the inspo piece but mine actually fits this little wall in our sunroom so I guess all’s well that ends well!
Am I the only one who can’t help trying recreate things when I see them out and about? See below for other dupes I’ve made over the years!


This is just what I’ve been looking for! I love making SOMETHING MYSELF when I can but with 4 little ones running around definitely keeps me from trying things that sound too complicated/time consuming.
Also, as a former teacher, recreating something is high on my list of satisfying projects. 😁
I feel exactly the same way! Good luck! xx
Right??? I agree!!!
Love this Charlotte!!!
Thanks, friend! ONe day I may save up for yours… so cool!
Thank you Carmeon!
I loved ghat puece in Carmeon’s space but nOt the price. Tbis looks doable! Great job!!
Haha! I thought the same thing! 🙂 Thanks!
Thanks Deb! Her caught my eye immediately!
totally works as a tribute and a colorful hack! But the sheep (i’ve nicknamed ‘elvis’ after my cousin’s live sheep who was raised with a dog) still has my heart.
Haha! I have to agree! 🙂
Hahaha! Mine too. 😉
Looks so great. I’m inspired to give it a go.
Go for it!!!
Go for it!! Thank you!
You did a great job!
Thank YOUUUU!
Very cool, love the col
THanks!! I always end up choosing the same ones. 🙂
I love your colorful take on this!
Thanks Christina!!
So pretty and fun!! I love the colors and how they help tie in all the colors of the rooms!
Thank you! I always seem to find the same colors… 🙂
This is so cool, love the idea of styrofoam balls so light weight, can’t wait to make this, here’s hoping mine turn out as pretty as yours , thank you for the video, and I love the colors you choose.
Thanks so much! Good luck with yours!