
How I Plan A Room
Psssst… this post *might* contain affiliate links: see my disclosure here.
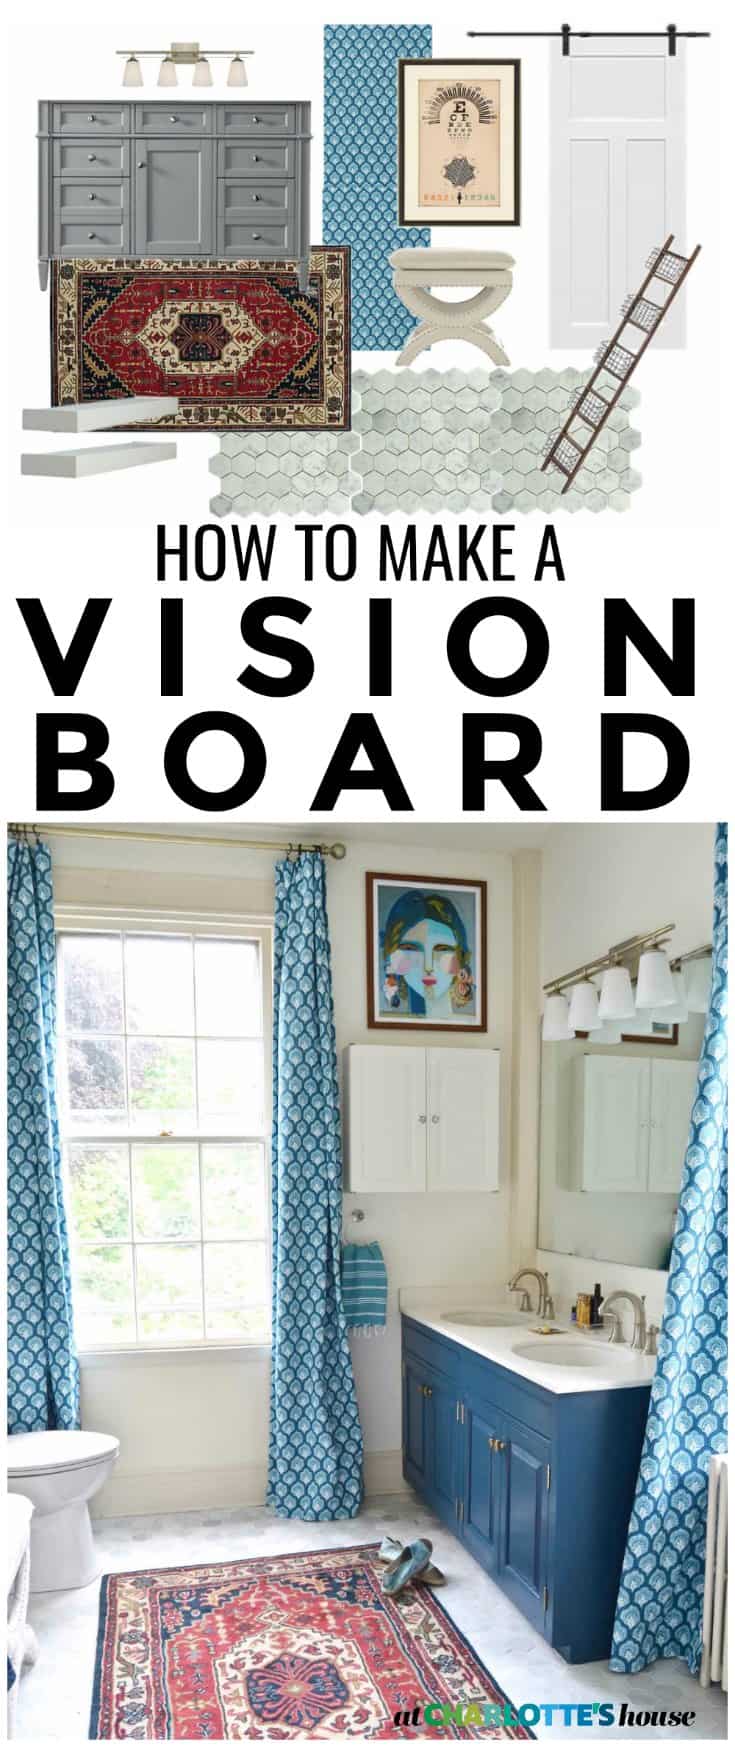
How to Make a Design Board
As my blog has gotten a little more, er, grown up… one of the things I have to do ALL the time, is put together vision boards. Sometimes I need to see whether everything I have planned for a room will work together, and lots of times I’m pitching a vision I have for the space to a brand. Describing the room can only go so far, and more often than not I just need to put it into a design board so they can see what my brain is up to! I thought you might enjoy seeing what my process is.
Step 1. Virtual shopping.
Whether dealing with my own furniture or pitching to a brand, I always start by collecting images. If working with a brand, I’m obviously searching around on their site, but if it’s for my own home, sometimes I’m searching for images of items I already own. Once I find each image, I right click and ‘save image as’ to rename the image and then save into a separate folder.
Shop my favorites!
Tip 1. On a Mac, hold the control key and click on the image to get this option. Alternatively, take a screen grab. Again, one a Mac, that’s done by holding SHIFT-COMMAND-4.

Tip 2. Look for images that have a plain white background.
Step 2. OlioBoard*
*Olioboard has now been replaced by DesignFiles. It works much the same way except for the cost. My workaround is that I take screen grabs of each finished vision board so I never have to save my boards which would require a subscription. The next few steps obviously won’t be exactly the same on Design Files, but it’s VERY similar: adding images to your own library, removing the background, etc.
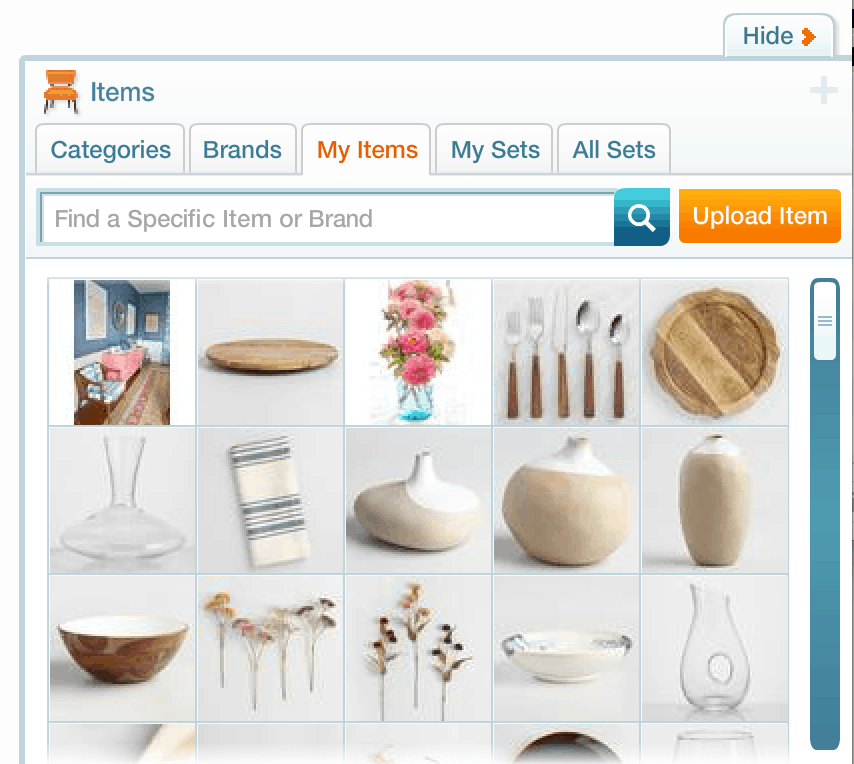
Disclaimer: This is the only thing I use Olioboard for, but there are TONS of other options on there if you look around. Start by clicking +Create to make a new board. I always go to My Items and then Upload my own images. (Again… there are LOADS of products already on the site, I have always just stuck with the specific products I’m trying to design with.) Your images will need to be smaller than 1 MB so sometimes resizing is necessary, and you’ll have to assign them a name before it will upload. (I never bother with anything but the name field…)

Step 3. Design
Now’s the fun part. Drag your items over to the blank Olioboard and start playing around with everything! You can adjust the size and pivot each item.
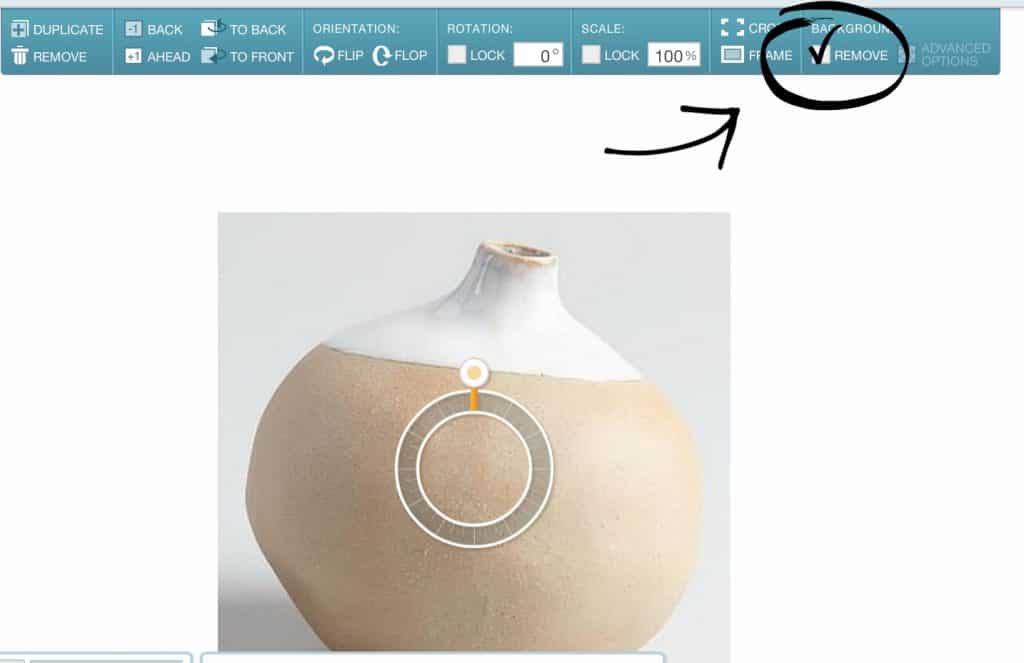
Tip 1. Click the “Remove background” feature to isolate the product alone.
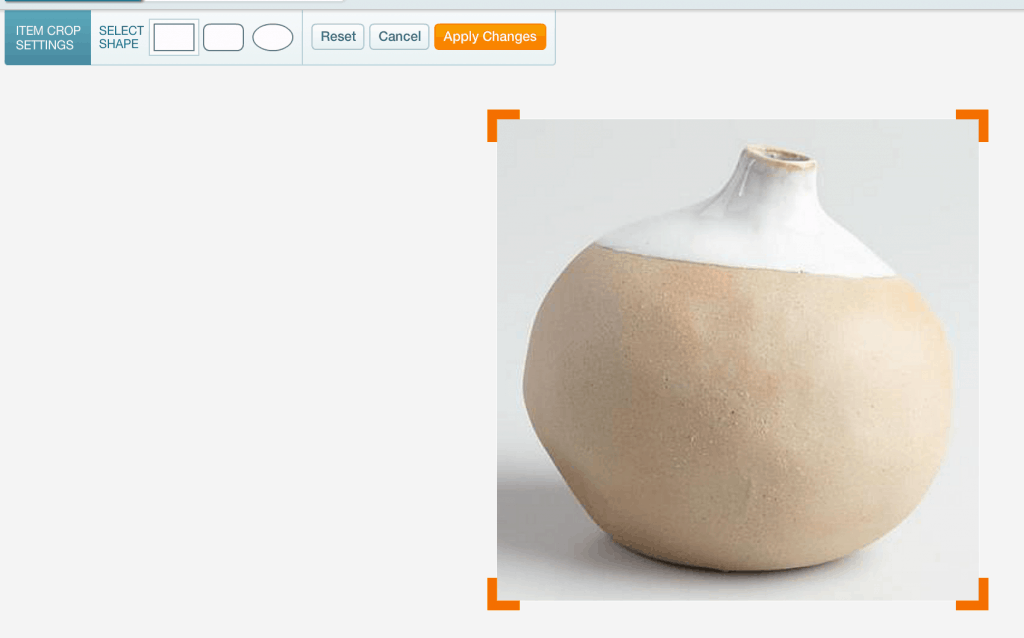
Tip 2. Sometimes a product will be on darker background OR removing the background will render part of the image transparent depending on highlights and shadows. In this situation, I will crop the selected image to remove as much background as possible.
Step 4. Label Items If Necessary
This is only necessary if I’m submitting the project to a brand, but occasionally I will save my Olioboard and then upload it to PicMonkey to add labels or text. Usually this is only if I’m working on a gift guide, but it’s a workaround for adding text if you don’t want to pay for the Olioboard Pro.
I’ve made dozens of design boards over time and it’s fun to look back on the vision and then compare it with the finished space!
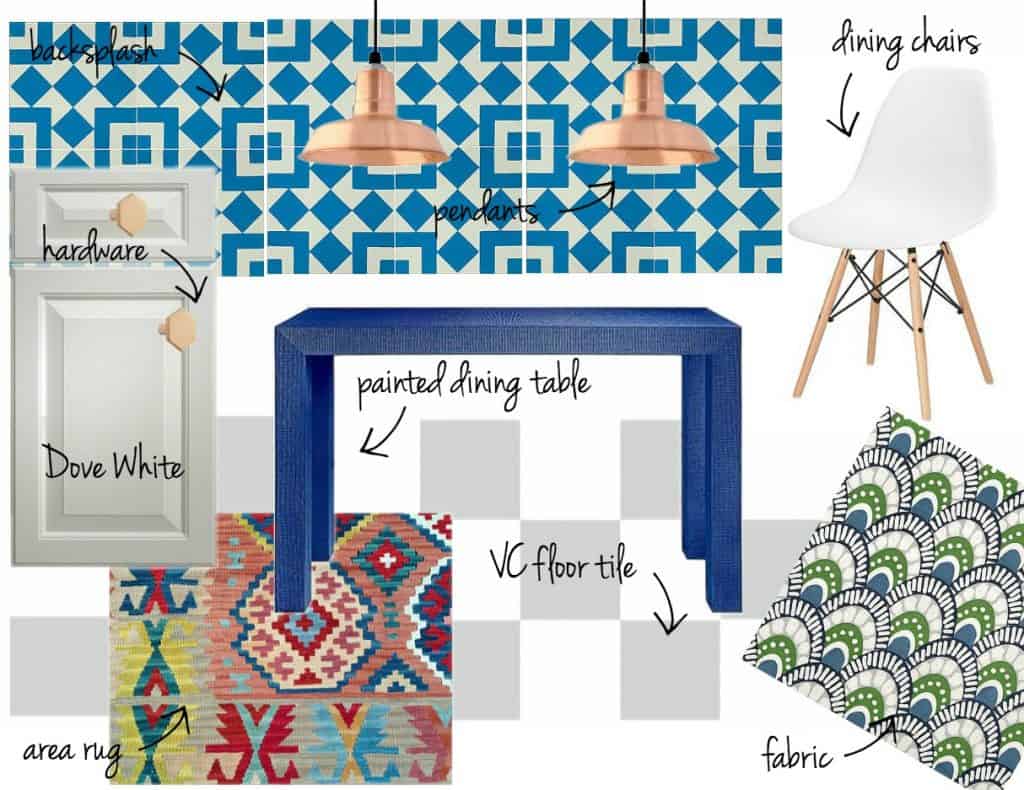
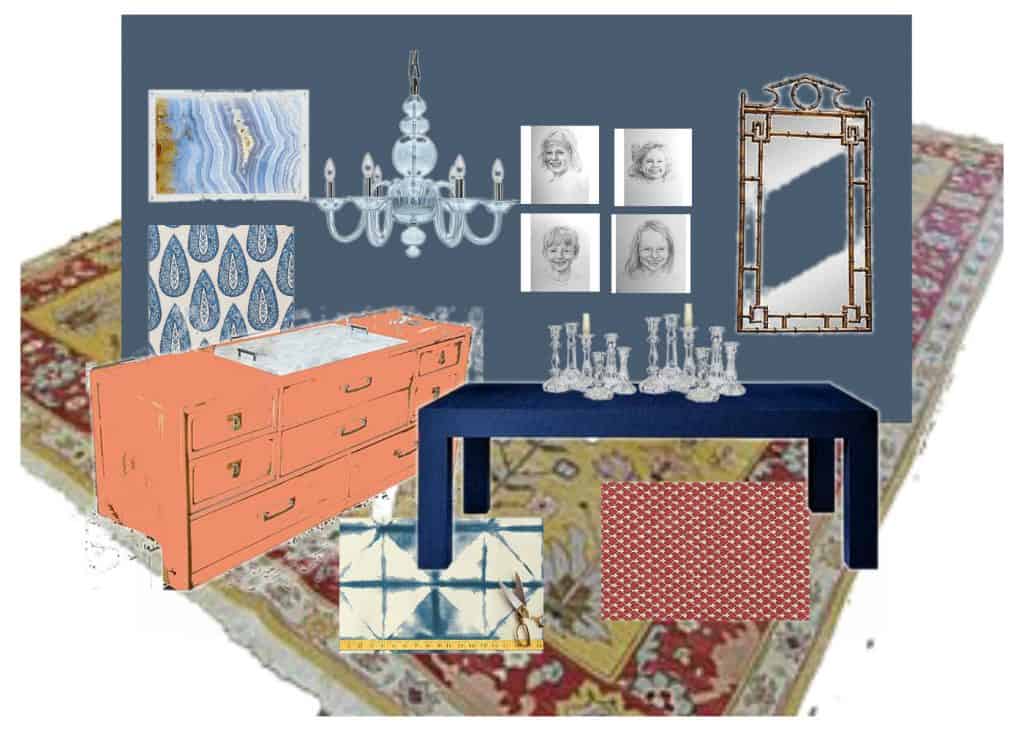
Example 1. Our dining room for the One Room Challenge. I had to get a little creative to see how the coral sideboard would look in there, but as soon as I saw it all together on the vision board, I knew I was in love!
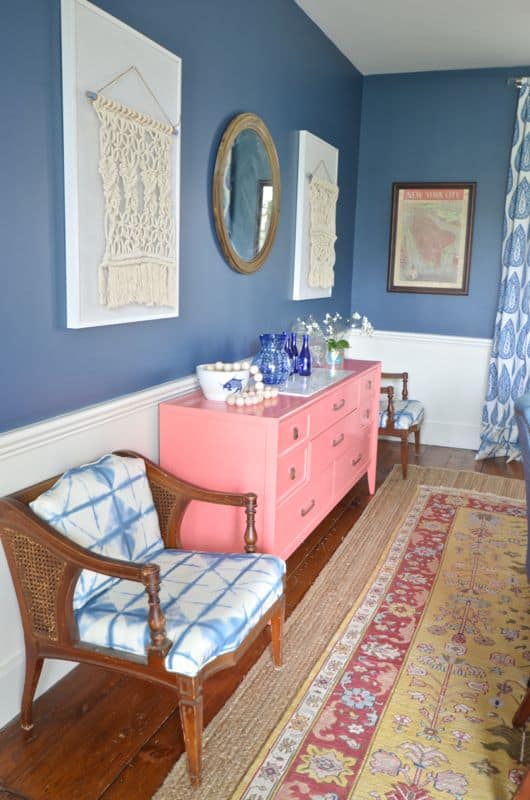
And here’s how the finished room came out:
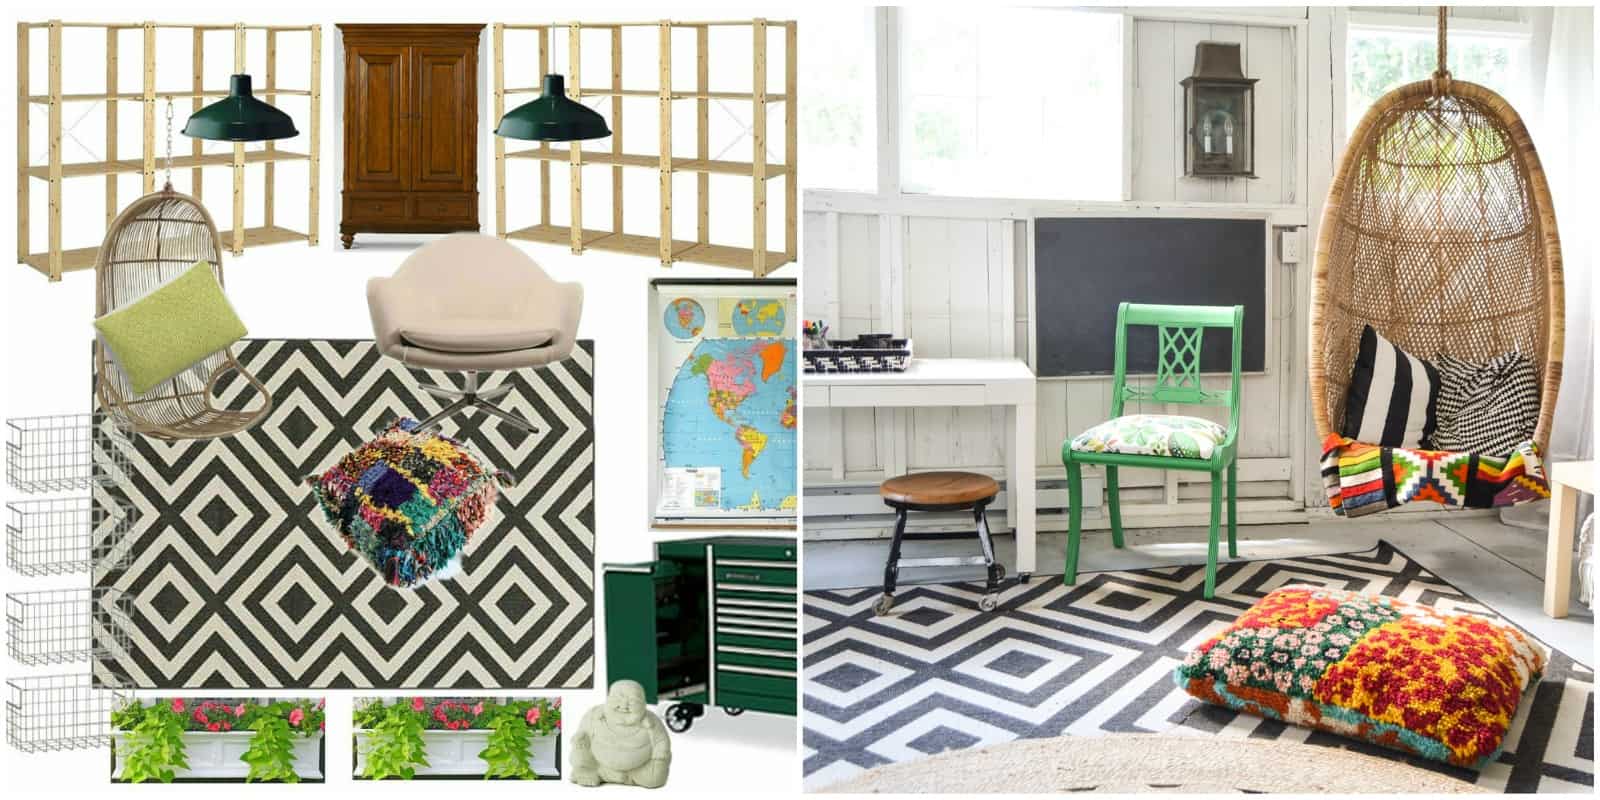
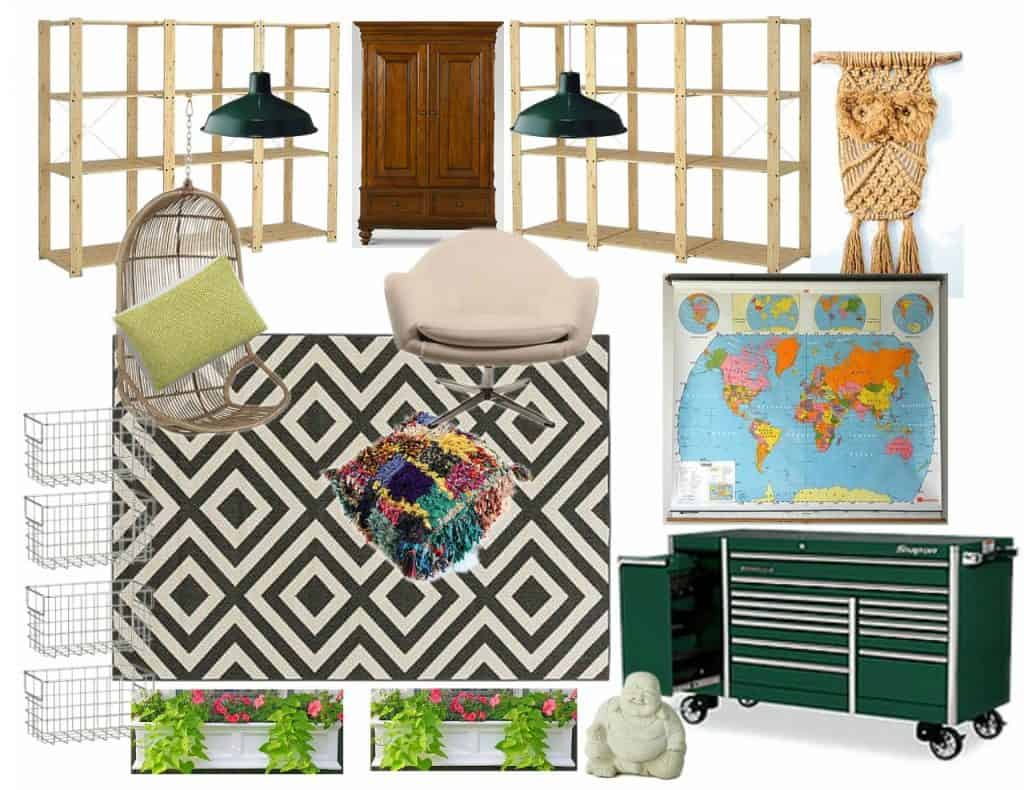
Example 2: Another fun space for me was the backyard shed. I worked with Home Decorator’s Collection on this and needed to show them my plans.
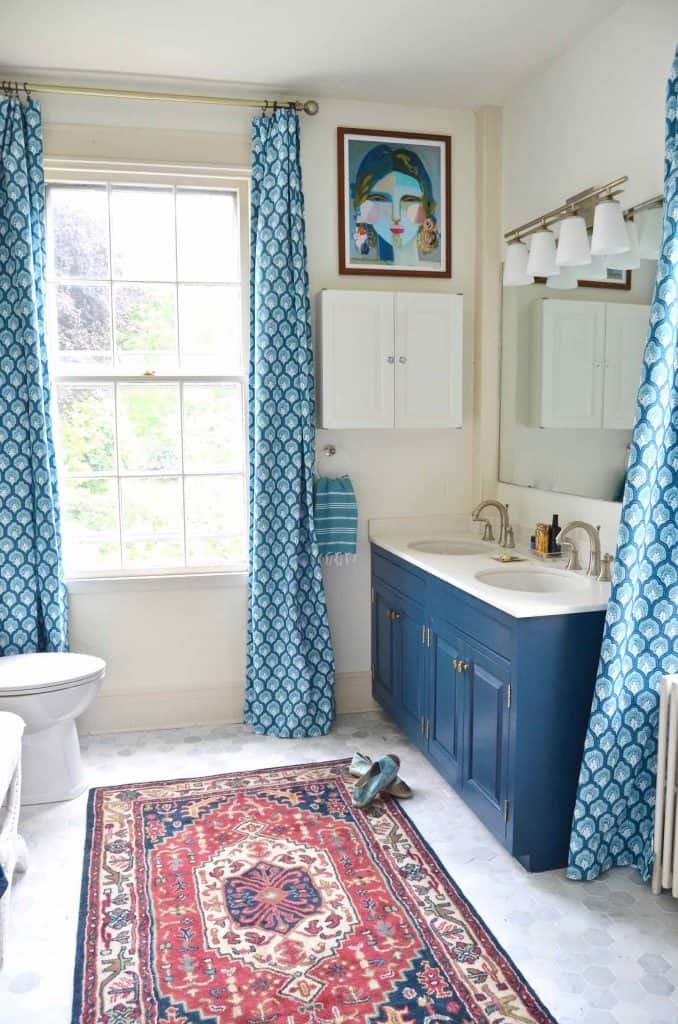
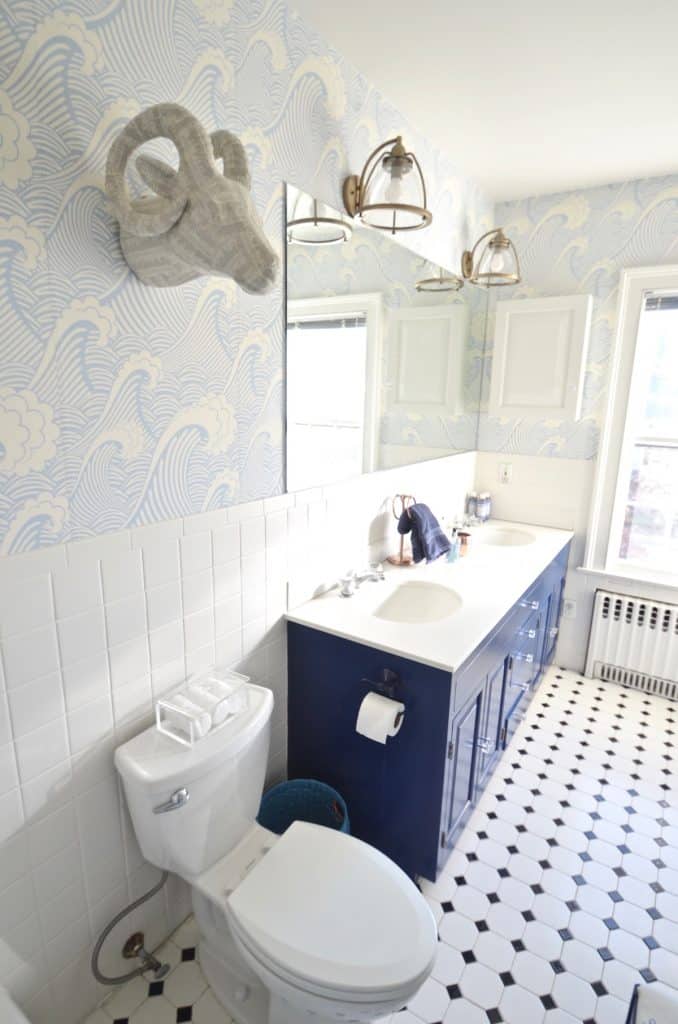
Example 3: This was the vision board for our upstairs masterbath remodel:
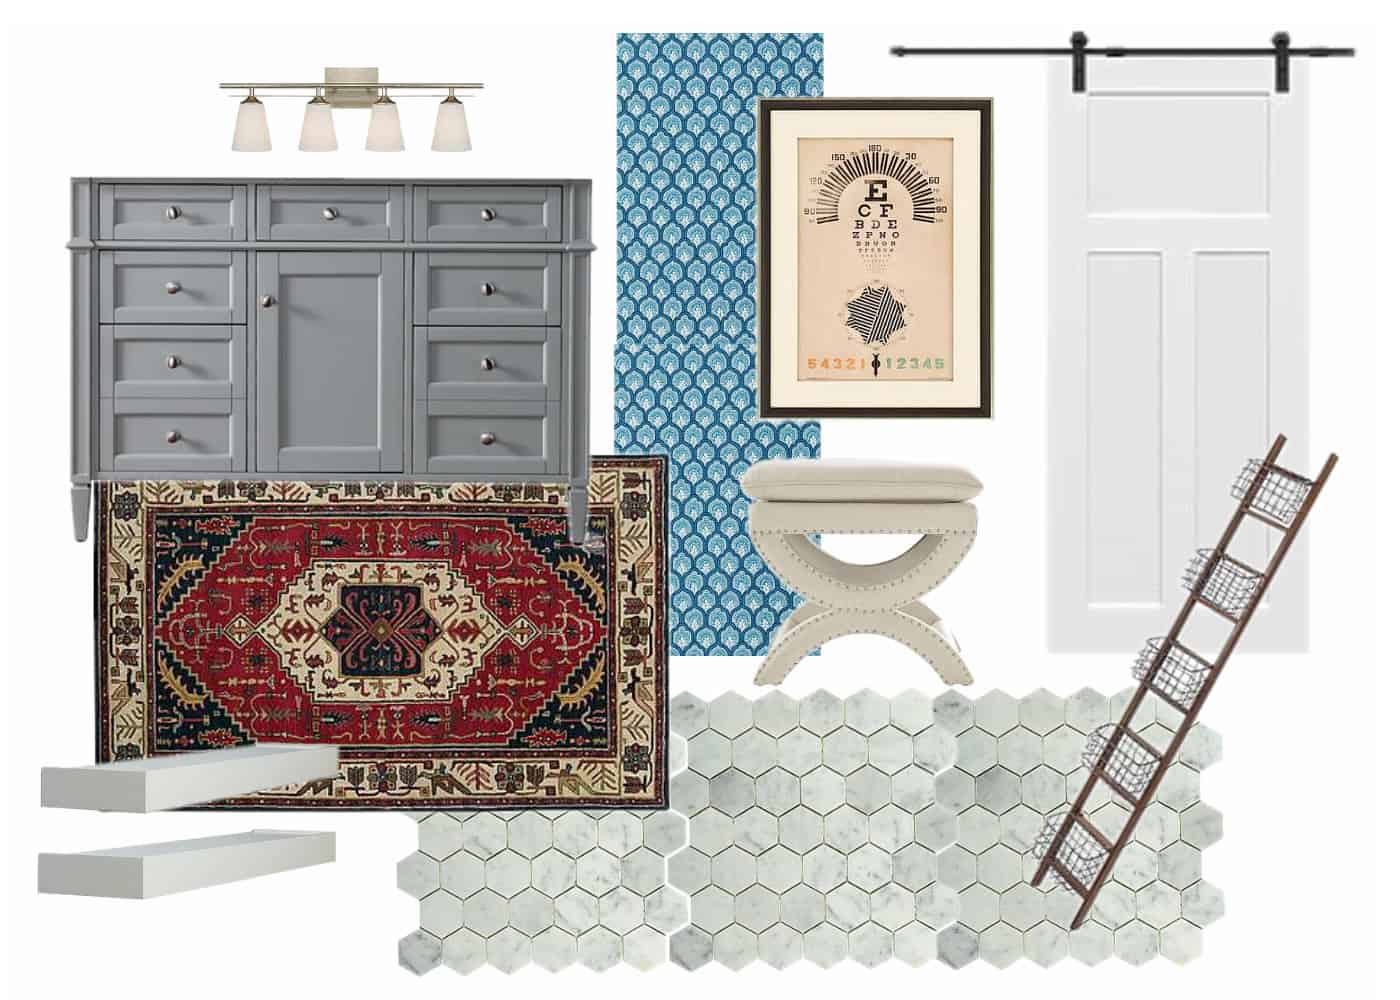
And this is the finished room:
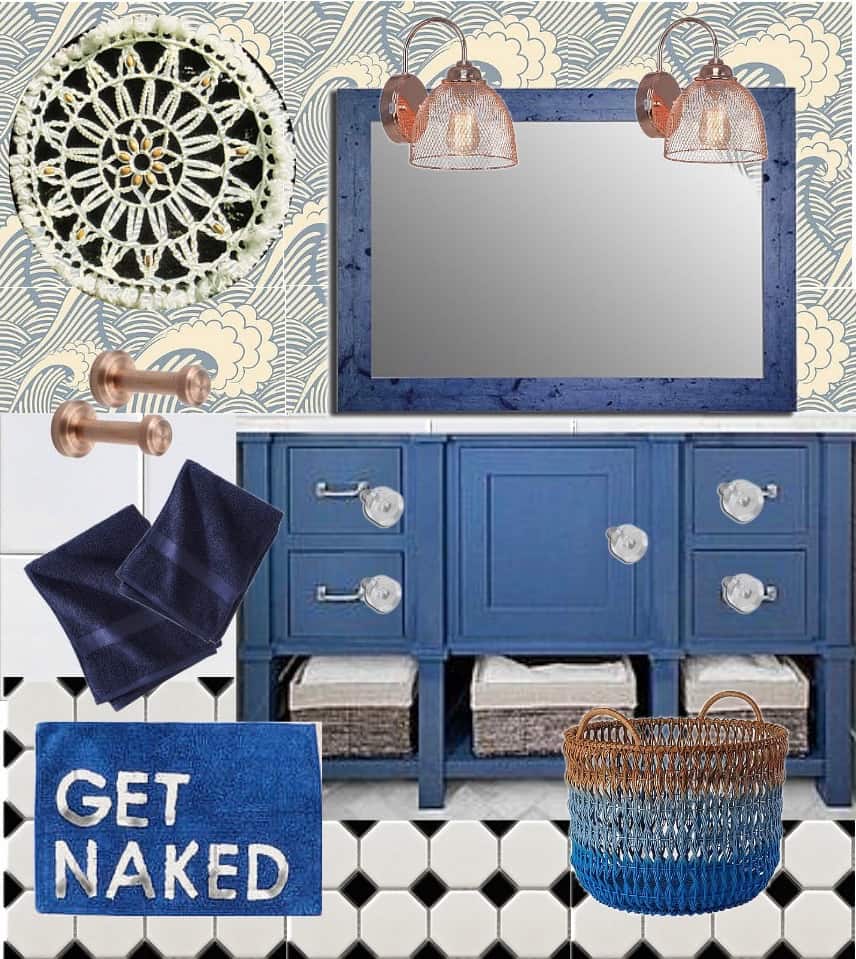
Example 4. Kids bathroom:
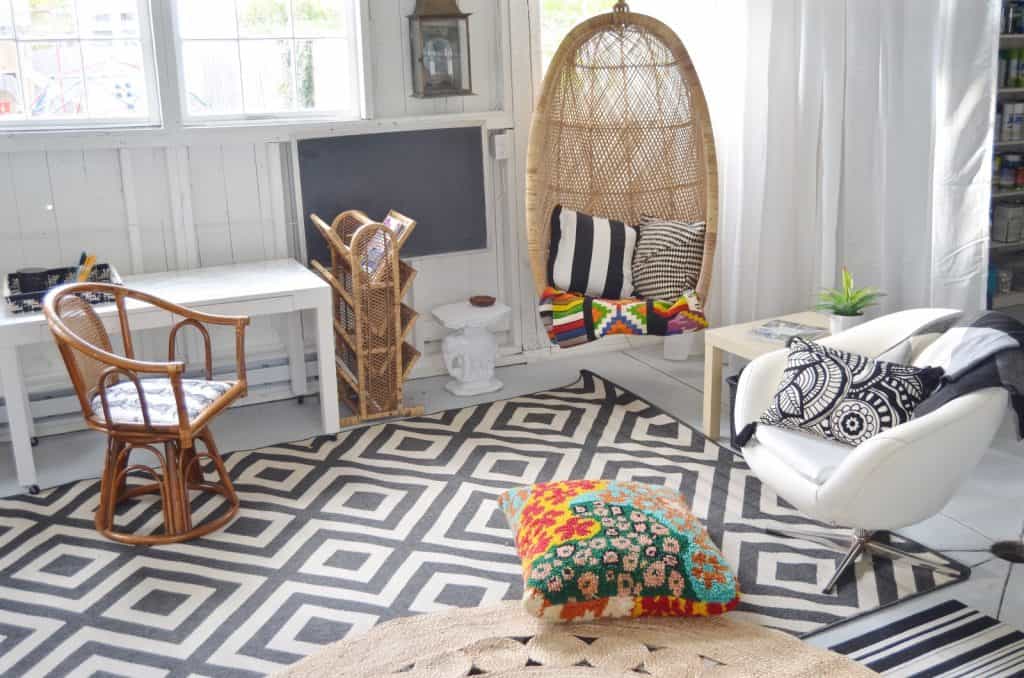
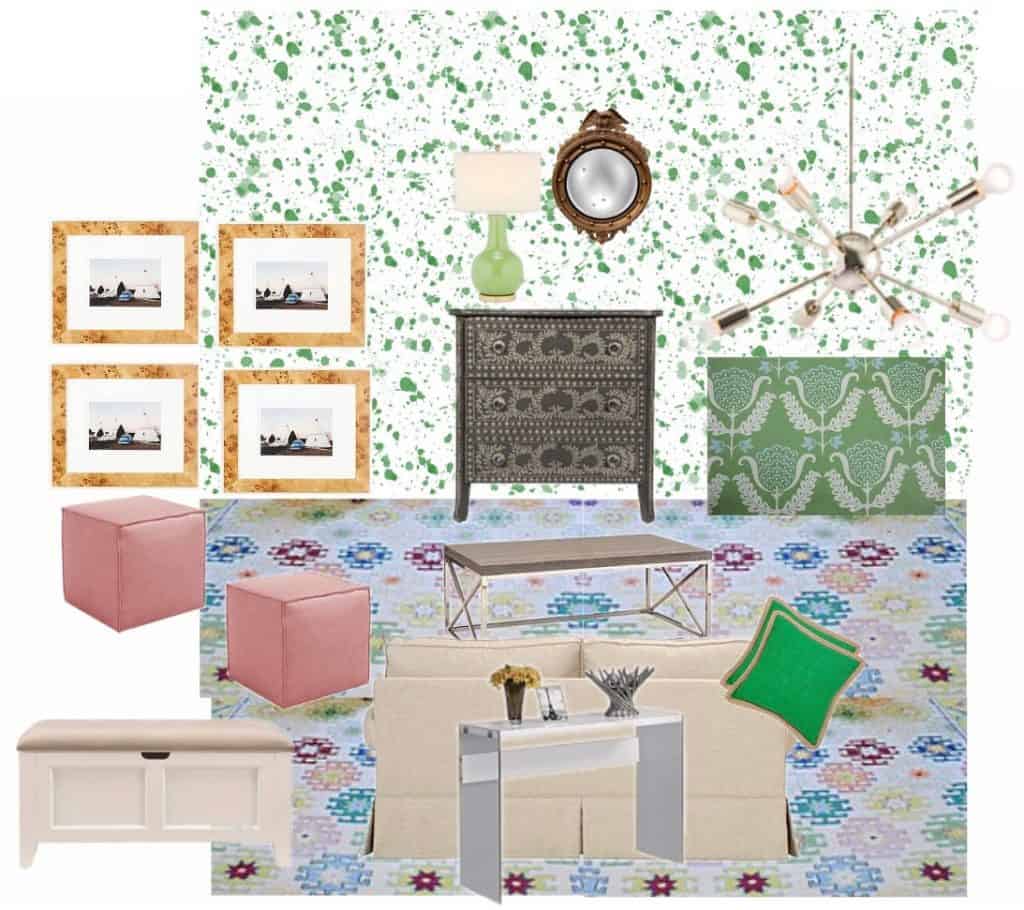
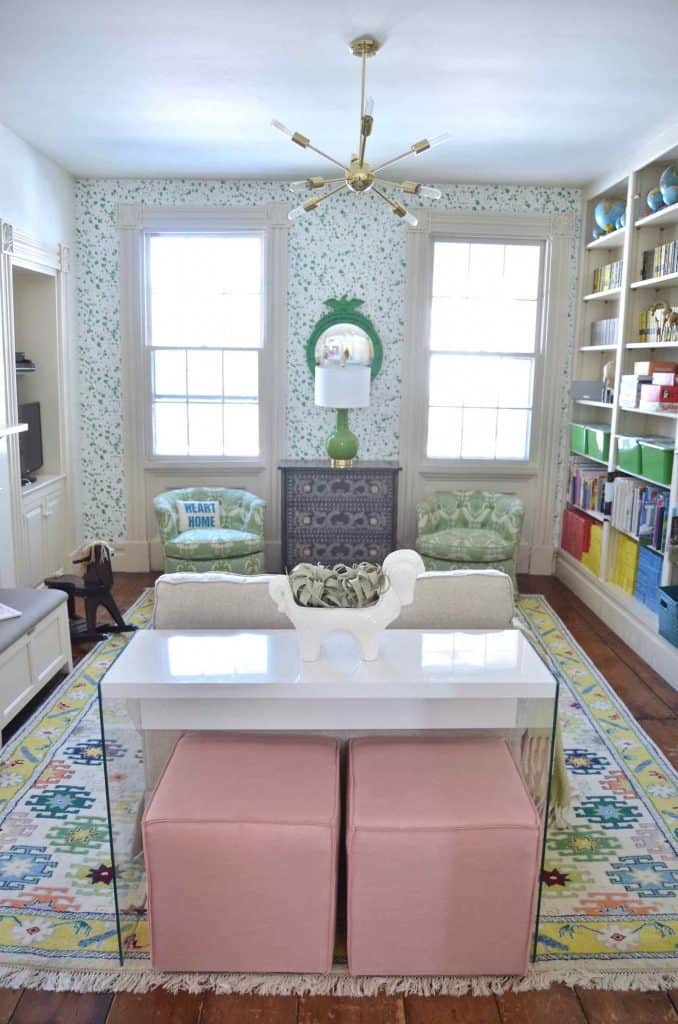
Example 5. One of my favorites is the vision board I shared with you for our colorful updated playroom:
I ended up using all of those actual items and here’s how the space looks now:
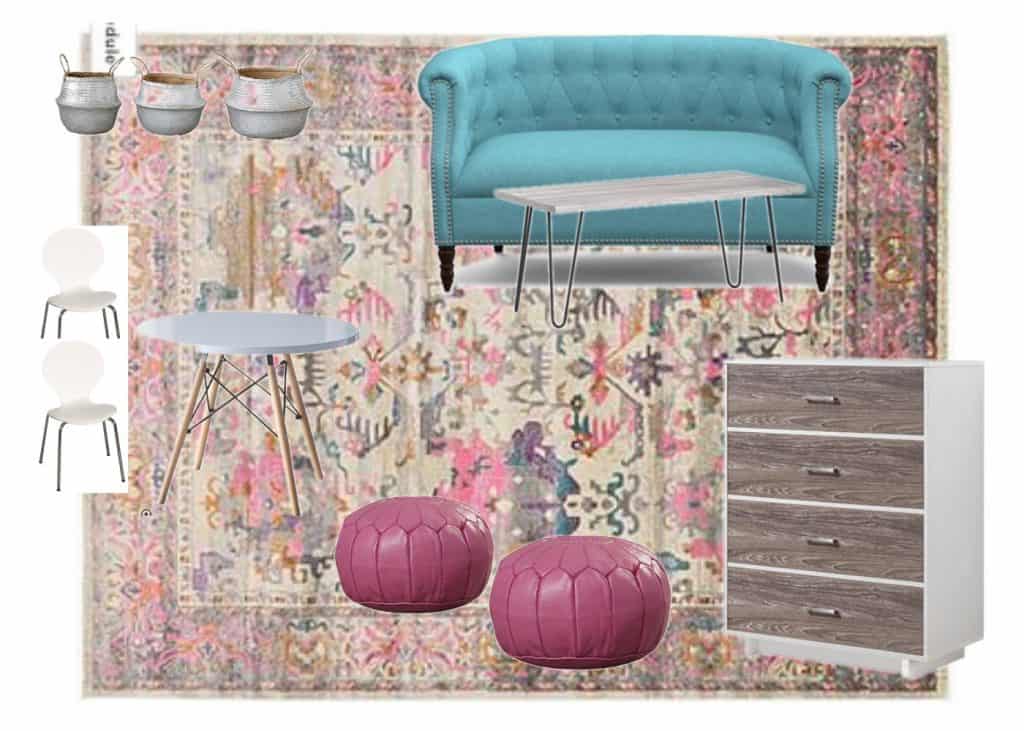
Here are some designs I pitched that were rejected. I’m still hopeful that I can create something similar, but… alas, not with the identical products shown. I’m sure there are much fancier ways to go about doing this, but this process works pretty well with me. Pinterest is also a GREAT place to start gathering your thoughts (you can follow my Pinterest boards HERE.) It’s mostly about seeing everything you’re eying for a space in one place.
Shared Little Girls’ Room idea:
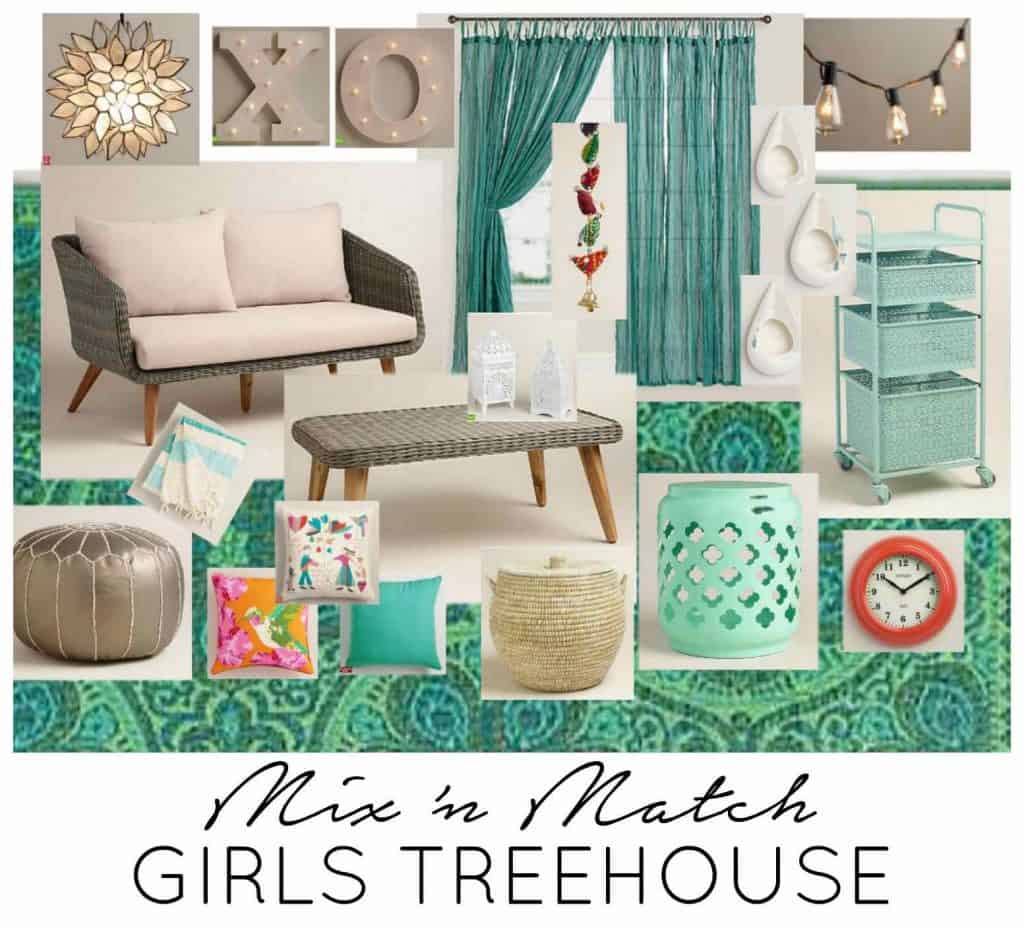
Treehouse idea:
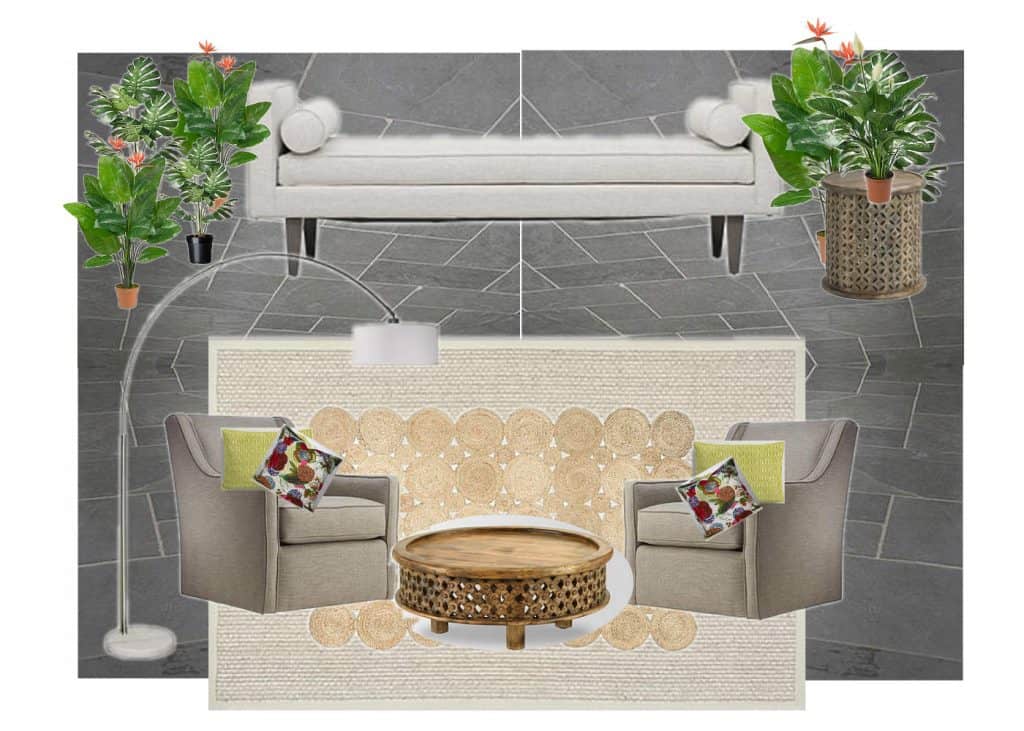
Lush indoor patio space:
Let me know if you have any questions! I’m sure I’ve forgotten a few things! Happy designing!!!


Don’t Miss Out
Become An Insider!
Signup for exclusive tips, and tricks from Charlotte’s House!
Let’s chat!
I love comments from you, so feel free to leave your thoughts and ideas below! And don’t forget to follow me on Instagram for even more!