Dueling DIY: Wallpaper and Shelving
Psssst… this post *might* contain affiliate links: see my disclosure here.
Another Dueling DIY update and this one is a good one! For those of you scratching your heads… real quick, Dueling DIY is a fun faux competition that my friend Sarah from Ugly Duckling House set up between her and another blogger to coax and heckle each other into finishing a space! This go around we’re doing the Guest Room Gauntlet, and I’m taking on Louisa’s old room.
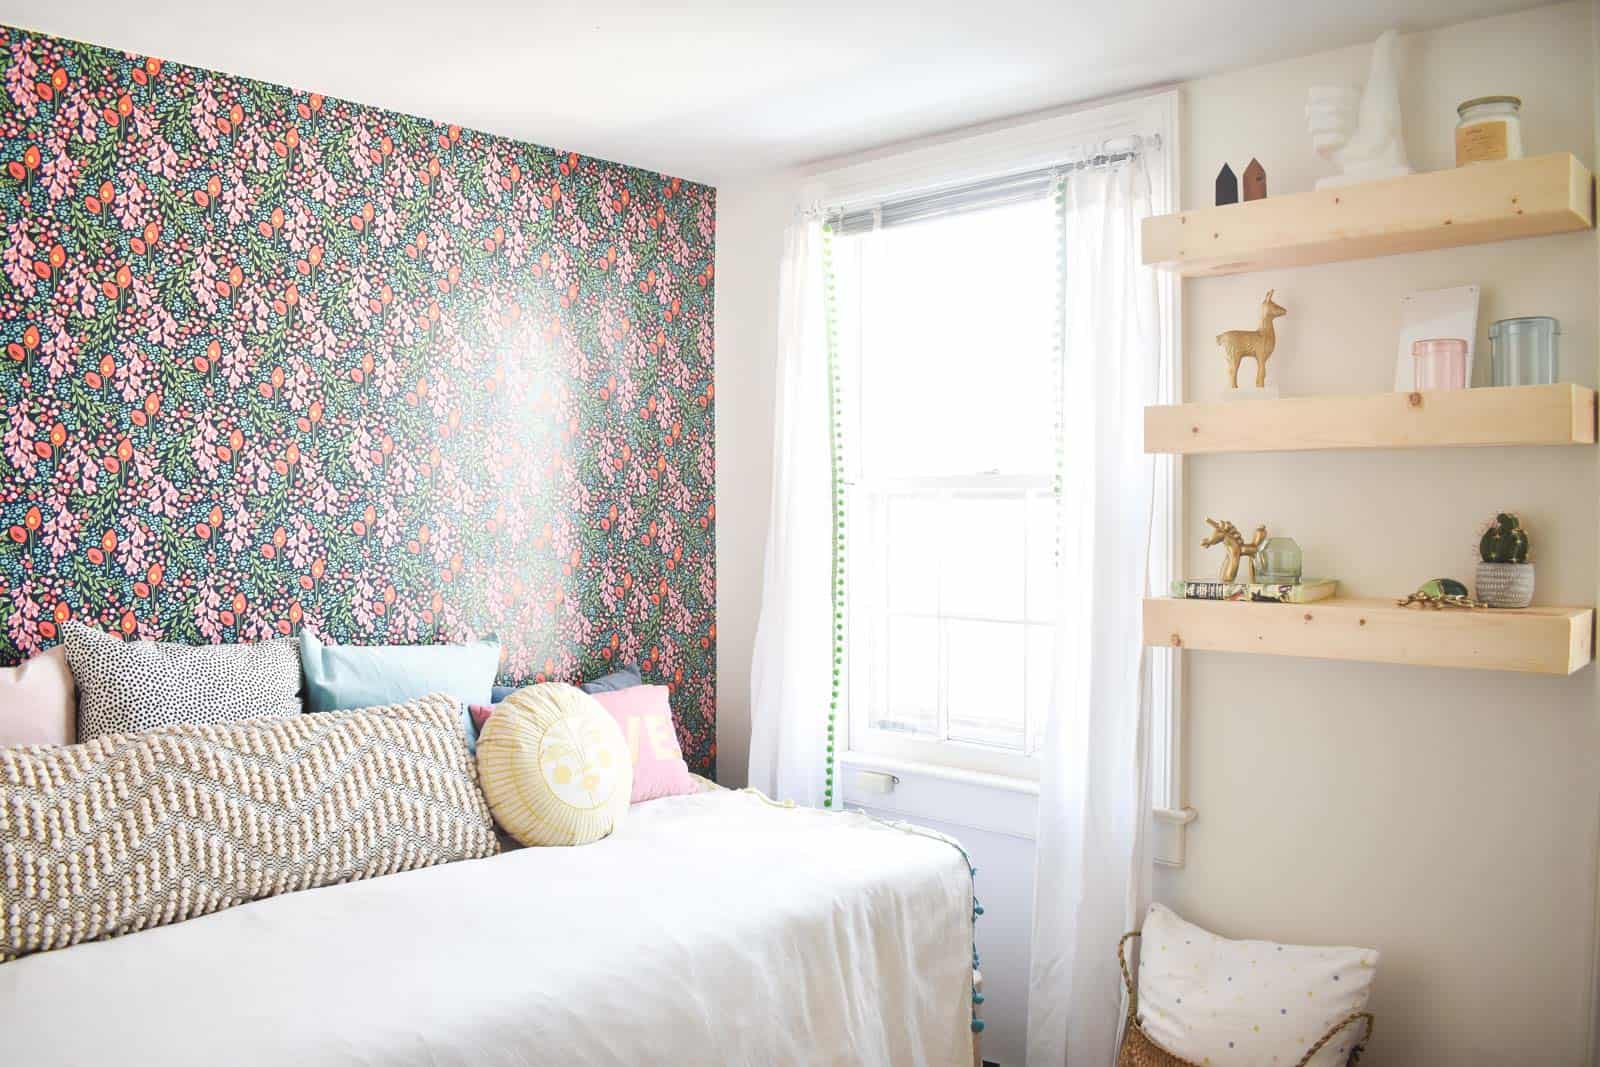
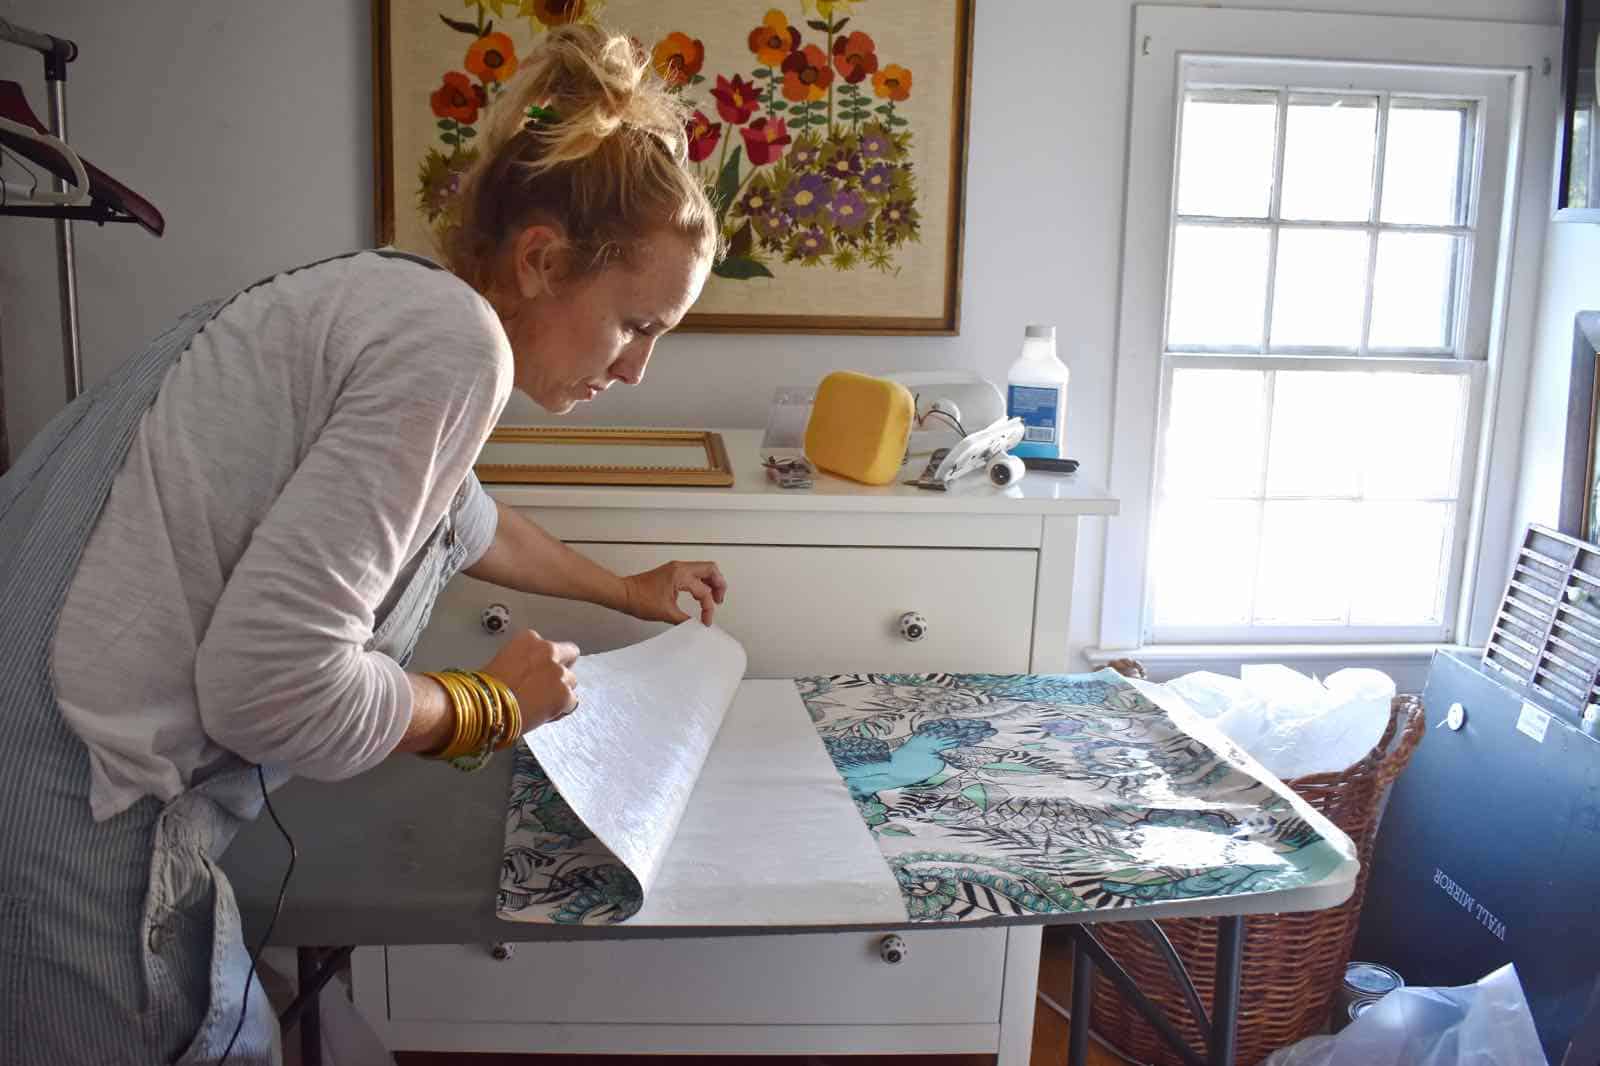
Sarah’s been whining about supplies and, whomp whomp… her early flight today, so goodness knows what she’s going to be sharing, but I’ve put up wallpaper and some floating shelves. I shared a quick wallpaper tutorial when I redid the 3rd floor bathroom, so feel free to check it out here. I also have a How To section in my Instagram highlights if you want to see me hang the wallpaper in the guest room. (Note: as of post time… Instagram was being glitchy so it’s NOT in the highlights, but I’m optimistic it will fix itself….)
Shop my favorites!
I’m working with Spoonflower on this one, and am already thrilled with how the space is coming together. I fell in love with this pattern and Spoonflower actually reached out to the artist to see whether she would release it for us on wallpaper and I am EUPHORIC that we were able to make it happen because it’s even better than I could have imagined. For those of you who ask, I prefer pasted wallpaper… it’s slightly messier to install, but I find it much more forgiving and just easier to line up and work with in general. Here’s a glamour shot of me hanging paper in the upstairs bathroom. (I also just shared a post about how I CHOOSE wallpaper and fabric online here.)
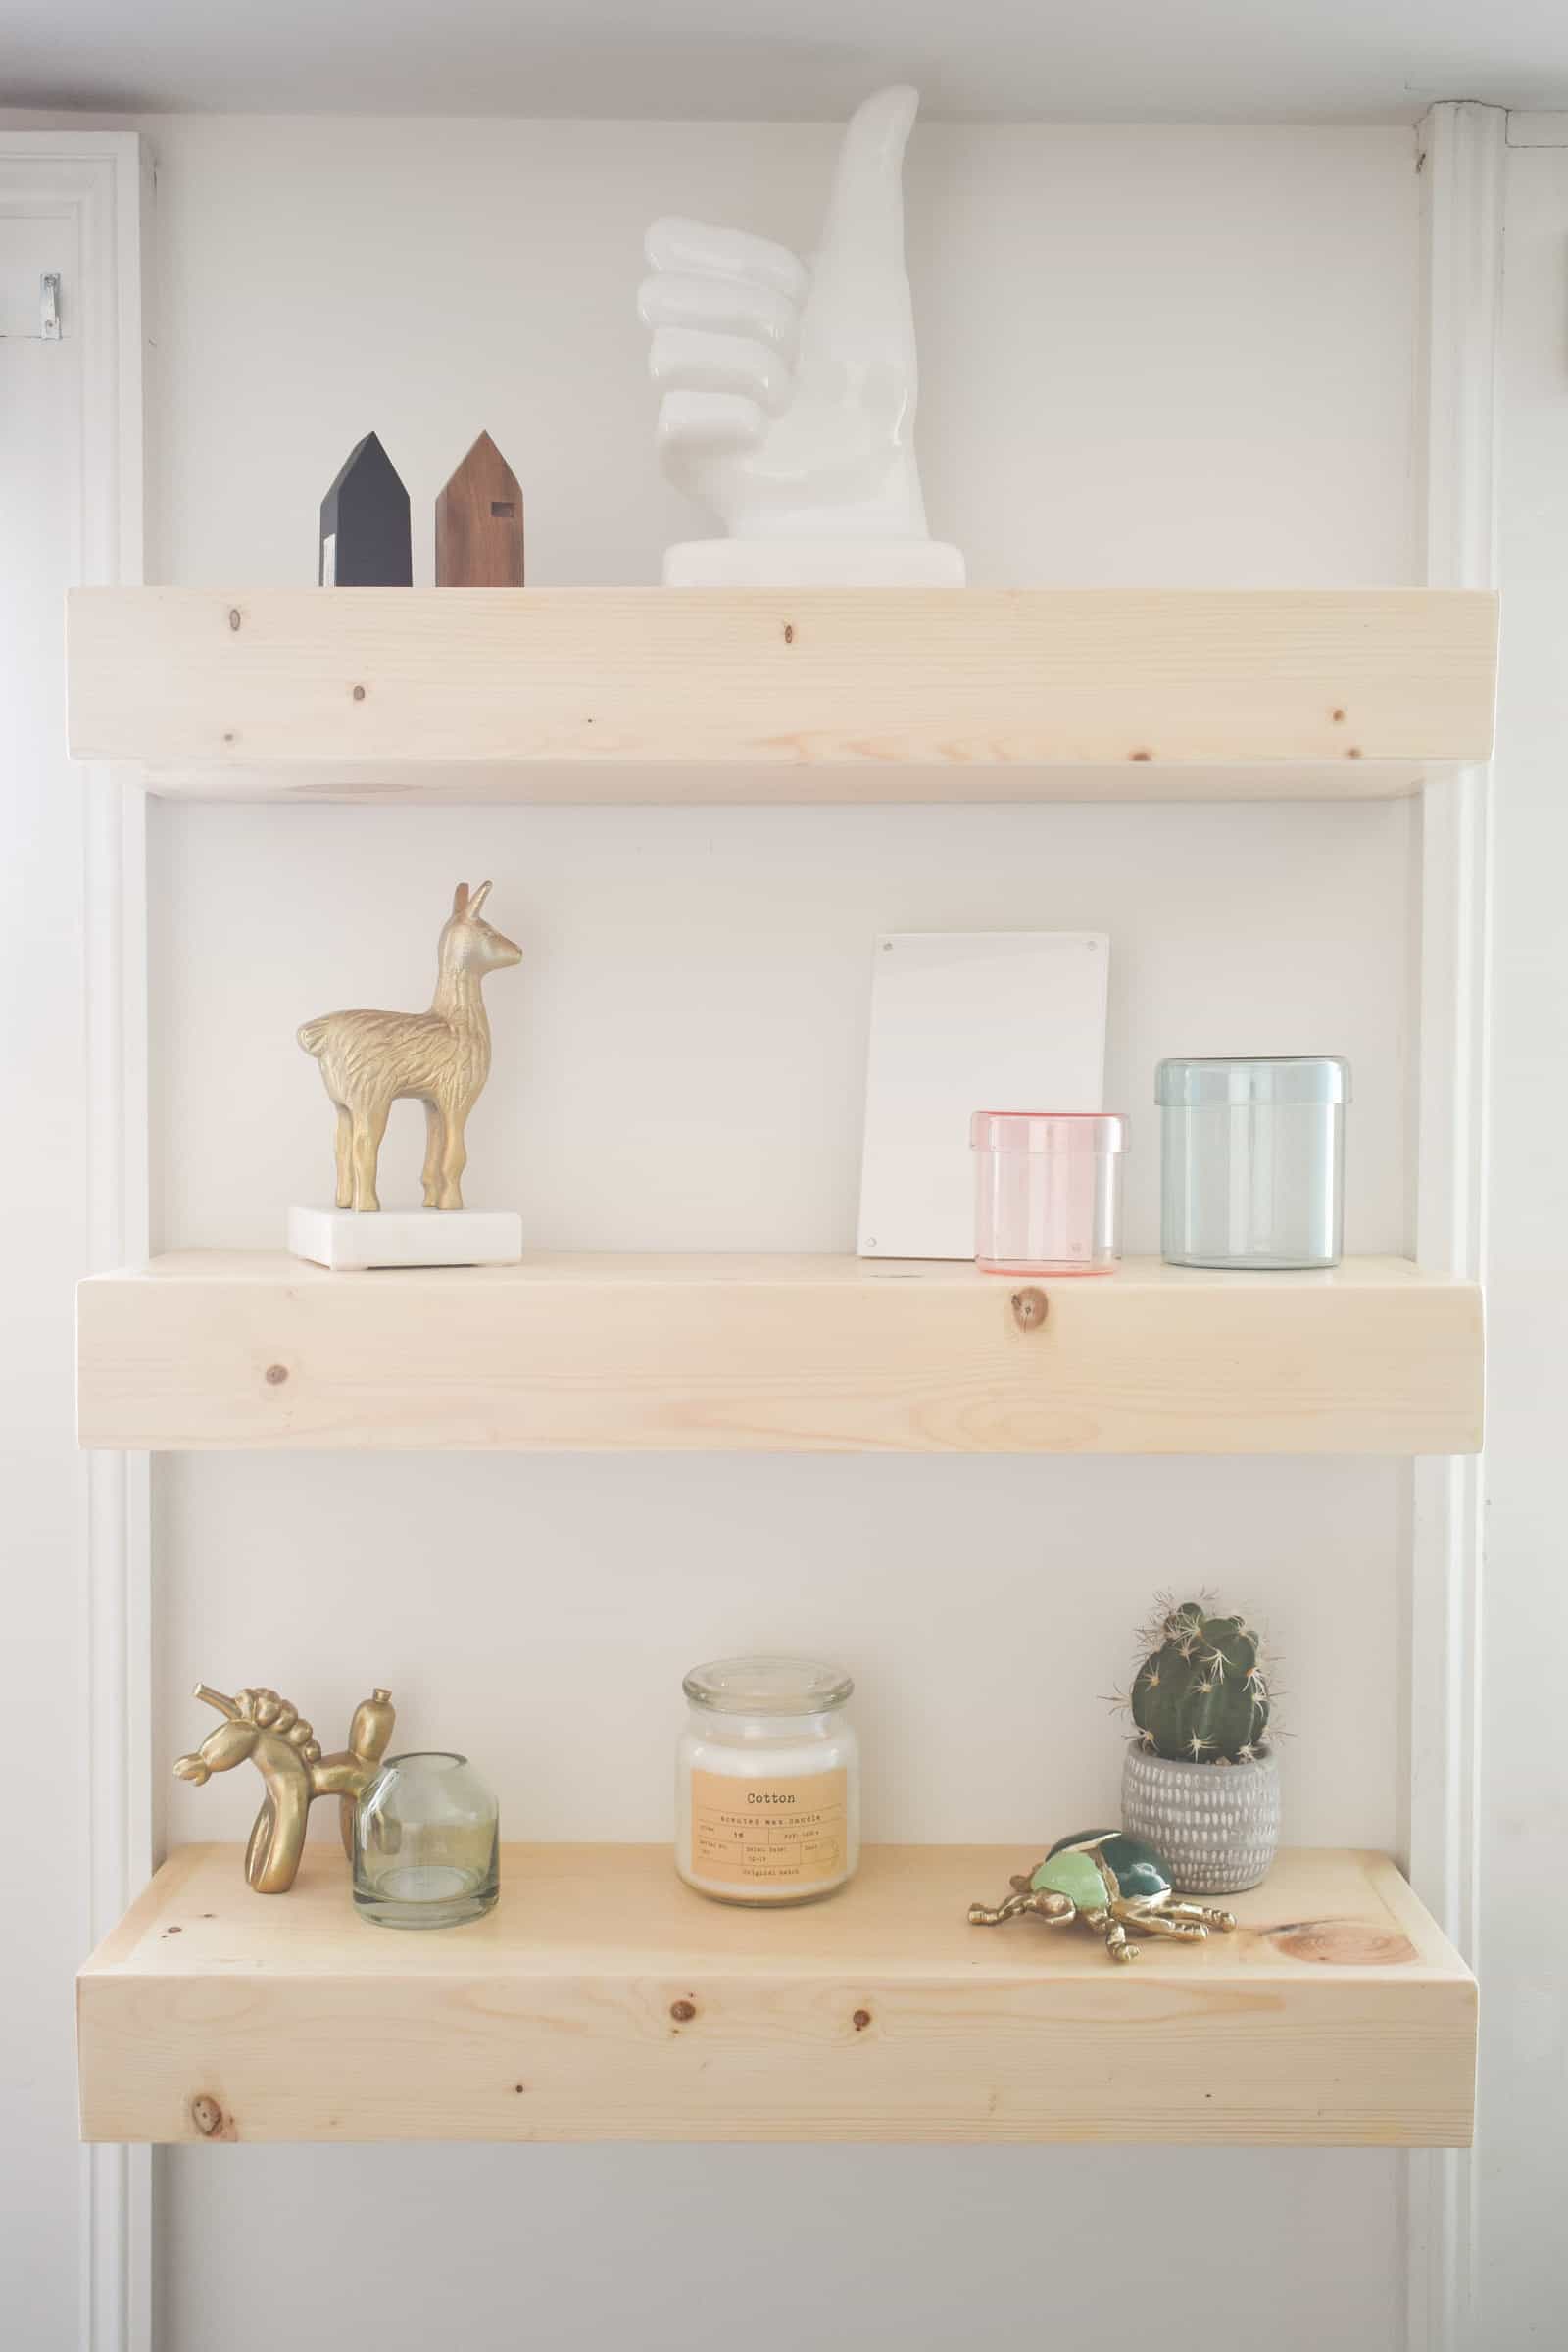
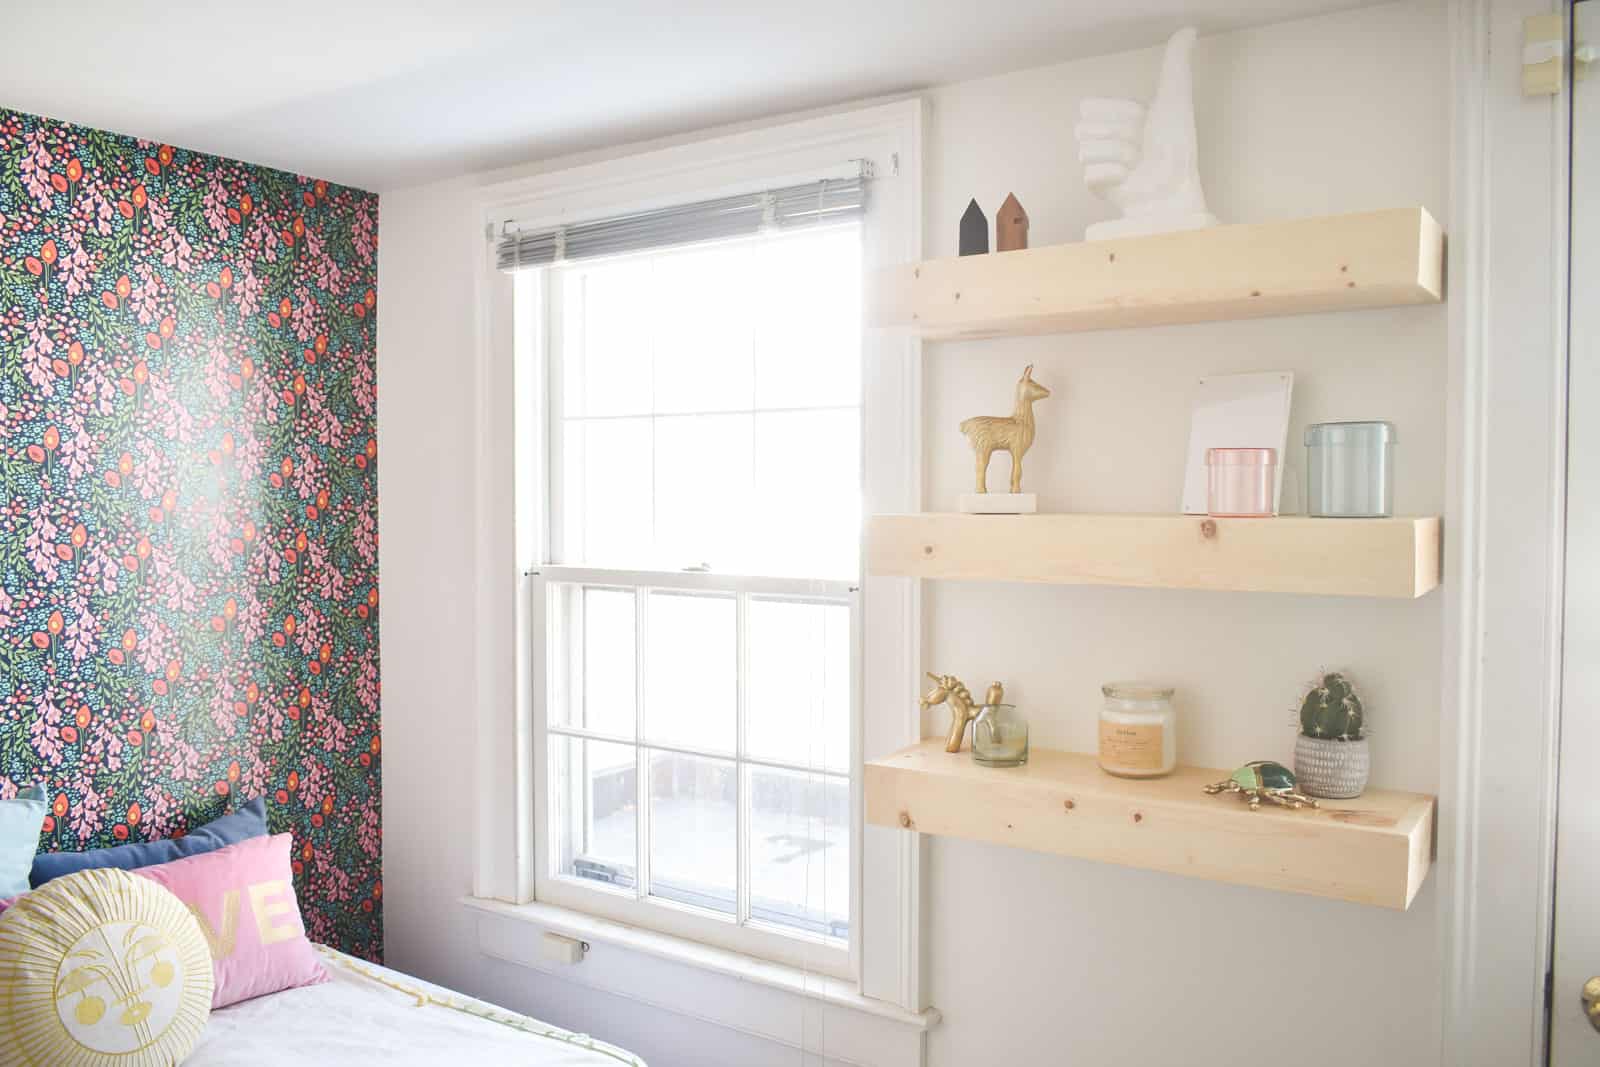
This week I also installed those three floating shelves. I will definitely have a tutorial for that as well but I love the way the bare wood brightens the space. I’m not sure if that shelf styling will remain, but I had to pop on some of the fun accessories I’ve been hoarding with this room in mind.
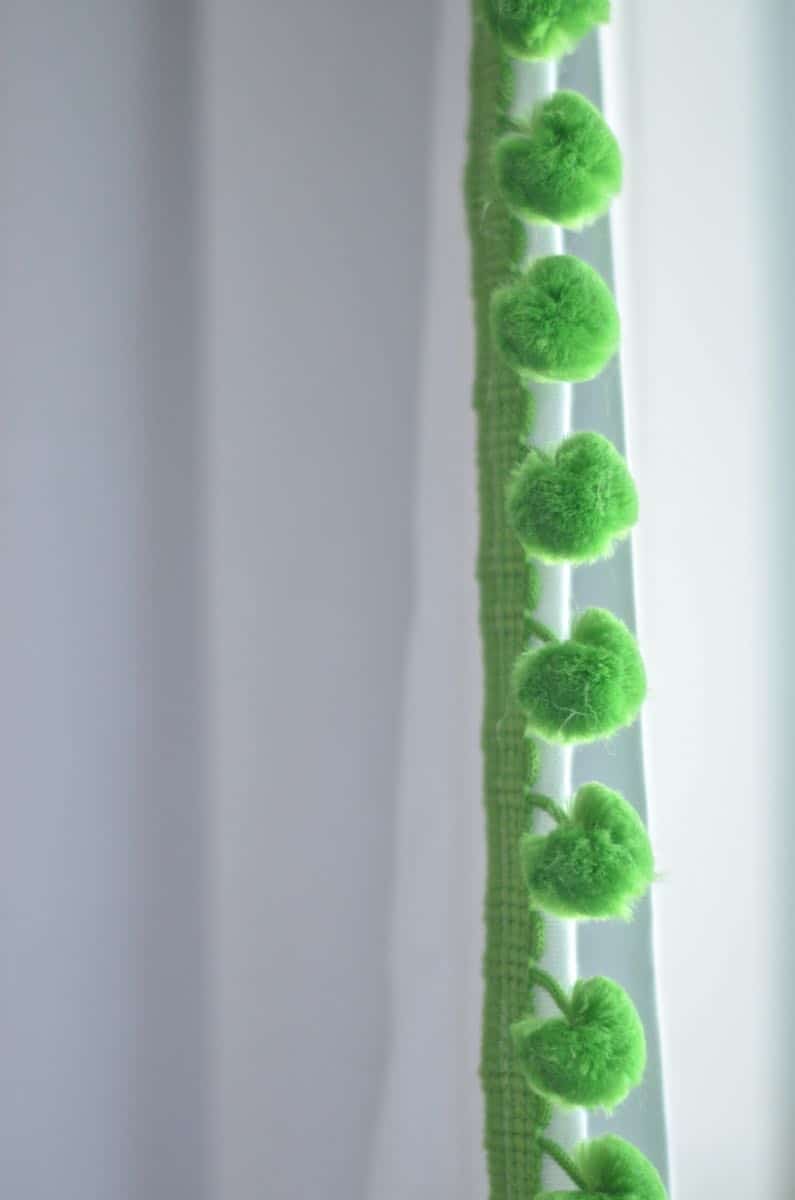
Finally, I know I’ve been debating what to do about the window treatments. I rehung the curtains that were in the space before and… I actually don’t mind them! I was thinking Roman Shades would be nice, but there’s room for the curtains behind the bed and the green ball fringe matches, so I may just call this one done for the time being! I can always add them later if the curtains don’t work, but so far they look okay to me.
To recap:
Charlotte:
- Built a day bed
- Build floating shelves (coming soon)
- Made artwork
- Made a wall hanging
- Painted
- Wallpapered
Sarah:
We’re getting close to the finish line. Sarah’s room is quite a bit bigger (which she’s reminded me of ONLY 10, 000 times), so I know she has a few more projects left to go. I’m waiting on fabric so I can finish up the daybed, and then I can finalize wall decor, etc.
Both of use have shared a few updates on YouTube, so make sure to subscribe to my channel here and Sarah’s channel here to stay up to date with that as well! And, as always, head over to Sarah’s blog and tell her to stick a fork in it… she’s done.



Don’t Miss Out
Become An Insider!
Signup for exclusive tips, and tricks from Charlotte’s House!
Let’s chat!
I love comments from you, so feel free to leave your thoughts and ideas below! And don’t forget to follow me on Instagram for even more!