
How to Make a Striped Privacy Screen
Psssst… this post *might* contain affiliate links: see my disclosure here.
DIY Painted Privacy Screen
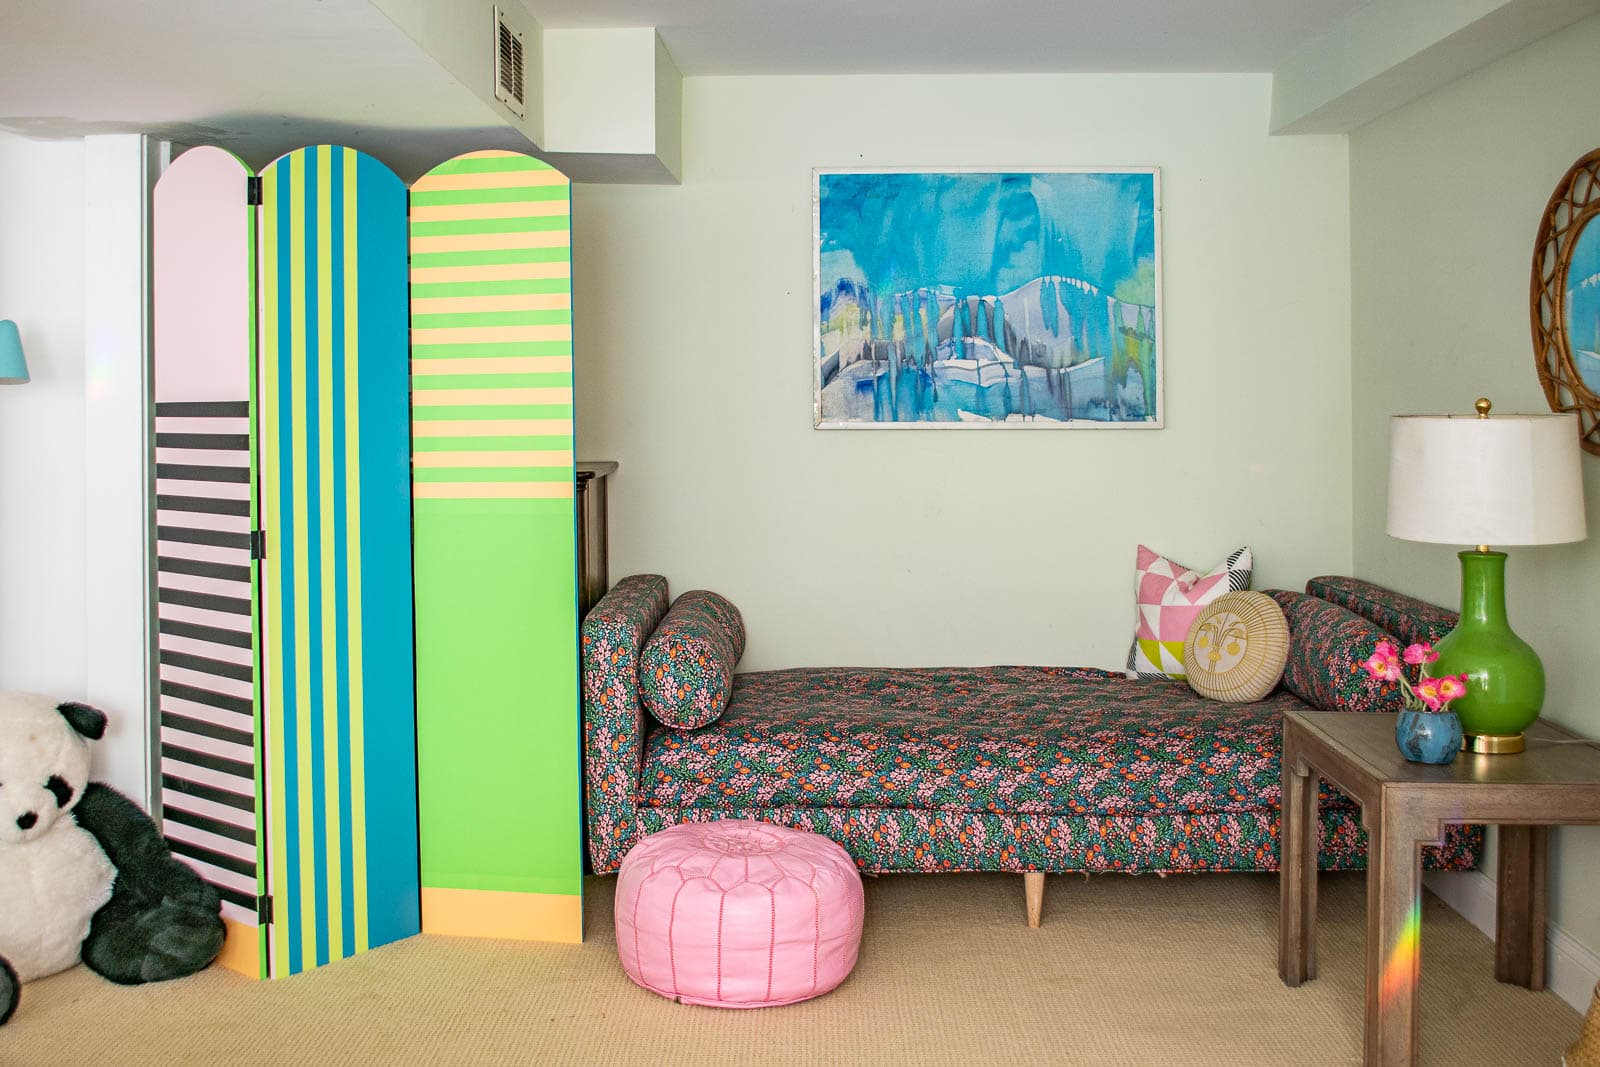
I made and painted this cute privacy screen for our basement guest area.
Disclosure: This is a sponsored post in partnership with Frogtape… they’re always my go-to painters tape!
Shop my favorites!
Story time: As I type this, I have just arrived home from Nashville. In Nashville, I got onto the elevator at the hotel to go down to the lobby and a gentleman got on and said, “How’s your day going?” I responded, “Great… how about yours?” This was his answer: “If it got any better I’d have to sit on my hands to keep them from clapping,” and that’s been living rent free in my head ever since. Thank you and goodnight; tip your servers.
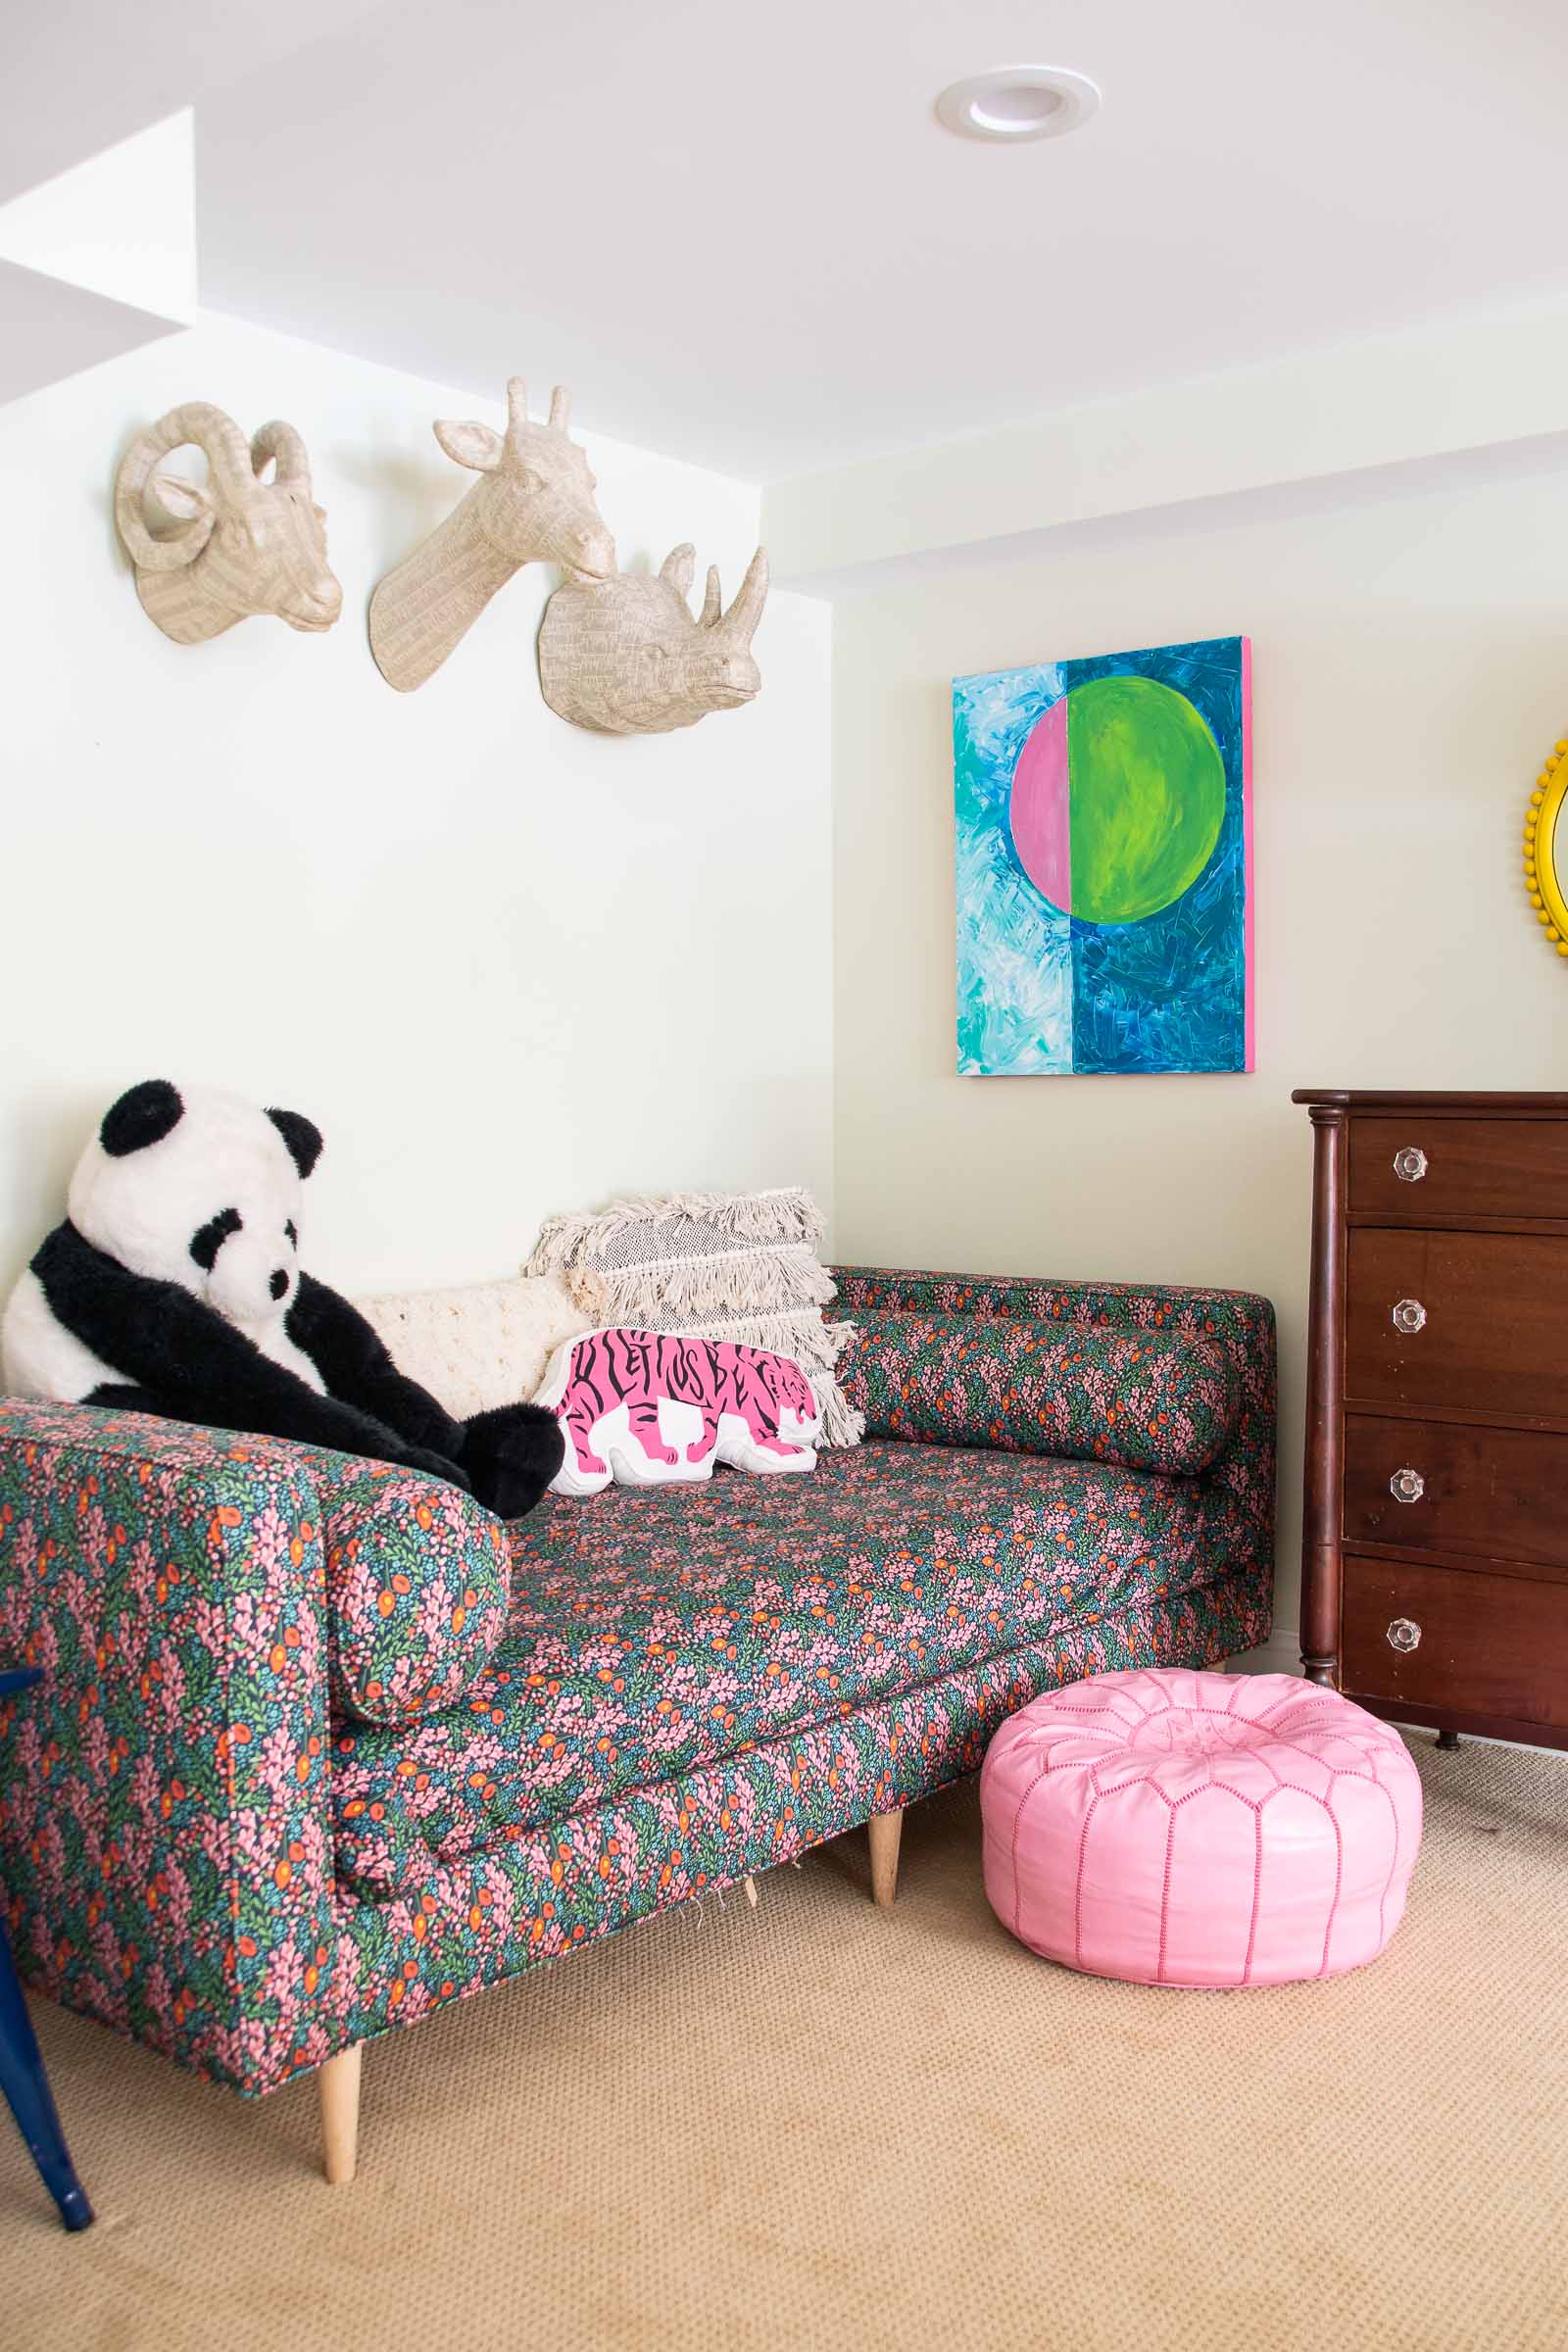
Our current house is great, but it’s one or two rooms smaller than we’d love ideally… two of the girls share a room and we don’t really have any place for guests to stay. Downstairs in our basement, there is a nook where I’ve set up this day bed and it works fine when we have a single guest or the kids are having a sleepover. As part of my basement playroom turned game room project, I wanted to help delineate the sleeping corner of the basement in an attempt to make it a *bit* more private. The easiest, most obvious solution for me was to DIY a privacy screen! Wanna know how?
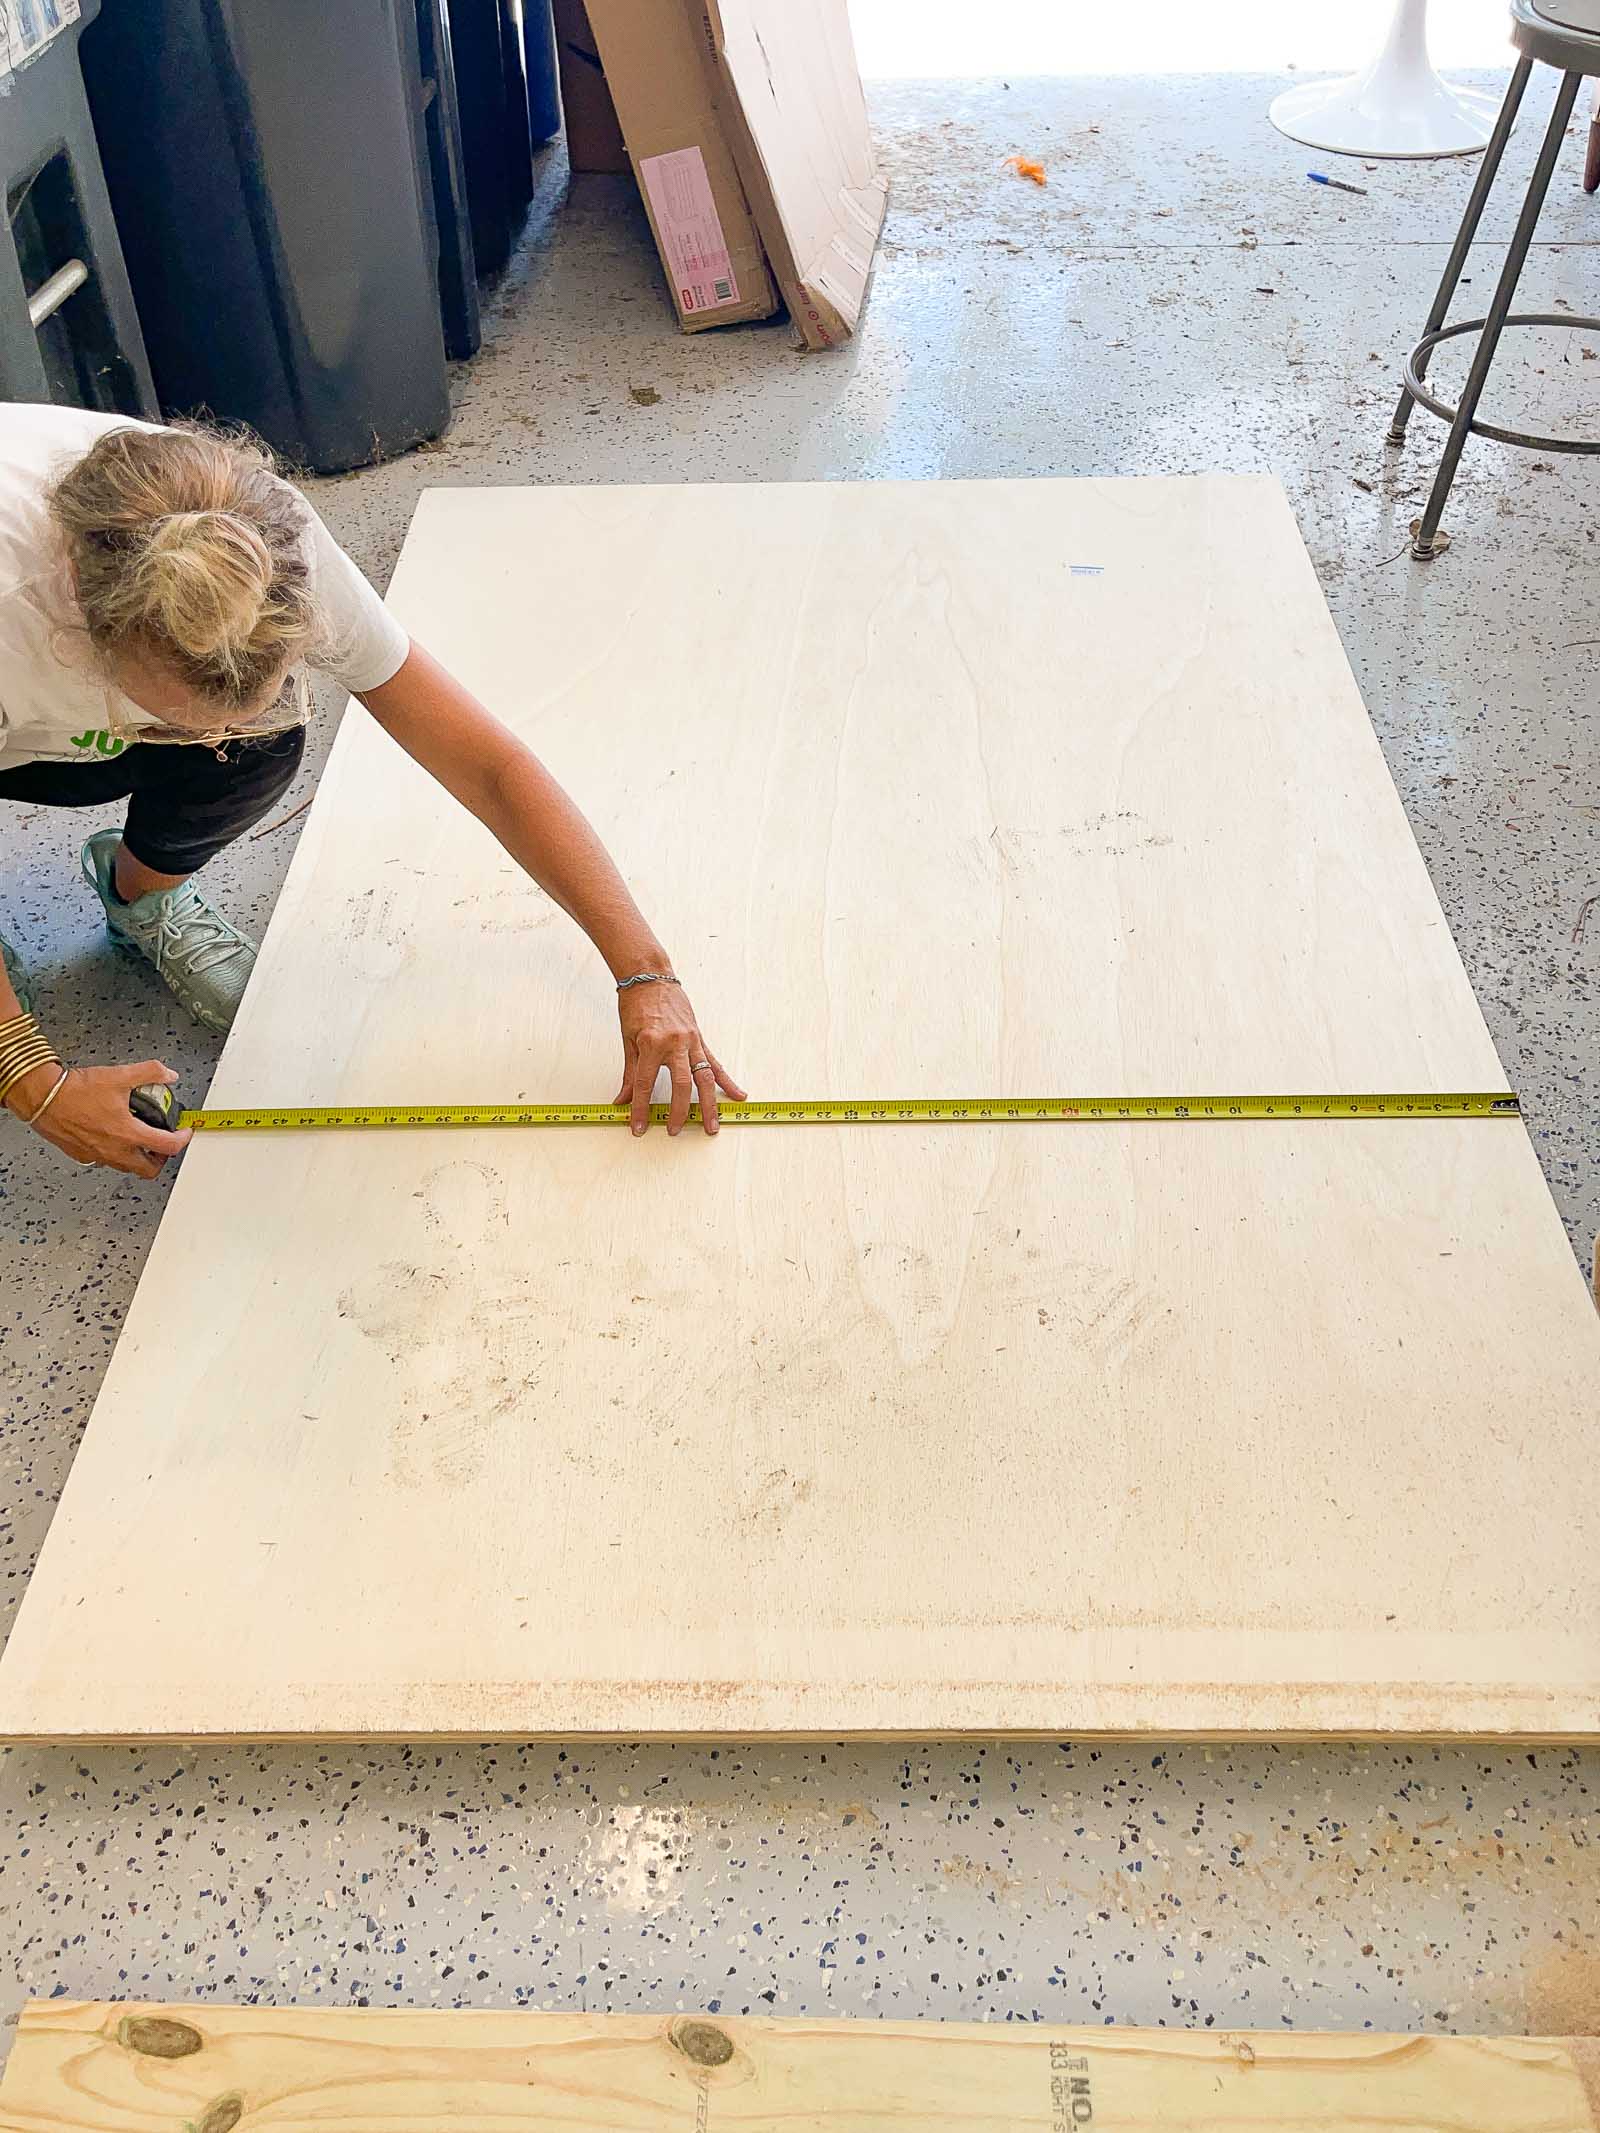
Step 1. Purchase and Cut your lumber
If you happen to work with plywood, you might have scrap material to use but assuming you don’t, here are some things to consider when selecting your plywood:
- You probably want a smoother plywood like sanded pine or birch which will also be a bit more expensive… expect to pay $50+ dollars.
- Because you will be adding hinges, you need plywood that is thick enough to not only stand up straight without bending, but also wide enough to accommodate a hinge. I’m using 3/4″ plywood.
- Plywood is a beast to move, but Home Depot can cut it down for you if that helps. I cut mine down to be a few inches shorter than the soffit in our basement (about 74-inches) and then cut it into three equal strips in length: 16-inches each.
- If you’re moving plywood around by yourself… get yourself one of these guys. LIFE savers.
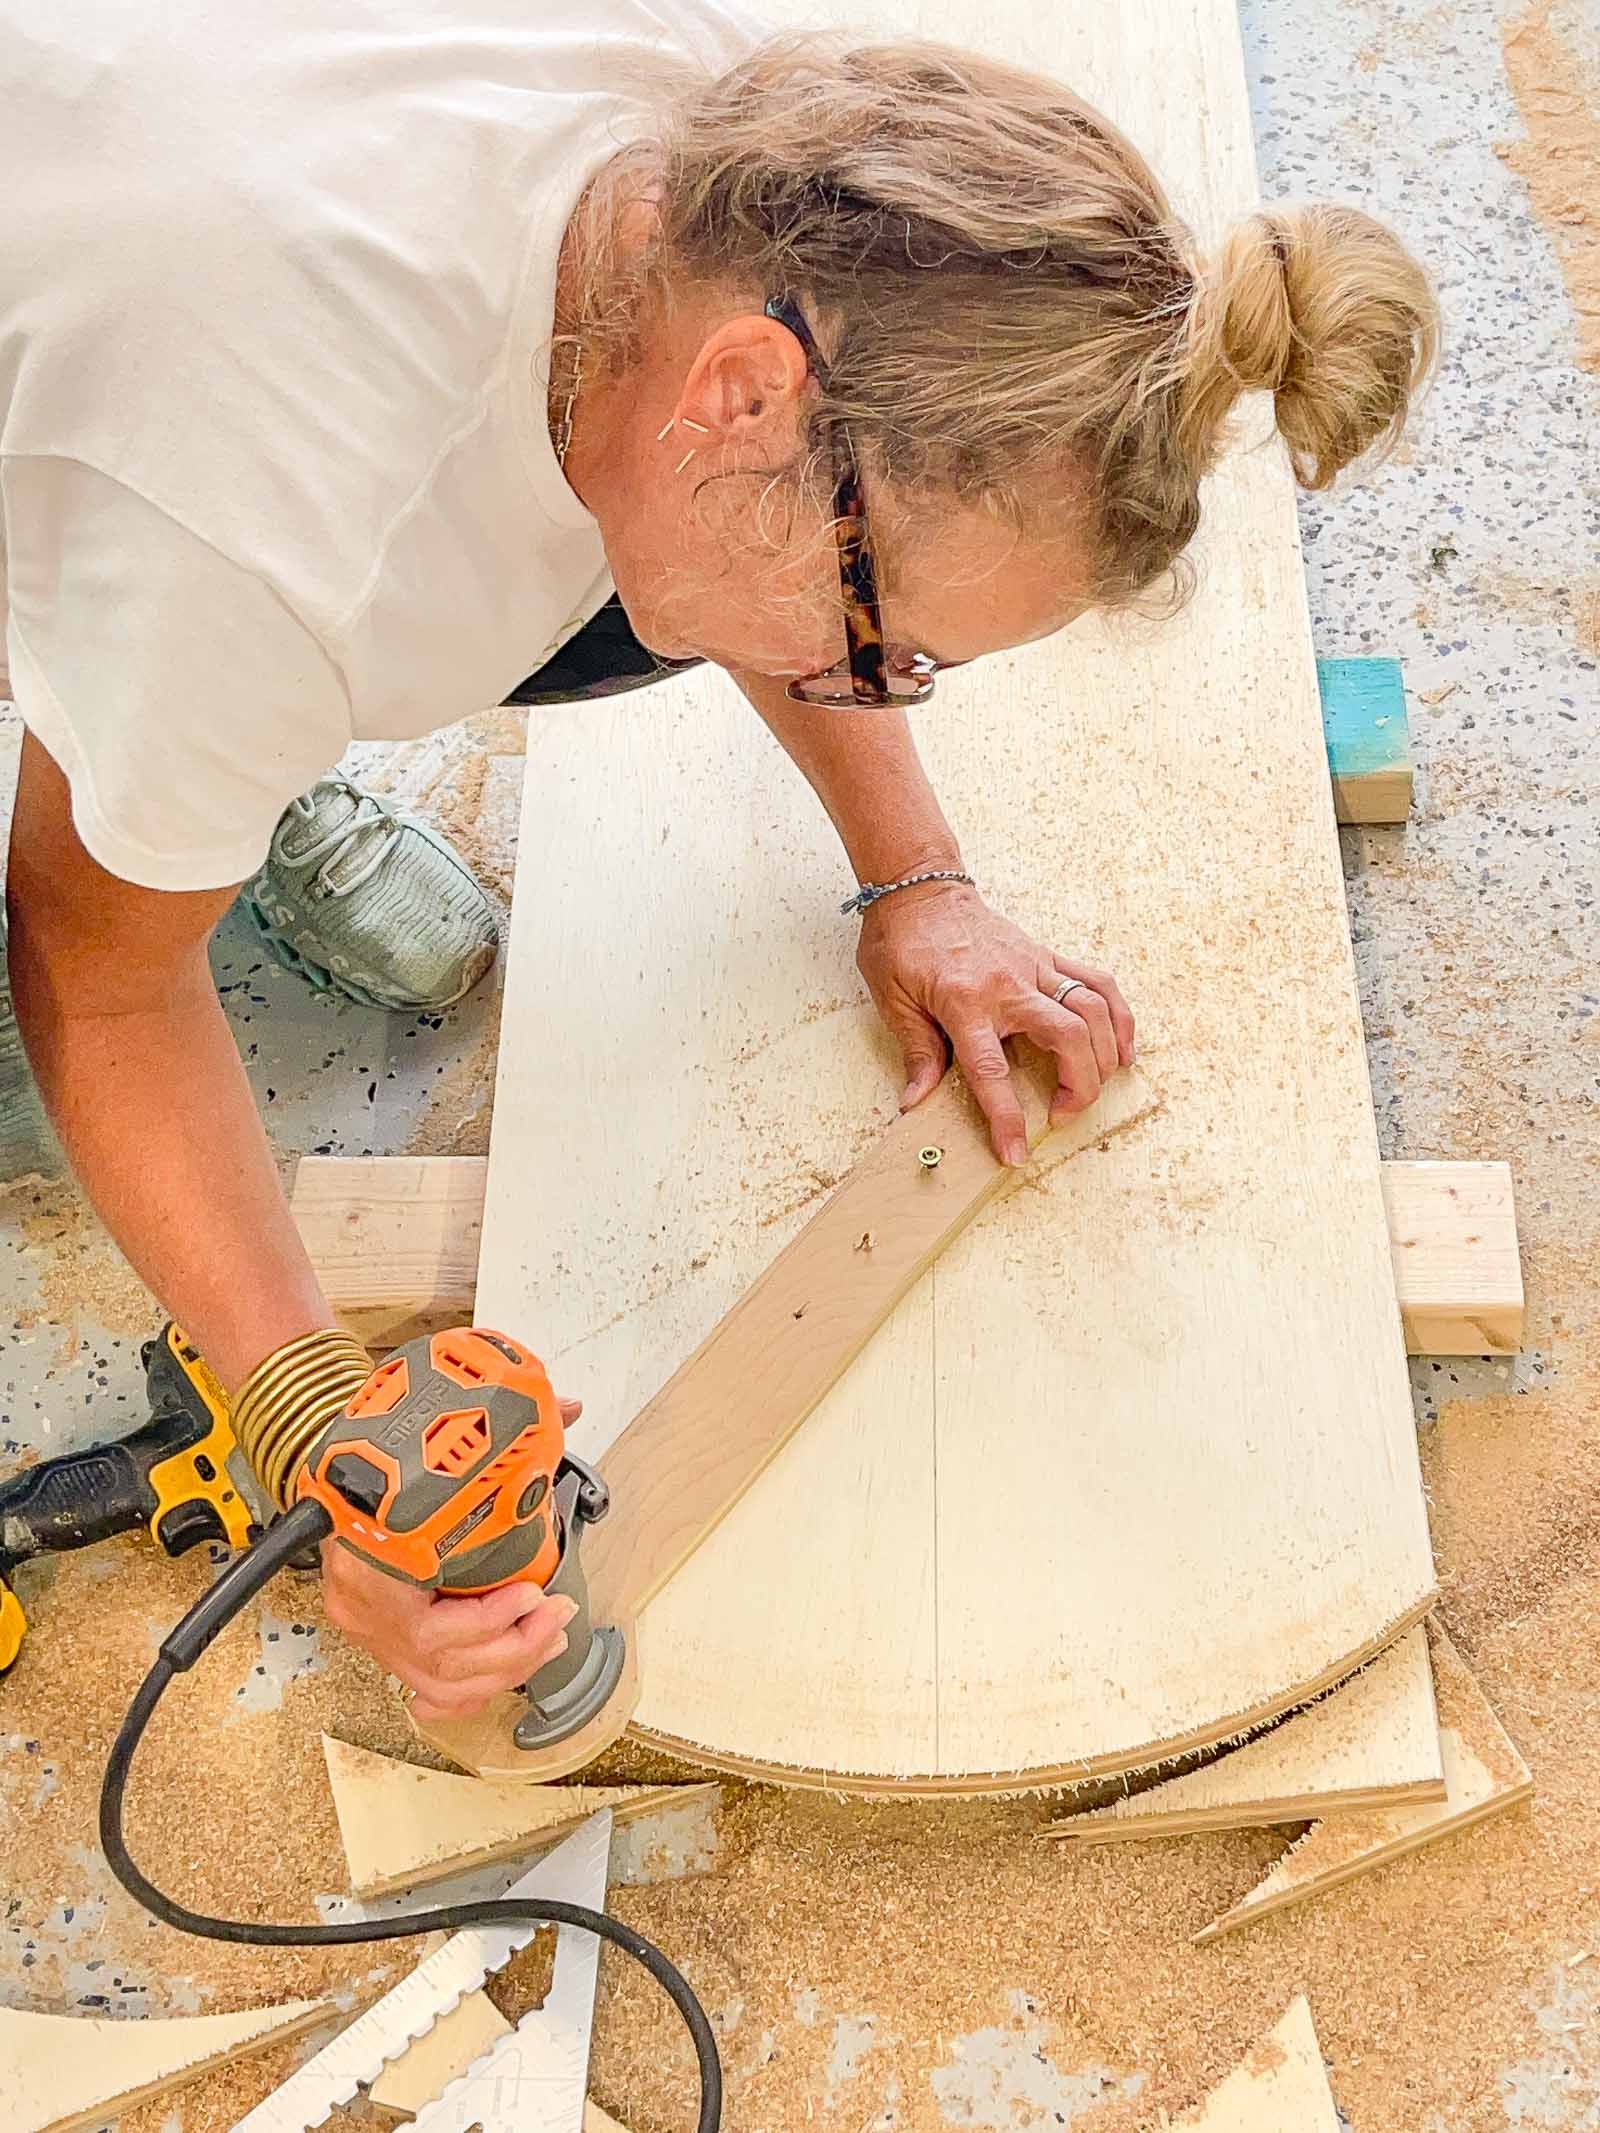
Step 2. Cut the arches
I made a circle jig for my router a year ago so this was a pretty easy step for me. If you *don’t* have a circle jig you can make the rounded arch a couple different ways.
Option One: figure out what kind of curve you want for the top of your privacy screen. Cut a string to the length of the diameter you need and tie a thumbtack to one end and a pencil to the other. The string acts as a pivot point so you can pin one end in place and, holding the string taught, draw a perfect arch with the pencil. Once you have your pencil line, cut with a jigsaw
Option Two: use a router and a jig. I made my jig out of scrap plywood and it’s meant to screw onto my router’s face plate and then I tacked it in place on the wood… it acts the same way the string does with the pencil. I prefer this method because the curve is perfectly smooth… with the jigsaw, I always find there’s a little wobble because I’m terrible at cutting a straight line. Haha.
Step 3. Sand and prime
I used a 220 grit sandpaper to smooth out my plywood. Even though I’m painting it, I still wanted a super smooth finish.
Tip: When sanding a large surface, scribble on the surface with a pencil and then sand until the pencil mark goes away. This trick helps you keep track of where you’ve sanded.
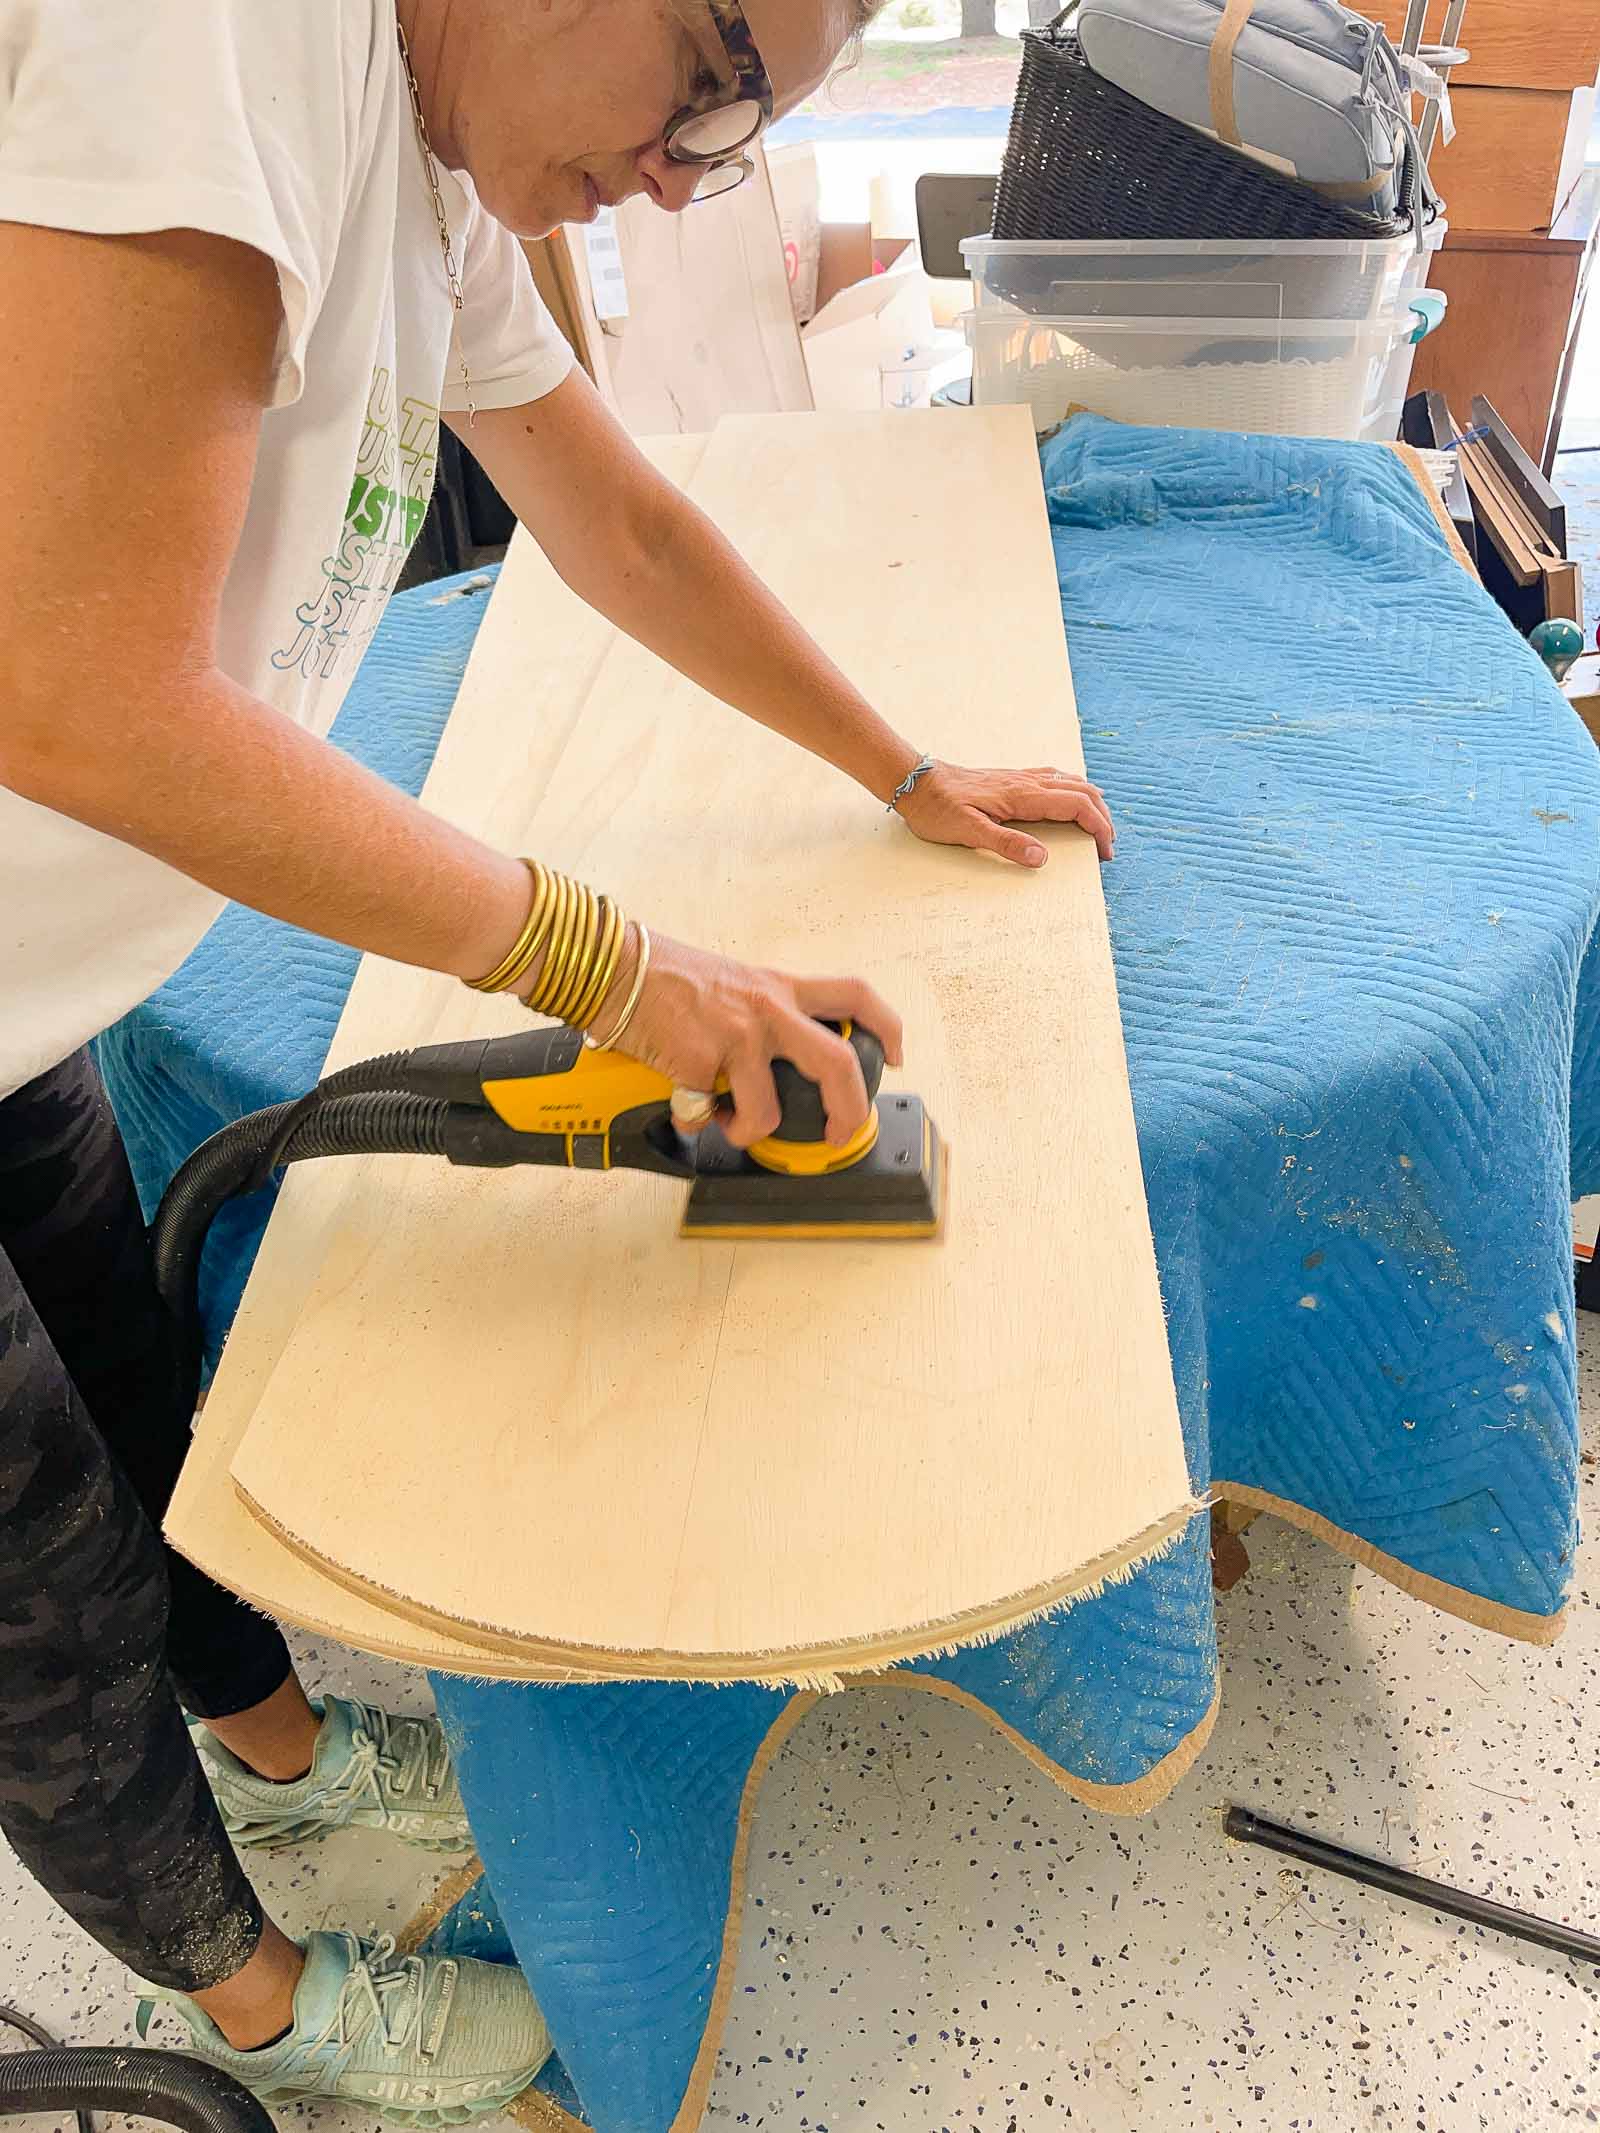
With a low nap roller intended for smooth surfaces, prime the front and back of the plywood as well as the sides. Beware of drips.

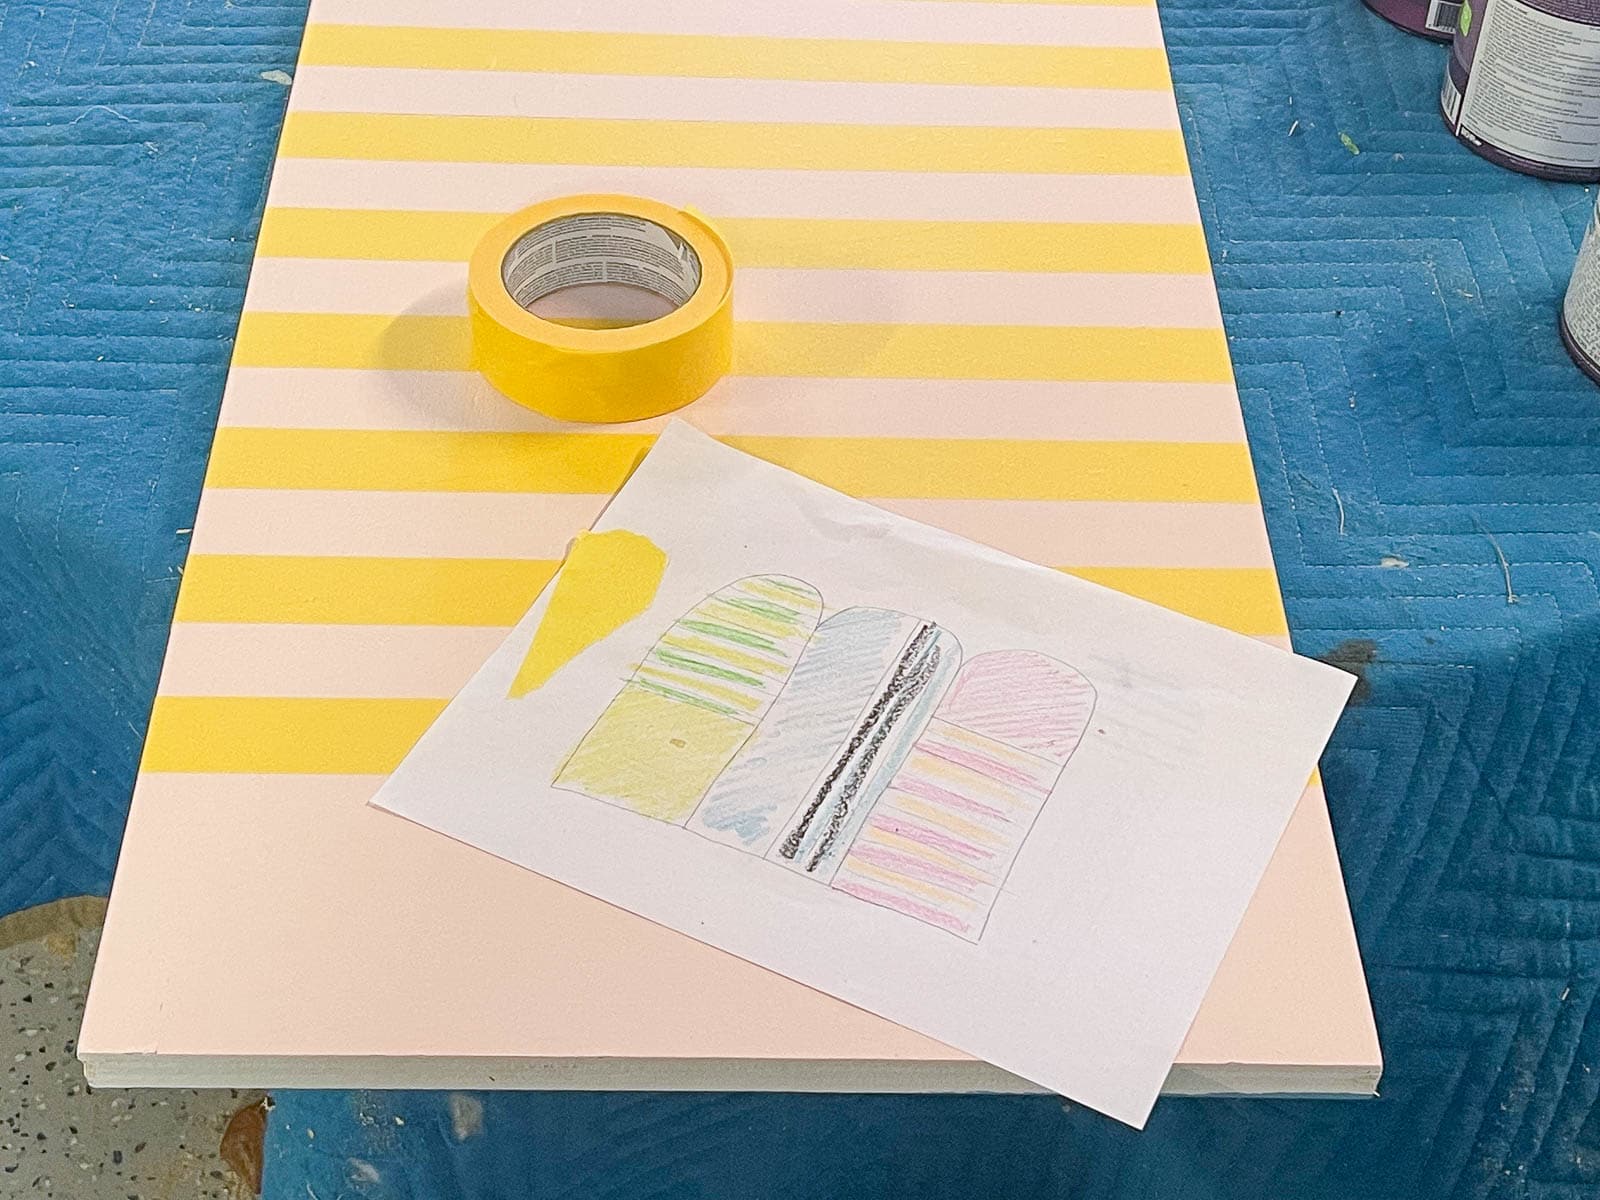
Step 4. Plan your Design
Figure out your design. Whenever possible I try to use the width of the tape to help me with stripes.. so much easier than having to measure! And just in case you didn’t know, Frogtape comes in a few different widths so you have some flexibility here too! If you have fancy design software like my scrap paper and crayon… even better.
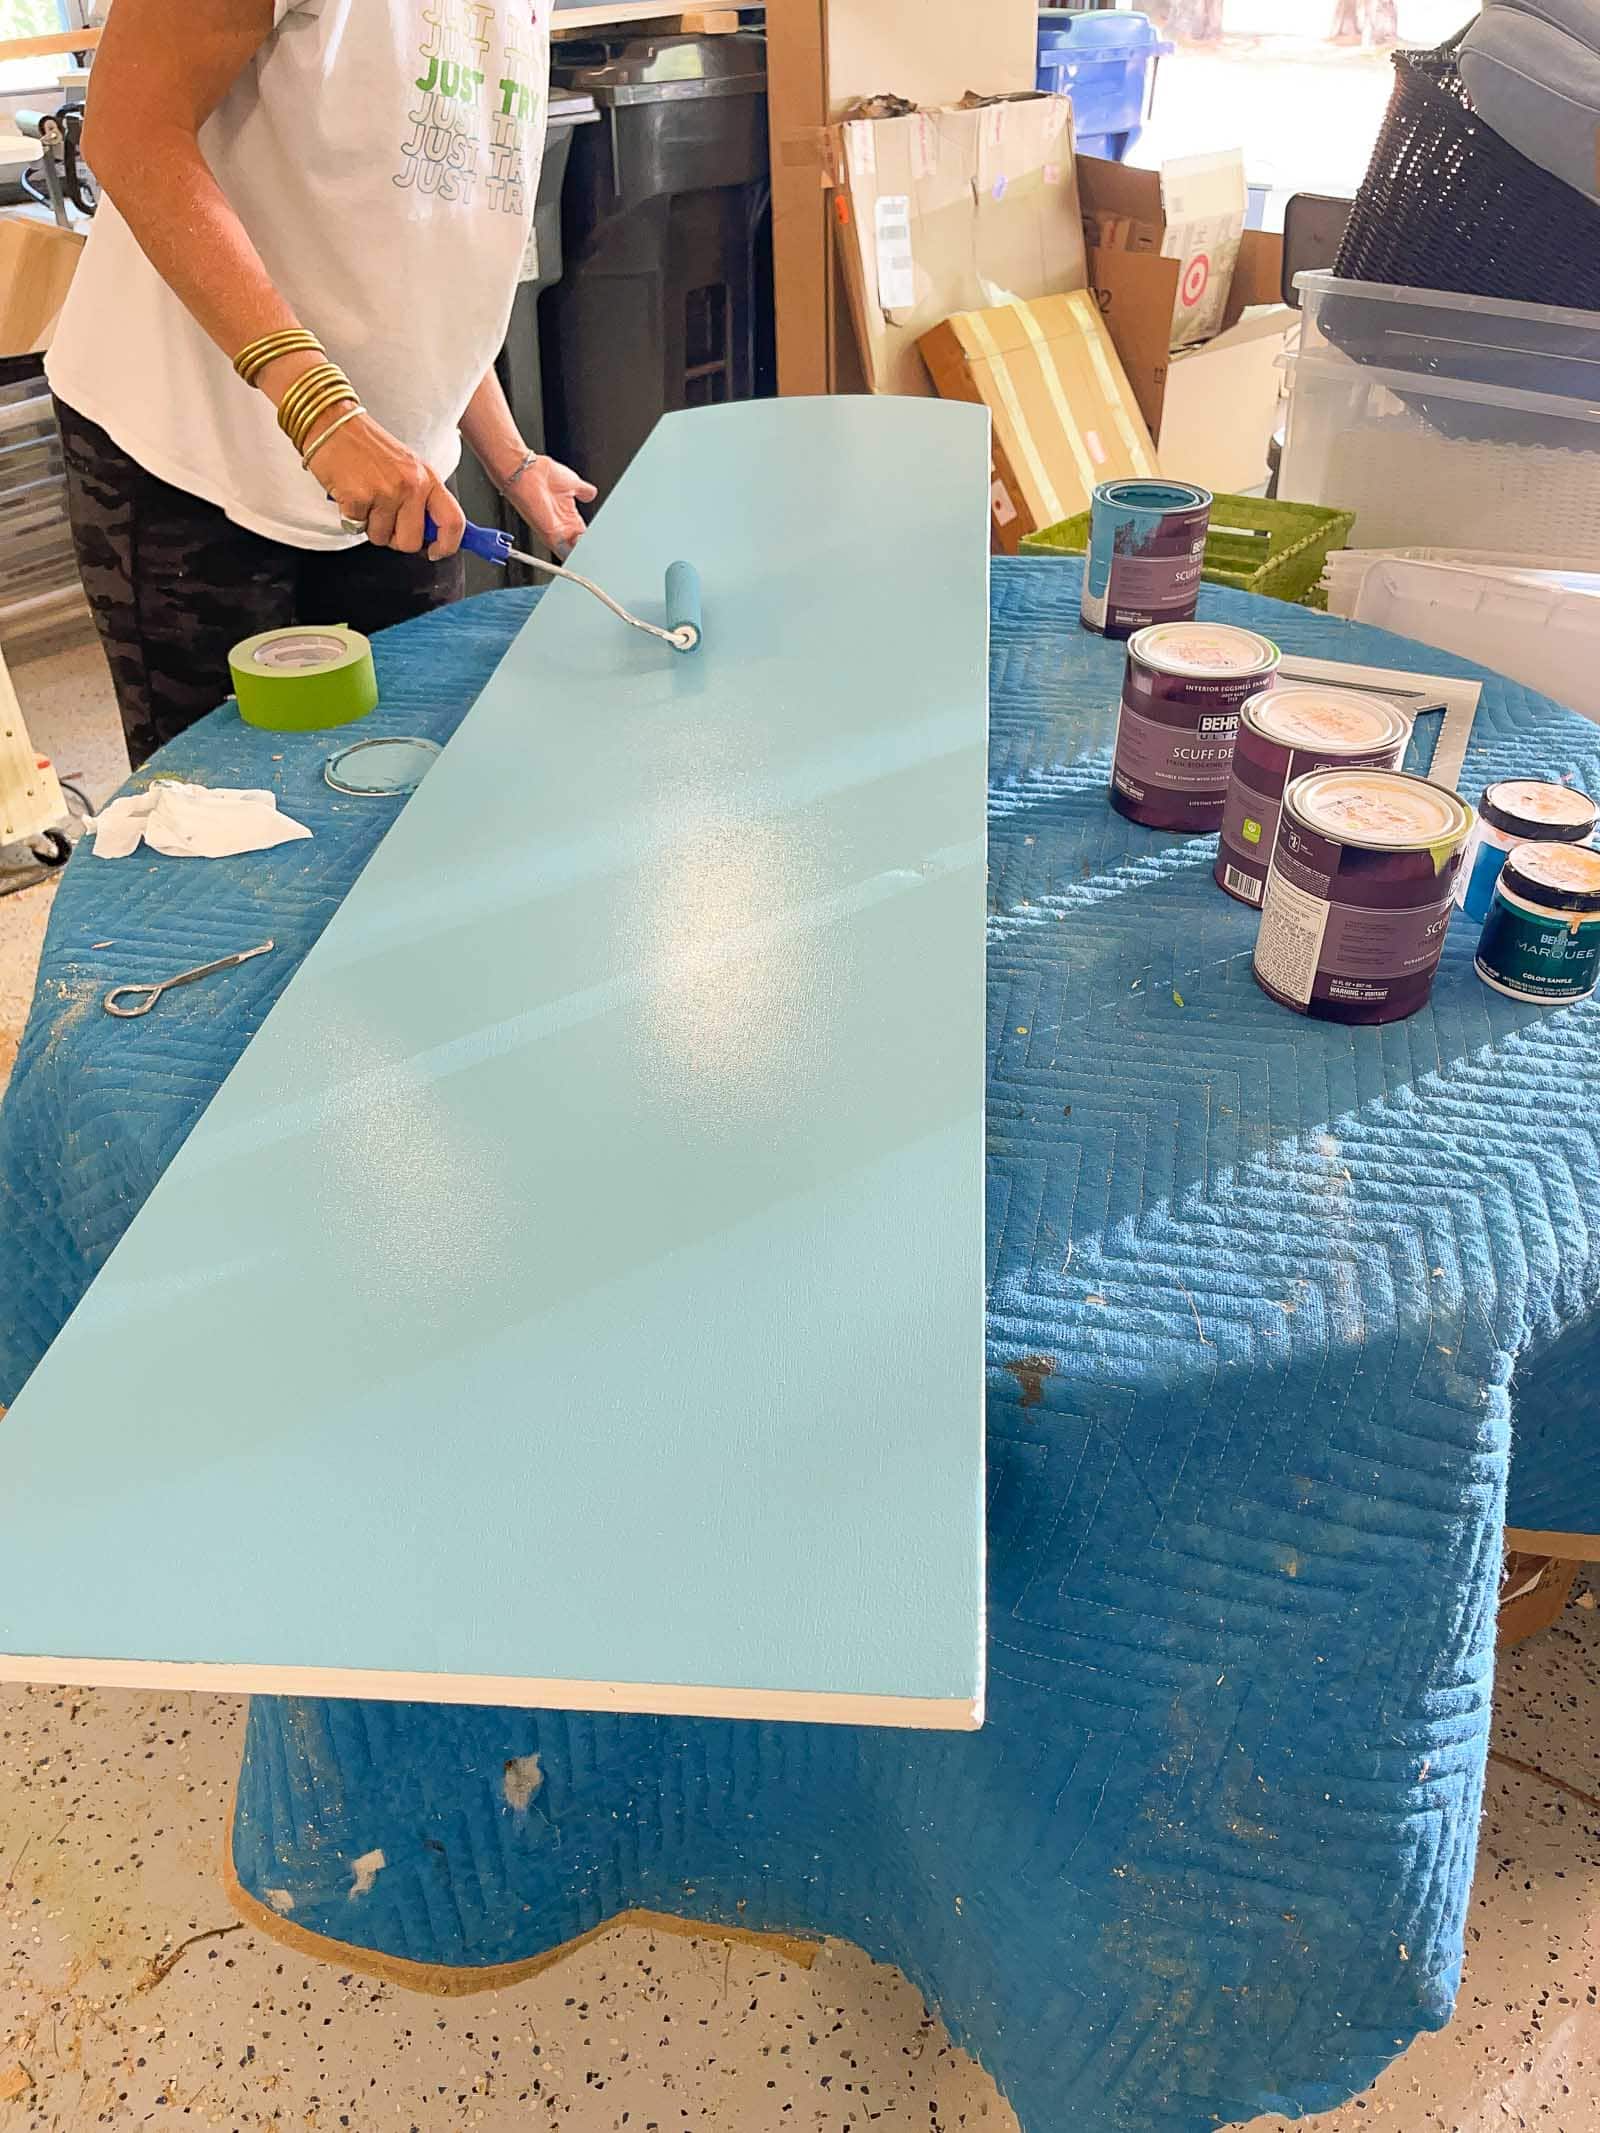
Step 5. Paint the Base Coat
For my screens, that meant a different color on each side of the plywood. I’m using the same paint I used for the mural on the other side of the basement… click here to see more of that project.
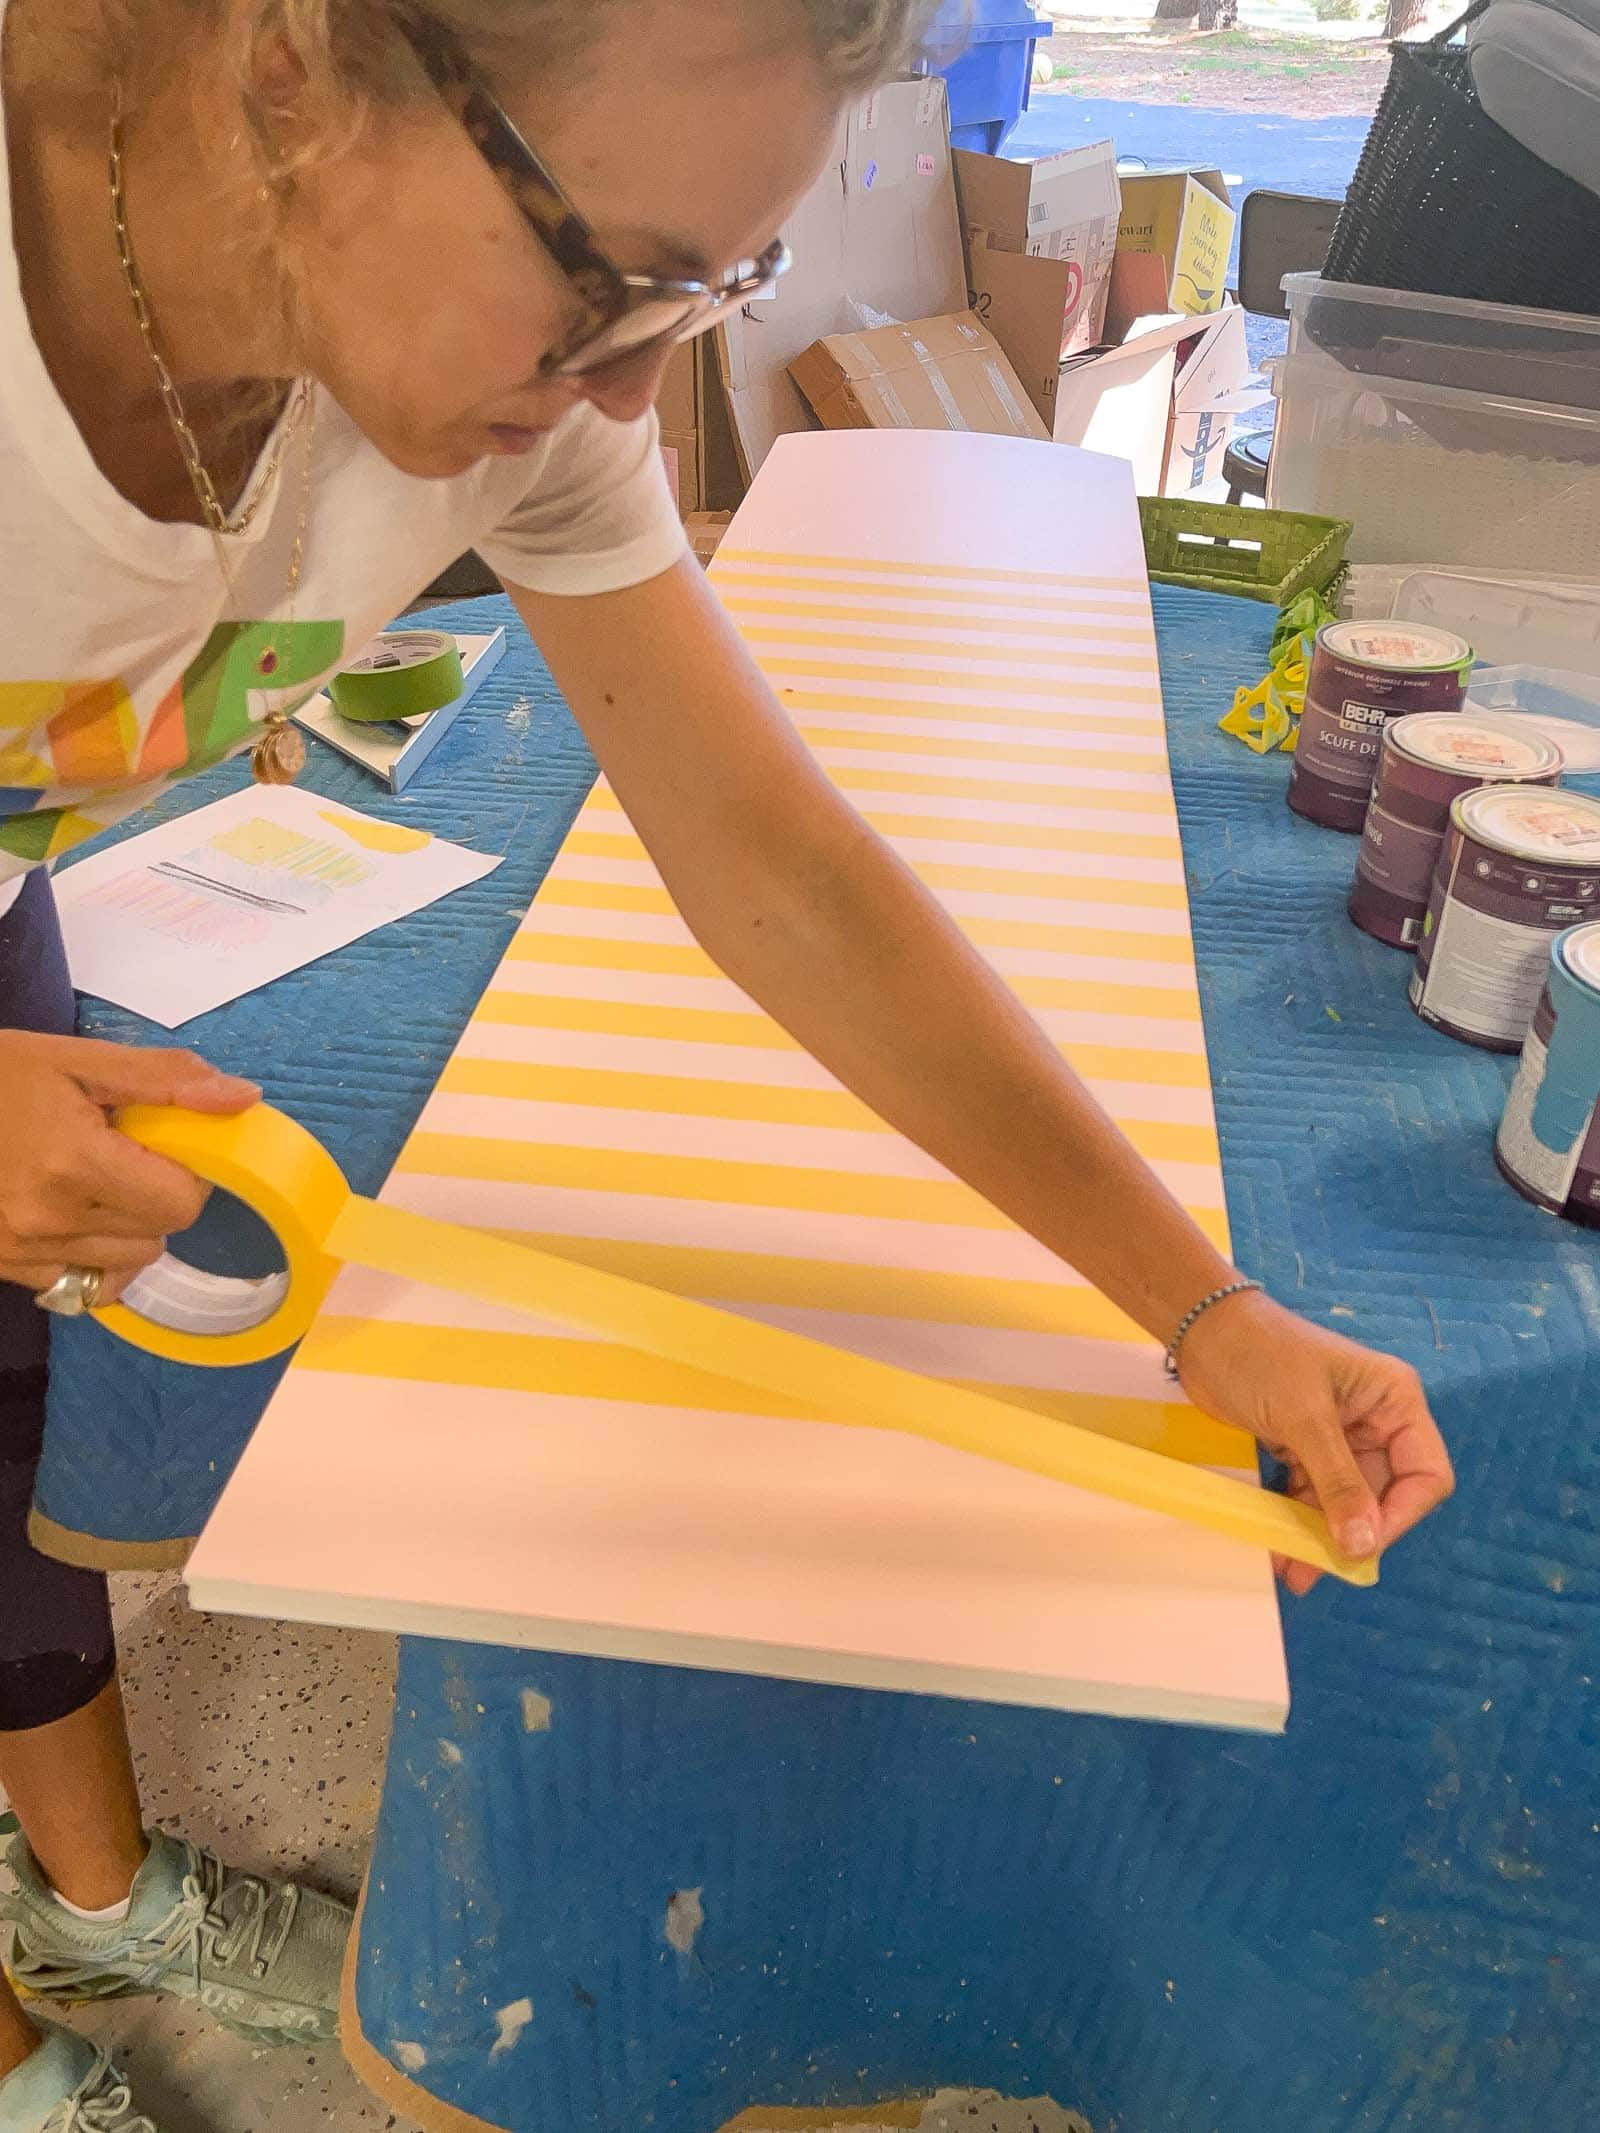
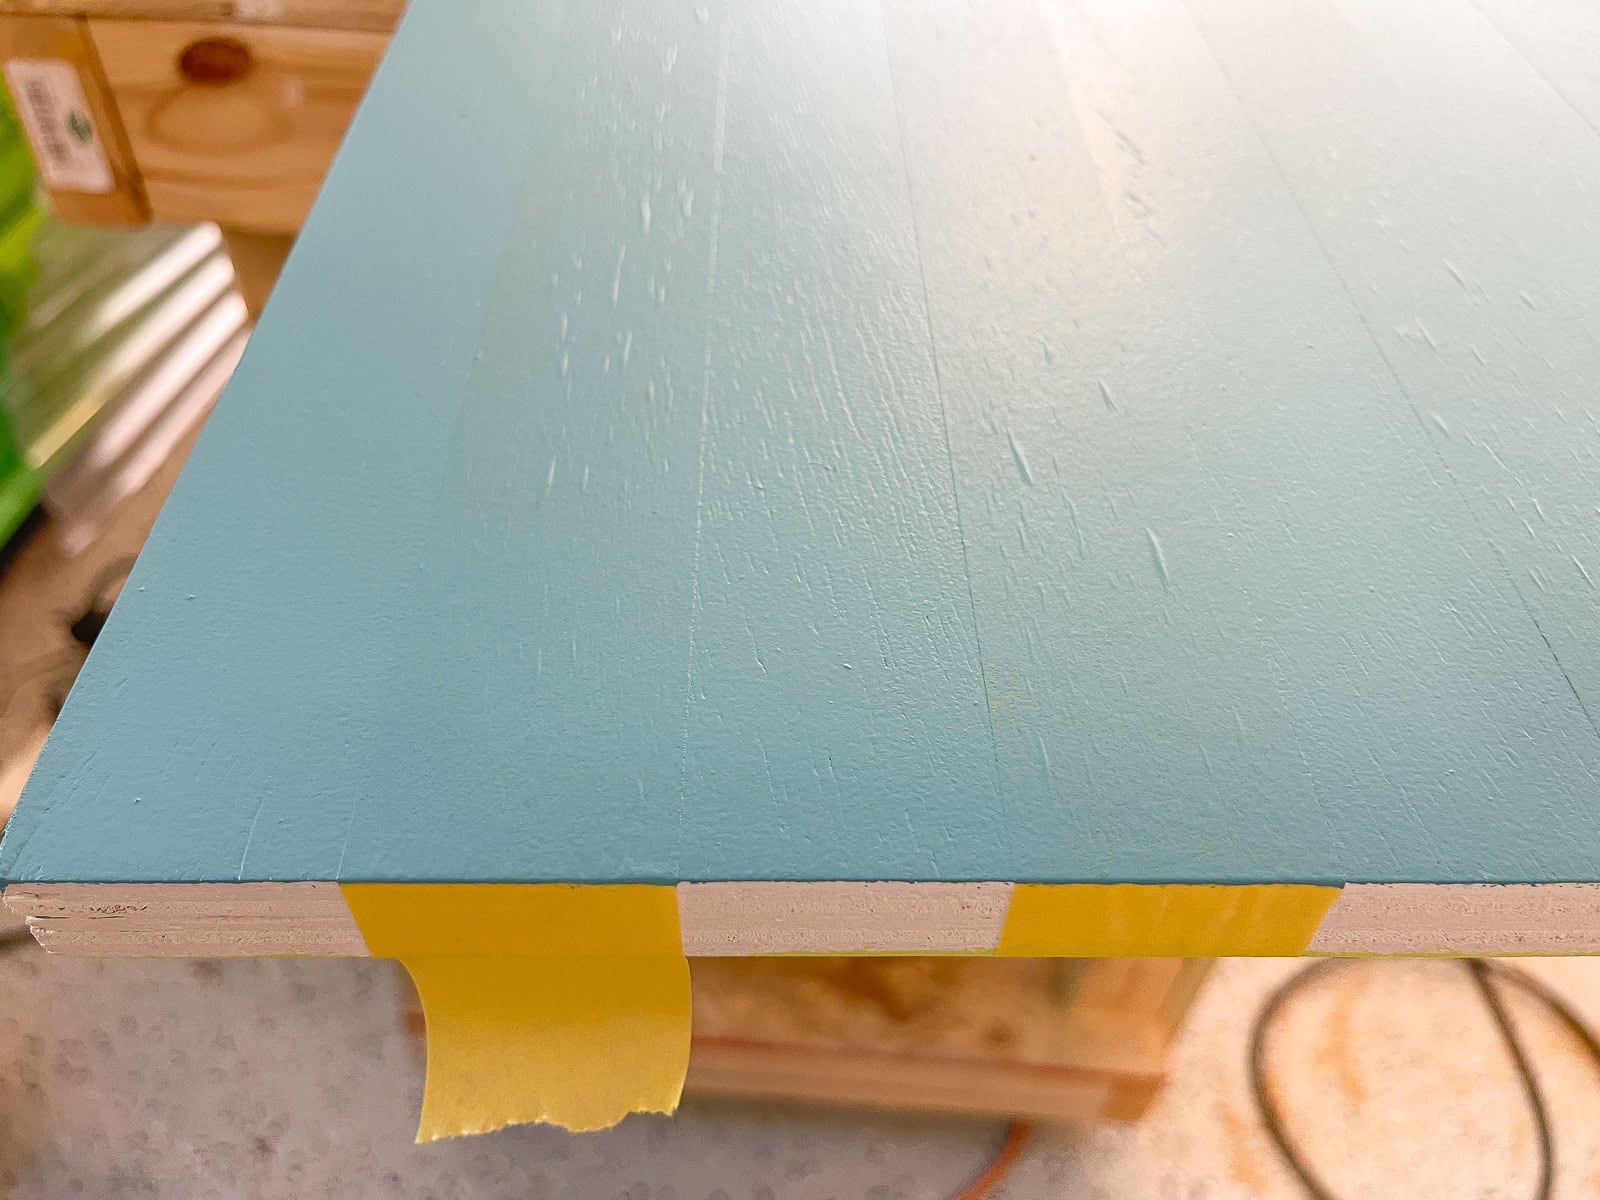
Step 6. Tape and seal the Tape Edge
For this project, I’m using Frogtape’s yellow tape for delicate surfaces. In this case, ‘delicate’ means it was newly painted, but I also use this if I’m taping over wallpaper or working on something a bit more fragile. I made sure to mark a straight line with my speed square and then taped off the first stripe. Using a piece of tape as my spacer, I continued in this pattern. Make sure to grab your speed square to keep yourself aligned every few rows. Because painter’s tape isn’t rigid, it can obviously shift and curve a little bit on you without realizing it. Go over all your tape edges with the side of the roll of tape to smooth them in place and make sure they’re fully adhered.
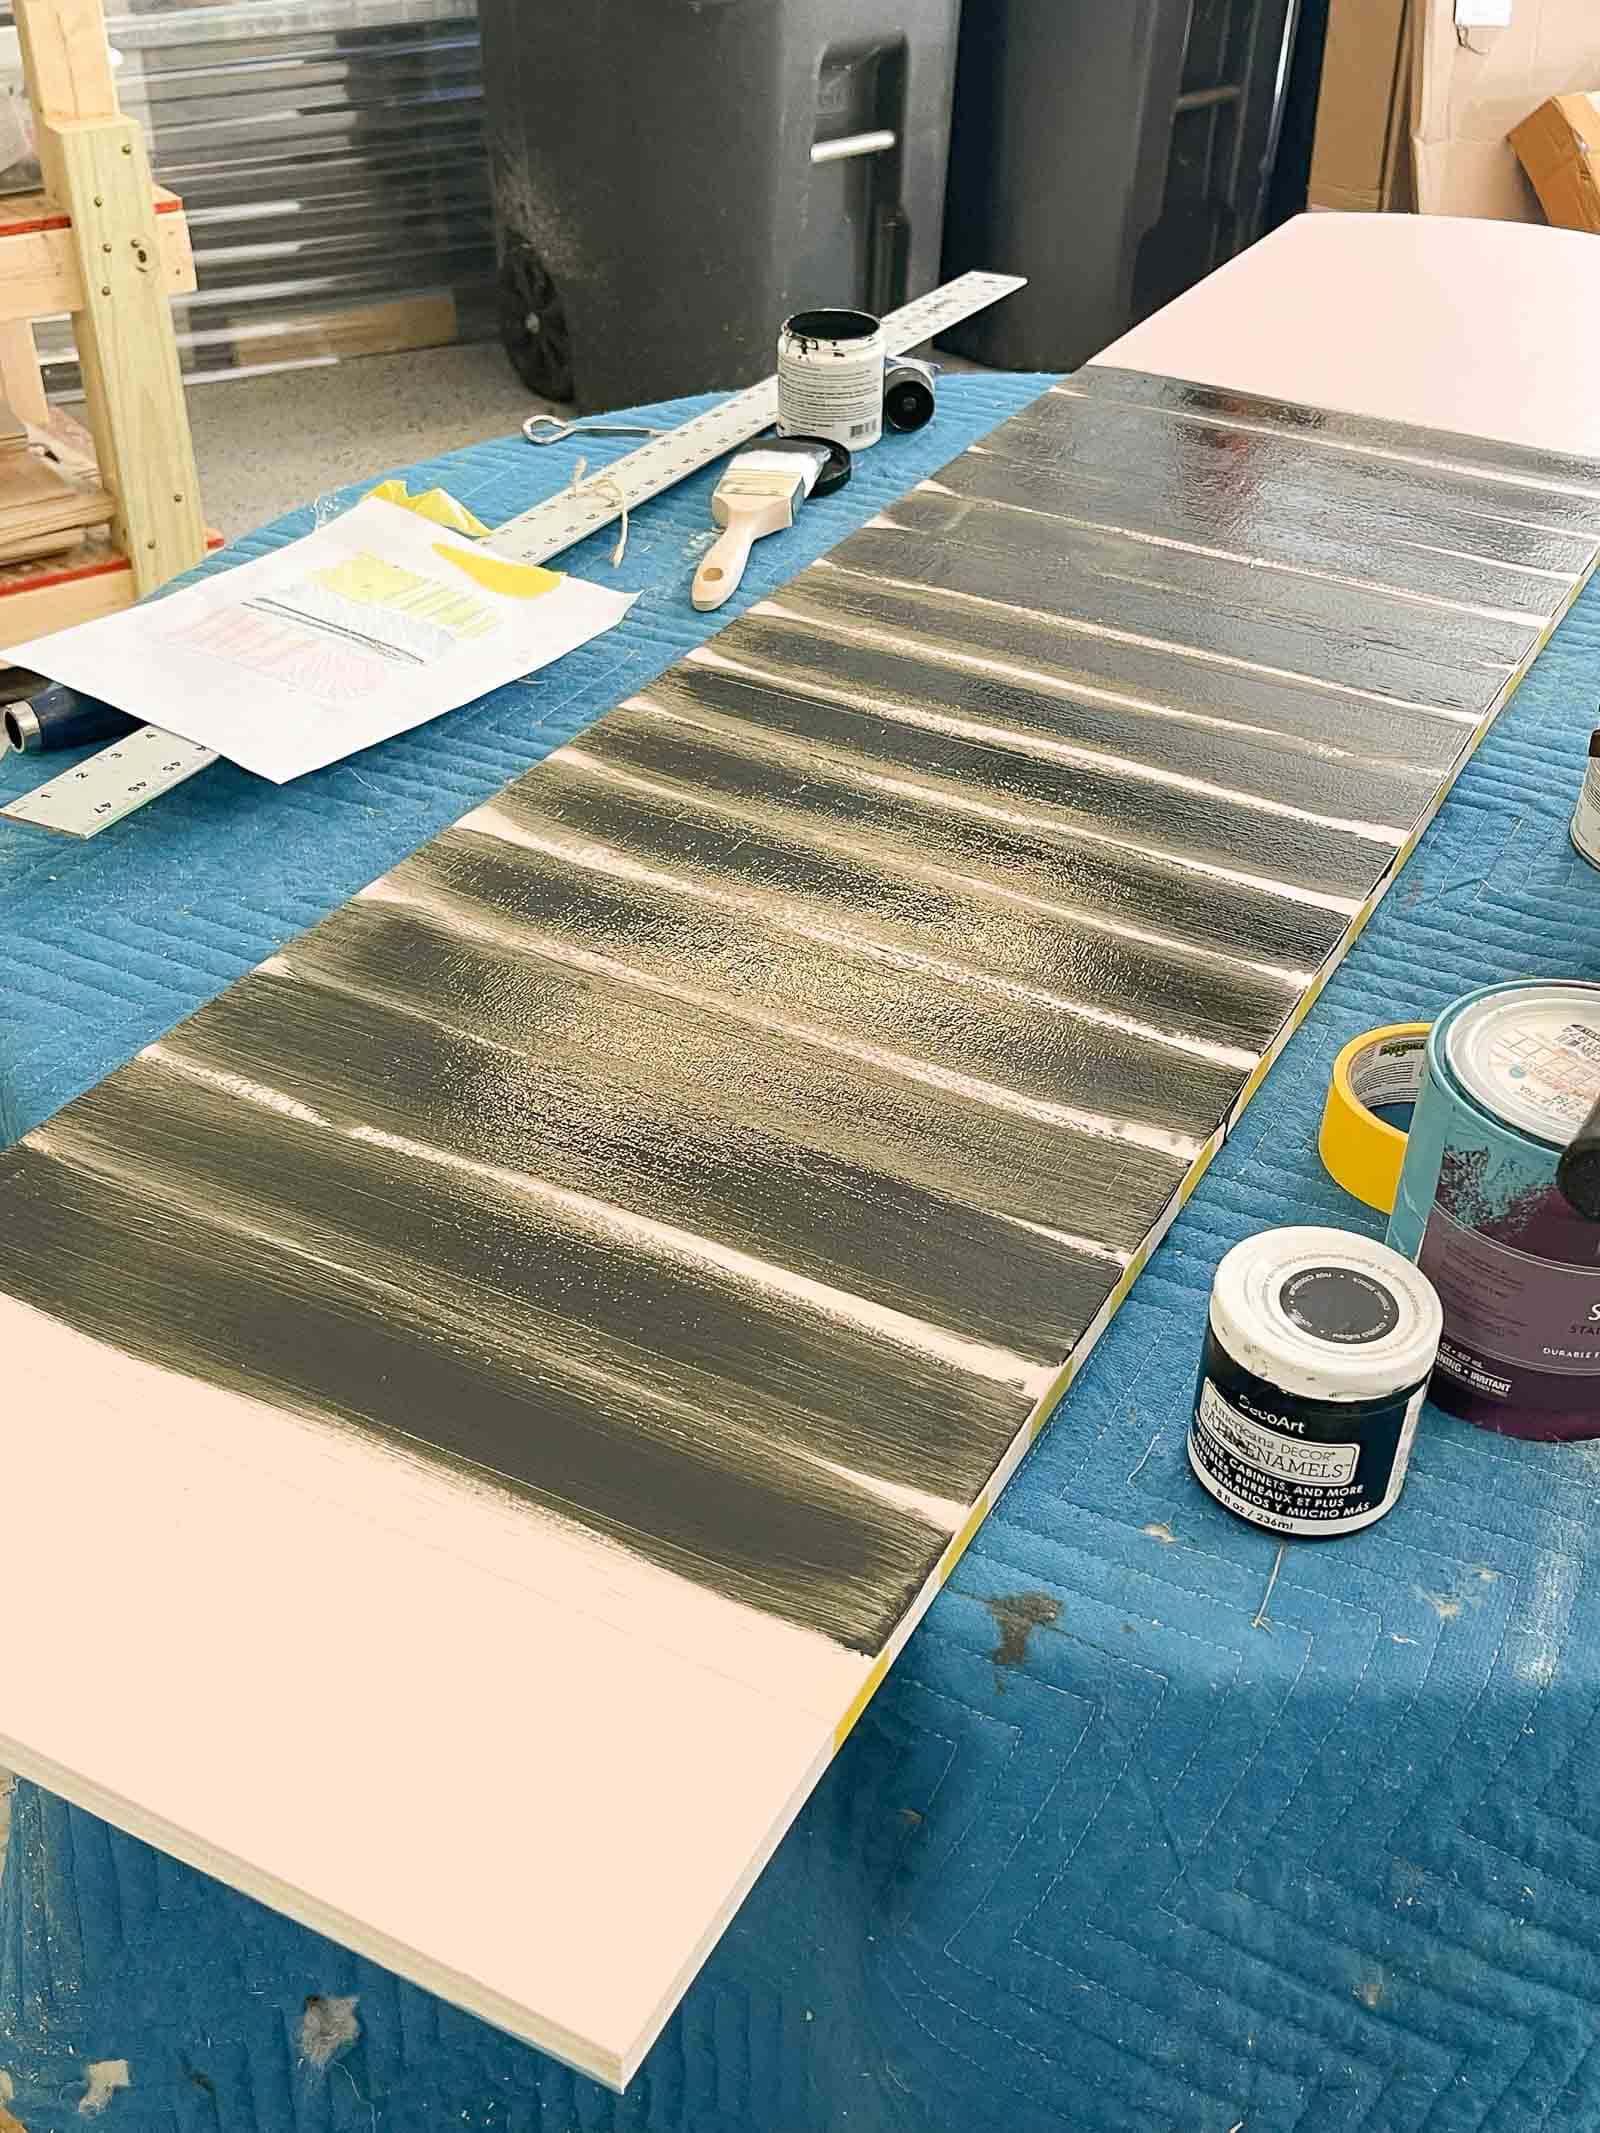
I say this every time… Frogtape has a patented paint block technology baked right into it that almost guarantees crisp clean lines, buuuut…. a nice hack that I usually do to double down is to paint over my Frogtape with whatever paint color is the base coat. For example, if the plywood is painted blue under the Frogtape, I’ll seal my tape edges with that same blue paint… just roll right over the Frogtape. The reason this works, is that if there are any places where the tape hasn’t fully adhered, the paint that will creep under the tape edge will be the same color so you won’t see any bleeding tape line.
Step 7. Paint the Second Color
Once the paint is all dry, you can go over with the second color. Whenever I’m using painters tape, I try NOT to load my brush or roller too much and then I make sure to paint *parallel* to the tape lines and not perpendicular against them.
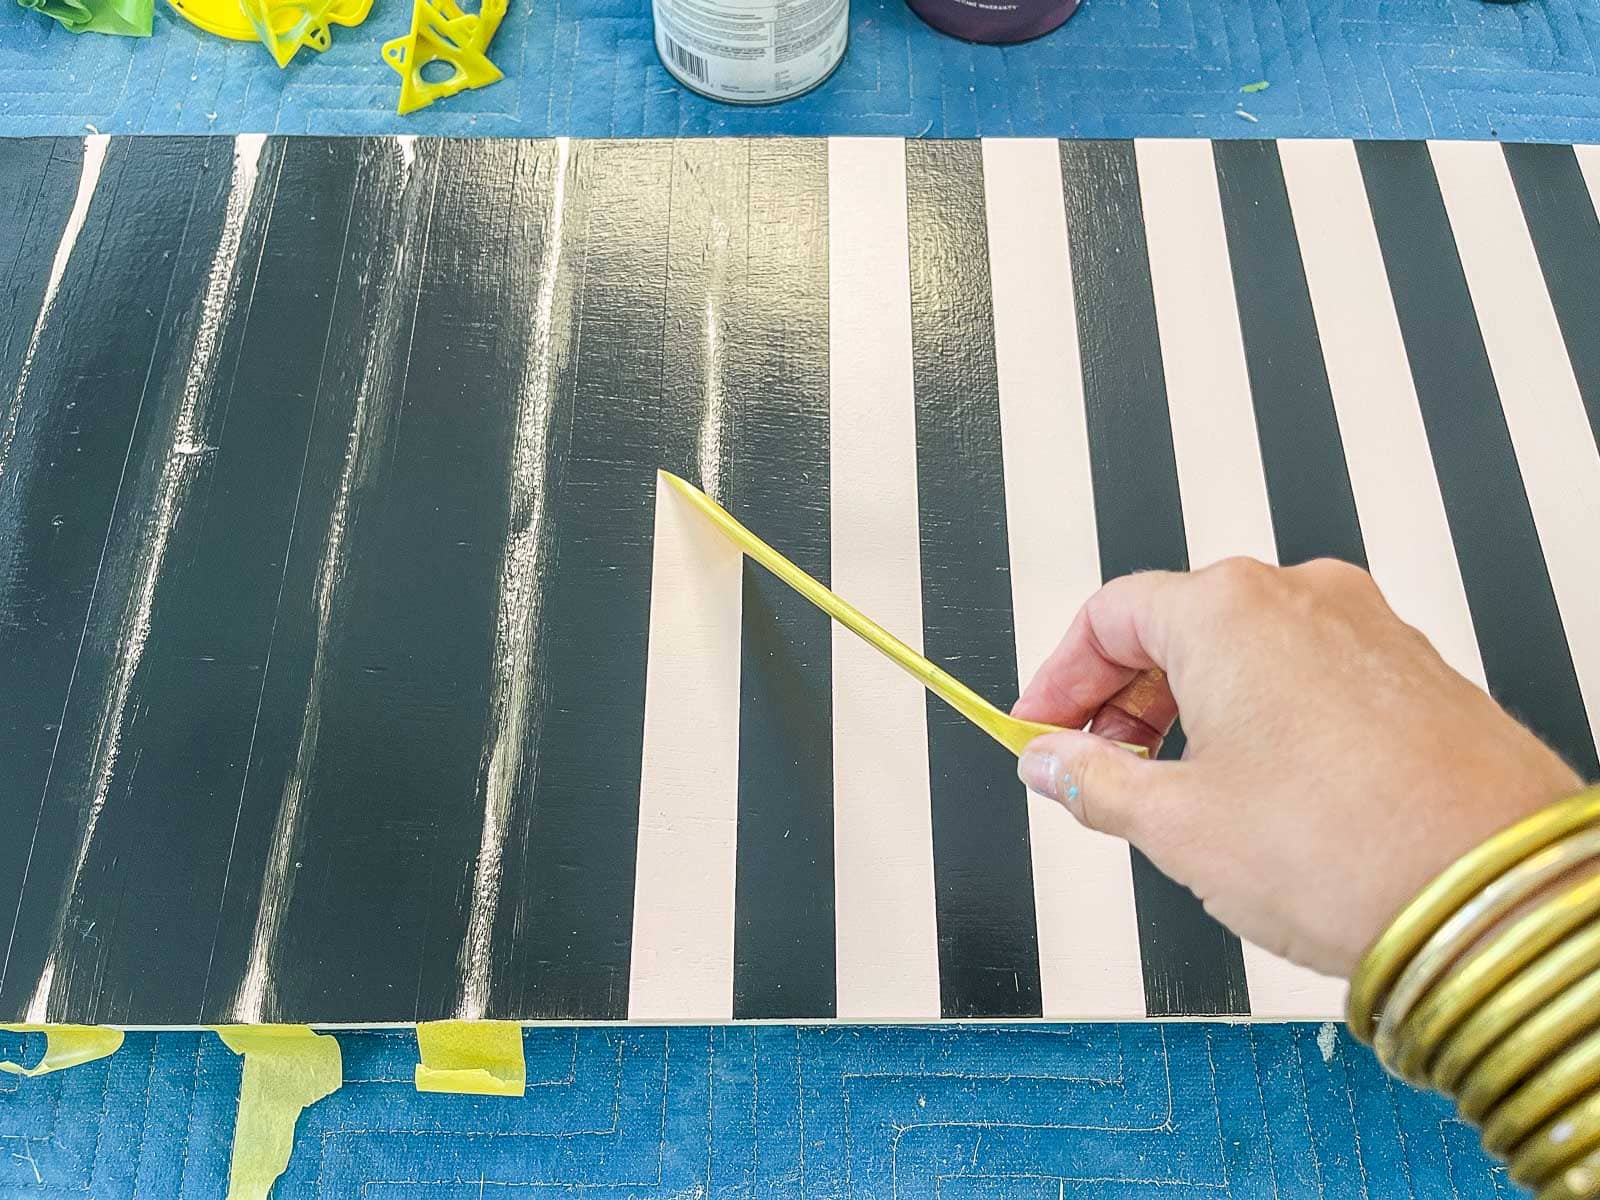
Step 8. Remove the Tape
The question I’m asked the most when it comes to painters tape is when do you remove the tape… the short answer is it doesn’t usually matter, but… I like to wait until the paint is slightly tacky just to avoid the tape rubbing against something and getting wet paint everywhere. I don’t want the paint to totally dry either since that can sometimes cause problems too.
Step 9. Add Hinges and Assemble Screen
I wasn’t paying attention and did this wrong the first time so sharing my mistake with you to save you time. Use whatever hinges you like the look of, but keep in mind they should be sturdy enough to support the weight of these plywood panels. I’m using basic 3″ black hinges. In order for your privacy screen to accordion fold flat, it’s important that you attach one set of hinges opening up one way and then the other set of hinges opening the opposite way. Seems very obvious as I type that out here, but I originally attached my hinges so that both sides of the screen would open in the same direction, but it meant it could never fold ‘flat’.
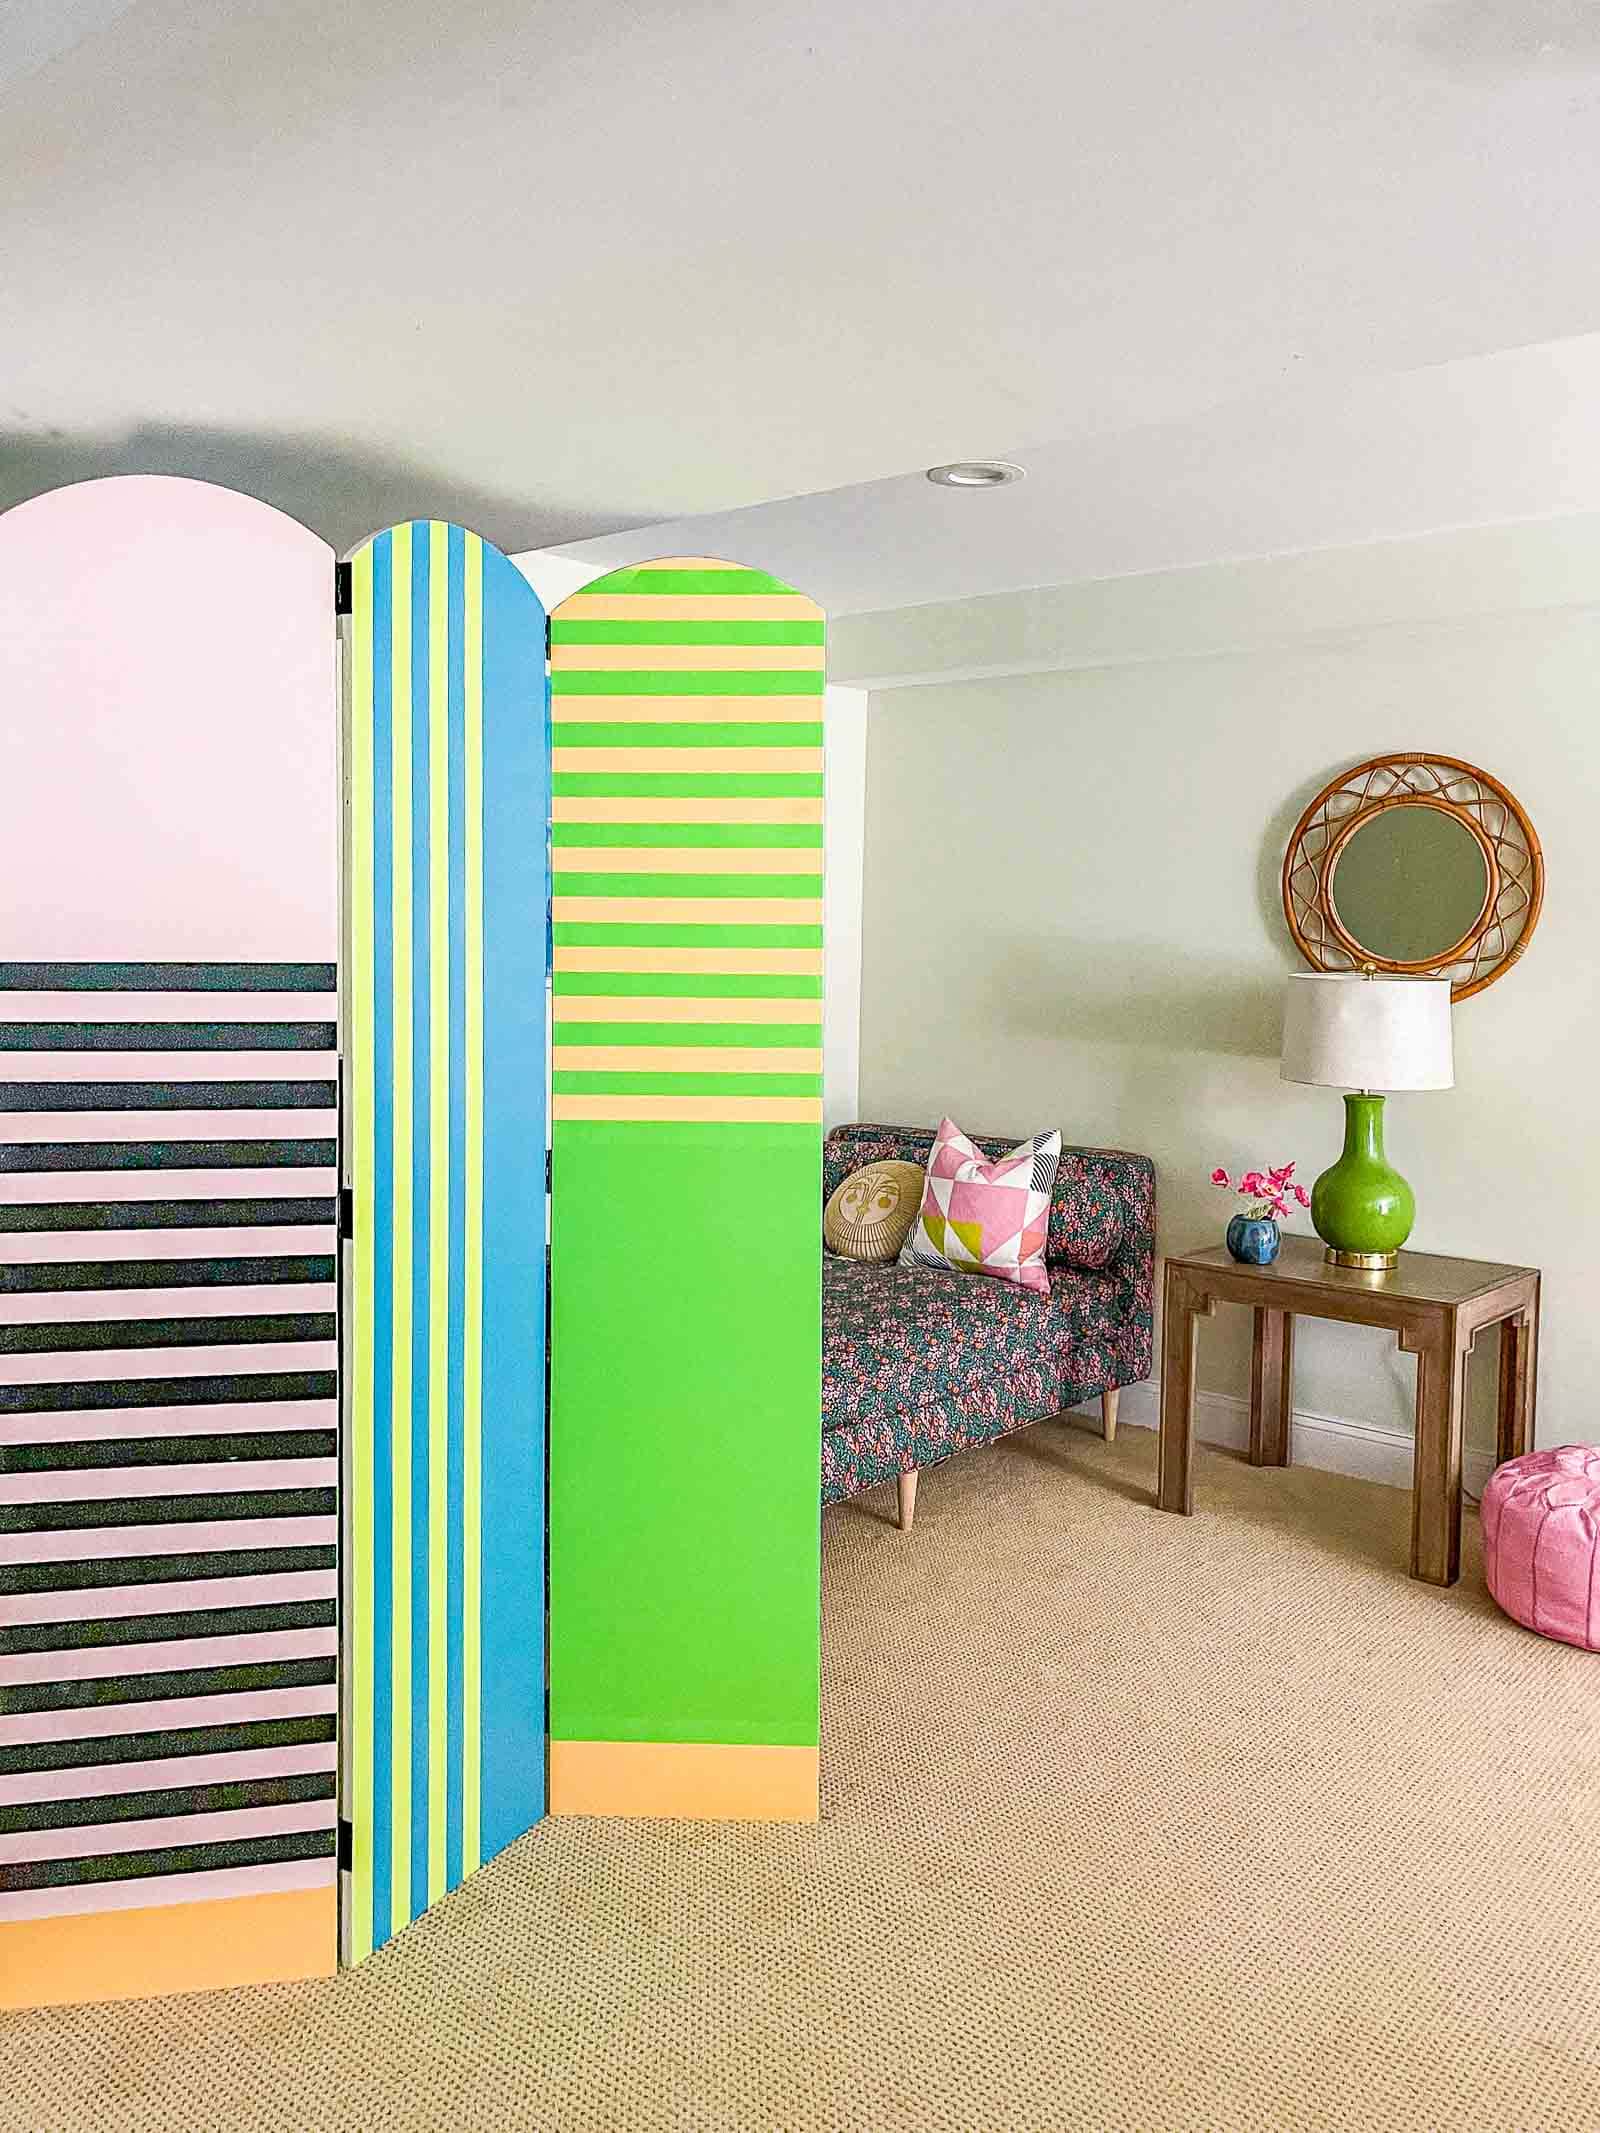
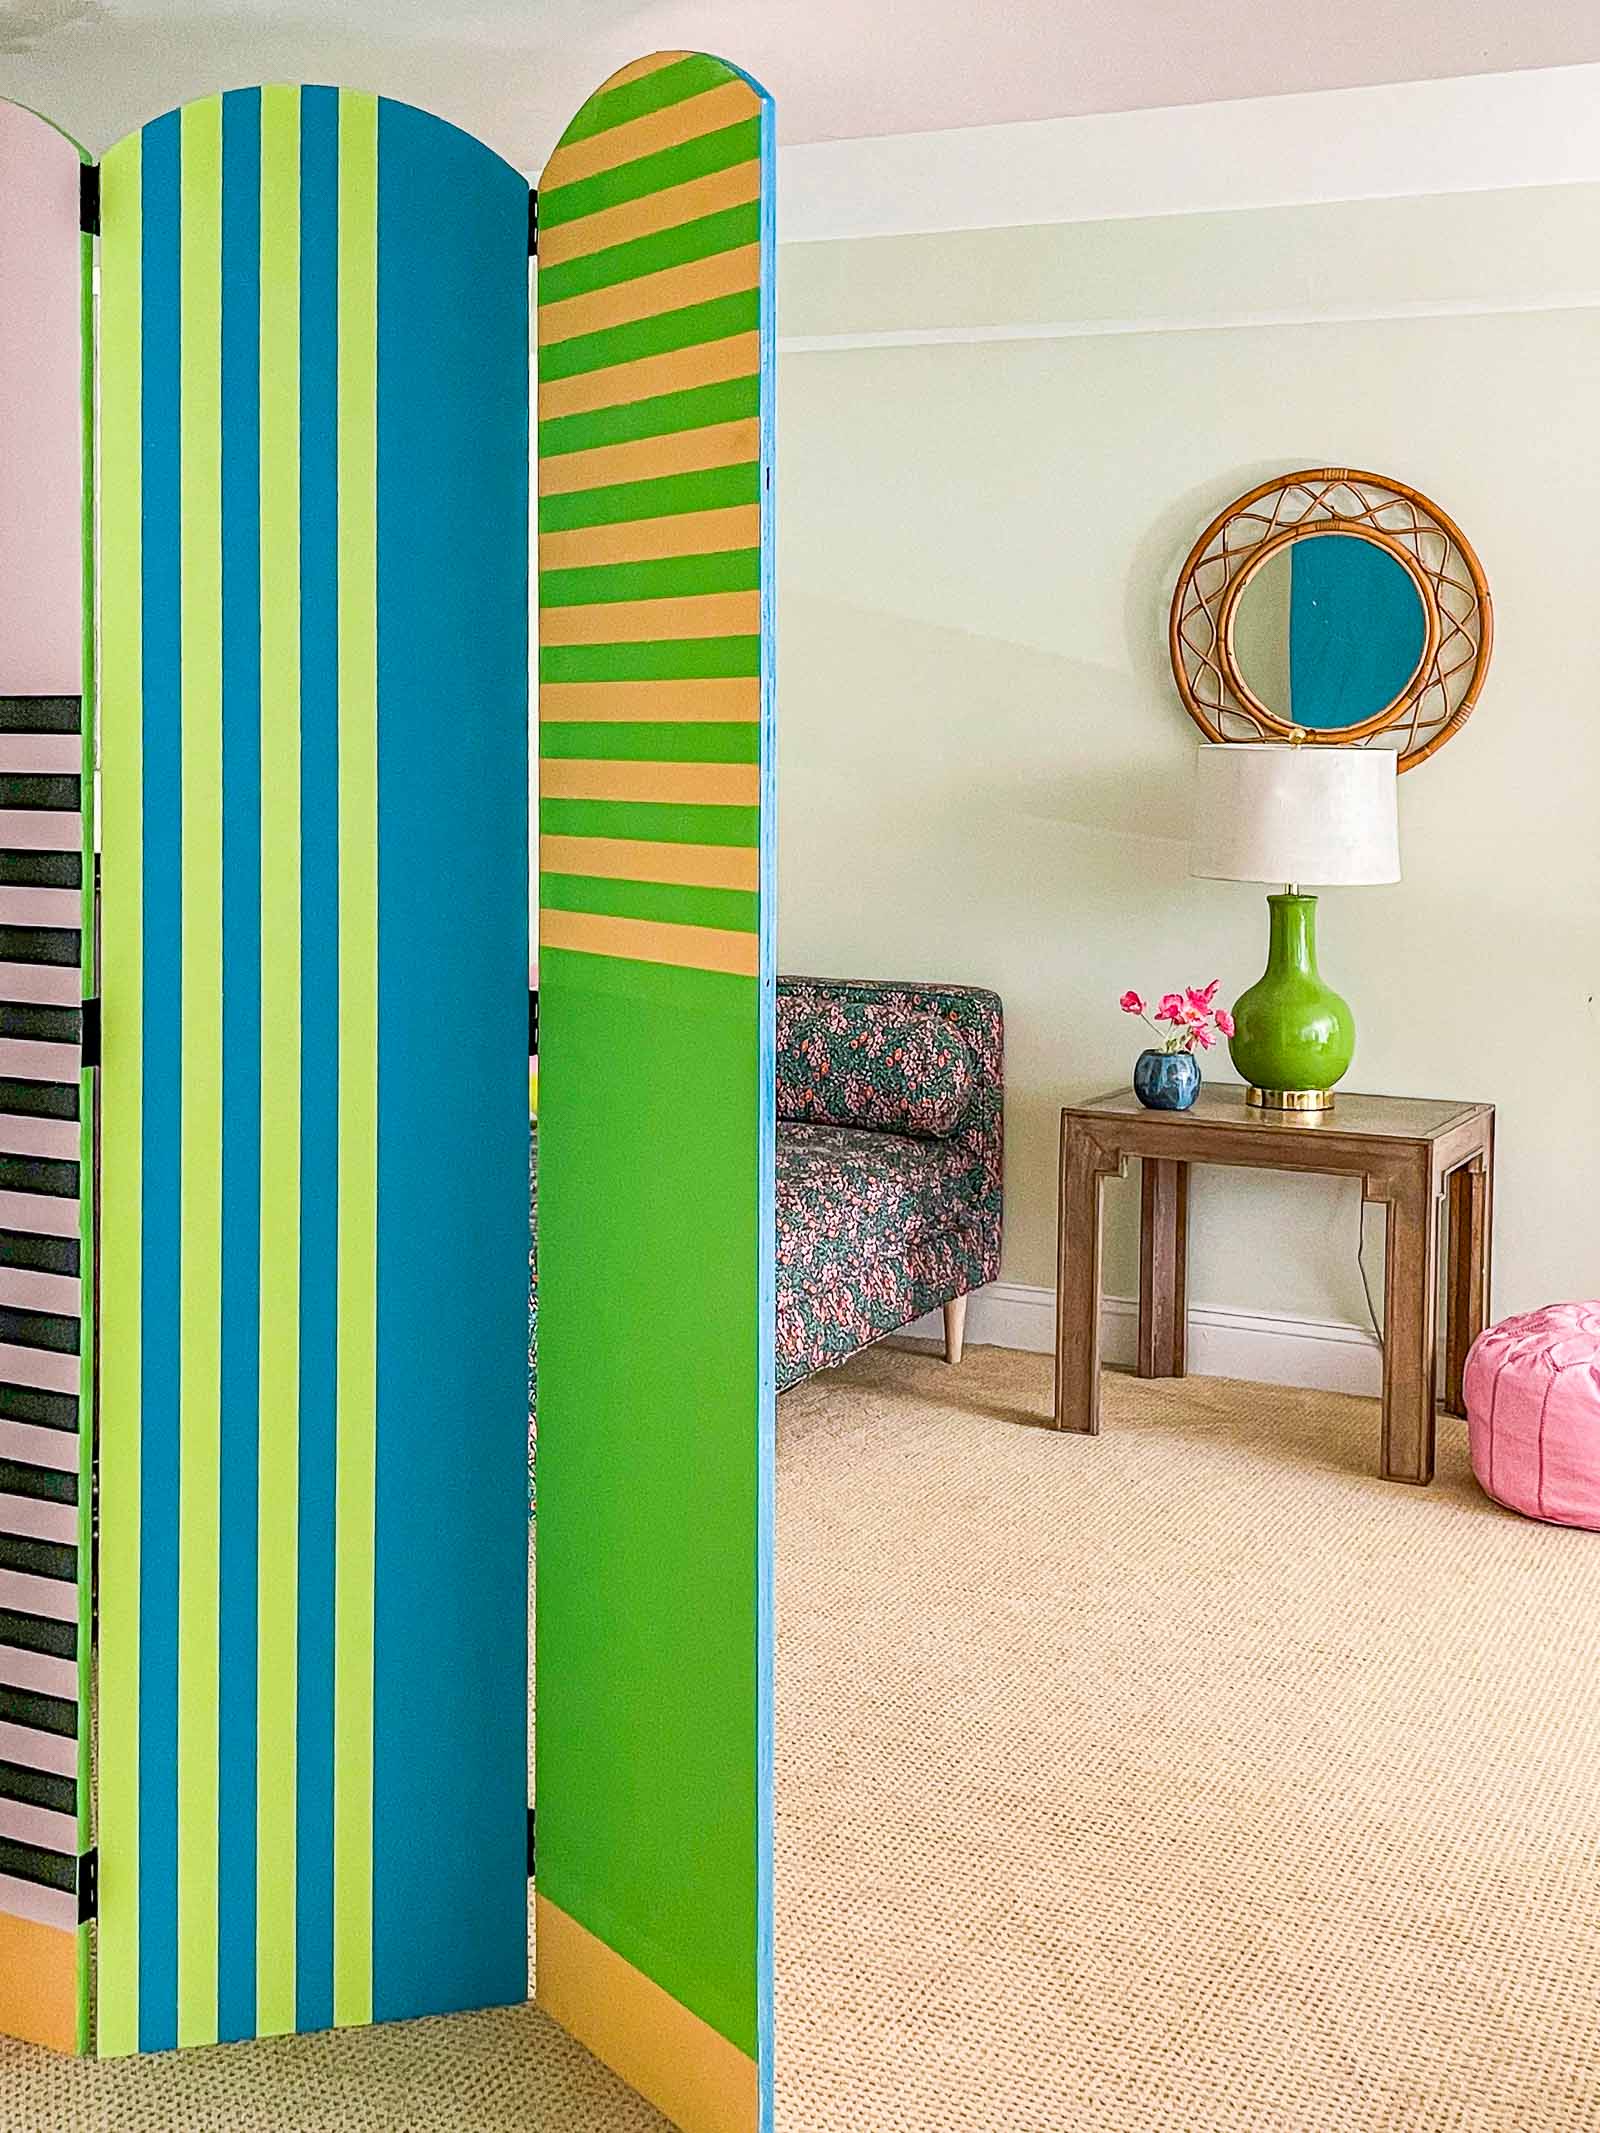
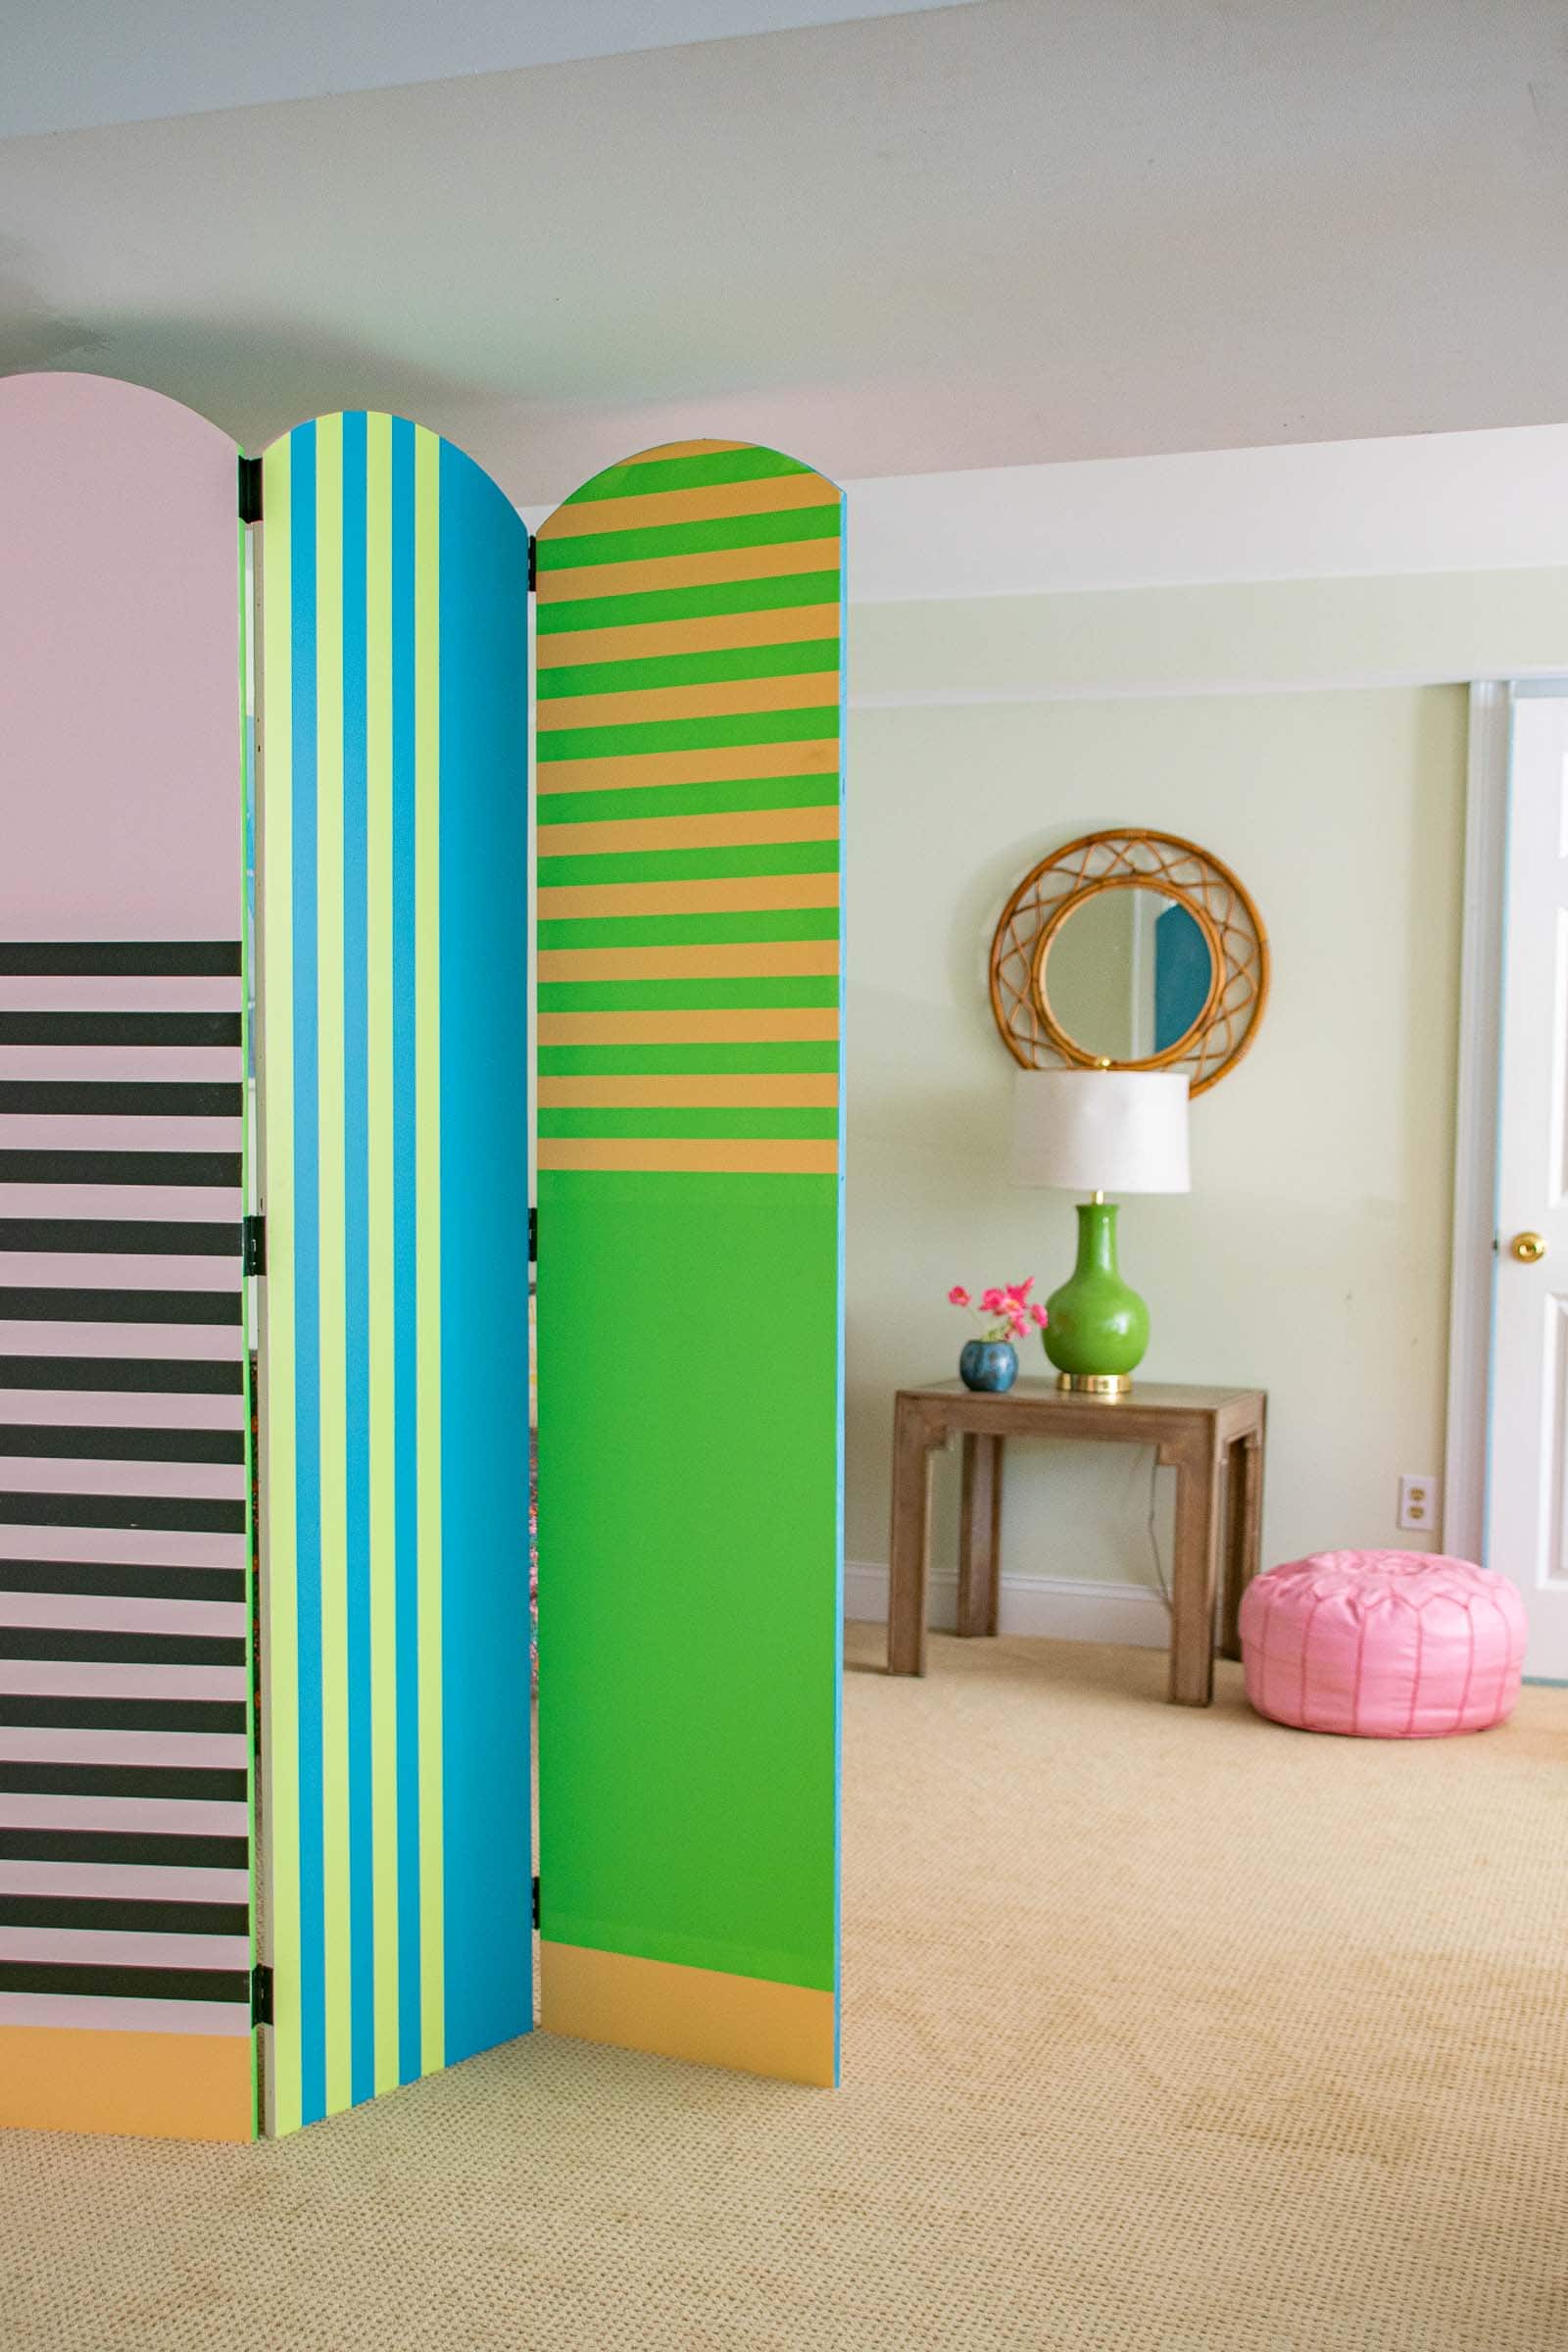
Here’s how she looks! These photos make me really really want to remove the wall to wall carpet in here just because the color feels so depressing, but the screen itself looks perfect! And now that there are some other changes happening down there, the screen truly does help add some privacy to that day bed area back there. It’s not meant to be an actual wall, but simply a barrier to help that daybed feel a little more tucked away.
Click here for information on that DIY Daybed.
Thanks again to my friends at Frogtape for giving me another opportunity to have fun and celebrate the creative process. Reminder, I used Frogtape Delicate on this project and you can see more about that product here! Other projects I’ve done using Frogtape:
DIY Striped Coffee Table
Office Makeover
DIY Backgammon Table
Painted Flea Market Cabinet

Don’t Miss Out
Become An Insider!
Signup for exclusive tips, and tricks from Charlotte’s House!
Let’s chat!
I love comments from you, so feel free to leave your thoughts and ideas below! And don’t forget to follow me on Instagram for even more!